
Call of Duty: Infinite Warfare Guide Call of Duty 4: Modern Warfare Multiplayer Map Tactics
District
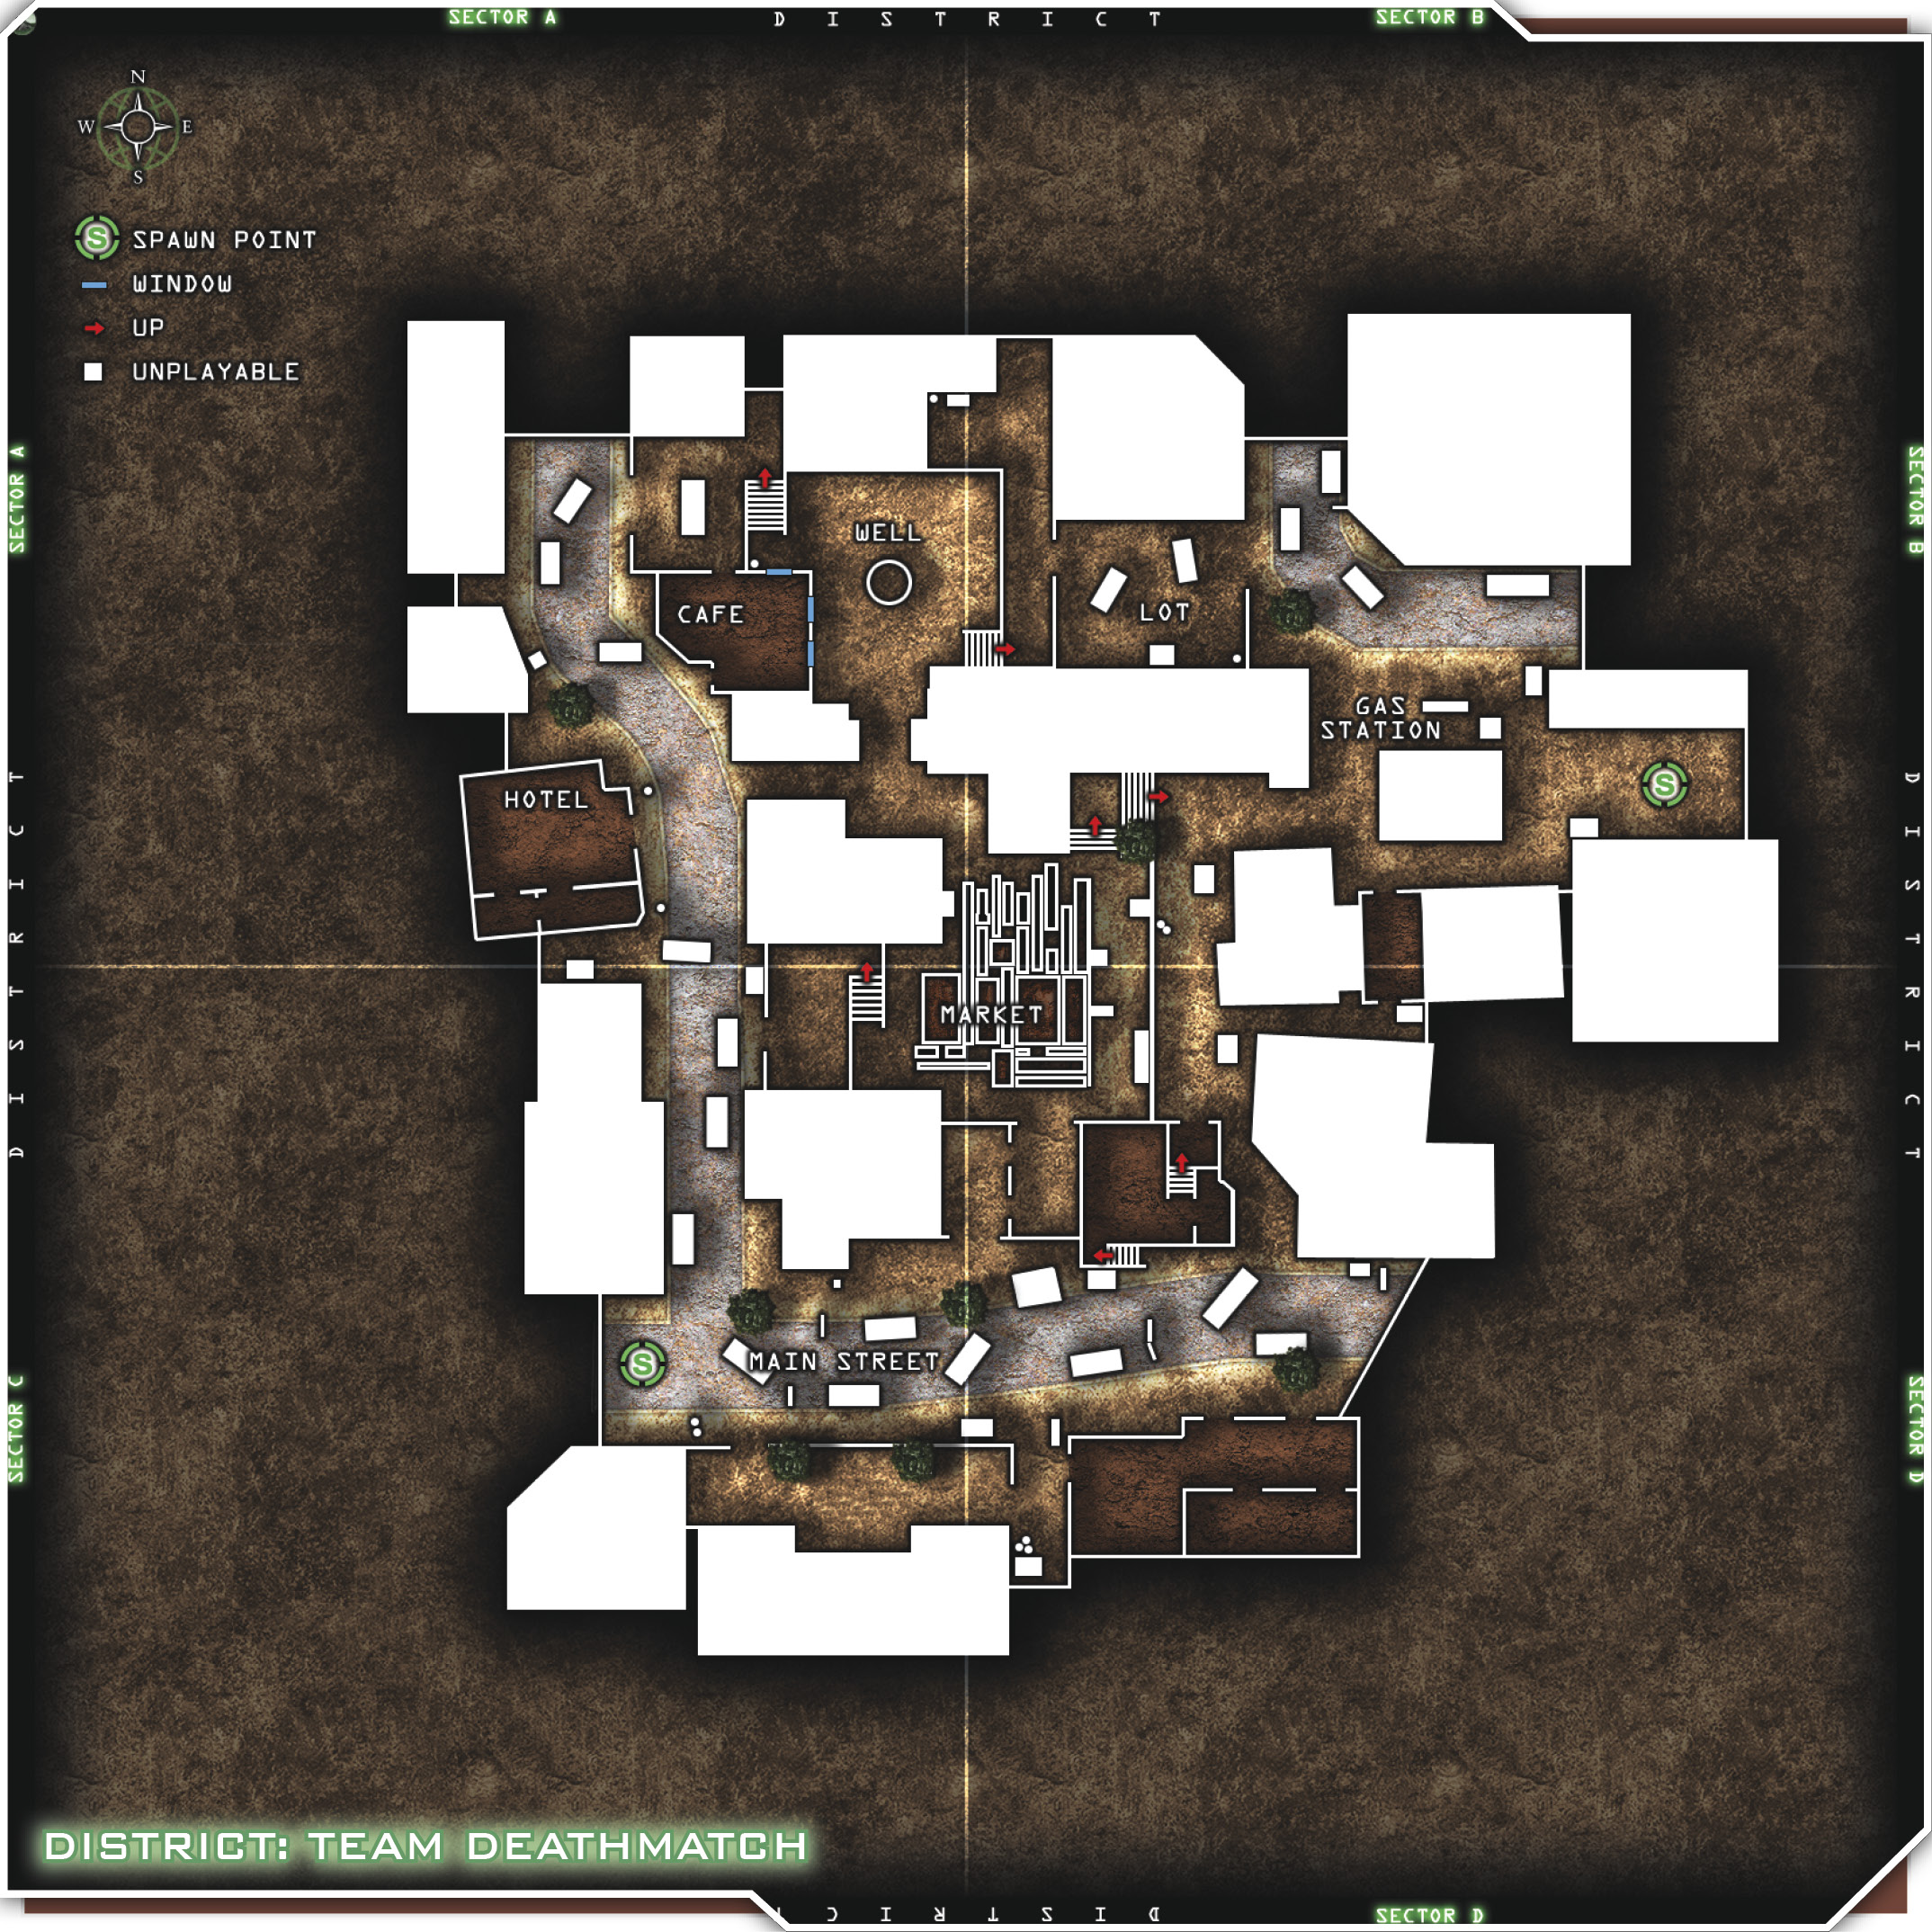
U.S. Forces vs. OpFor. This is a large urban area centered around a marketplace in the late afternoon. Several streets and alleyways make it difficult to pin down enemies. There are only four accessible building interiors throughout this map, but plenty of ambush locations.
The suggested loadouts are ideal for this map. The Basic Assault class is a great choice for watching over the marketplace and lobbing grenades from your launcher. By running with Juggernaut, you’ll be able to survive just a bit longer than the enemy. Use the Extreme Conditioning perk to sprint after enemies who are trying to fall back. The CQC class is designed for high mobility and deadly bursts of fire from your submachine gun, combined with the Double Tap perk. Use your grenades to force enemies from one place to another. And because you’ll be running after enemies at close range, the Martyrdom perk will help thin the crowd.
Suggested Loadouts
Basic Assault
| Slot | Name |
|---|---|
| Primary Weapon | G36c |
| Notes/Attachment | Grenade Launcher |
| Side Arm | USP |
| Special Grenade | Smoke |
| Perk 1 | DISABLED |
| Perk 2 | Juggernaut |
| Perk 3 | Extreme Conditioning |
CQC
| Slot | Name |
|---|---|
| Primary Weapon | Mini-Uzi |
| Notes/Attachment | Red Dot |
| Side Arm | M1911 |
| Special Grenade | Smoke |
| Perk 1 | Frag x3 |
| Perk 2 | Double Tap |
| Perk 3 | Martyrdom |
Tips & Locations
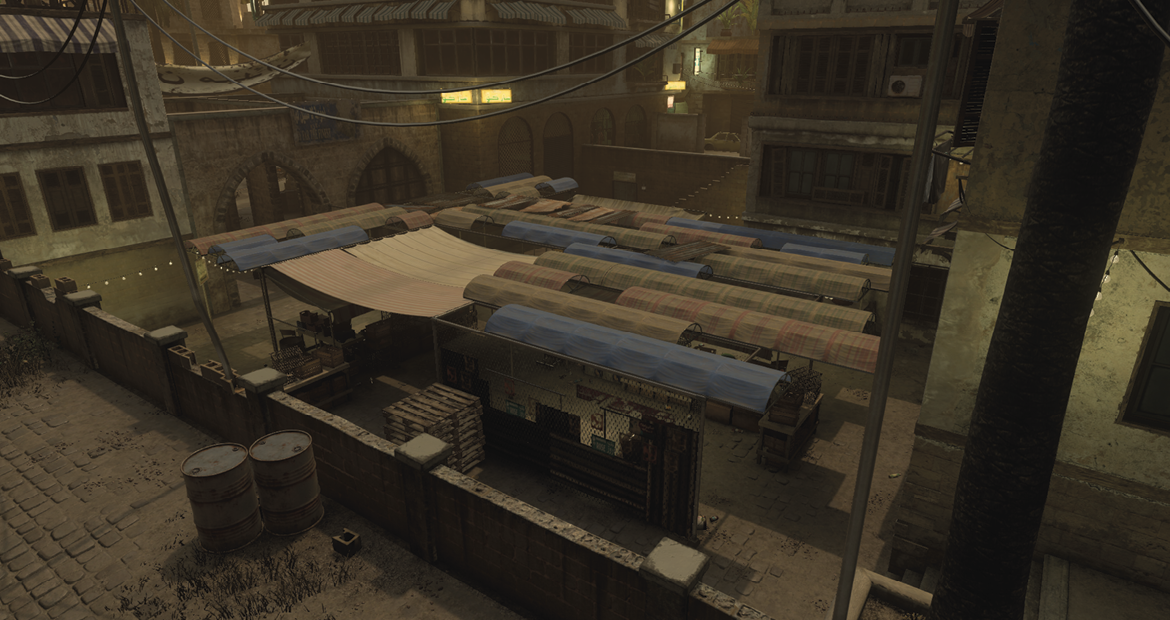
The Market is the center of battle most of the time. Use some of the elevated areas surrounding it to eliminate your enemies from the high ground. The building on the southeast corner offers a bit of protection while shooting down into the Market. The Market itself is littered with tables and carts and corners to hide in and wait for passing enemies. You can get on top of the awnings and canopies if you need to escape, or just want to switch things up a bit.
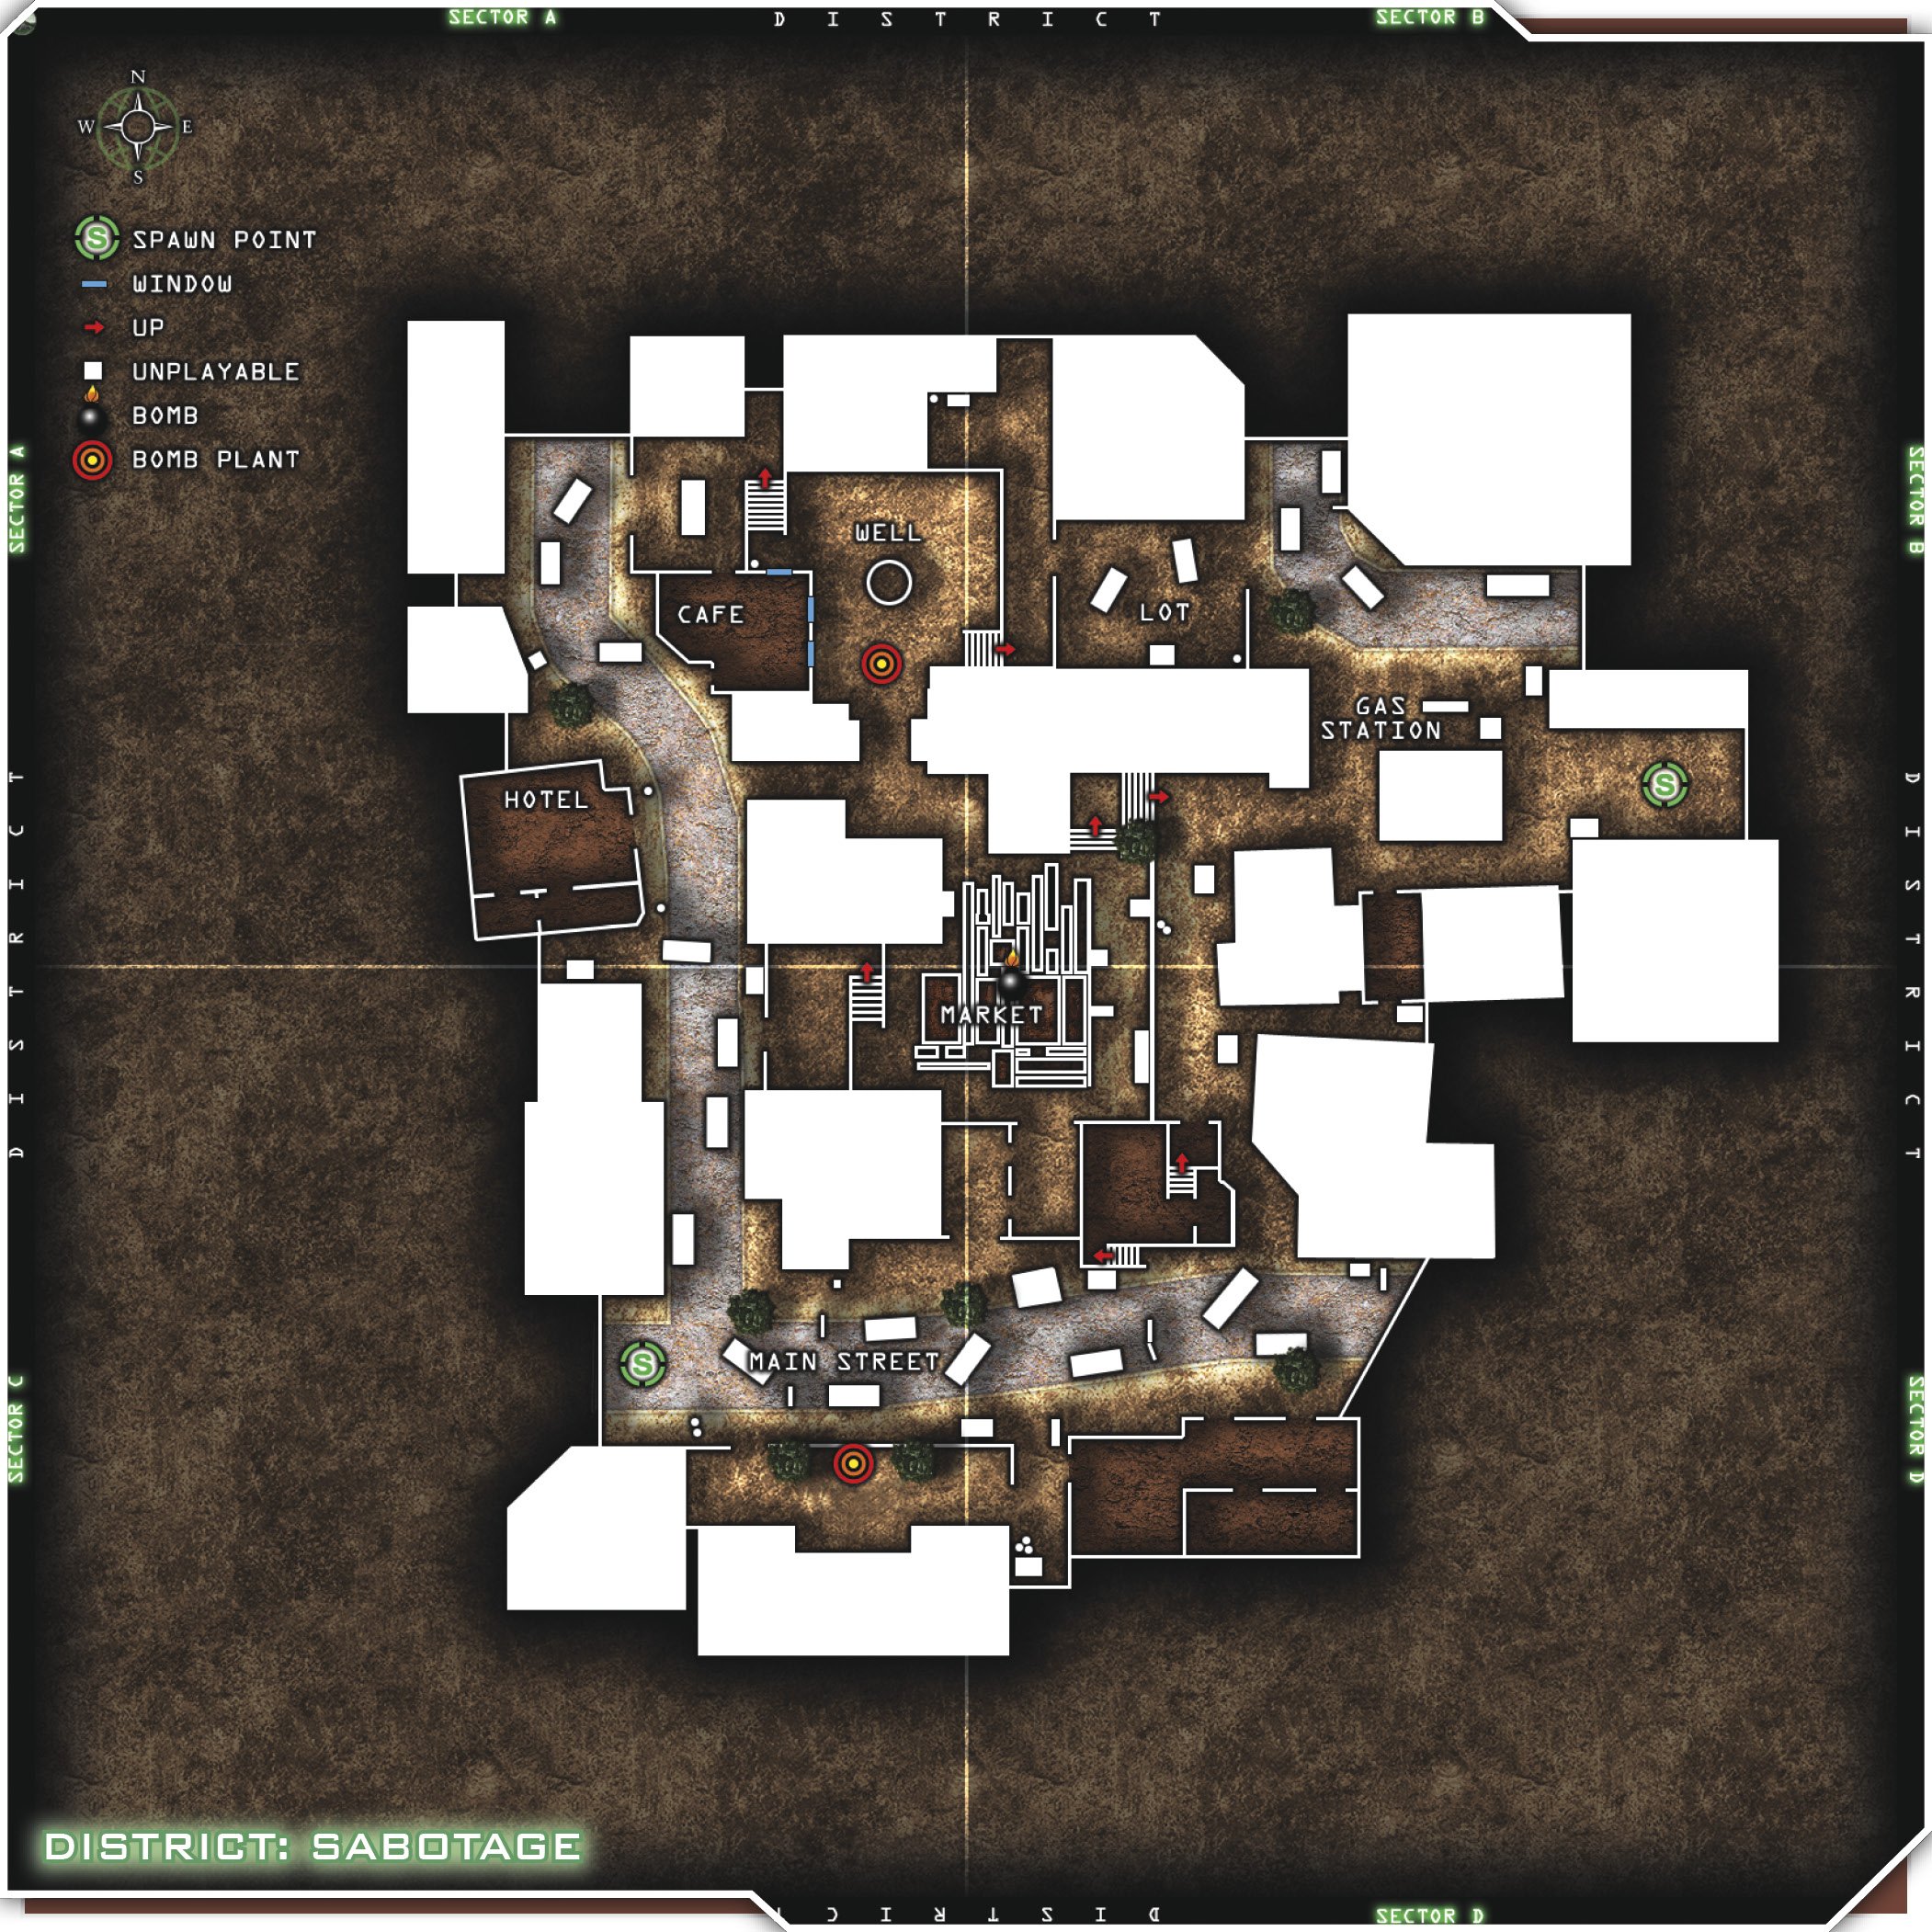
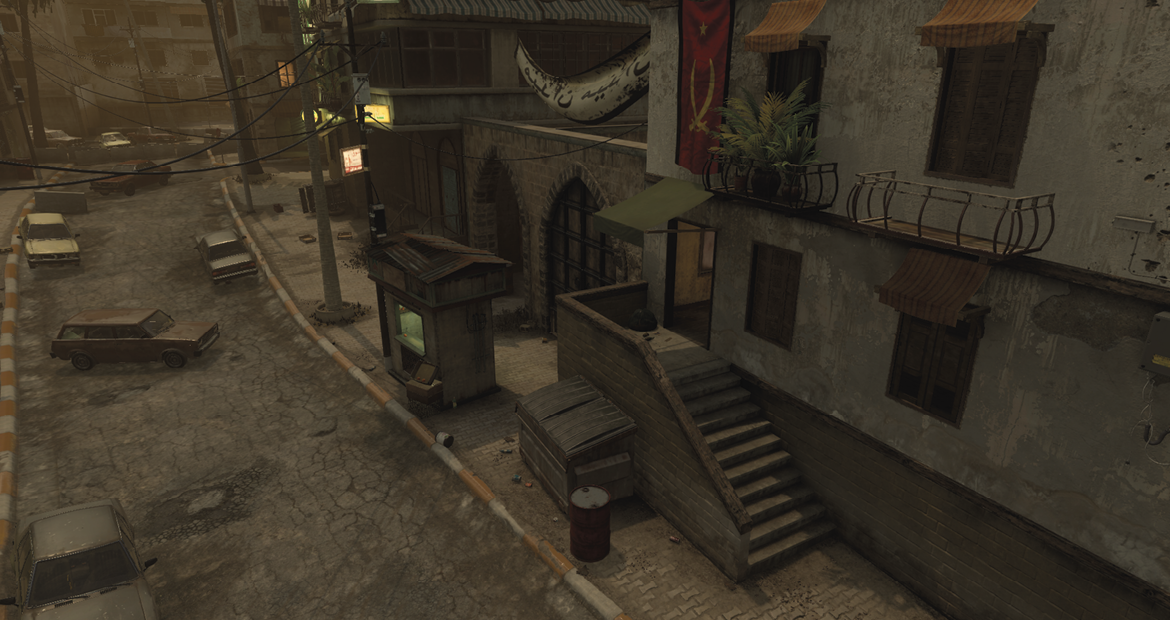
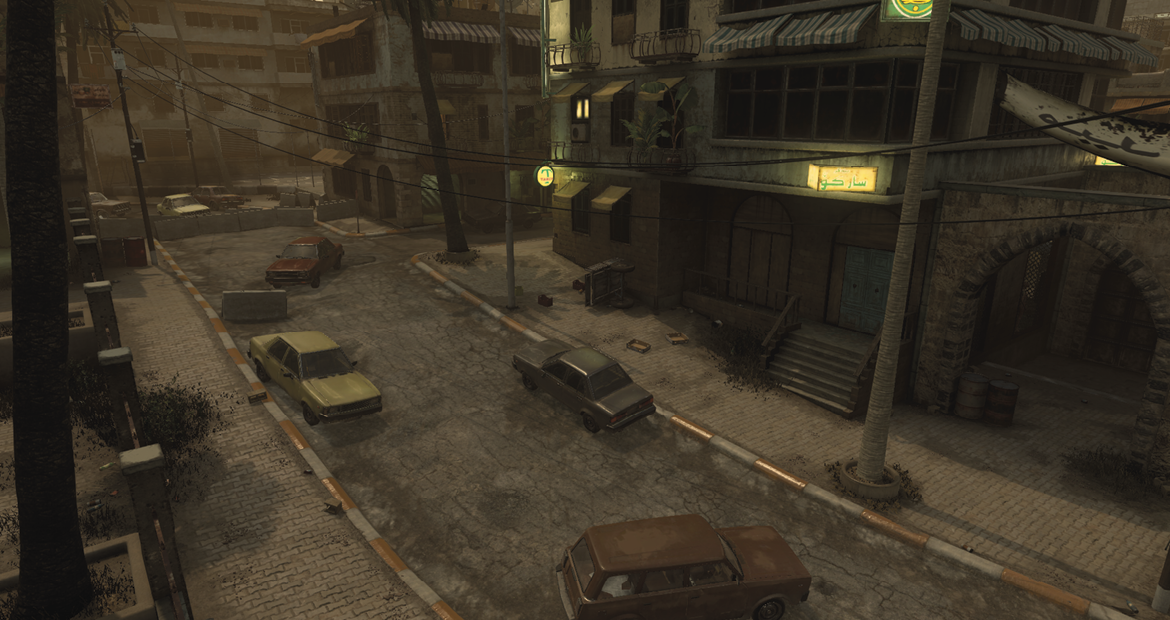
The streets just north of the palace and west of the Market are good places to move your entire team from one place to another, but you must use a distraction or some sort of cover (like smoke grenades) to get through unscathed. Use the alleys throughout the map to navigate around your enemies. Keep your knife at the ready, because there are many corners where players can suddenly run into each other. Make good use of grenades to eliminate enemies that you can’t get a shot on, and also to clear your path. Try tossing one at the end of the alley or street you’re trying to navigate. The enemy will hear it coming and back off, giving you a chance to make it to the end of the alley. Also note that there are a few red barrels located around this map. We all know what red barrels do, right? Kablooey!
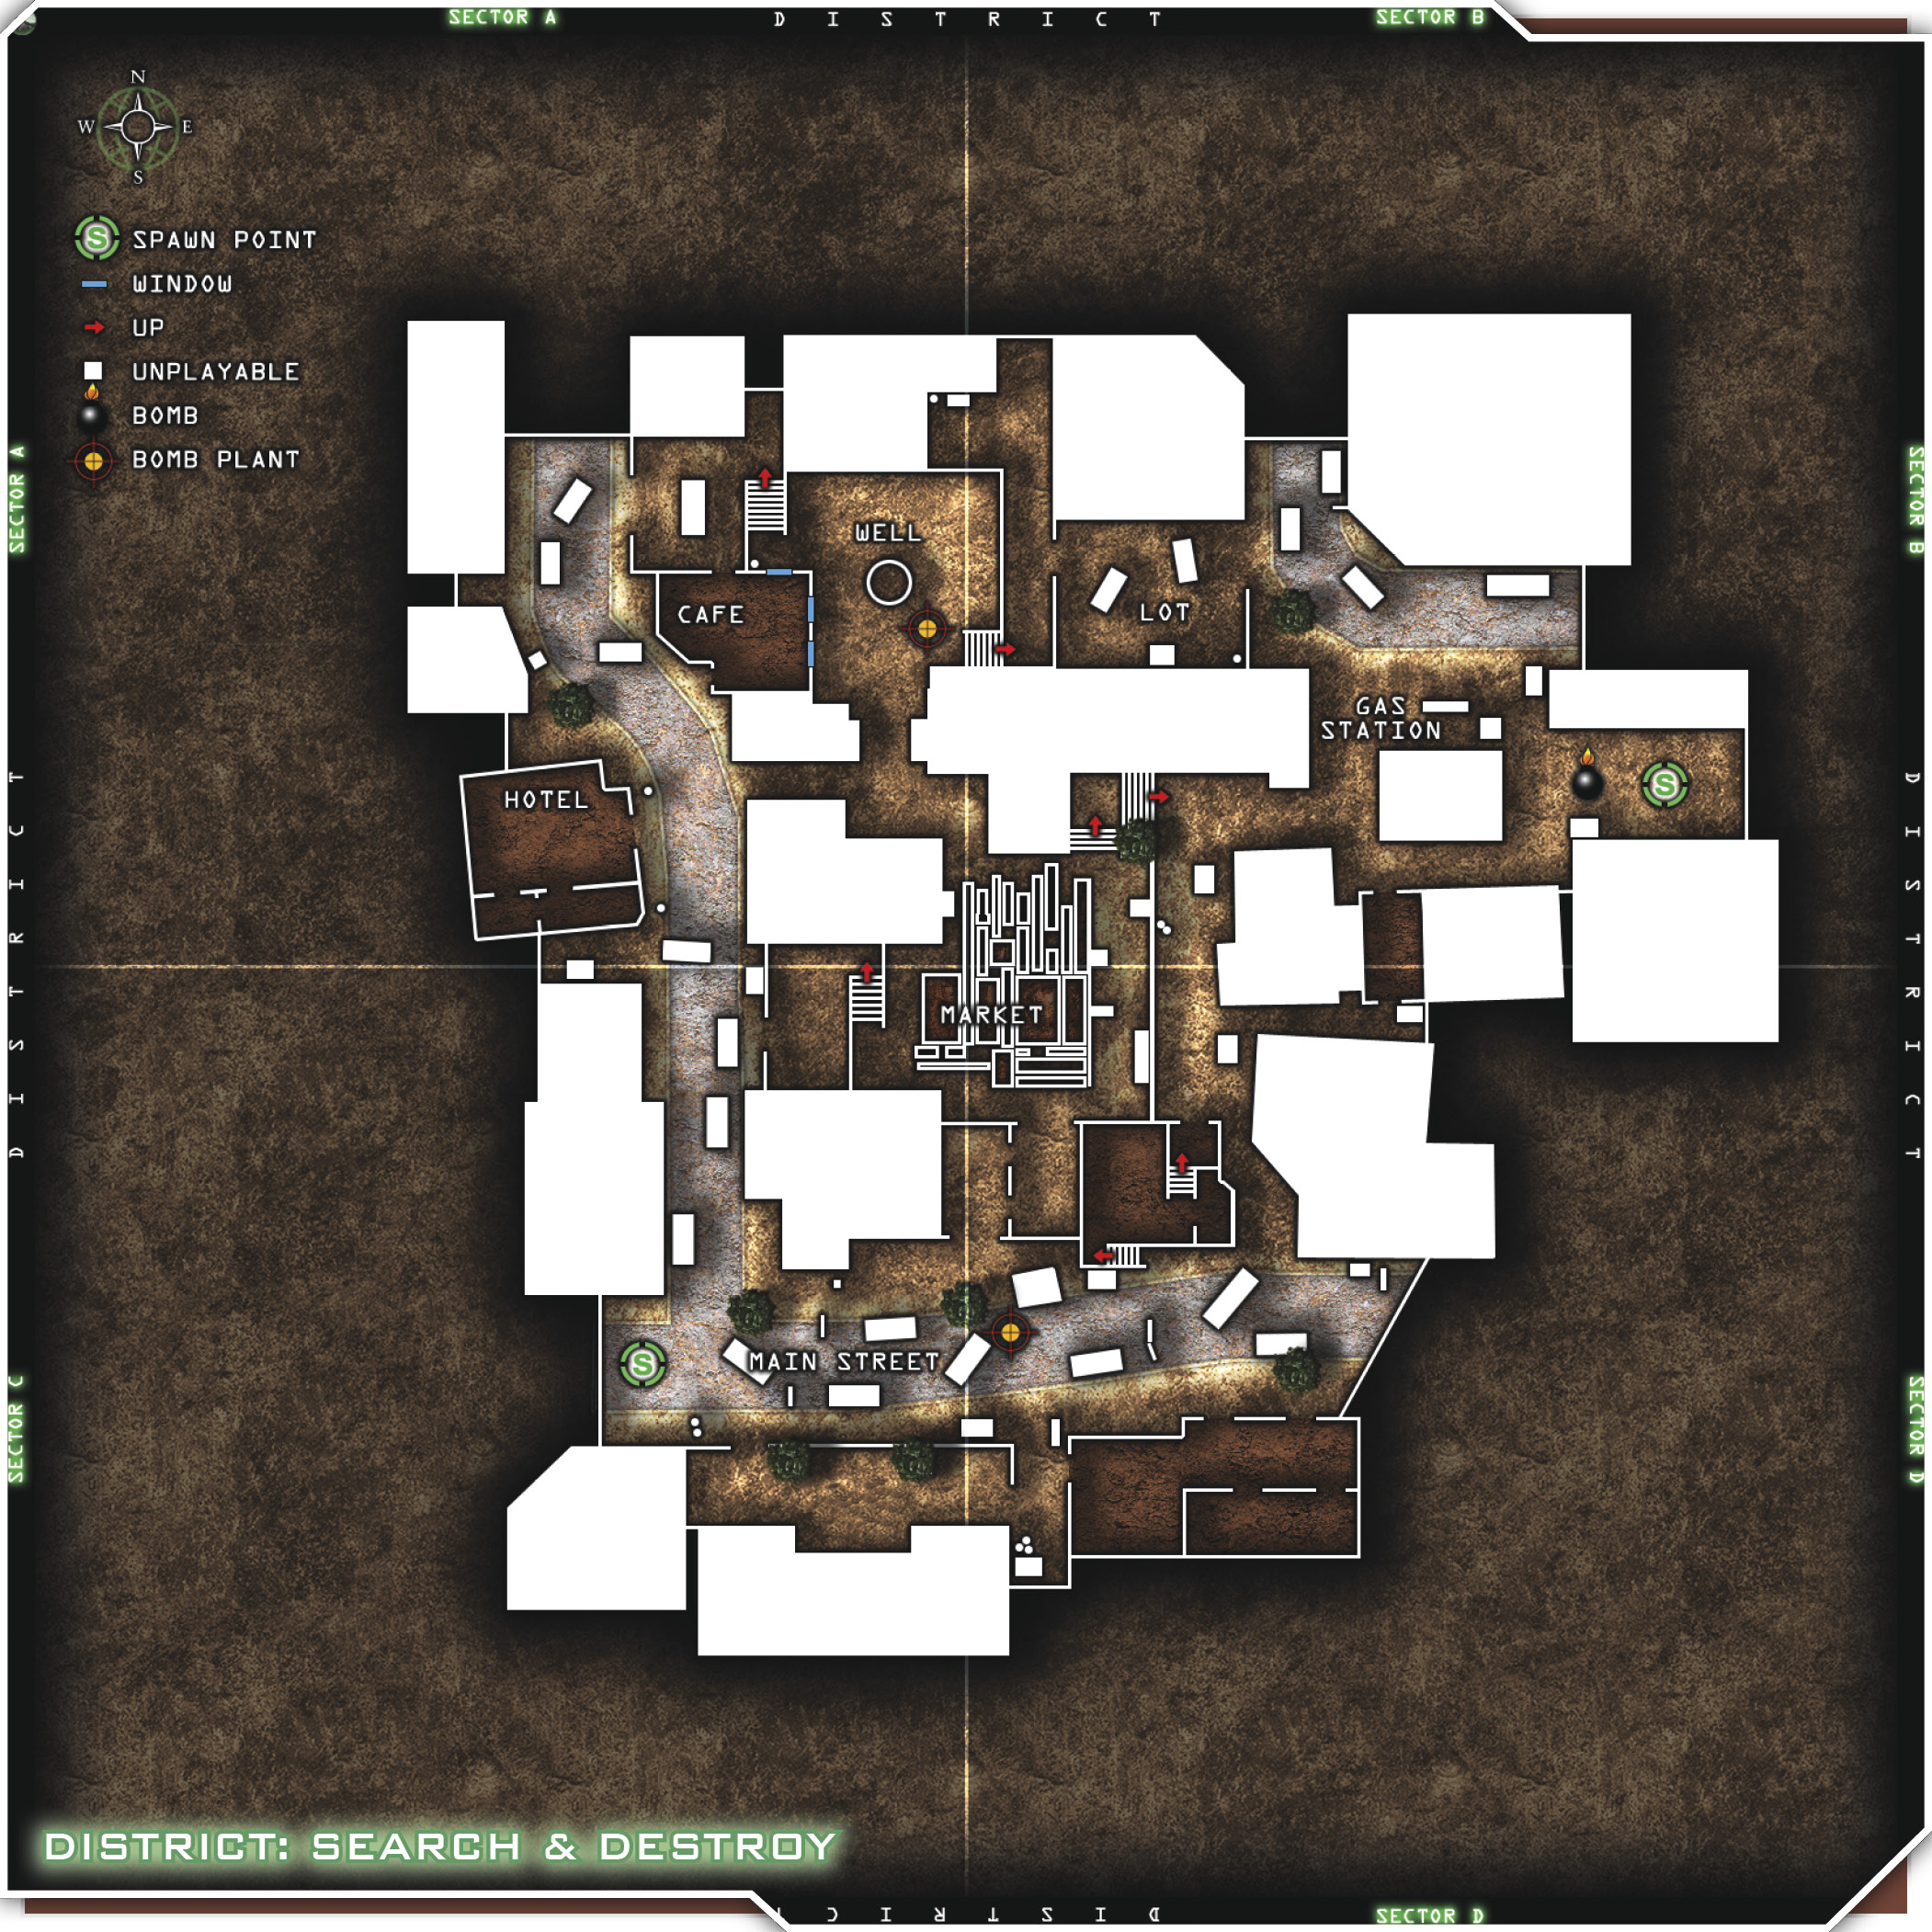
There aren’t very many places to camp out on this map, so remain mobile at all times. Set up behind good cover when it’s available, but get your shots off and move along. The palace is somewhat out of the way. Set up there for some long shots down the secondary street running south to north. Use the half-wall to protect you while you get off a couple of shots. The Market itself is recessed into the ground, which makes for some great back-and-forth battles from the half-walls surrounding it. Try crouching and then popping up to pick off enemies opposite you. When you crouch back down, most likely the enemy will be waiting for you to pop back up in the same place. Crouch over to the left or right while keeping your crosshairs trained on the enemy’s last position.
Team Tactics
For this plan of attack, move like water throughout the level. Everyone should load out however they feel most comfortable. Use the preceding suggestions to help you decide. Then everyone should fan out, almost like spokes spreading out from a wheel hub. Move outward and freelance. In other words, everyone should do what they feel most comfortable doing, whether it’s camping, rushing, grenading, or sniping. Just be sure you don’t end up with a team full of snipers on a run and gun map.
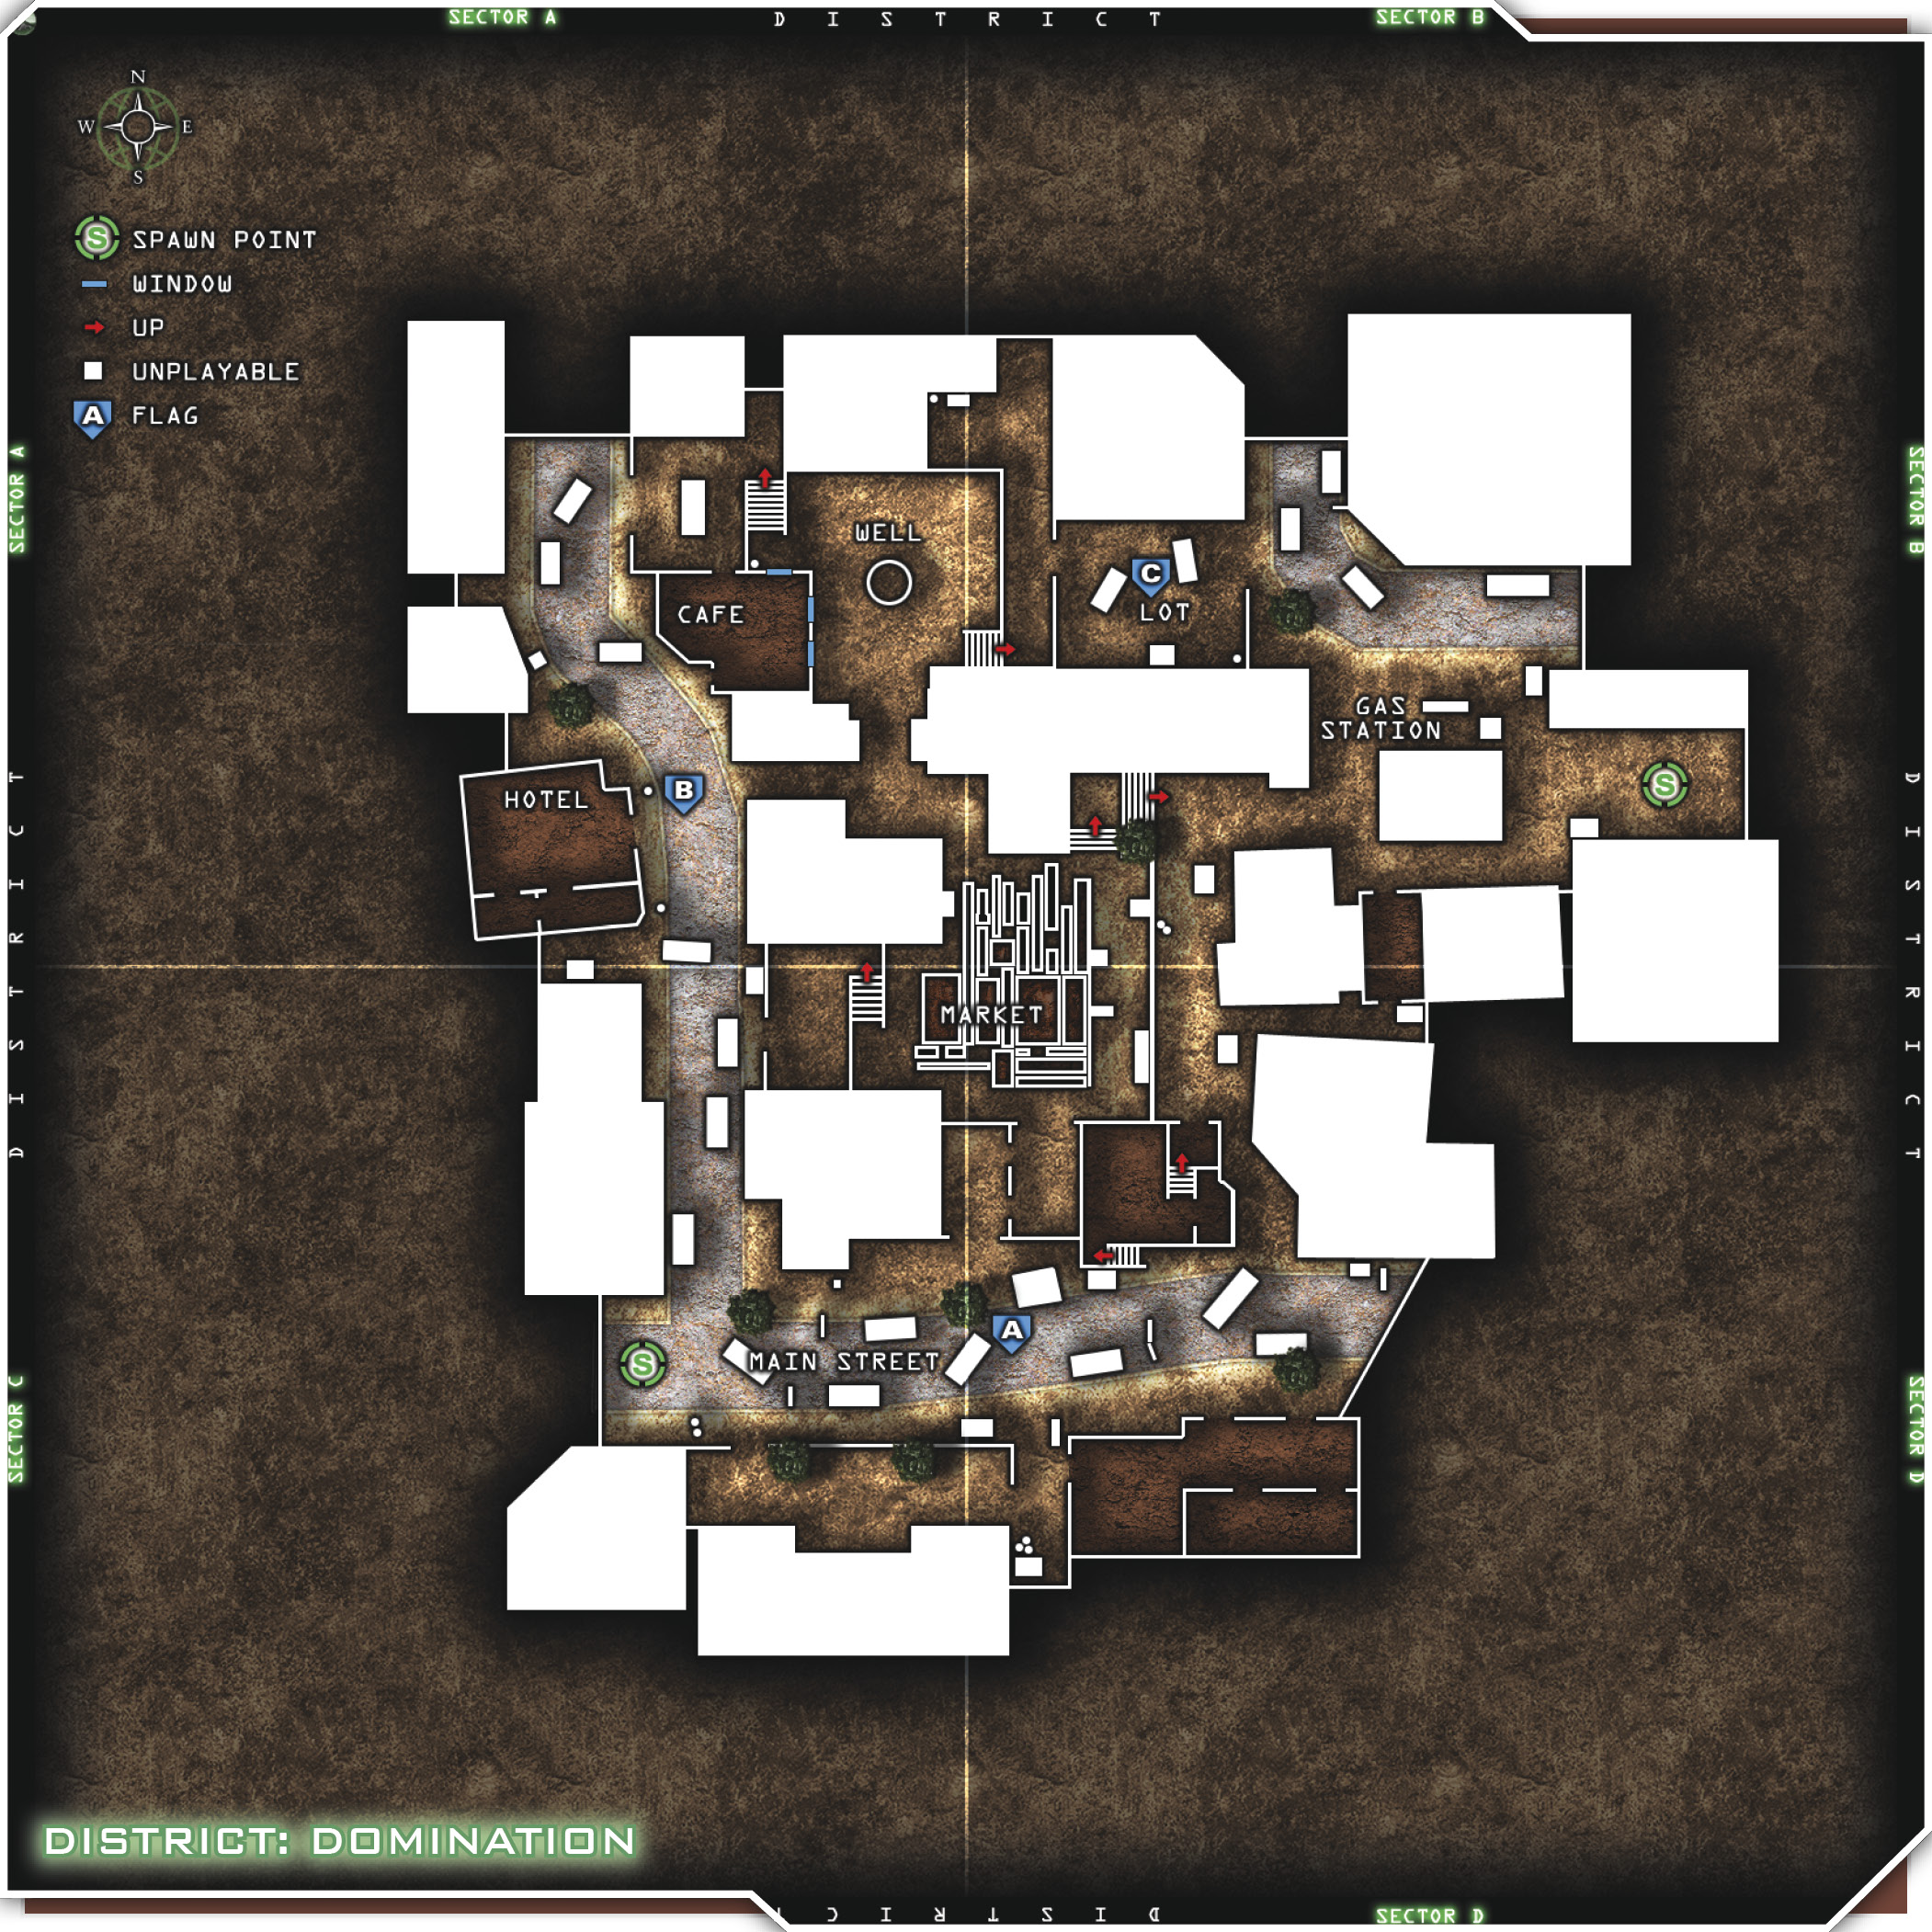
Once you’ve spread out and begun freelancing, do your business and keep the lines of communication wide open. This will win the match for you and your team. Keeping your communication frequent and clear will allow you to call ground support to your location. Note all the area names on the map, and use them along with compass points when calling your buddies. If Timmy gets caught in the Market, answer his girlish screams for help and flow together as a team to disperse his attackers. Once you’ve cleared the area and given Timmy a lollypop, go back about your business and be ready to flow back together at any given moment. This is a good plan, because there are many avenues to reach any location fairly quickly.
Okay, let’s get the team back together and try moving as a mob. Gather around and make your way in a fairly tight group around the perimeter of the map. Use the main streets to navigate your way around, and then spiral the team toward the inevitable hot zone: the Market. Always keep a good distance between teammates. This is easier said than done. Not everyone will be loaded out the same way, and some players will move more slowly or quickly than others. Try to keep your spacing. One well-placed grenade can wipe out a good chunk of a squad if they’re running too tightly together.
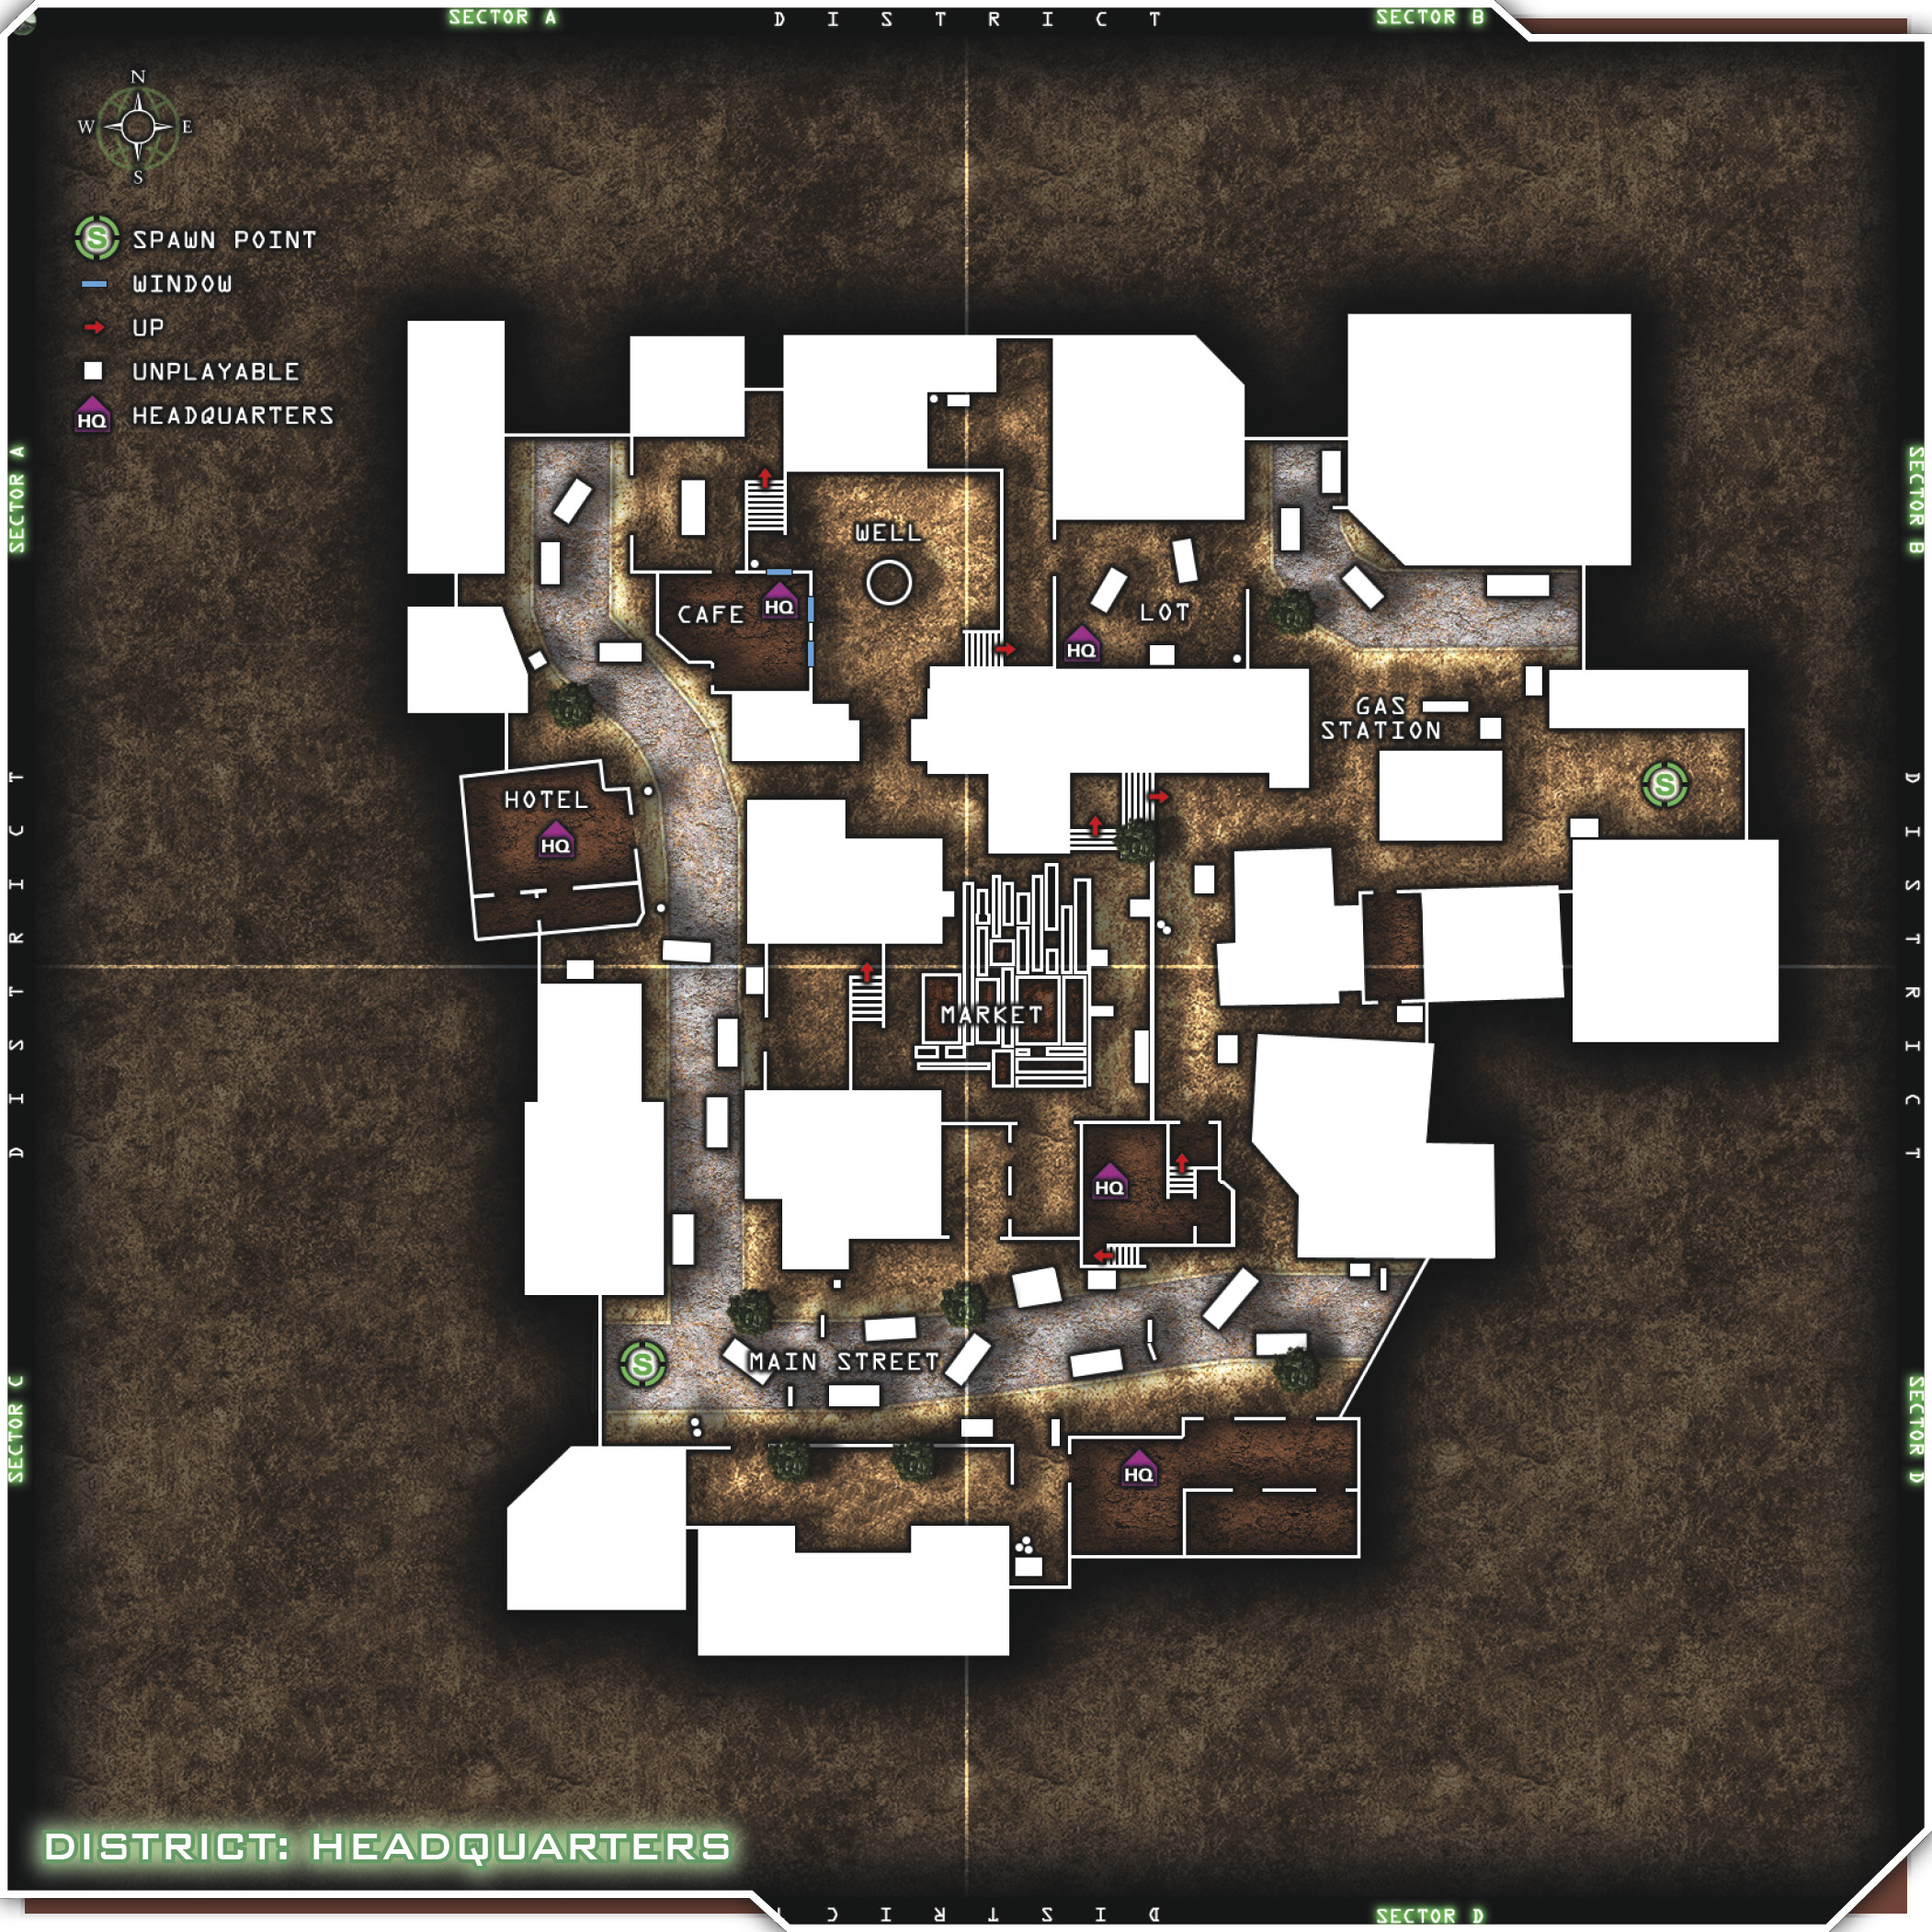
If you find that you’ve pinned down the enemy at a spawn point, don’t let them out. They’ll have to get through you to get free. Set up a perimeter and cordon off the area. Essentially this is spawn camping, but it’s not your fault. Tell them to quit crying and fight their way out of it like men!
Wingman teams also work well on this map. Split up into teams and try a wingman freelance. This tactic will allow ultimate mobility due to the small team sizes, while still allowing you to call in support from your other wingman teams when necessary. Try splitting your teams into all areas of the map, so that you can effectively cover more ground at once. Then call in your buddies for support. After you’ve been called in to support another wingman team, you may decide that you should remain together as a larger squad for a while. This is fine. Just continue to work as individual wingman teams within your new squad.