Call of Duty: Infinite Warfare Guide Call of Duty 4: Modern Warfare Multiplayer Map Tactics
Vacant
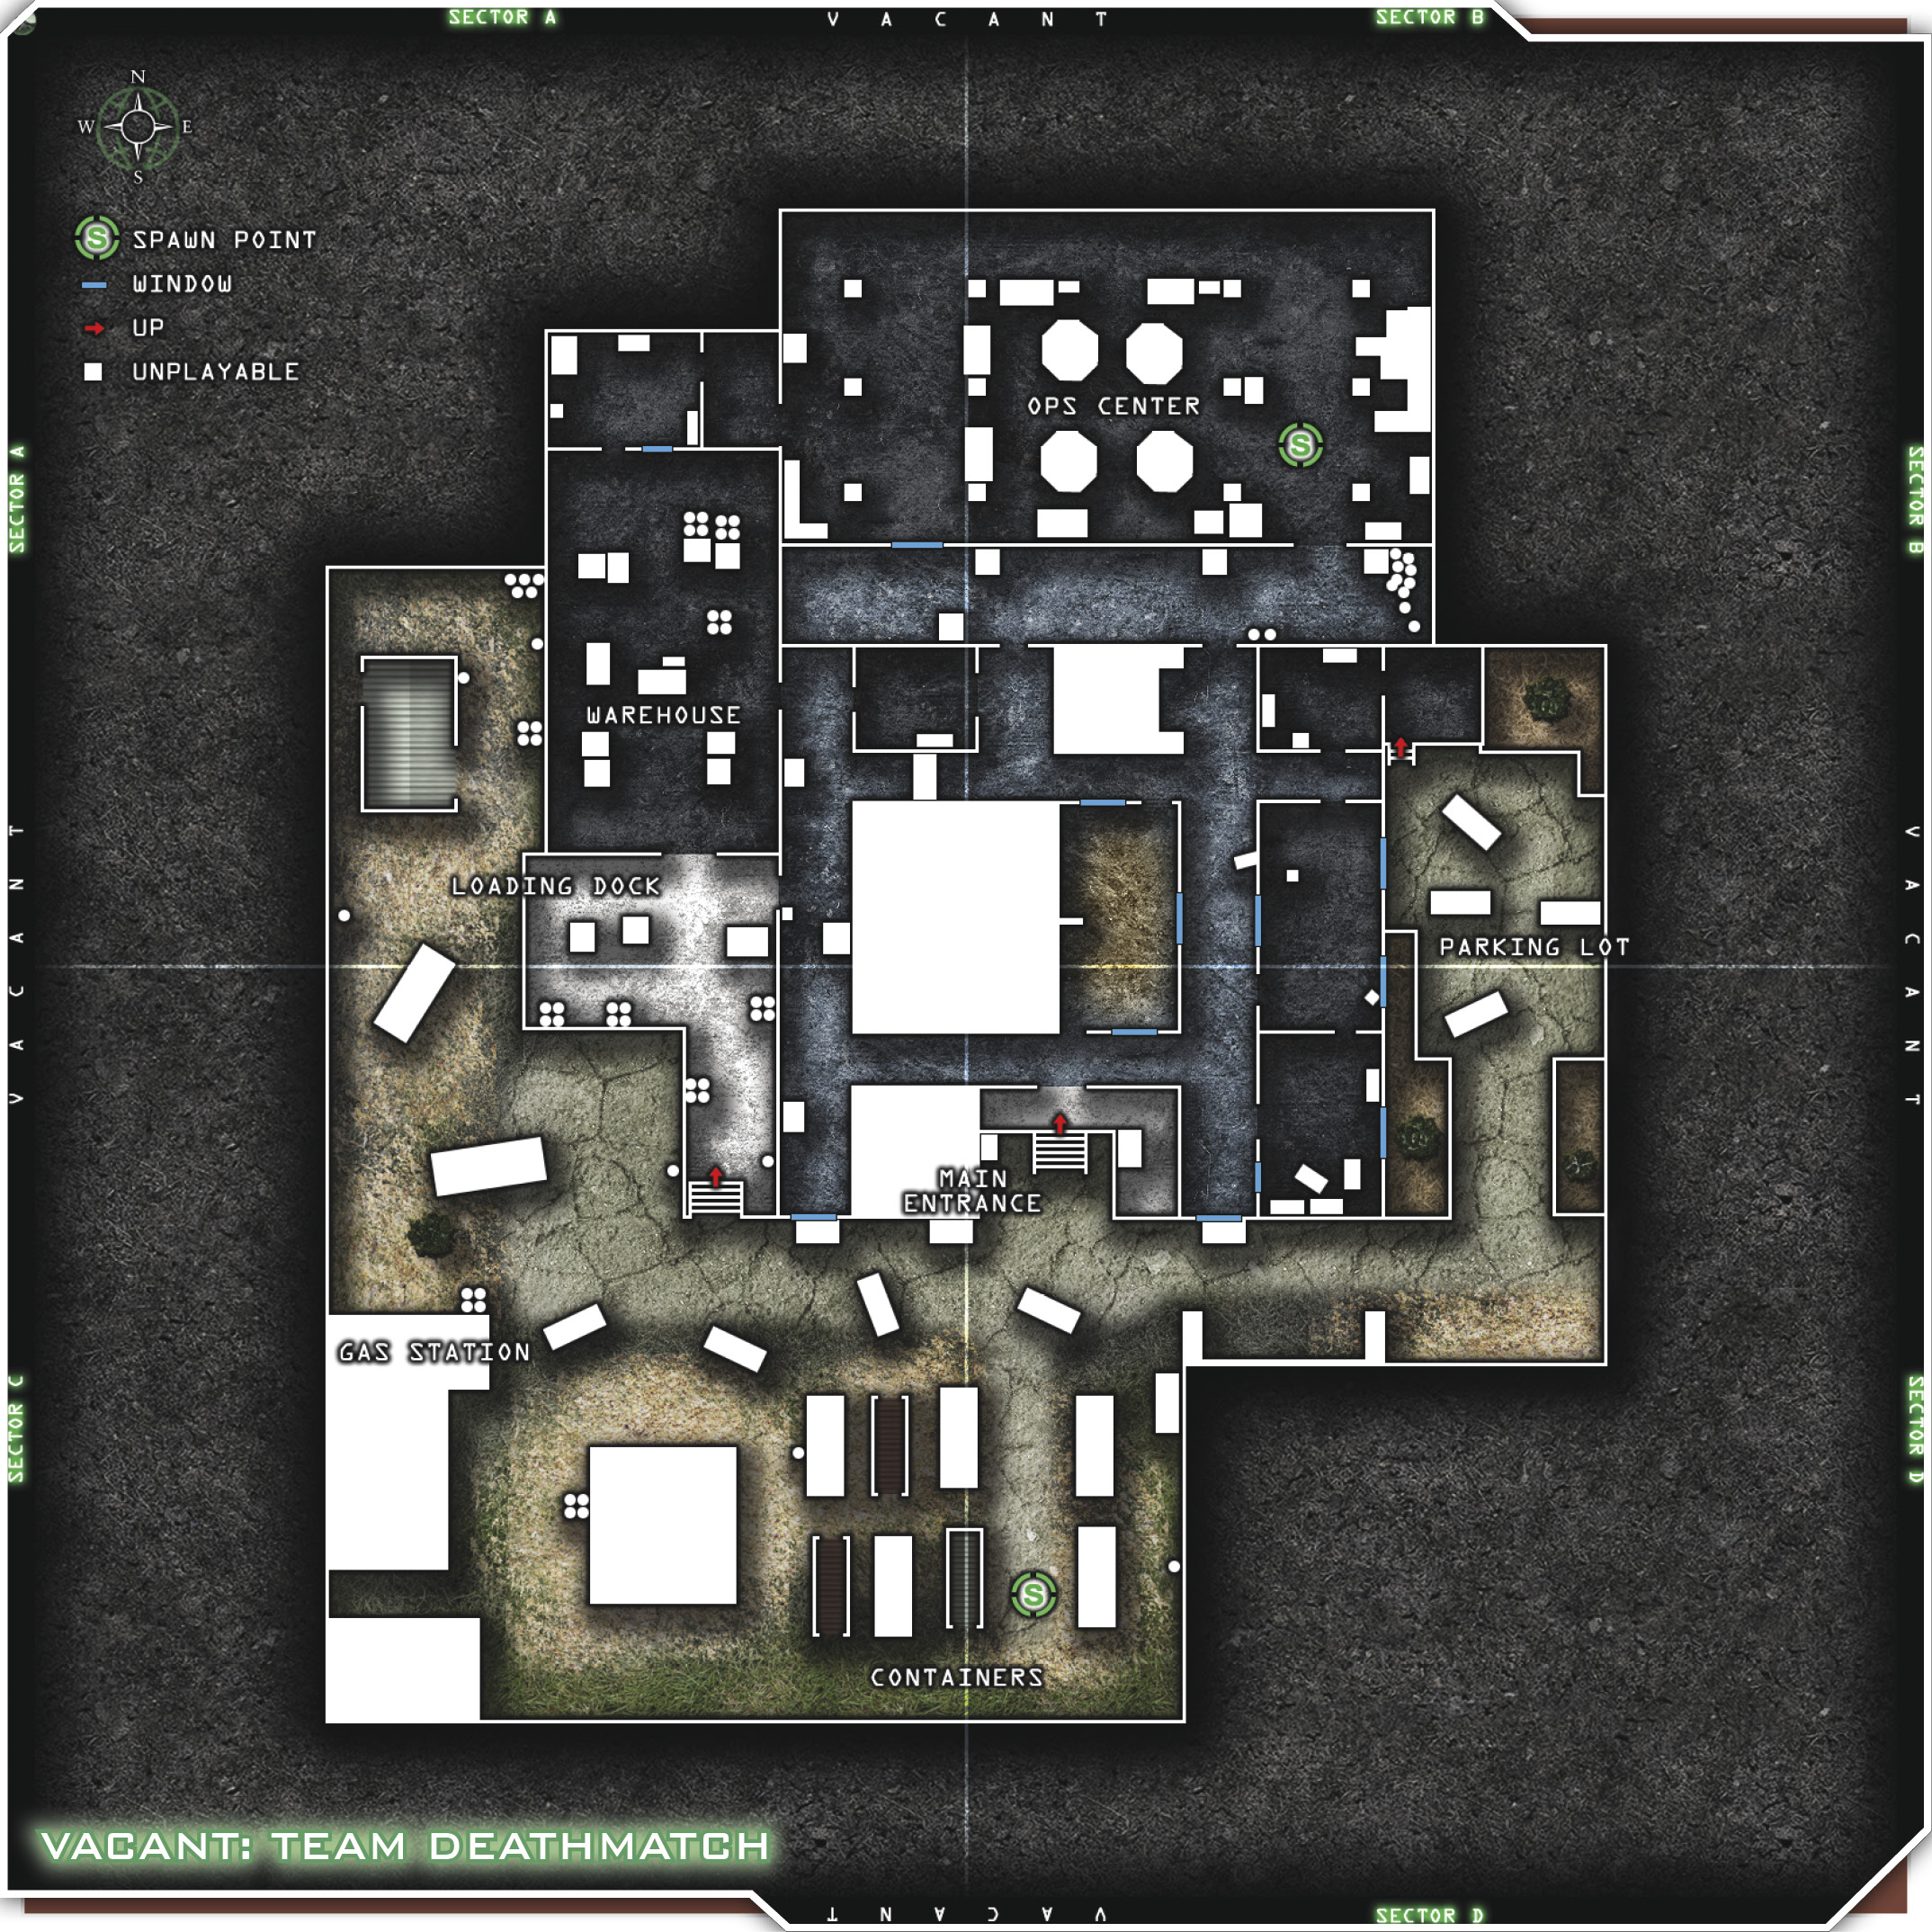
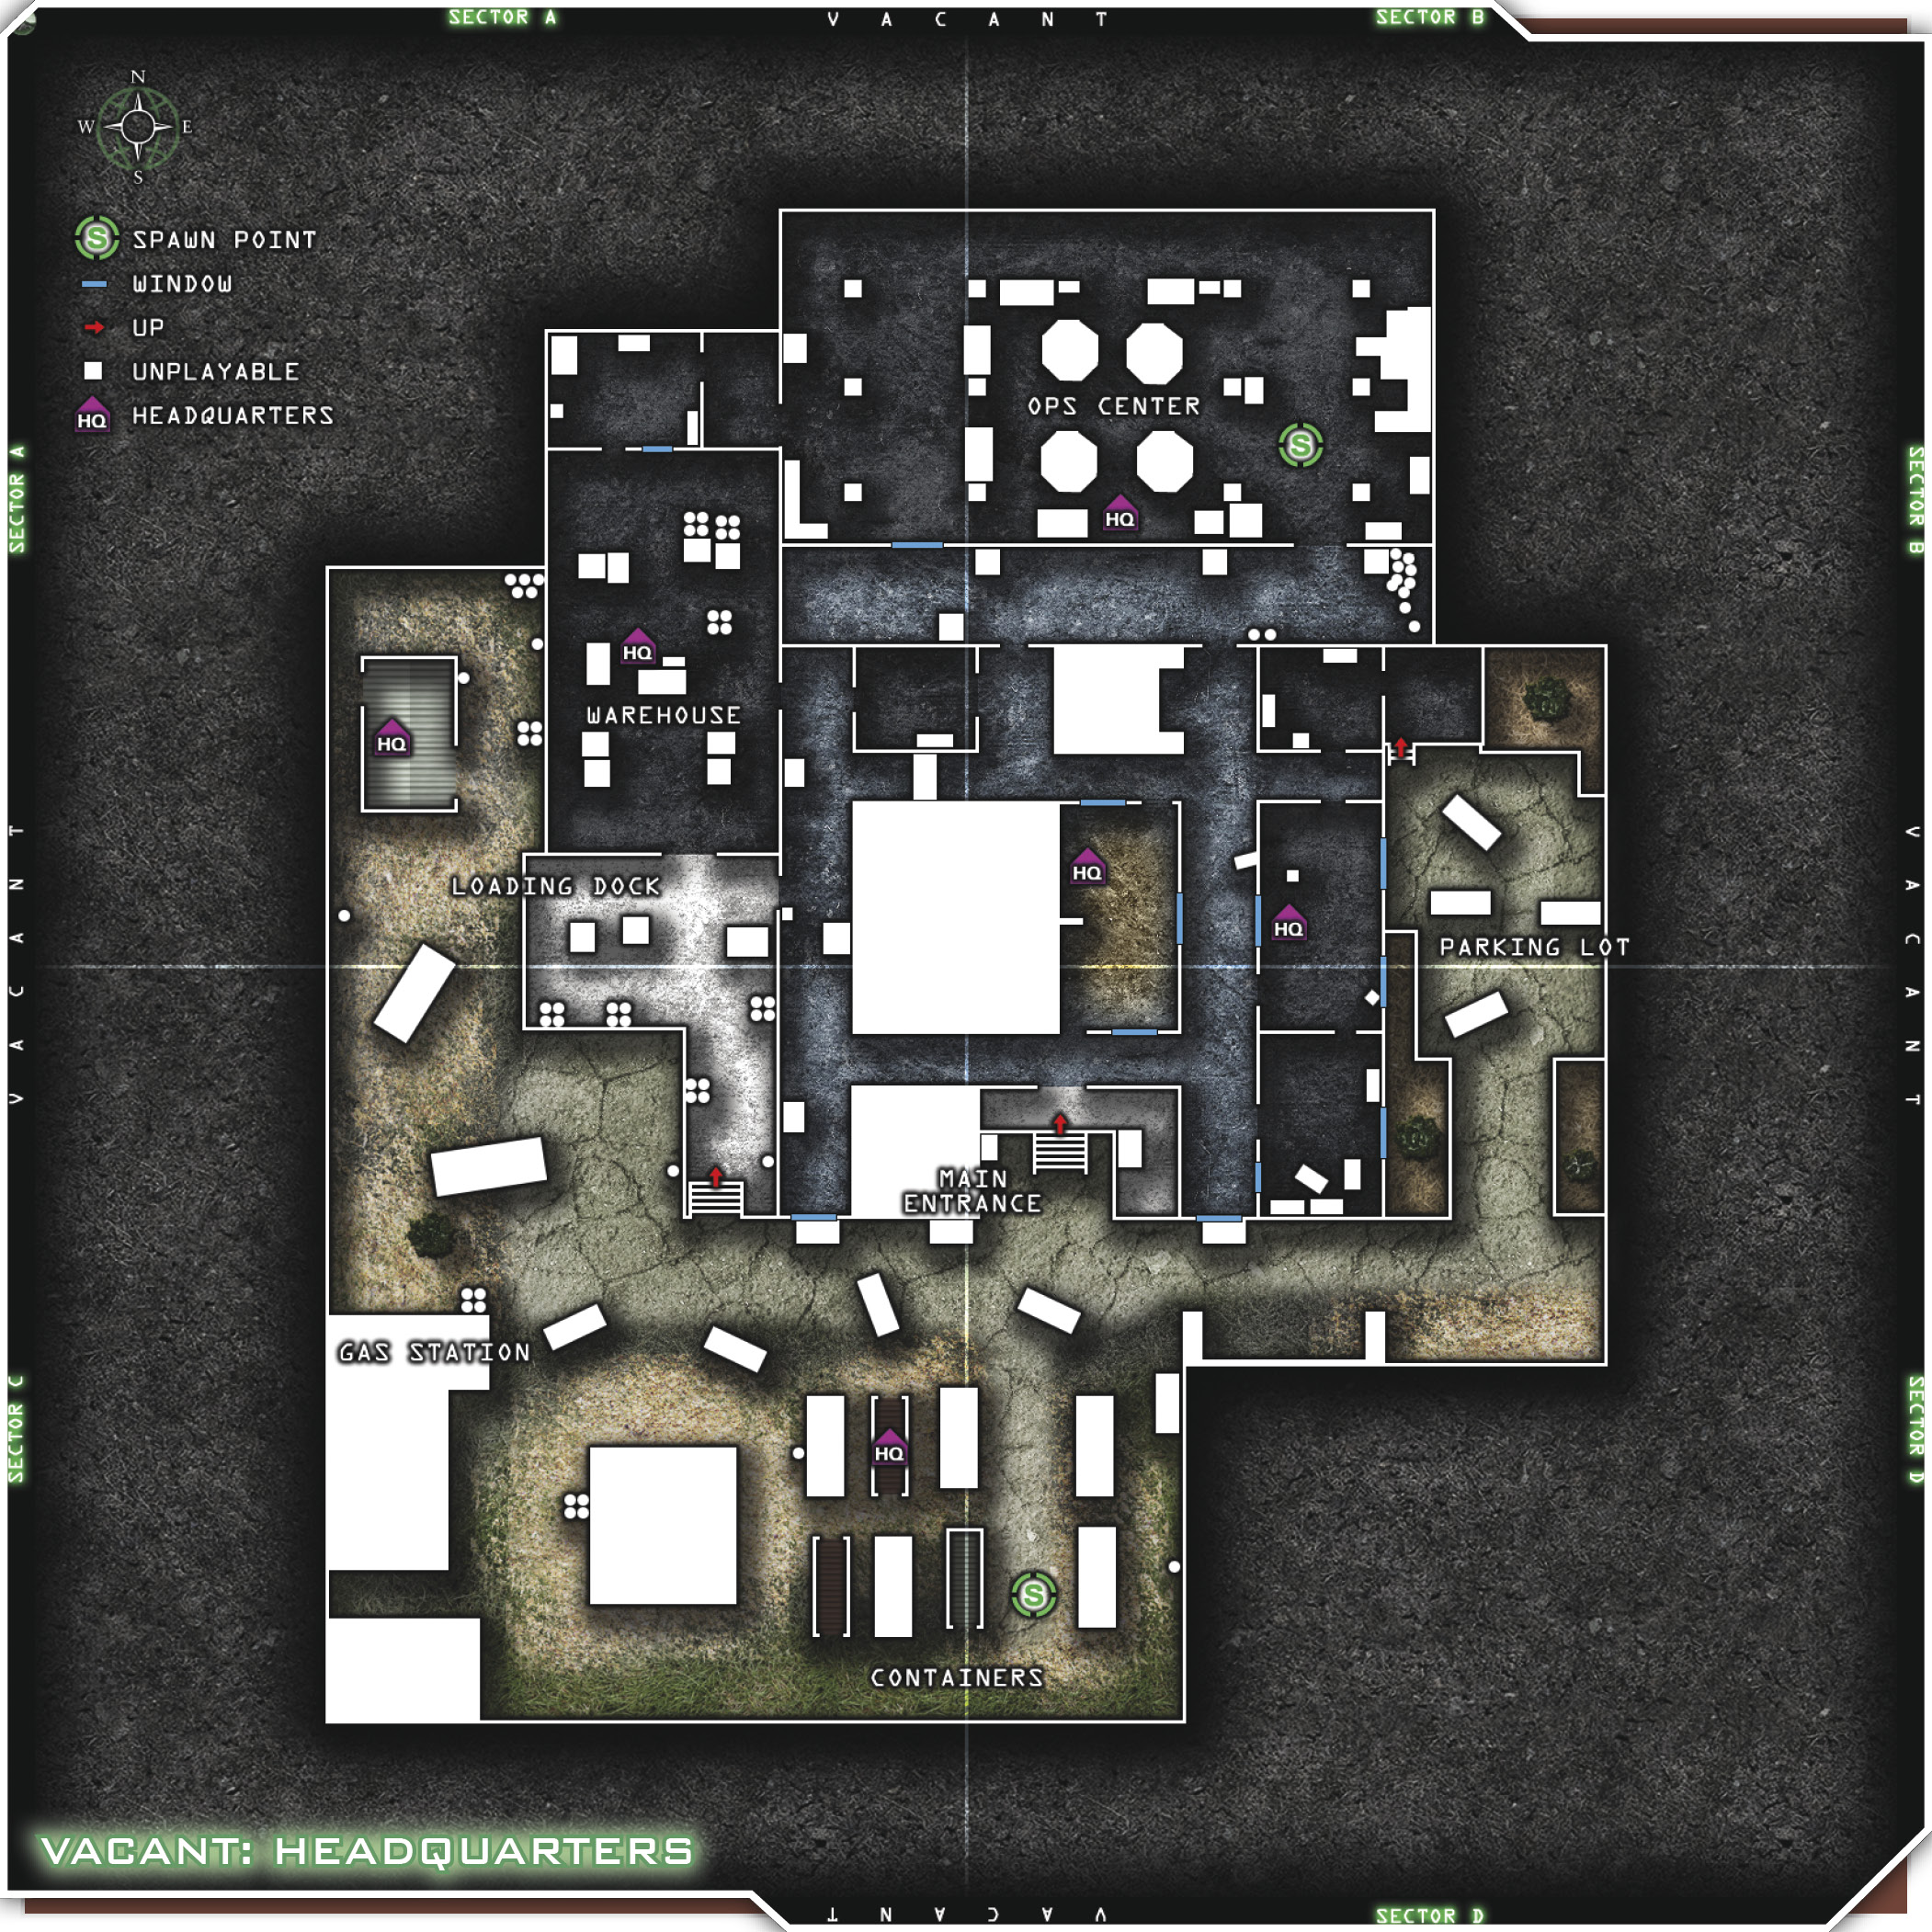
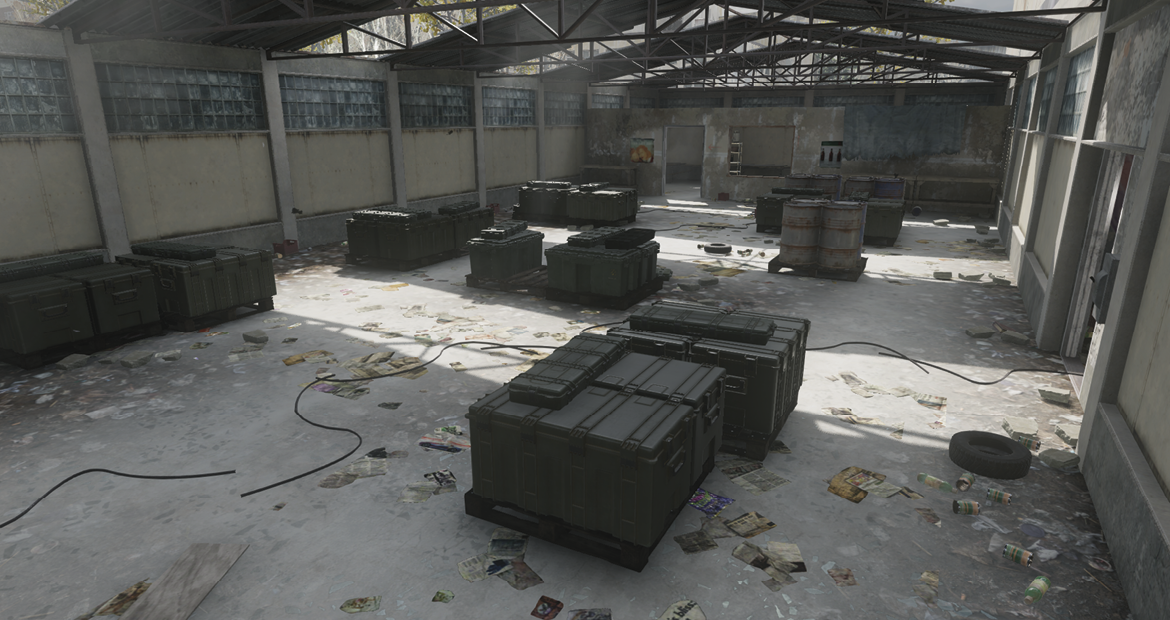
Spec Ops vs. Spetsnaz. This is an abandoned shipping facility near the end of the day. The Spetsnaz have set up a temporary operations center to plan their attacks on the Spec Ops. The office complex consists of a maze of hallways and offices, including a Warehouse and an Ops Center. It’s surrounded by a Parking Lot on the east side and a loading/fueling area on the south and west sides.
The Assault class is great for setting up outside the complex and picking off opponents trying to flank your team by way of the three exits just north and west of the Containers. These classes can also position themselves on the south end of the Containers to shoot back up toward the Loading Docks. If they decide to head inside, they should plant Claymores around heavily trafficked hallways and entrances. Sonic Boom will increase the damage from your Claymores and might take out more than one enemy. This could be a big help in getting your 7-kill streak so you can call in the chopper. Martyrdom is a must for this map, because the bulk of it is close-quarters indoor combat, and there aren’t that many places to run away from a grenade.
Using the Stopping Power perk maximizes the efficiency of the submachine guns, which aren’t as powerful as assault rifles. Always keep in mind that a submachine gun will do some damage at medium distance, but it’s really only effective at close range. Train yourself to run toward enemies instead of backing away. Backing up will only decrease the amount of damage your bullets do, even with the Stopping Power perk. Running toward your enemies while firing gives you a dual advantage: You increase the damage you do, and if you get shot in the process, you’ve got Martyrdom! If you choose to run with the Double Tap perk in place of Stopping Power, you can come out on top in a lot of firefights. You’ll be putting twice as many bullets into your enemy. This works best when combined with your Bandolier perk, because Double Tap really chews through ammo.
Suggested Loadouts
Assault
| Slot | Name |
|---|---|
| Primary Weapon | MP44 |
| Notes/Attachment | Red Dot |
| Side Arm | M9 |
| Special Grenade | Stun |
| Perk 1 | Claymore x2 |
| Perk 2 | Sonic Boom |
| Perk 3 | Martyrdom |
CQC
| Slot | Name |
|---|---|
| Primary Weapon | Skorpion |
| Side Arm | Desert Eagle |
| Special Grenade | Stun |
| Perk 1 | Bandolier |
| Perk 2 | Stopping Power or Double Tap |
| Perk 3 | Martyrdom |
Tips & Locations
Vacant is primarily a close-quarters/short range map. You should choose a primary weapon that will allow you the most mobility and firepower, such as an SMG or a shotgun. Not much sniping goes on in this map, so choose your loadout wisely. You don’t want to get stuck running around the interiors with a sniper rifle. There are lots of places to hide on this map, so consider the use of silenced weapons as well. They will allow you to remain invisible on enemy radar while shooting.
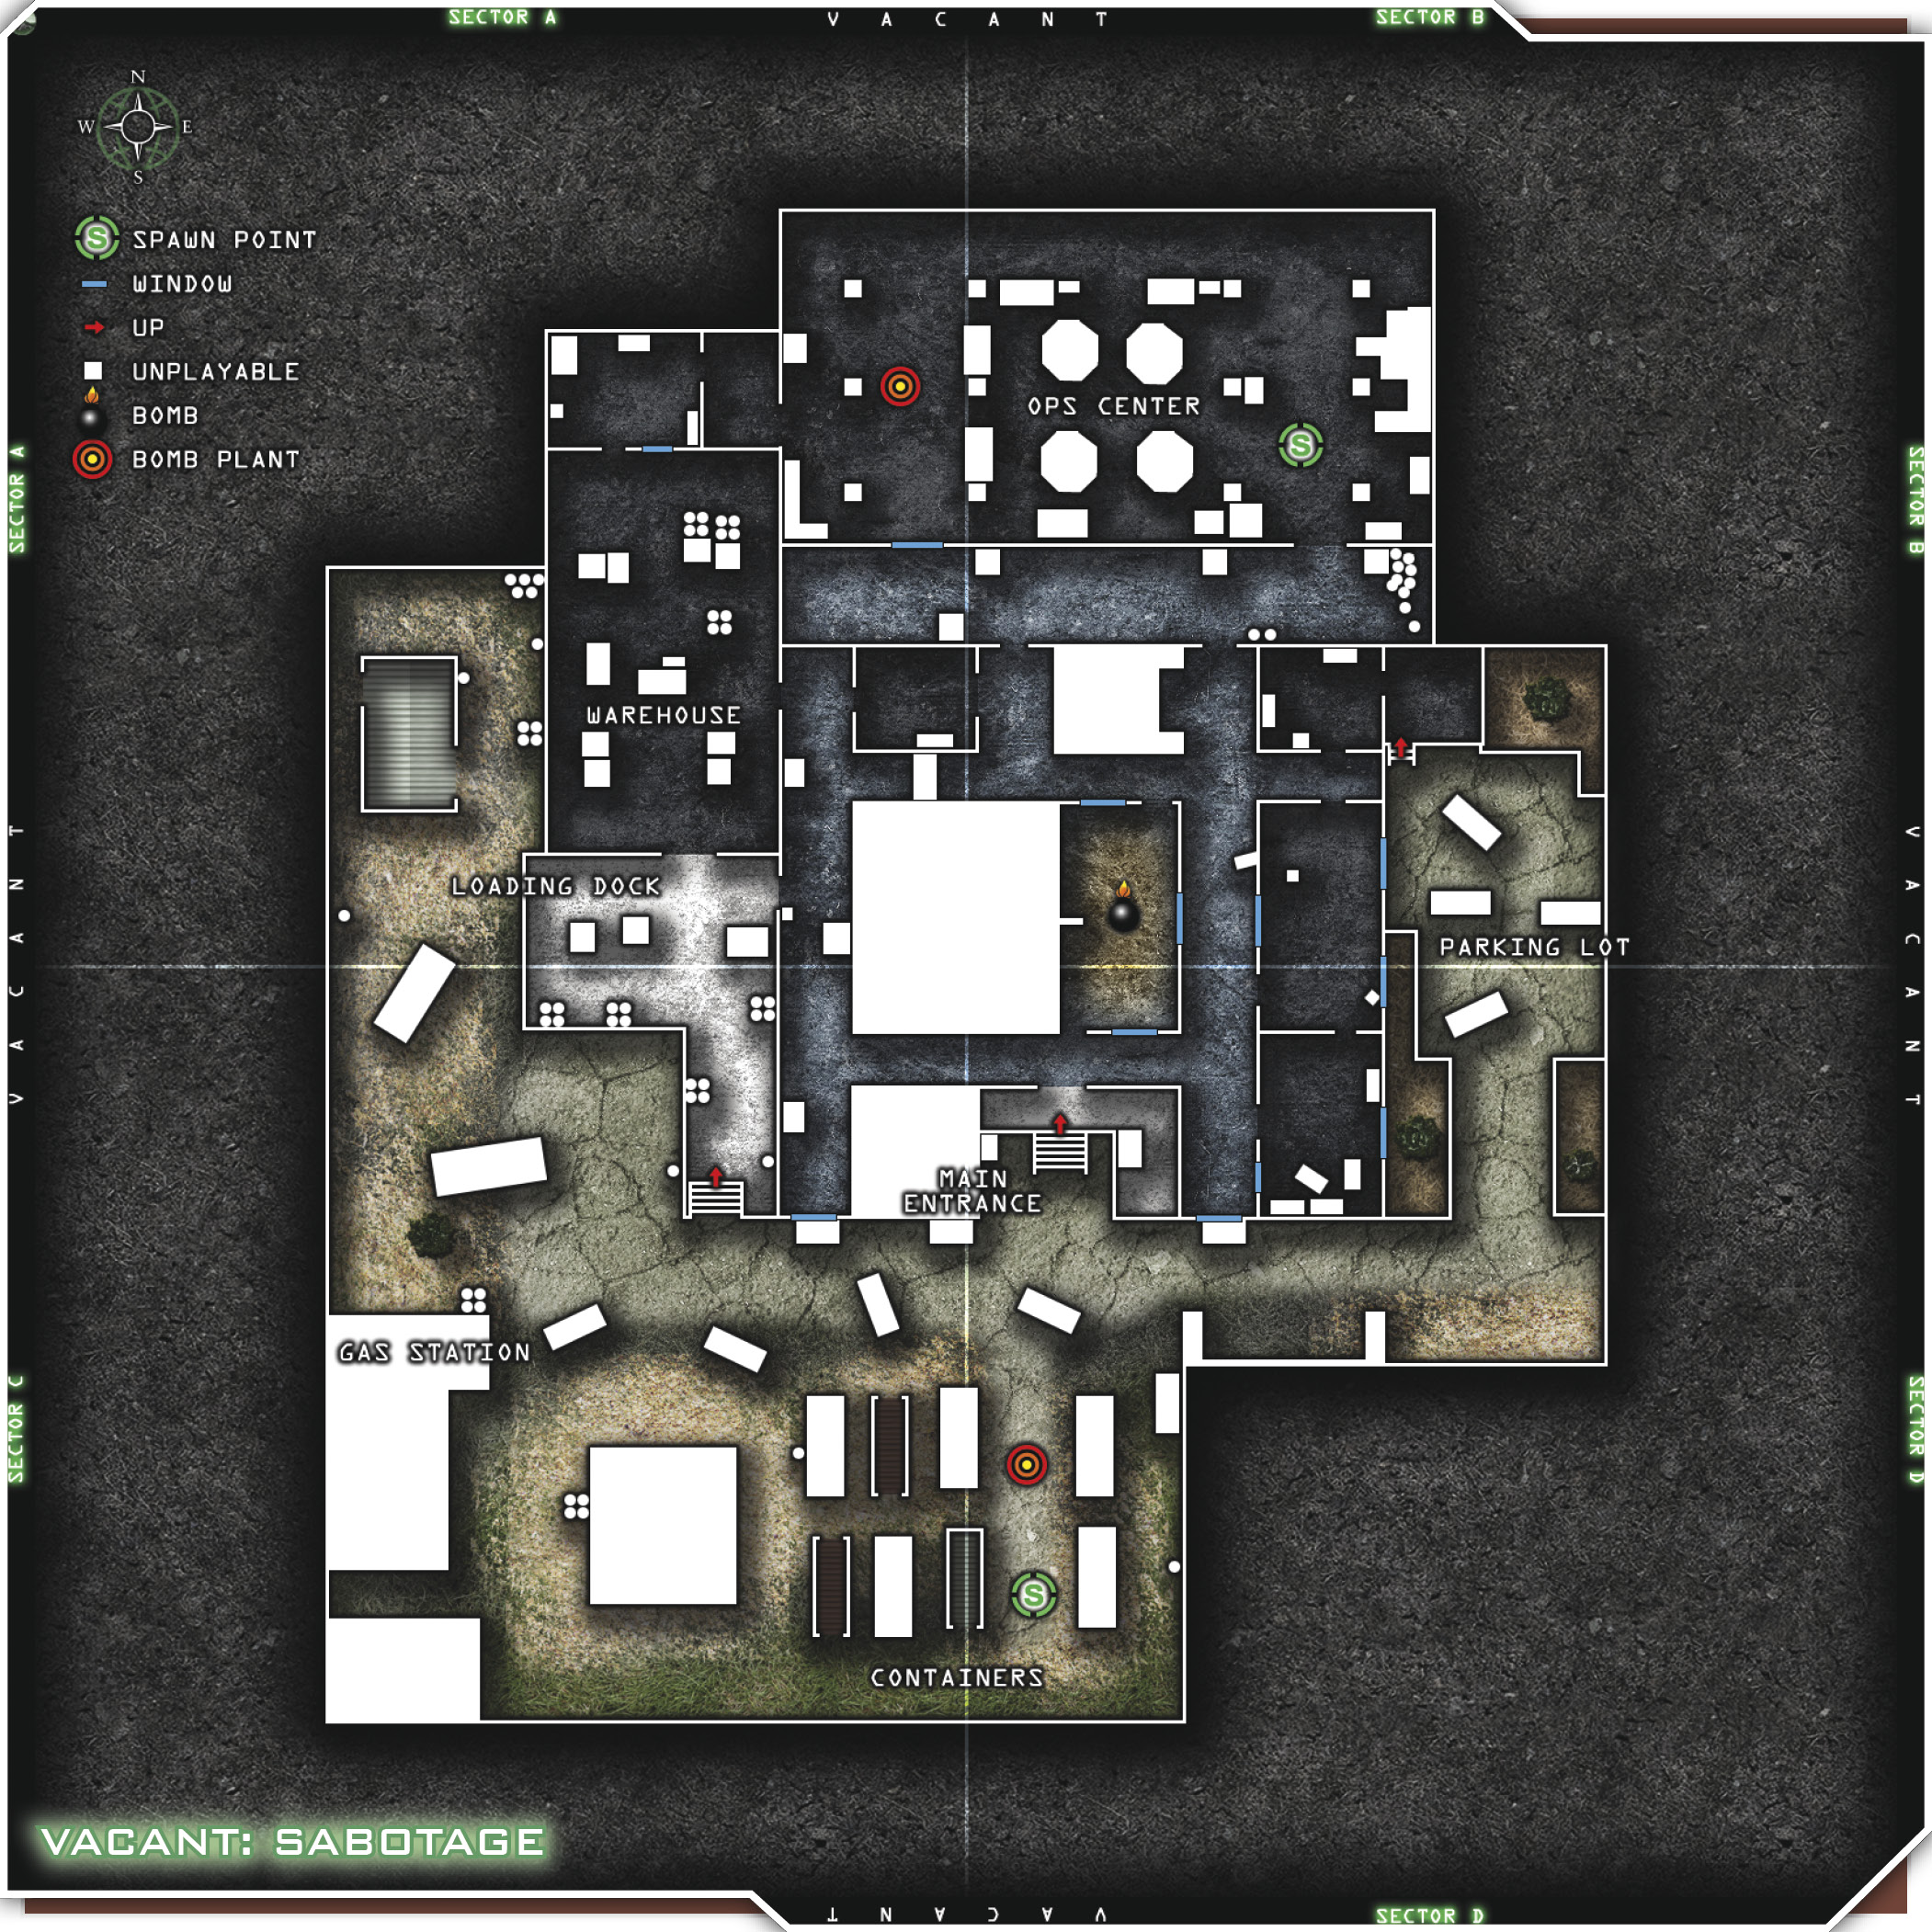
The interior of the complex is made up of offices surrounded by the large Ops Center to the north and Warehouse to the west, bordered by the Parking Lot, Loading Dock, and Containers on the outer perimeter. Most initial incursions take place in the Offices (particularly the courtyard between the Parking Lot and the Loading Dock), but also in the south entrance to the Warehouse and the south entrances to the Offices, which include two windows and the main doorway entrance. Be wary of these three areas throughout the match, because the enemy will use them to outmaneuver you.
When spawning at the Ops Center (northern spawn), decide what style you’ll be playing before you run off. If you’re a patient, long-range player, head southwest through the Warehouse to set up camp, and pick off enemies trying to gain access to the Warehouse via the Loading Dock. If you’re looking for a CQC fight (close-quarters combat), head to the east side of the Ops Center and make your way south into the Offices. Most of these CQC battles will begin down the hallways and the central courtyard, so it might be a good idea to choose your weapons and special grenades/perks wisely before you begin. The Parking Lot has a raised retaining wall that offers a decent shot into the interior. Use it to your advantage when you get a UAV up and running.
The refrigerator in the kitchen, just north of the Parking Lot, is a great place to crouch behind and observe anyone trying to outflank your team via the Parking Lot. The bathroom corners inside are also great places to ambush someone with a knife. There’s a table in the room in the northwest corner of the Warehouse, and this is good for going prone and ambushing enemies entering through either the Warehouse or the Ops Center. Remember to save your airstrike until you know there are enemies outside, because most of the map’s action takes place indoors.
Team Tactics
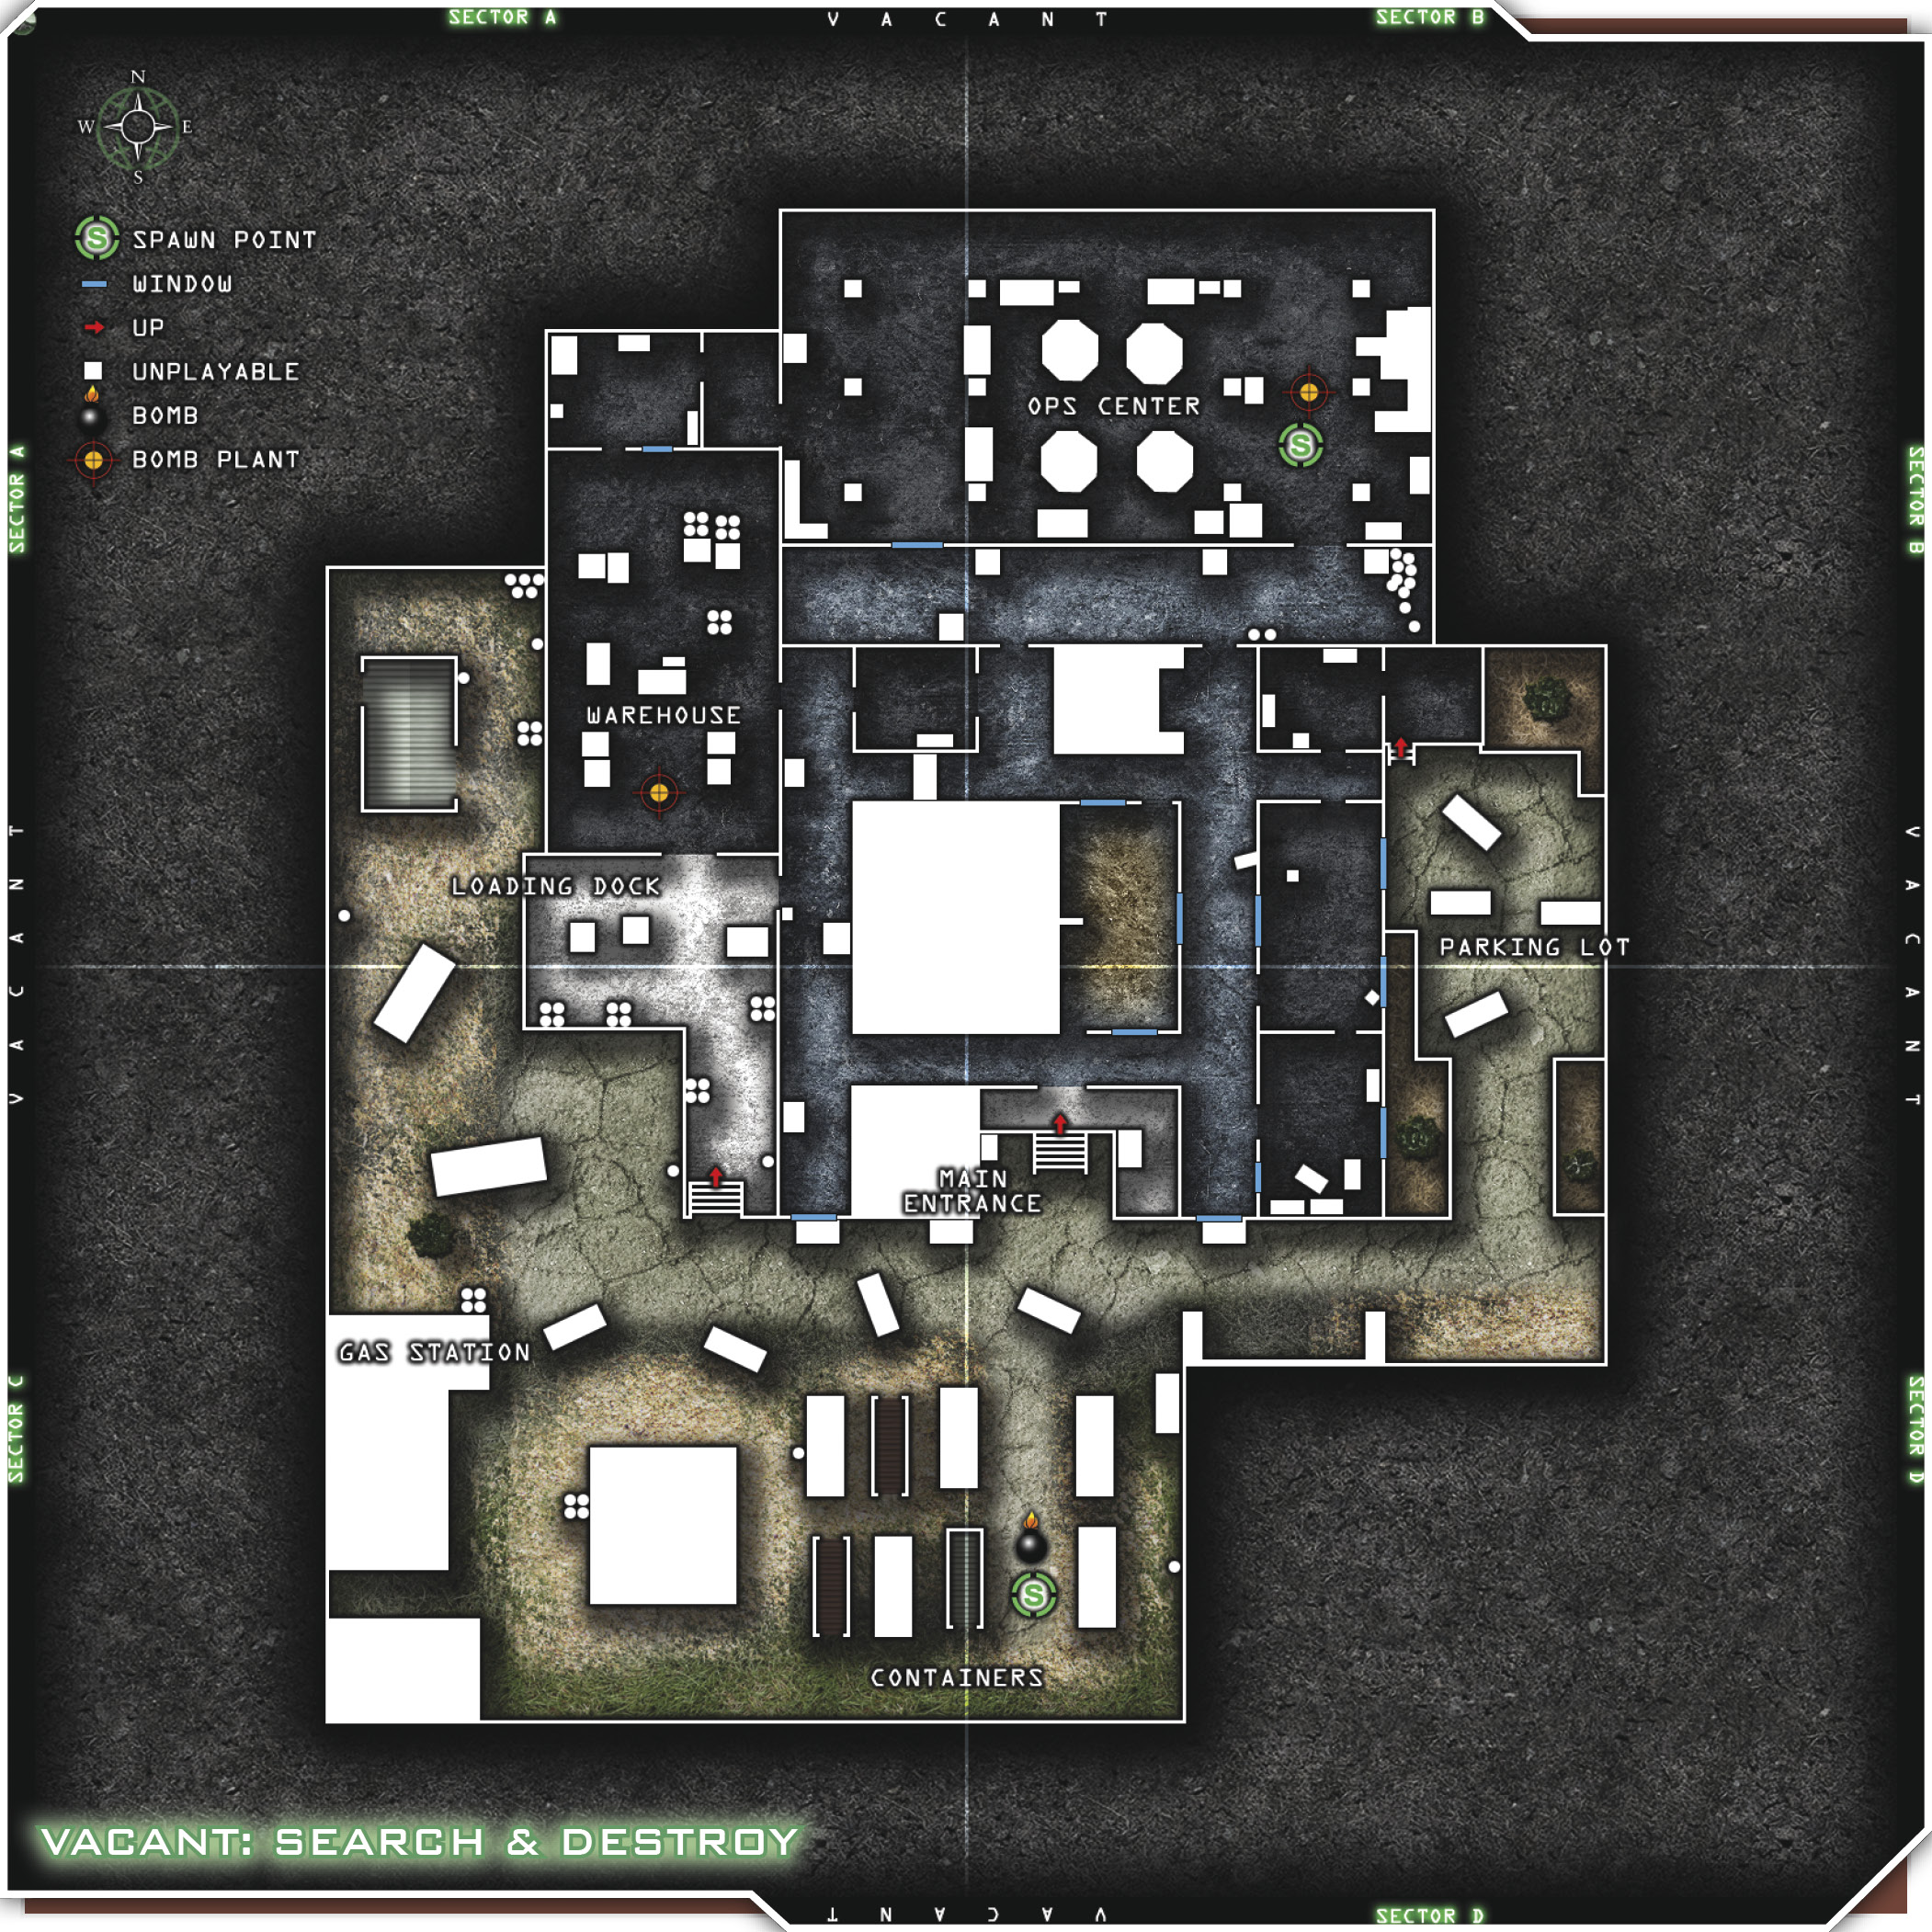
Spawning at the southern Containers, split your team into three sets of wingman pairs and send them off into the complex by way of the Loading Dock, the Main Entrance, and the Parking Lot. All teams should proceed at whatever speed they desire. Maneuver through the hallways and offices until you meet up in the Ops Center. Set up shop for a while and regroup. Have everyone double up on an entrance, because there are only two to watch. The enemy will find you soon enough, but you should be able to hold them off indefinitely and rack up some fast points. If this tactic works for you and your team, continue using it until it fails. If you need to bug out of the Ops Center, split back up into your original wingman teams and head back the ways you came in.
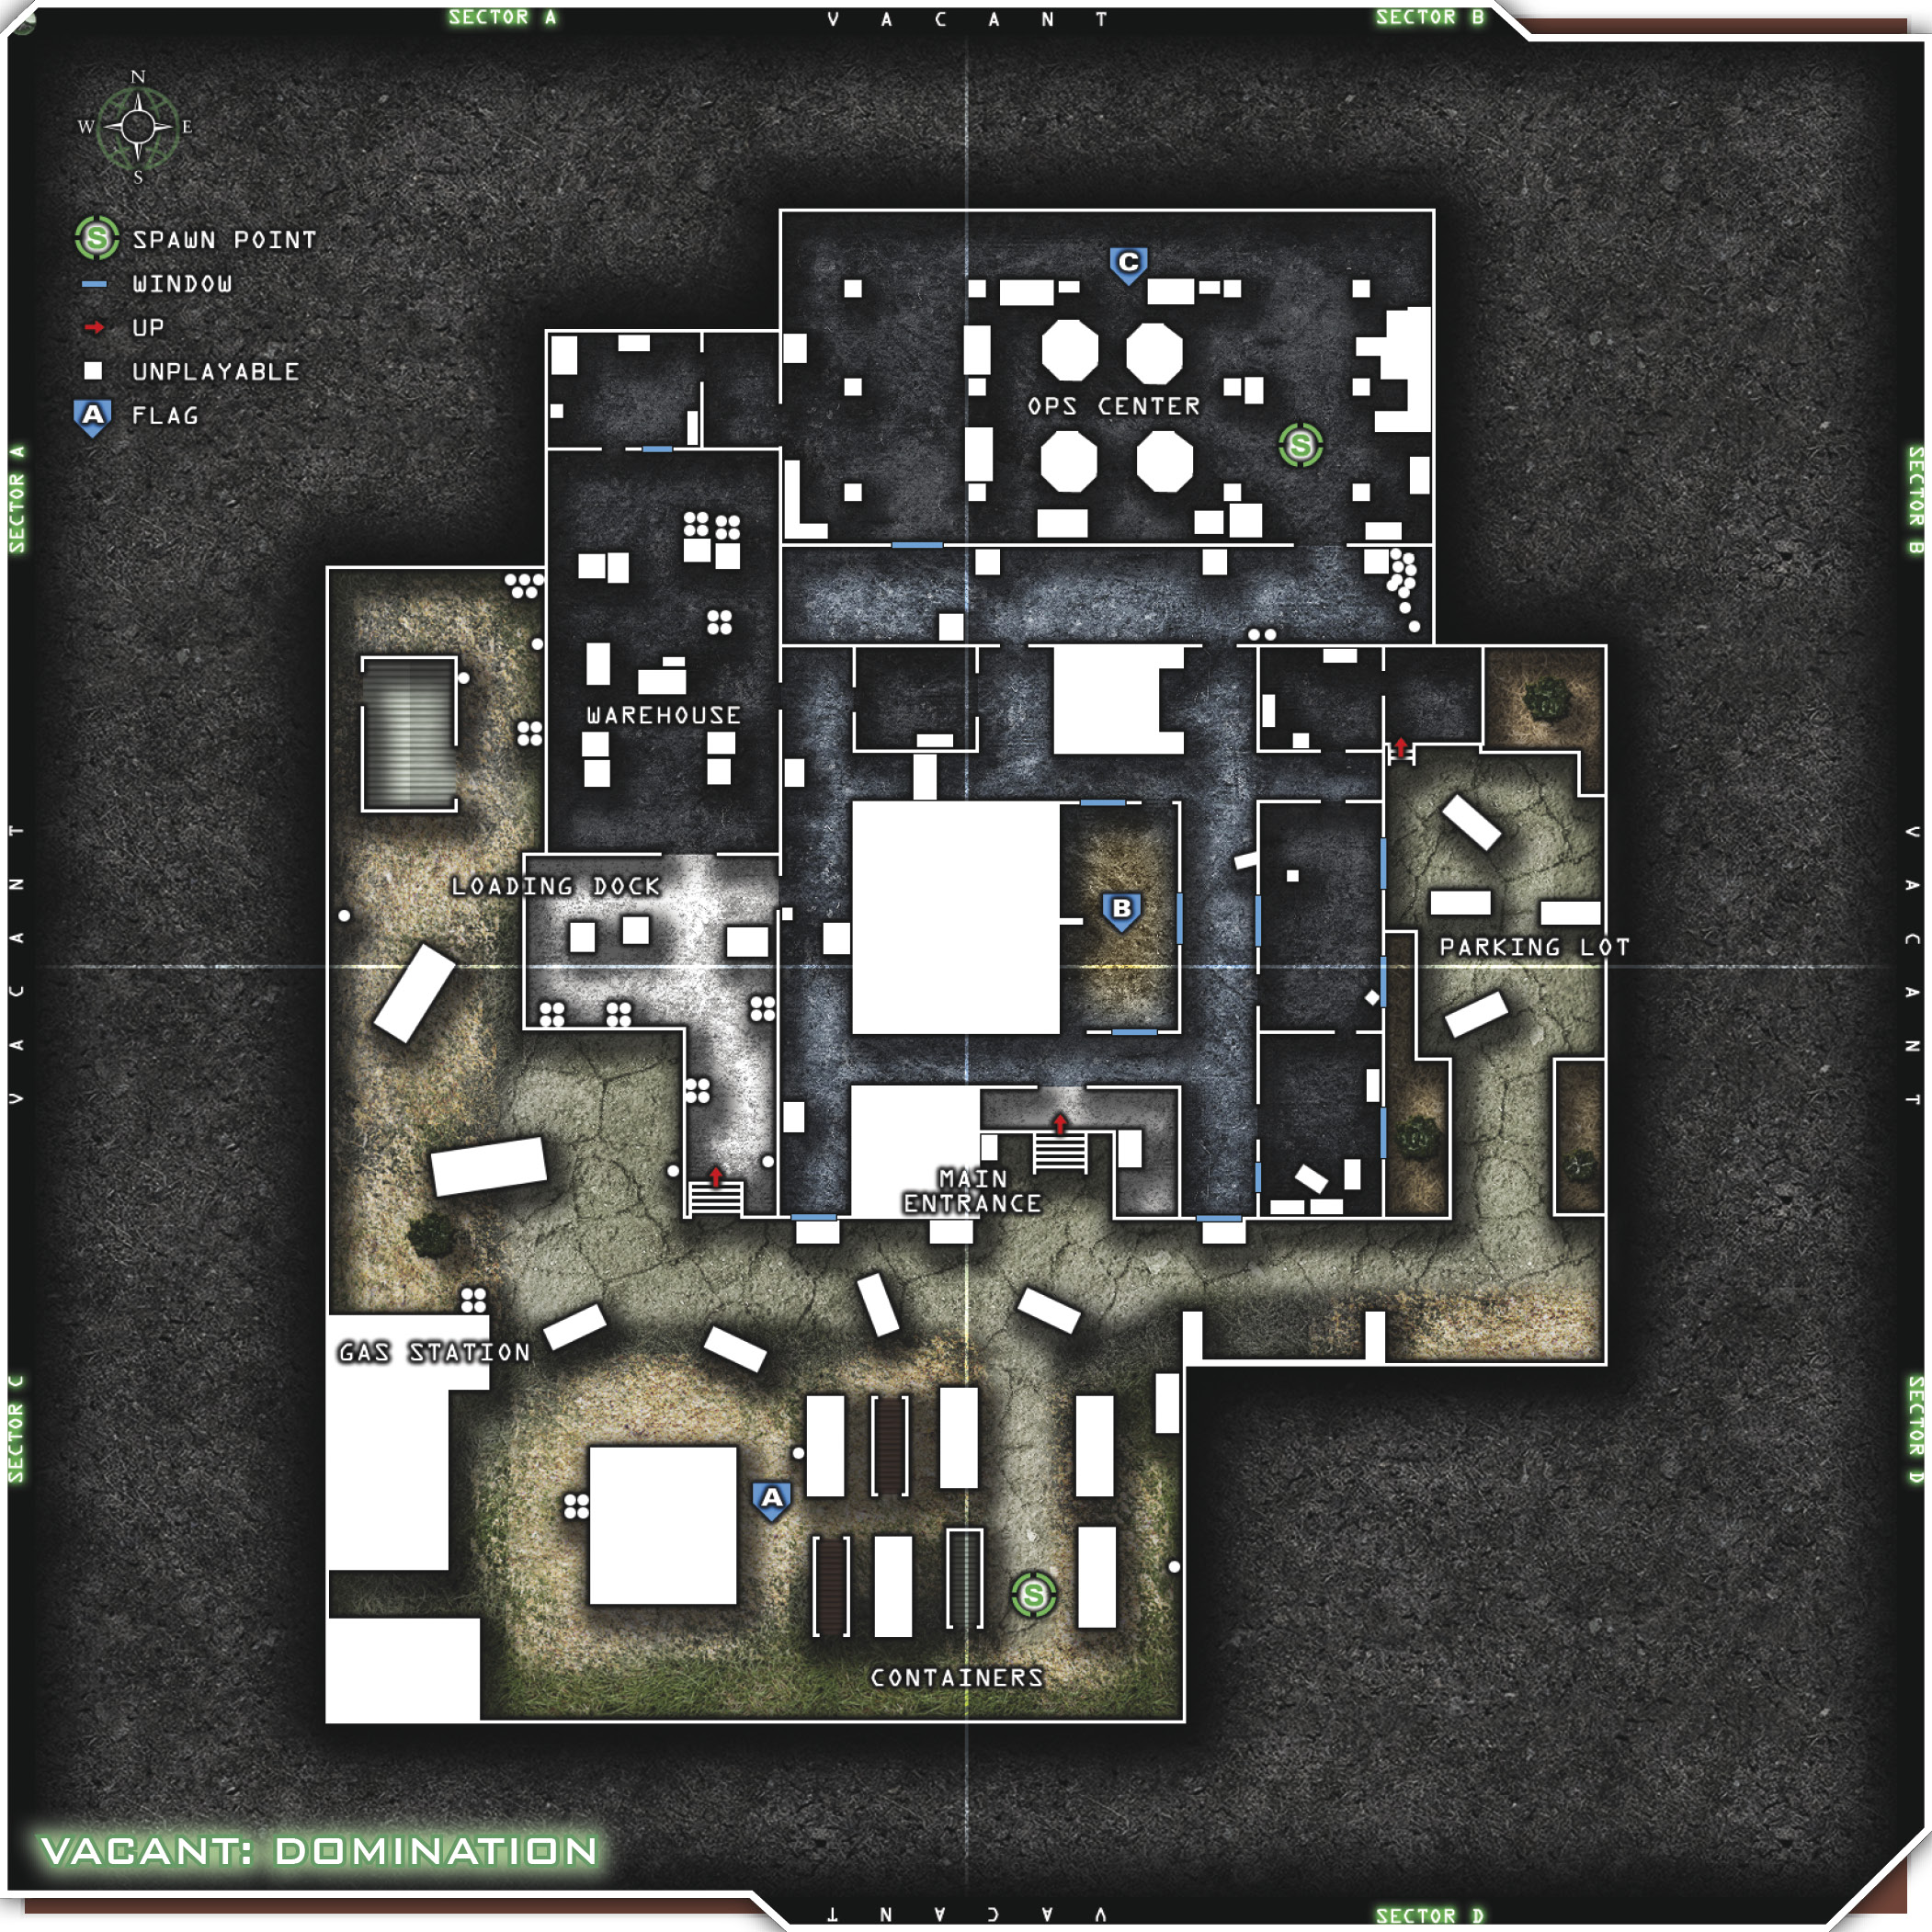
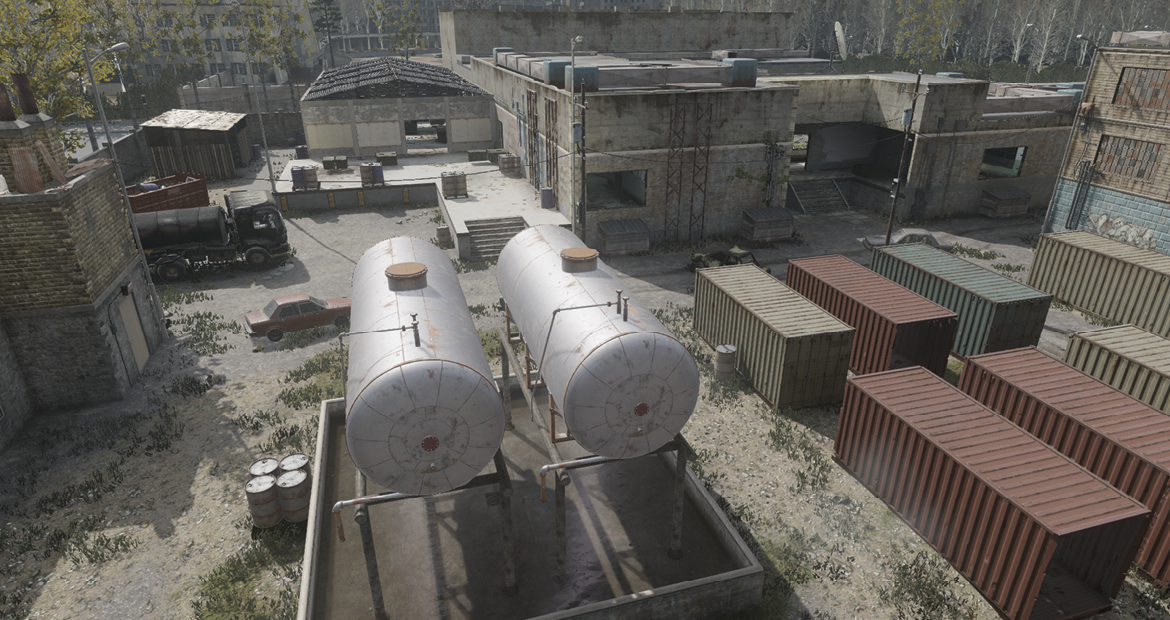
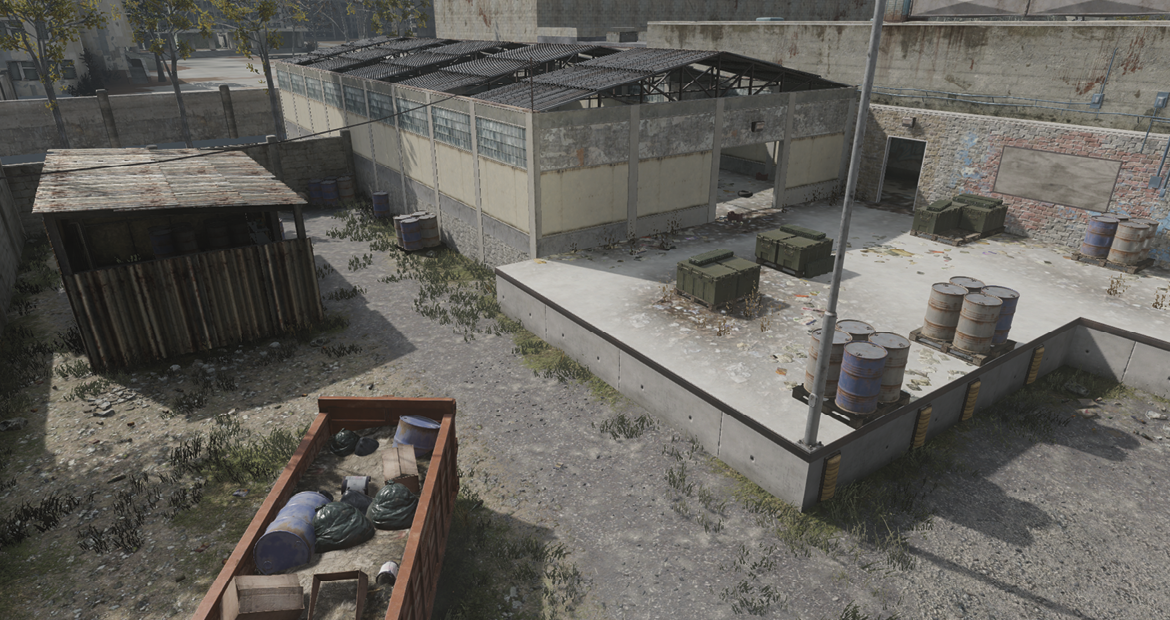
Alternatively, you can maintain a solid force just by setting up outdoors near your spawn point. This is very handy, because you’ll be able to get set up much more quickly than the opposition. If you’re playing with six players per side, place someone in the south near the Containers to snipe back toward the Loading Dock, where many enemies stream out. Place another player right on the northeast corner of the Loading Dock and the Warehouse to finish off anyone who makes it out. Place a player just south of the tanker truck by the Gas Station to snipe back toward the Parking Lot, watching for enemies trying to flank or jumping out of the windows or Main Entrance. Position another player on the large path between the shipping Containers to watch the Main Entrance, and another teammate should hide behind the dumpster between the Main Entrance and the Parking Lot to watch for jumpers exiting through the window. The final player should watch the Parking Lot. Anywhere along the lot is fine, as long as he prevents any enemies from flanking your team. This is a great setup, and your teammates are positioned close enough to each other to help out or fill in if necessary.