
Call of Duty: Infinite Warfare Guide Single-Player Campaign Walkthrough
Target of Opportunity: Operation Phoenix
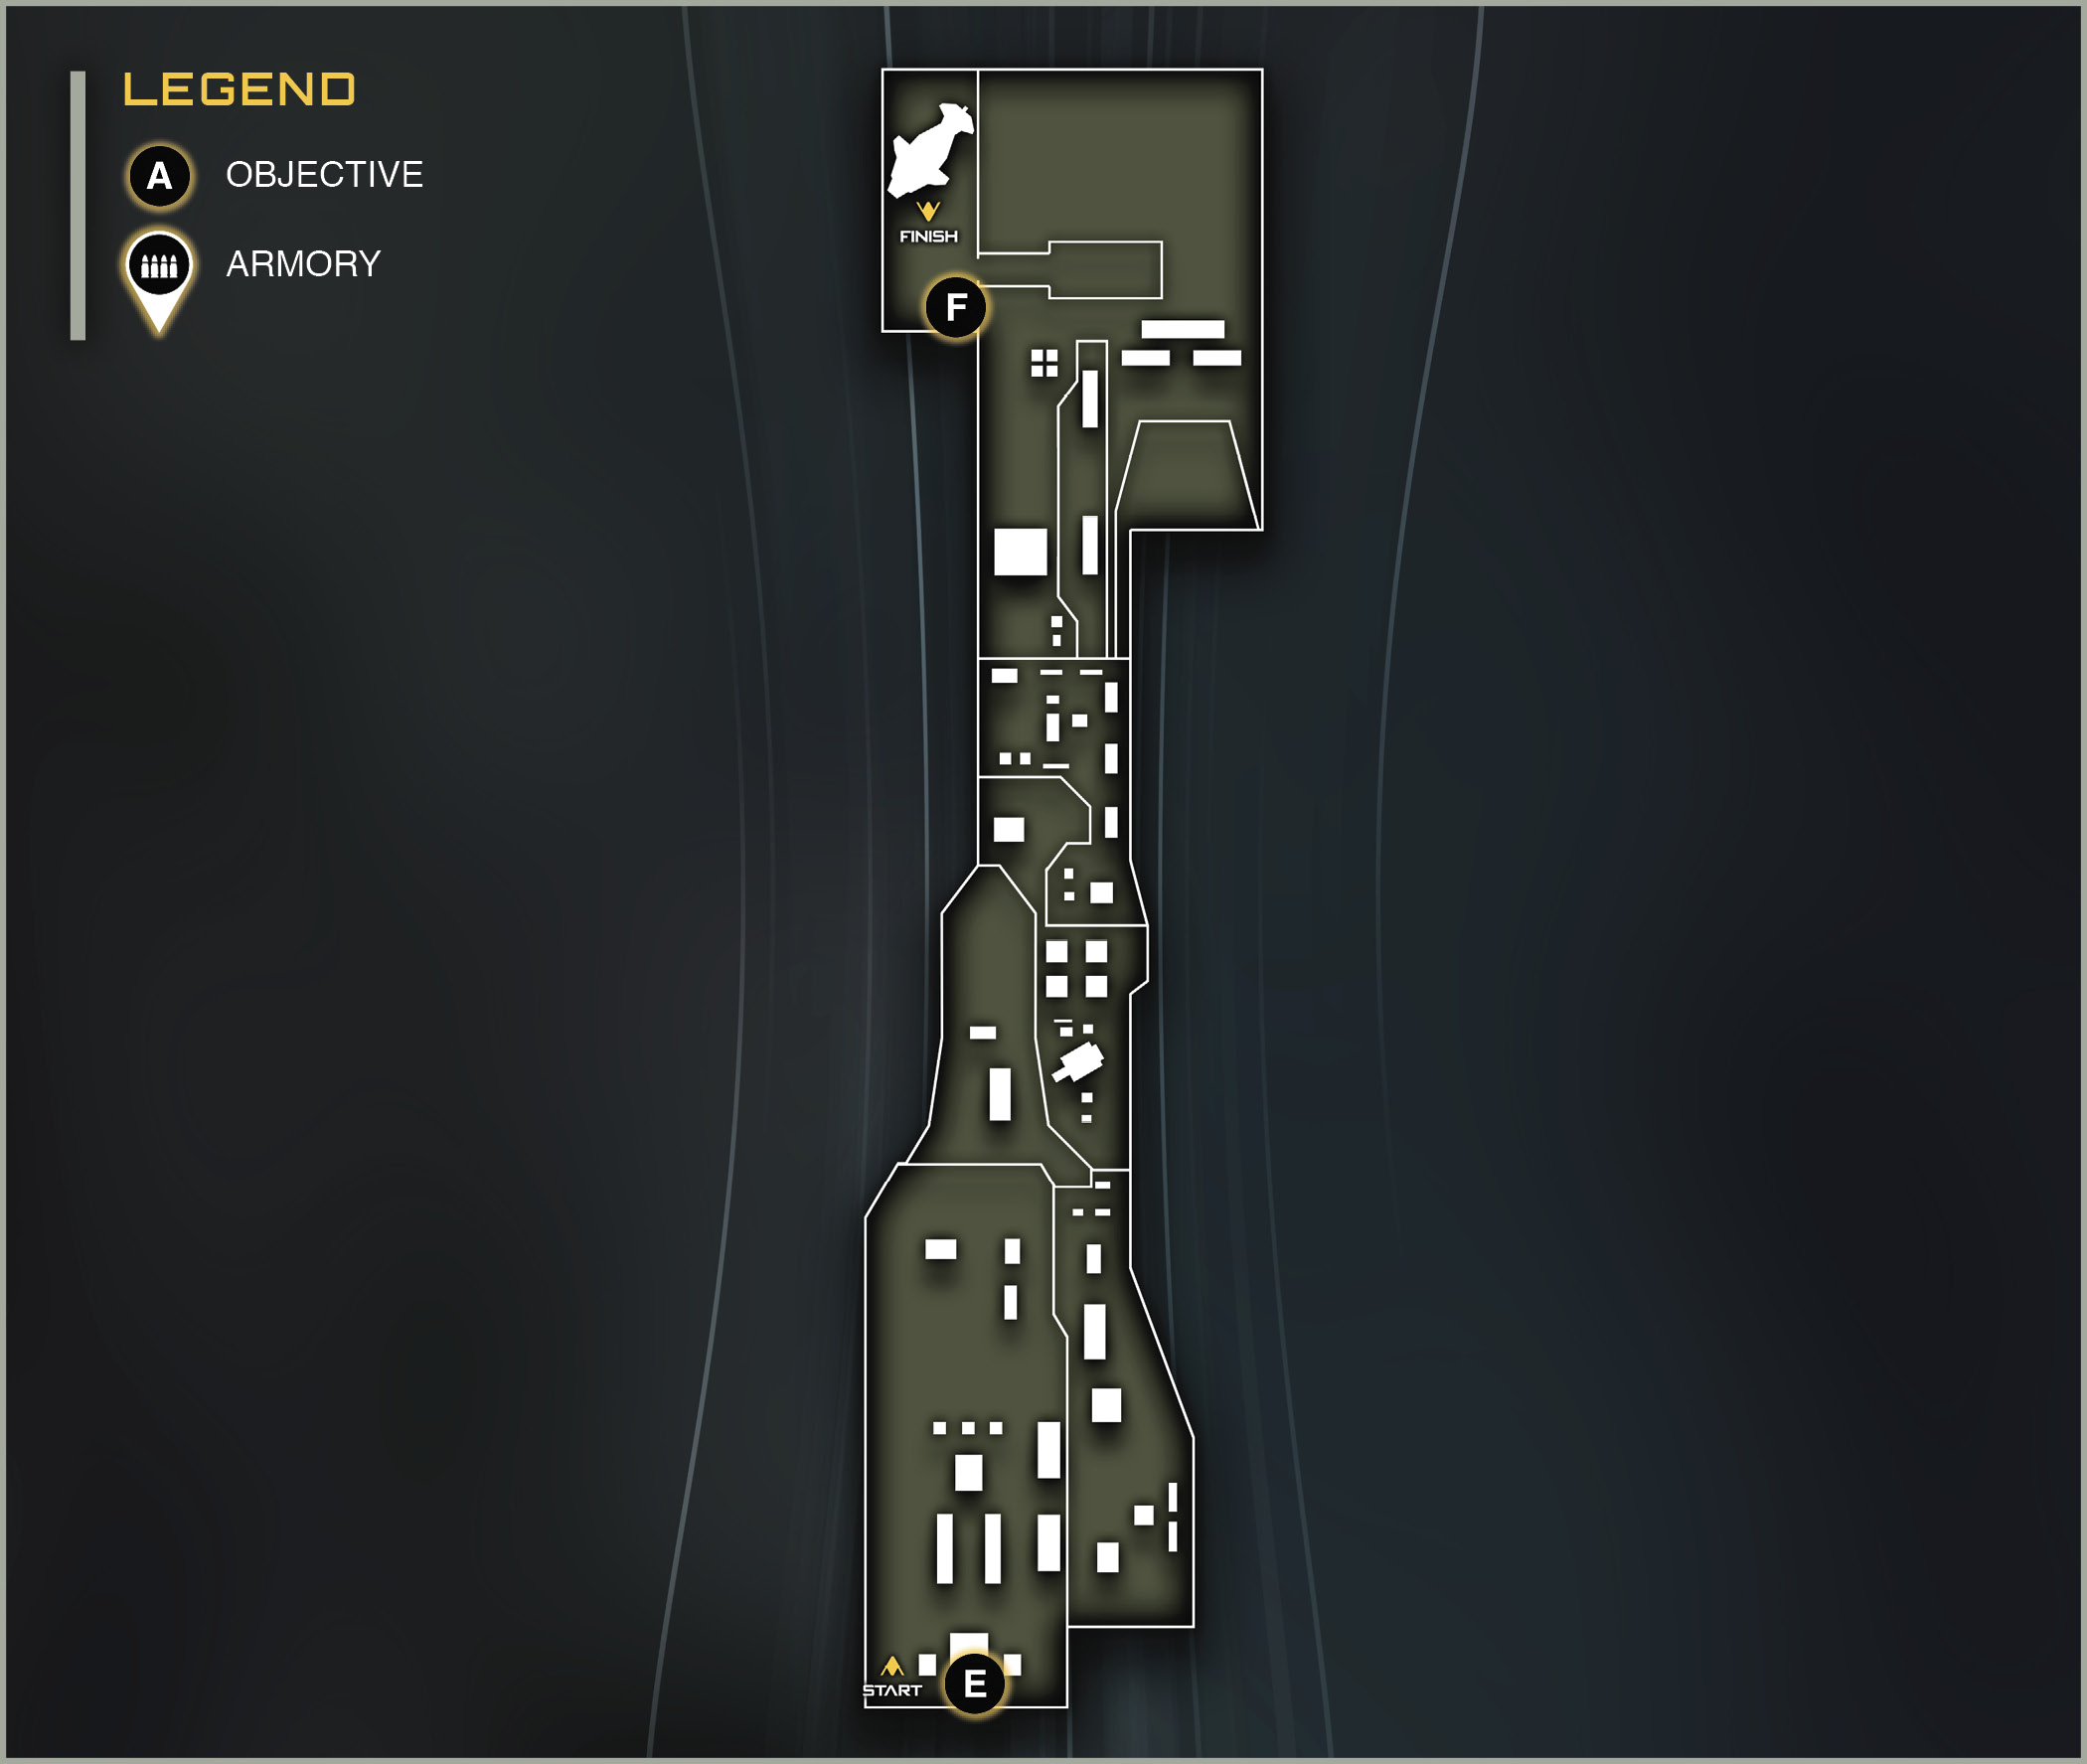
Location: Uranus Cluster
Target: SetDef Carrier Cerberus
Mission Summary: Commandeer an SDF advanced Skelter prototype.
Mission Description: The Cerberus is dry-docked, and intel reveals that there is a prototype Skelter aboard. Infiltrate the ship, and capture the prototype.
Jackal Upgrades: GAMP 0.18 Microlite, Improved Thrusters
Team: LT Nora Salter SCAR Flight and Ground Support 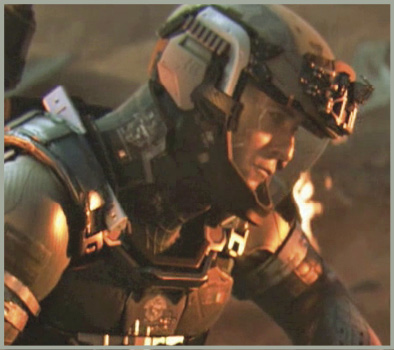 PFC Sean Brooks Marines Ground Support 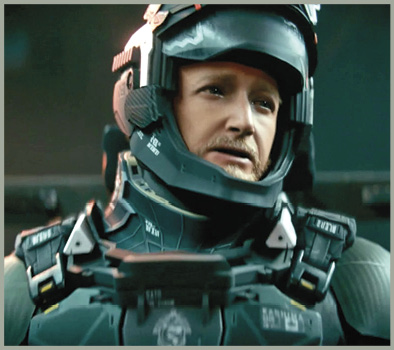 PFC Todd Kashima Marines Ground Support 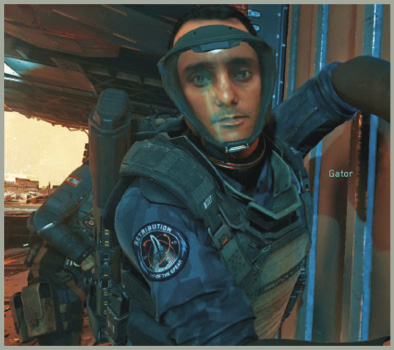 LT Victor “Gator” Diallo Navy Retribution Support |
 OBJECTIVE: Approach the SDF Carrier Cerberus.
You start this mission spacewalking with Salter. You need to stealthily approach the Cerberus so that you can take out its engines, making an escape impossible.
Stay close behind Salter as she floats through the debris. Use your grappling hook to quickly find cover when a transport approaches.
 OBJECTIVE: Eliminate the SDF patrol.
Salter picks out two enemies ahead. Headshot one, and she’ll kill the other.
Two Skelters approach from the left. Stay behind a mini-asteroid until the ships pass. There are two scouts just ahead. Use your sniper to pick one off; Salter bull’s-eyes the second.
Hang back behind Salter and follow her directions as she navigates through the debris field. Stay behind cover when the scouts near. As long as you stay close to Salter, you will soon arrive at the back of the Cerberus.
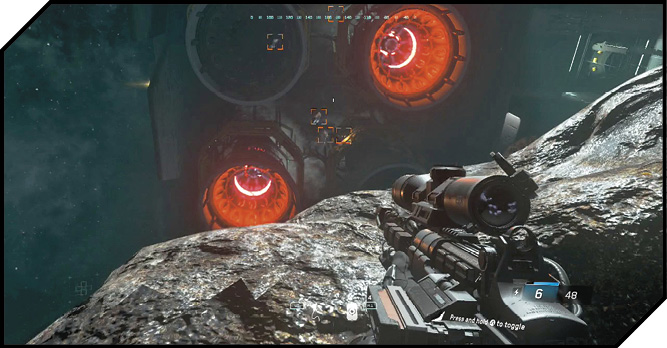
 OBJECTIVE: Eliminate the SDF engine techs.
There are two security and four engine techs working on the back of the Cerberus. Salter suggests getting in close, but the better option is to hang back and pick them off with your sniper rifle.
Take out the security first. There is one floating high, near the top left engine, and one floating low, at the lower-right engine. With the main security down, only one engineer should remain. (Salter kills the other targets while you are taking down the security.)
 OBJECTIVE: Place EMP charge on the SDF carrier.
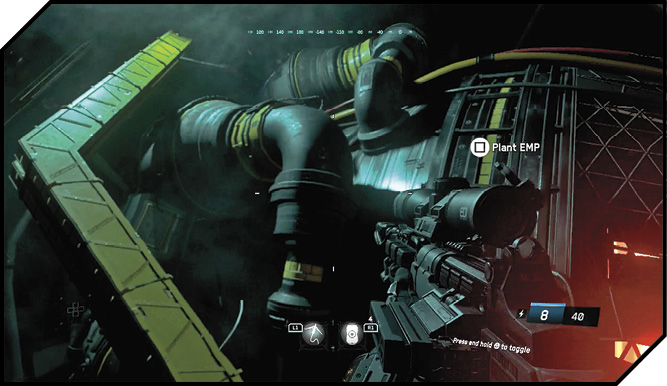
Float over to the engine by following the objective indicator. Use the Activate button to plant the charge.
You will automatically rappel clear.
 OBJECTIVE: Reach the hangar entrance.
Now that Cerberus is disabled, you need to move to the hangar to commandeer the enemy Skelter. Float to the top of the ship after Salter, Brooks, and Kashima join in the assault.
Enemies will start emerging from the ship. Luckily, this is the perfect situation for your sniper rifle. Stay in cover and pick off the patrols as they emerge. If an enemy is giving you trouble, drop into cover and pop a rocket grenade to take them out.
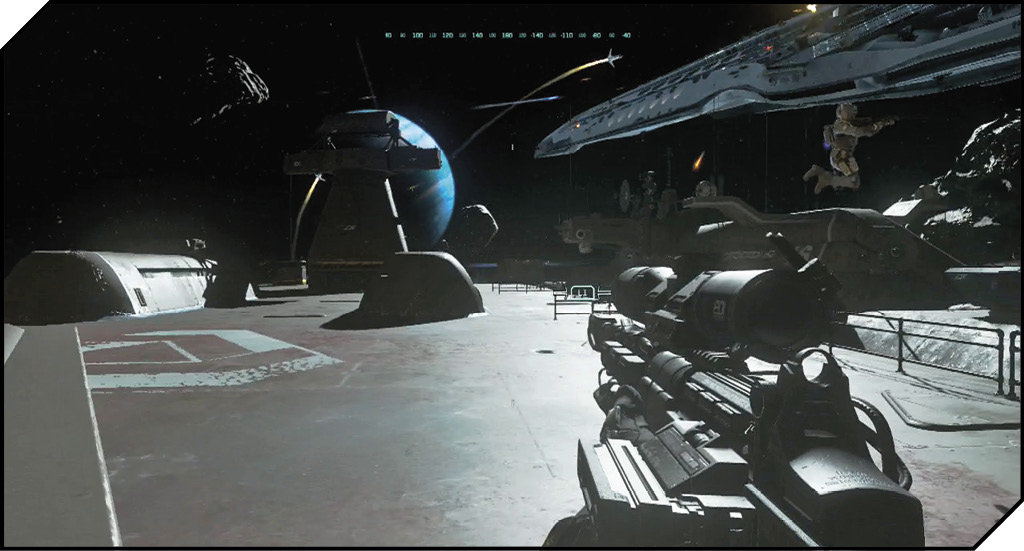
The key here is patience. Stay in cover and don’t advance until your squad does.
After you’ve eliminated the first set of enemies, move left along the deck so you can keep in cover as you advance. (There is little cover along the right side.)
As your squad advances, stick with Brooks on the extreme left side of the ship. You can use the tanks for cover, and there are fewer enemies there.
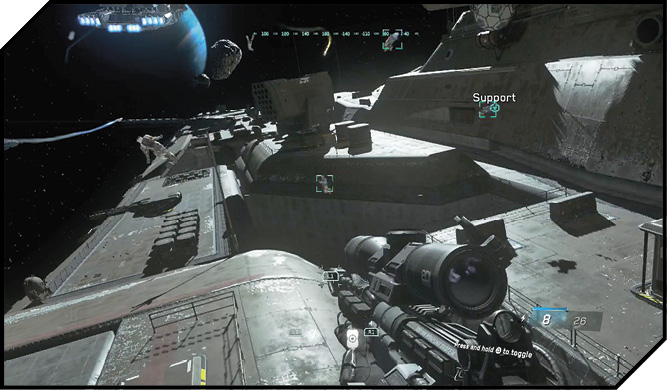
Return to the middle when the left hull ends; plenty of cover to find there.
 OBJECTIVE: Steal the SDF Prototype Jackal.
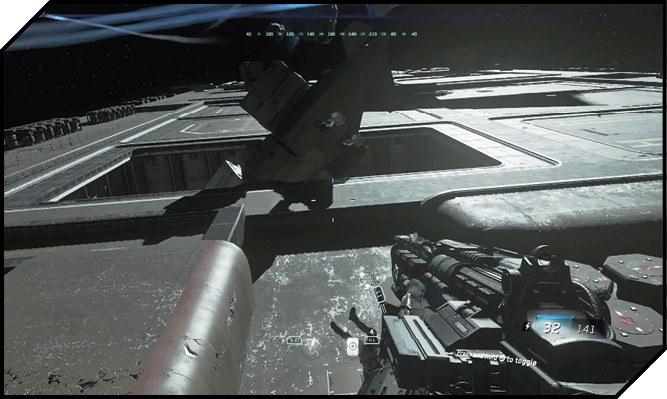
When Salter gives you the clear to advance on the hangar, you are safe to sprint or fly forward. The hangar is down a deep pit ahead.
There are two more enemies guarding the prototype. When you reach the bottom of the hangar, approach with care. (They won’t see you immediately.) Find good cover and pick them off. The one on the right is a Most Wanted SDF target.
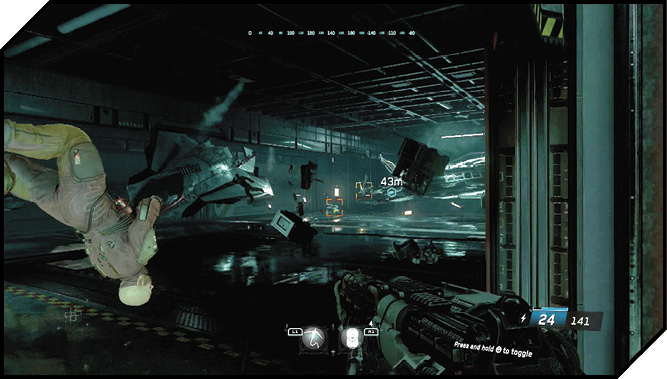
Float forward and Activate to enter the ship. Use the ship’s missiles to blow a hole in the outside.
 OBJECTIVE: Eliminate the SDF Aces.
There is a serious battle going on outside. There are four SDF Aces in the area, and you have to eliminate them before completing the mission.
These guys are pretty tough, but they are spread out, which makes evading combat when you are damaged fairly easy. Just engage your Afterburners and get away from the center of the fight as quickly as you can.
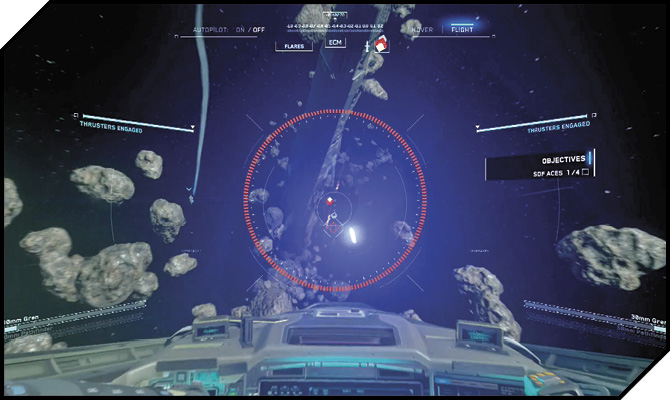
The Aces are your priority here; they do the most damage if allowed to roam the battlefield. Additionally, eliminating them triggers Checkpoints. However, if you do get a regular Skelter in your view, it doesn’t hurt to use one of your missiles on it to quickly eliminate it from the fight.
If you take too long to down the Aces, the Cerberus comes back online. You need to avoid incoming fire from that ship while dogfighting the Aces. This is fairly easily done by just focusing on combat in the asteroid field rather than near the ship.
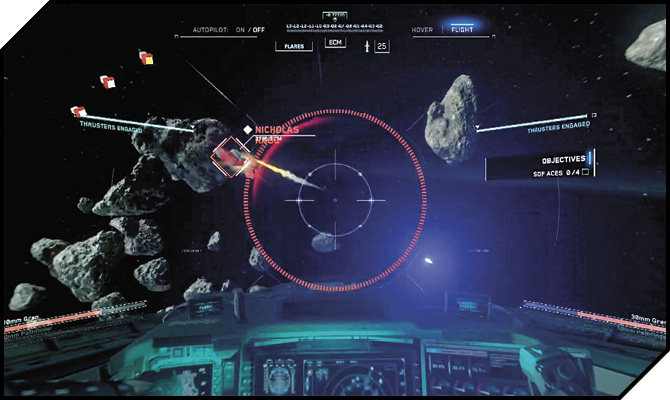
 OBJECTIVE: Return to the Retribution.
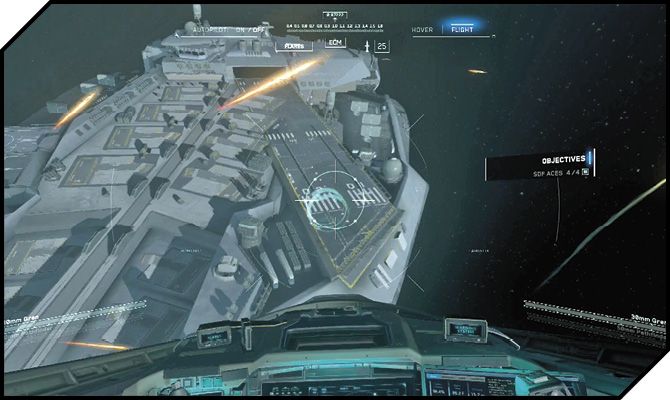
After you take out the fourth Ace, Cerberus’ rail gun comes back online. You need to land on the ship within thirty seconds to give Retribution enough time to bug out before the gun goes off.