Call of Duty: Infinite Warfare Guide Call of Duty 4: Modern Warfare Multiplayer Map Tactics
Ambush
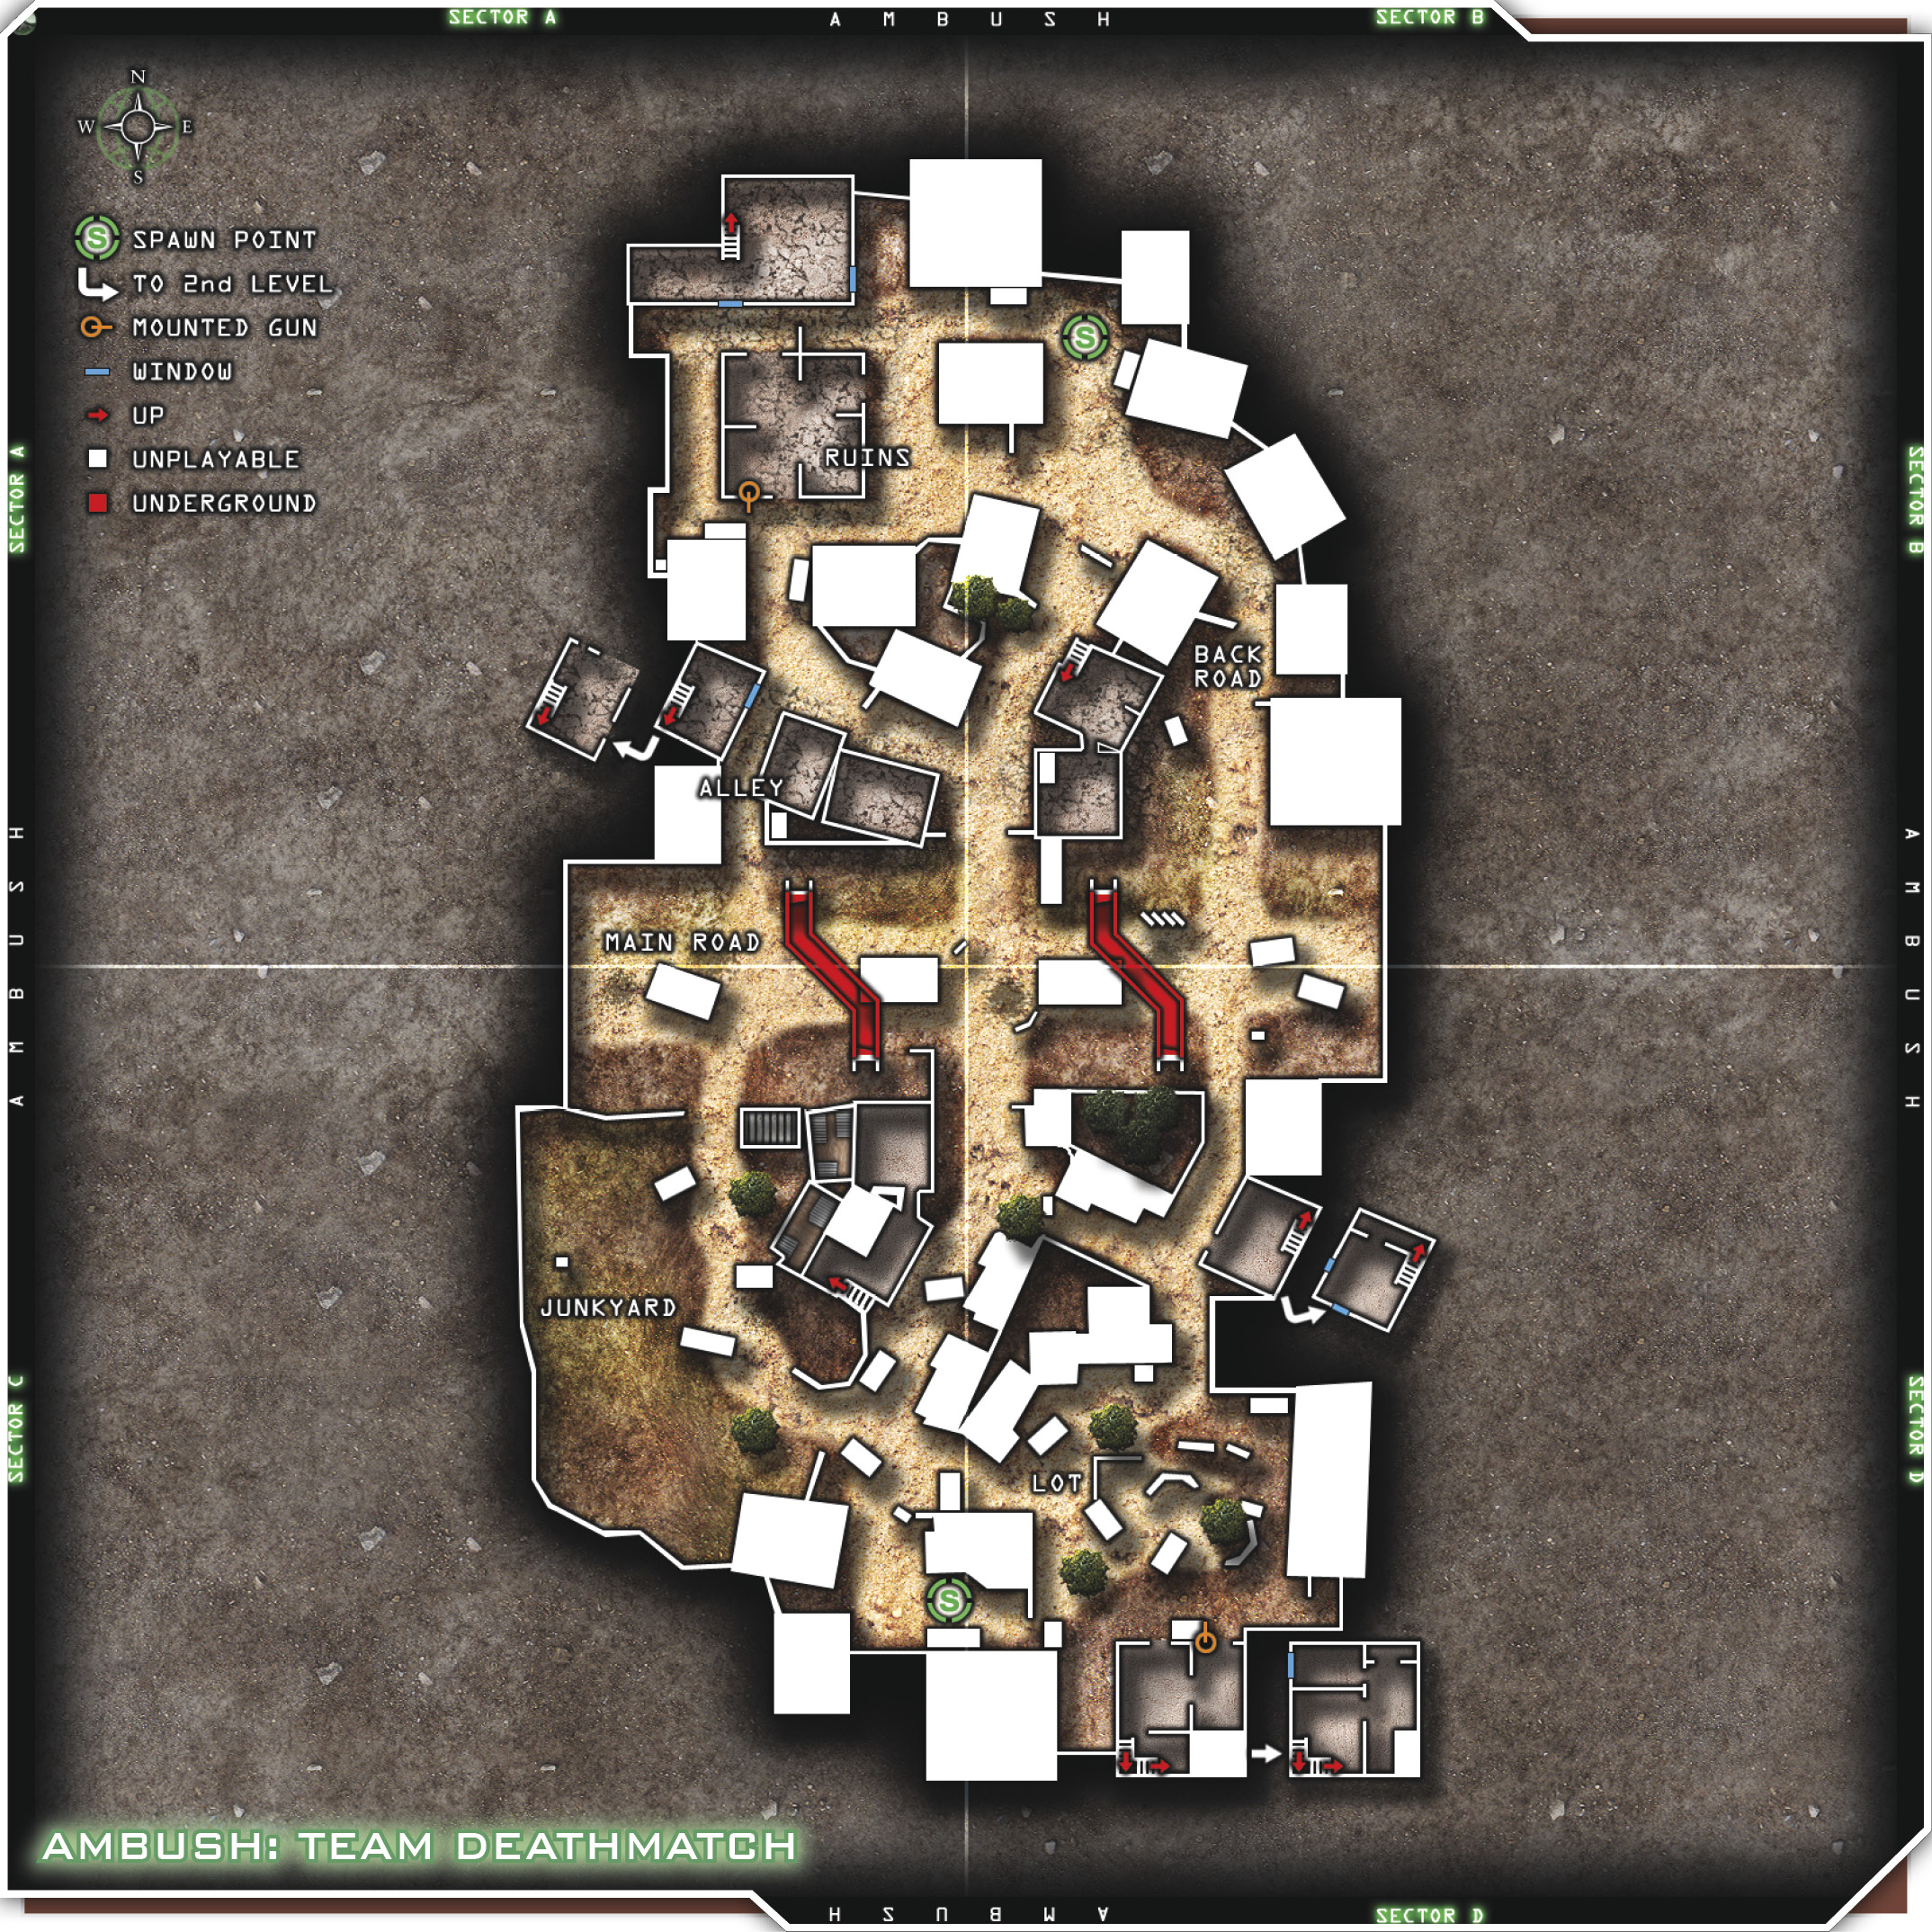
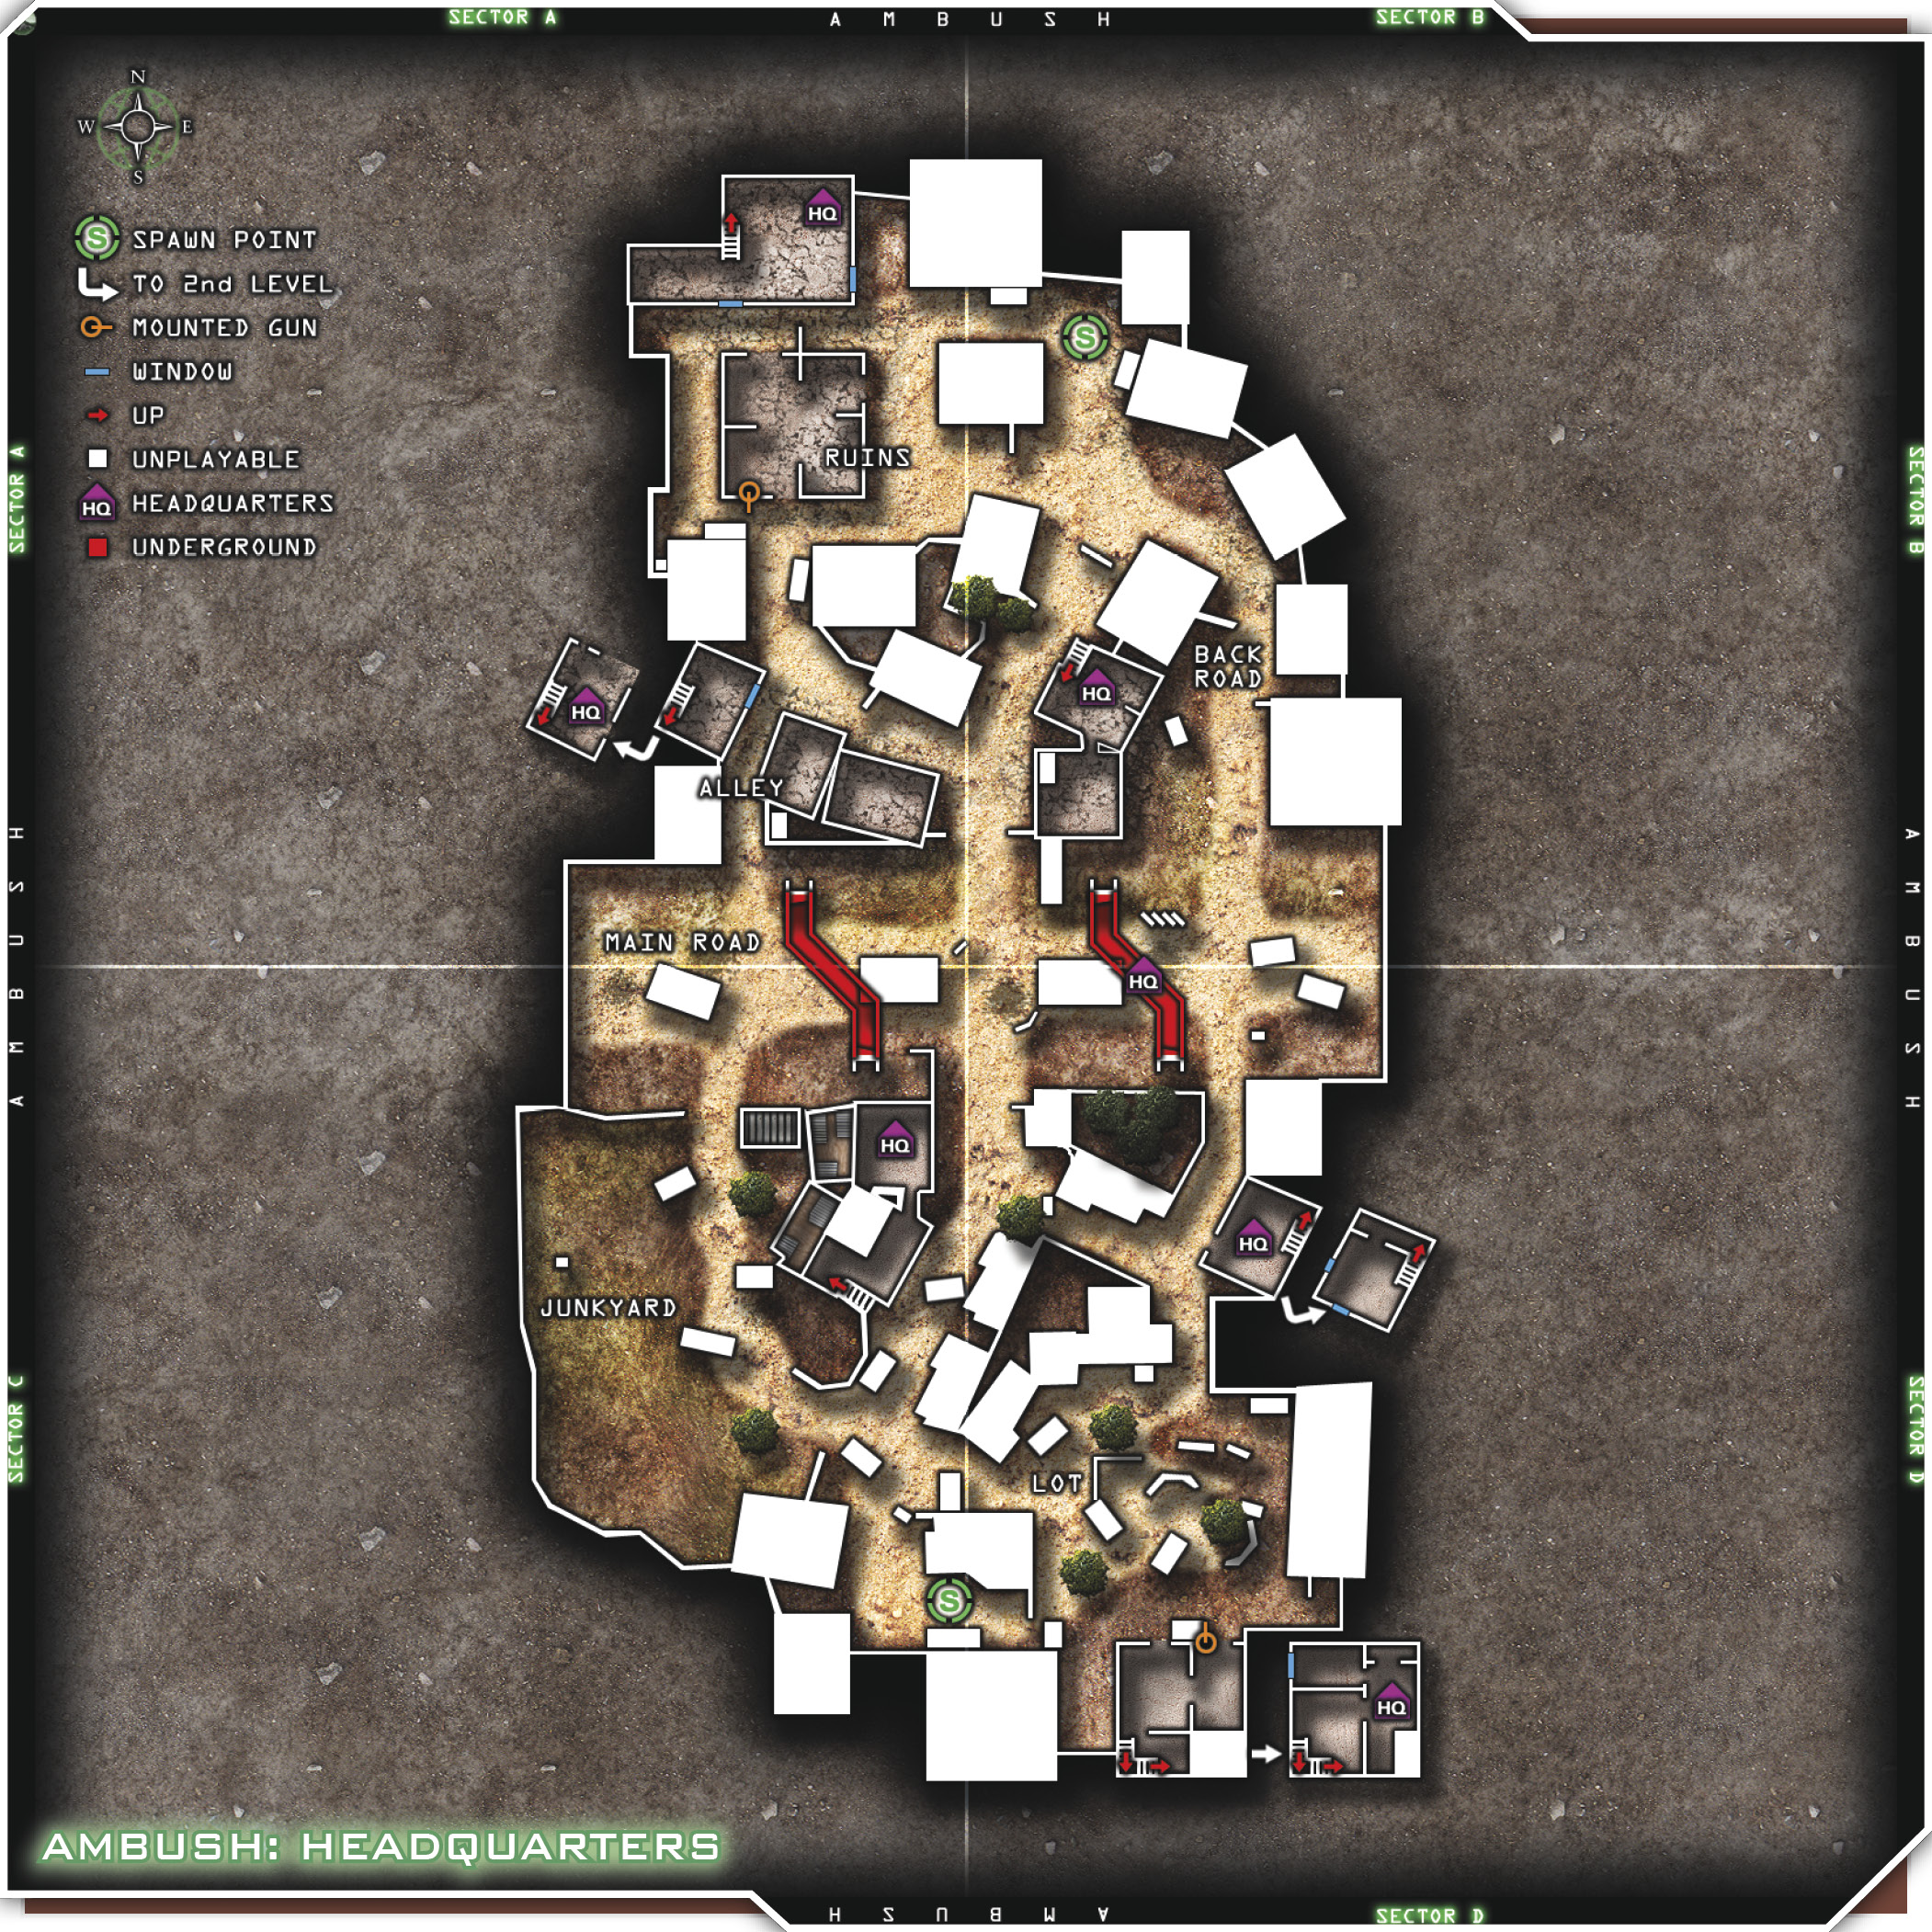
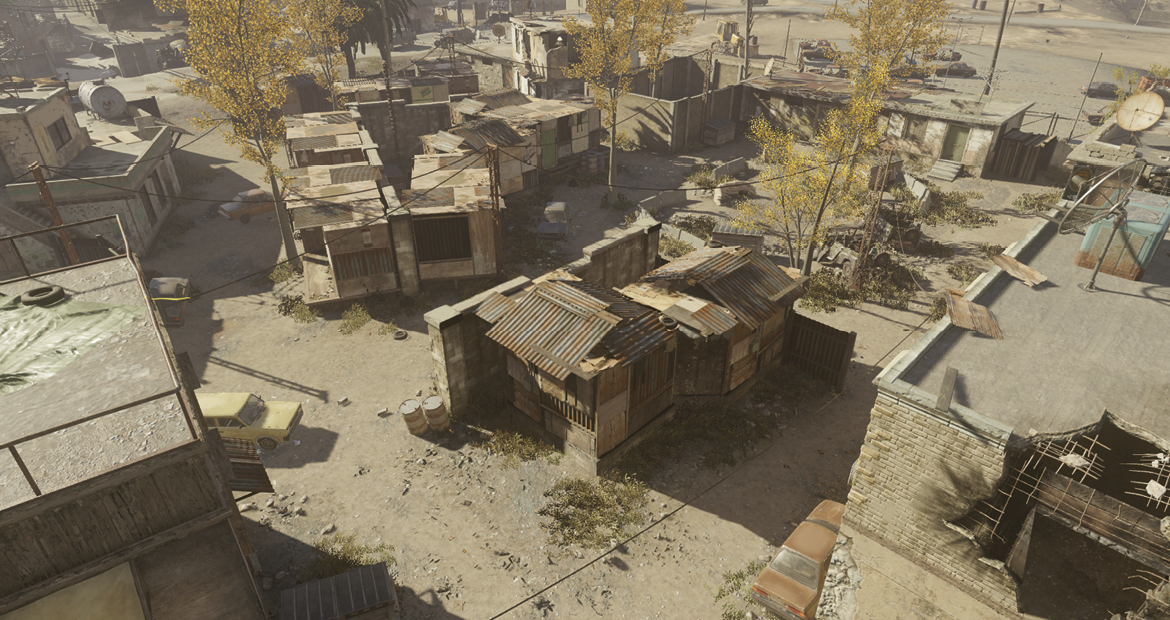
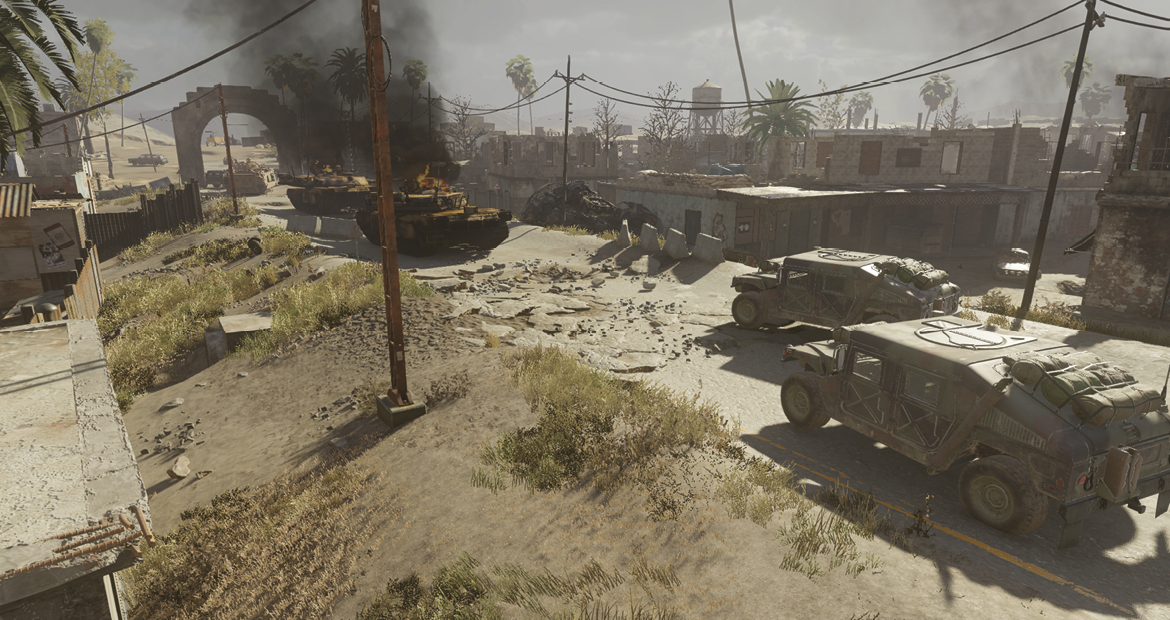
U.S. Forces vs. OpFor. This is an urban desert town divided horizontally by a main road, on which a convoy has been destroyed. The northern side is a shanty town, while the south side is constructed of sturdy materials and offers more stable cover. There are two drainage pipes running under the main road that run south to north.
These loadouts will help you remain unseen, cover your advance or retreat, watch your back, and get where you’re going quickly. For the more mobile players, choose the Basic Assault setup. You’ll have plenty of speed to sprint across the road, smoke to distract or cover your movement, the UAV blocker perk so the enemy can’t see you on radar, and 3 frags to help evict tenants from buildings.
The Stop and Snipe custom class setup is more for the semi-mobile sniper who likes to hang out for a while and snipe before relocating. By selecting the Overkill perk, you can carry an additional primary, so choose an assault rifle. Bring Claymores to watch your back while you snipe from the rooftops, and use Smoke and your Extreme Conditioning perk to get to a new position.
Suggested Loadouts
Basic Assault
| Slot | Name |
|---|---|
| Primary Weapon | G36c |
| Notes/Attachment | ACOG Scope |
| Side Arm | M1911 |
| Special Grenade | Smoke |
| Perk 1 | Frag x3 |
| Perk 2 | UAV Jammer |
| Perk 3 | Extreme Conditioning |
Stop And Snipe
| Slot | Name |
|---|---|
| Primary Weapon | G36c |
| Secondary Weapon | Barrett .50 cal |
| Side Arm | M1911 |
| Special Grenade | Smoke |
| Perk 1 | Claymore x2 |
| Perk 2 | Overkill |
| Perk 3 | Extreme Conditioning |
Tips & Locations
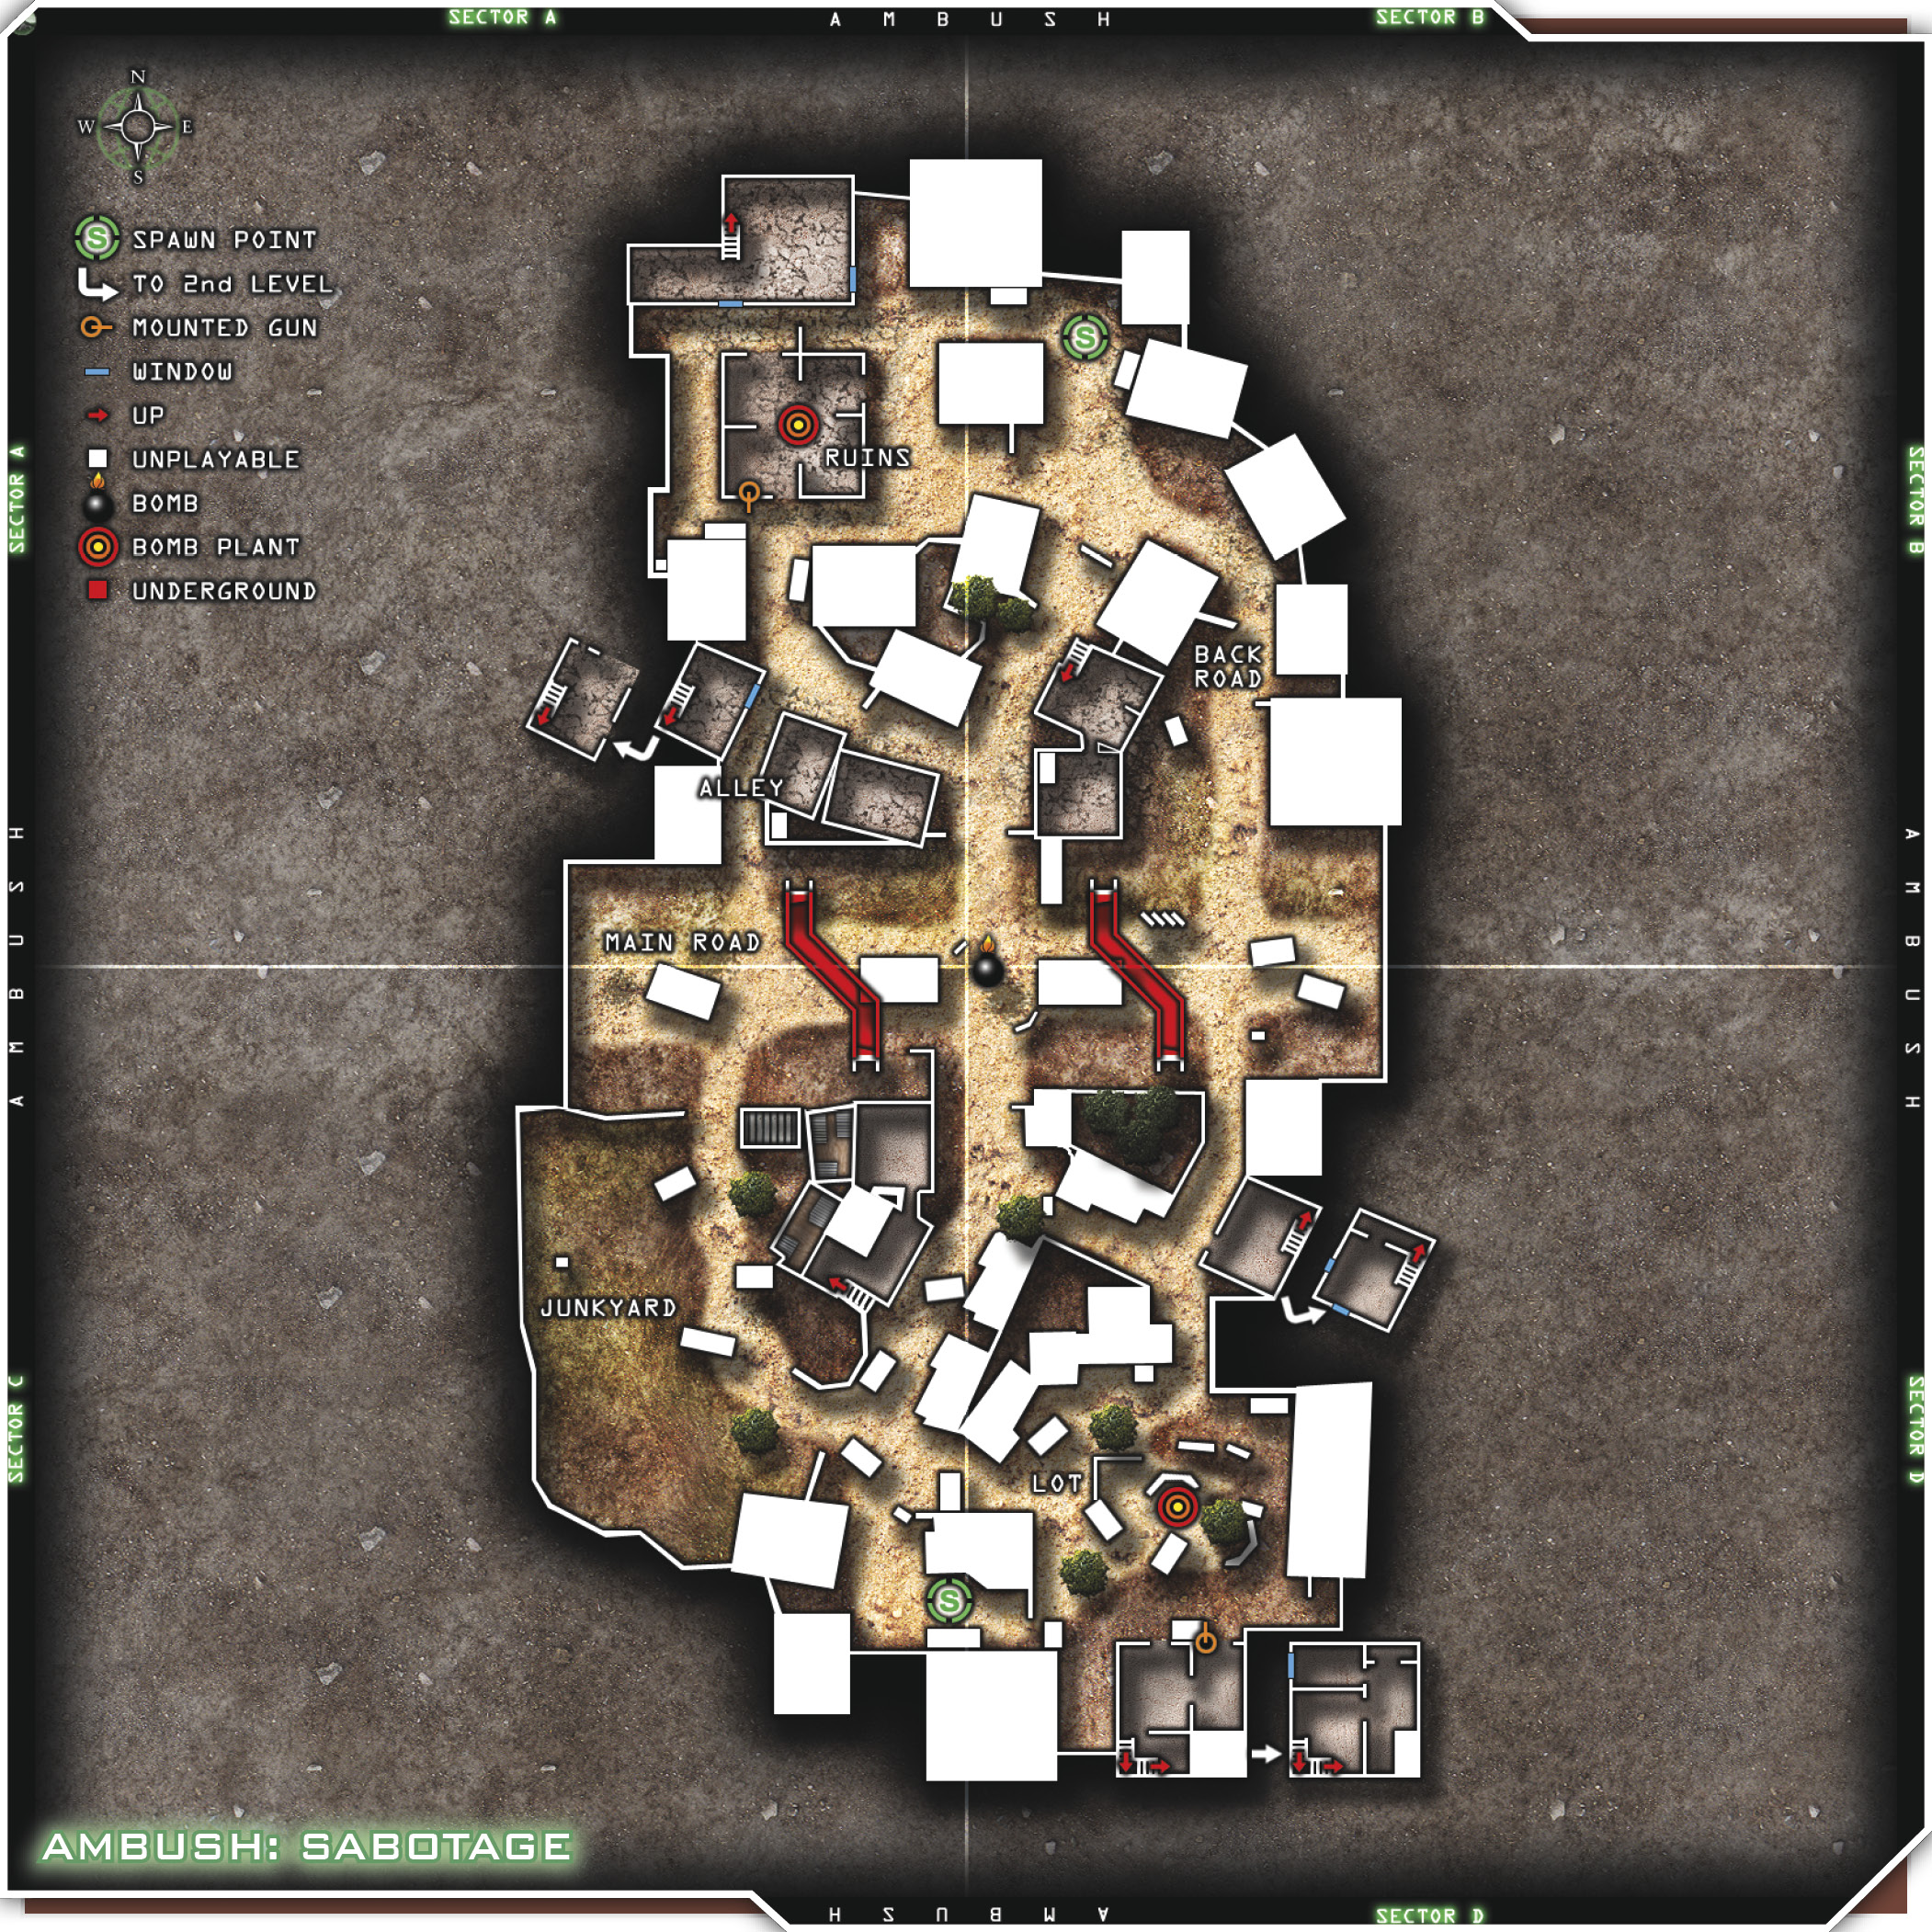
The main road is where most of the action takes place, so use the two underground tunnels just north and south of it. These are great places to plant Claymores as well. Set up a crossfire by putting one player at each end of the main road, on the east and west ends, and on opposite sides of the disabled vehicles. If they can find some good cover, they should be able to help thin the herd. The tunnels are also good places to plant C-4. Set some at the exits of the tunnels on your team’s side and watch them from a rooftop. The stranded tanks on the main road can also offer cover. Try lying down on the front of one of the tanks while picking off enemies with an assault rifle and an ACOG scope. But be careful, because the fire on the tanks is lethal.
Getting across the road can be tricky. Try using smoke to either distract the enemy or mask your advance. Use Extreme Conditioning to sprint all the way across and get to safety.
The rooftops throughout the map offer you some great vantage points from which to shoot. Plant your Claymores at the tops of the ladders or stairs to the roofs, in case the enemy tries to sneak up from behind and knife you. Remember to keep your knife handy when you’re maneuvering through the buildings and alleyways on either side of the road. You never know when you’ll round the corner and bump into an enemy. You’ll find many craters in the ground from mortars. Use them as cover when nothing else is available, or use them to hide in plain sight with a
UAV Jammer and a silencer. Enemies will run right past you if you conceal yourself correctly and don’t move.
Grenade launchers are a good choice on this map, because you may not be able to throw your grenades as far as you can launch them. Use the grenade launcher to fire precision shots that might not be possible with hand grenades. Throw in the Sonic Boom perk to maximize explosive damage. If you don’t take the grenade launcher attachment, you can take Frag x3 and carry three grenades. Take the Sonic Boom perk for your second selection, and use your grenades to clear a path wherever you need to go. Walk them back or throw them in an arc from left to right to clear out an entire area in one volley.
Since this is a fairly open map, let your snipers or long-range riflemen pick off enough enemies to call in a UAV before making your way into battle. This is especially helpful on a map of this nature, because there are so many places to hide and maneuver. Airstrikes work well on this map, as do chopper support calls. Make good use of them, and remember not to double up on your UAV sweeps.
Team Tactics
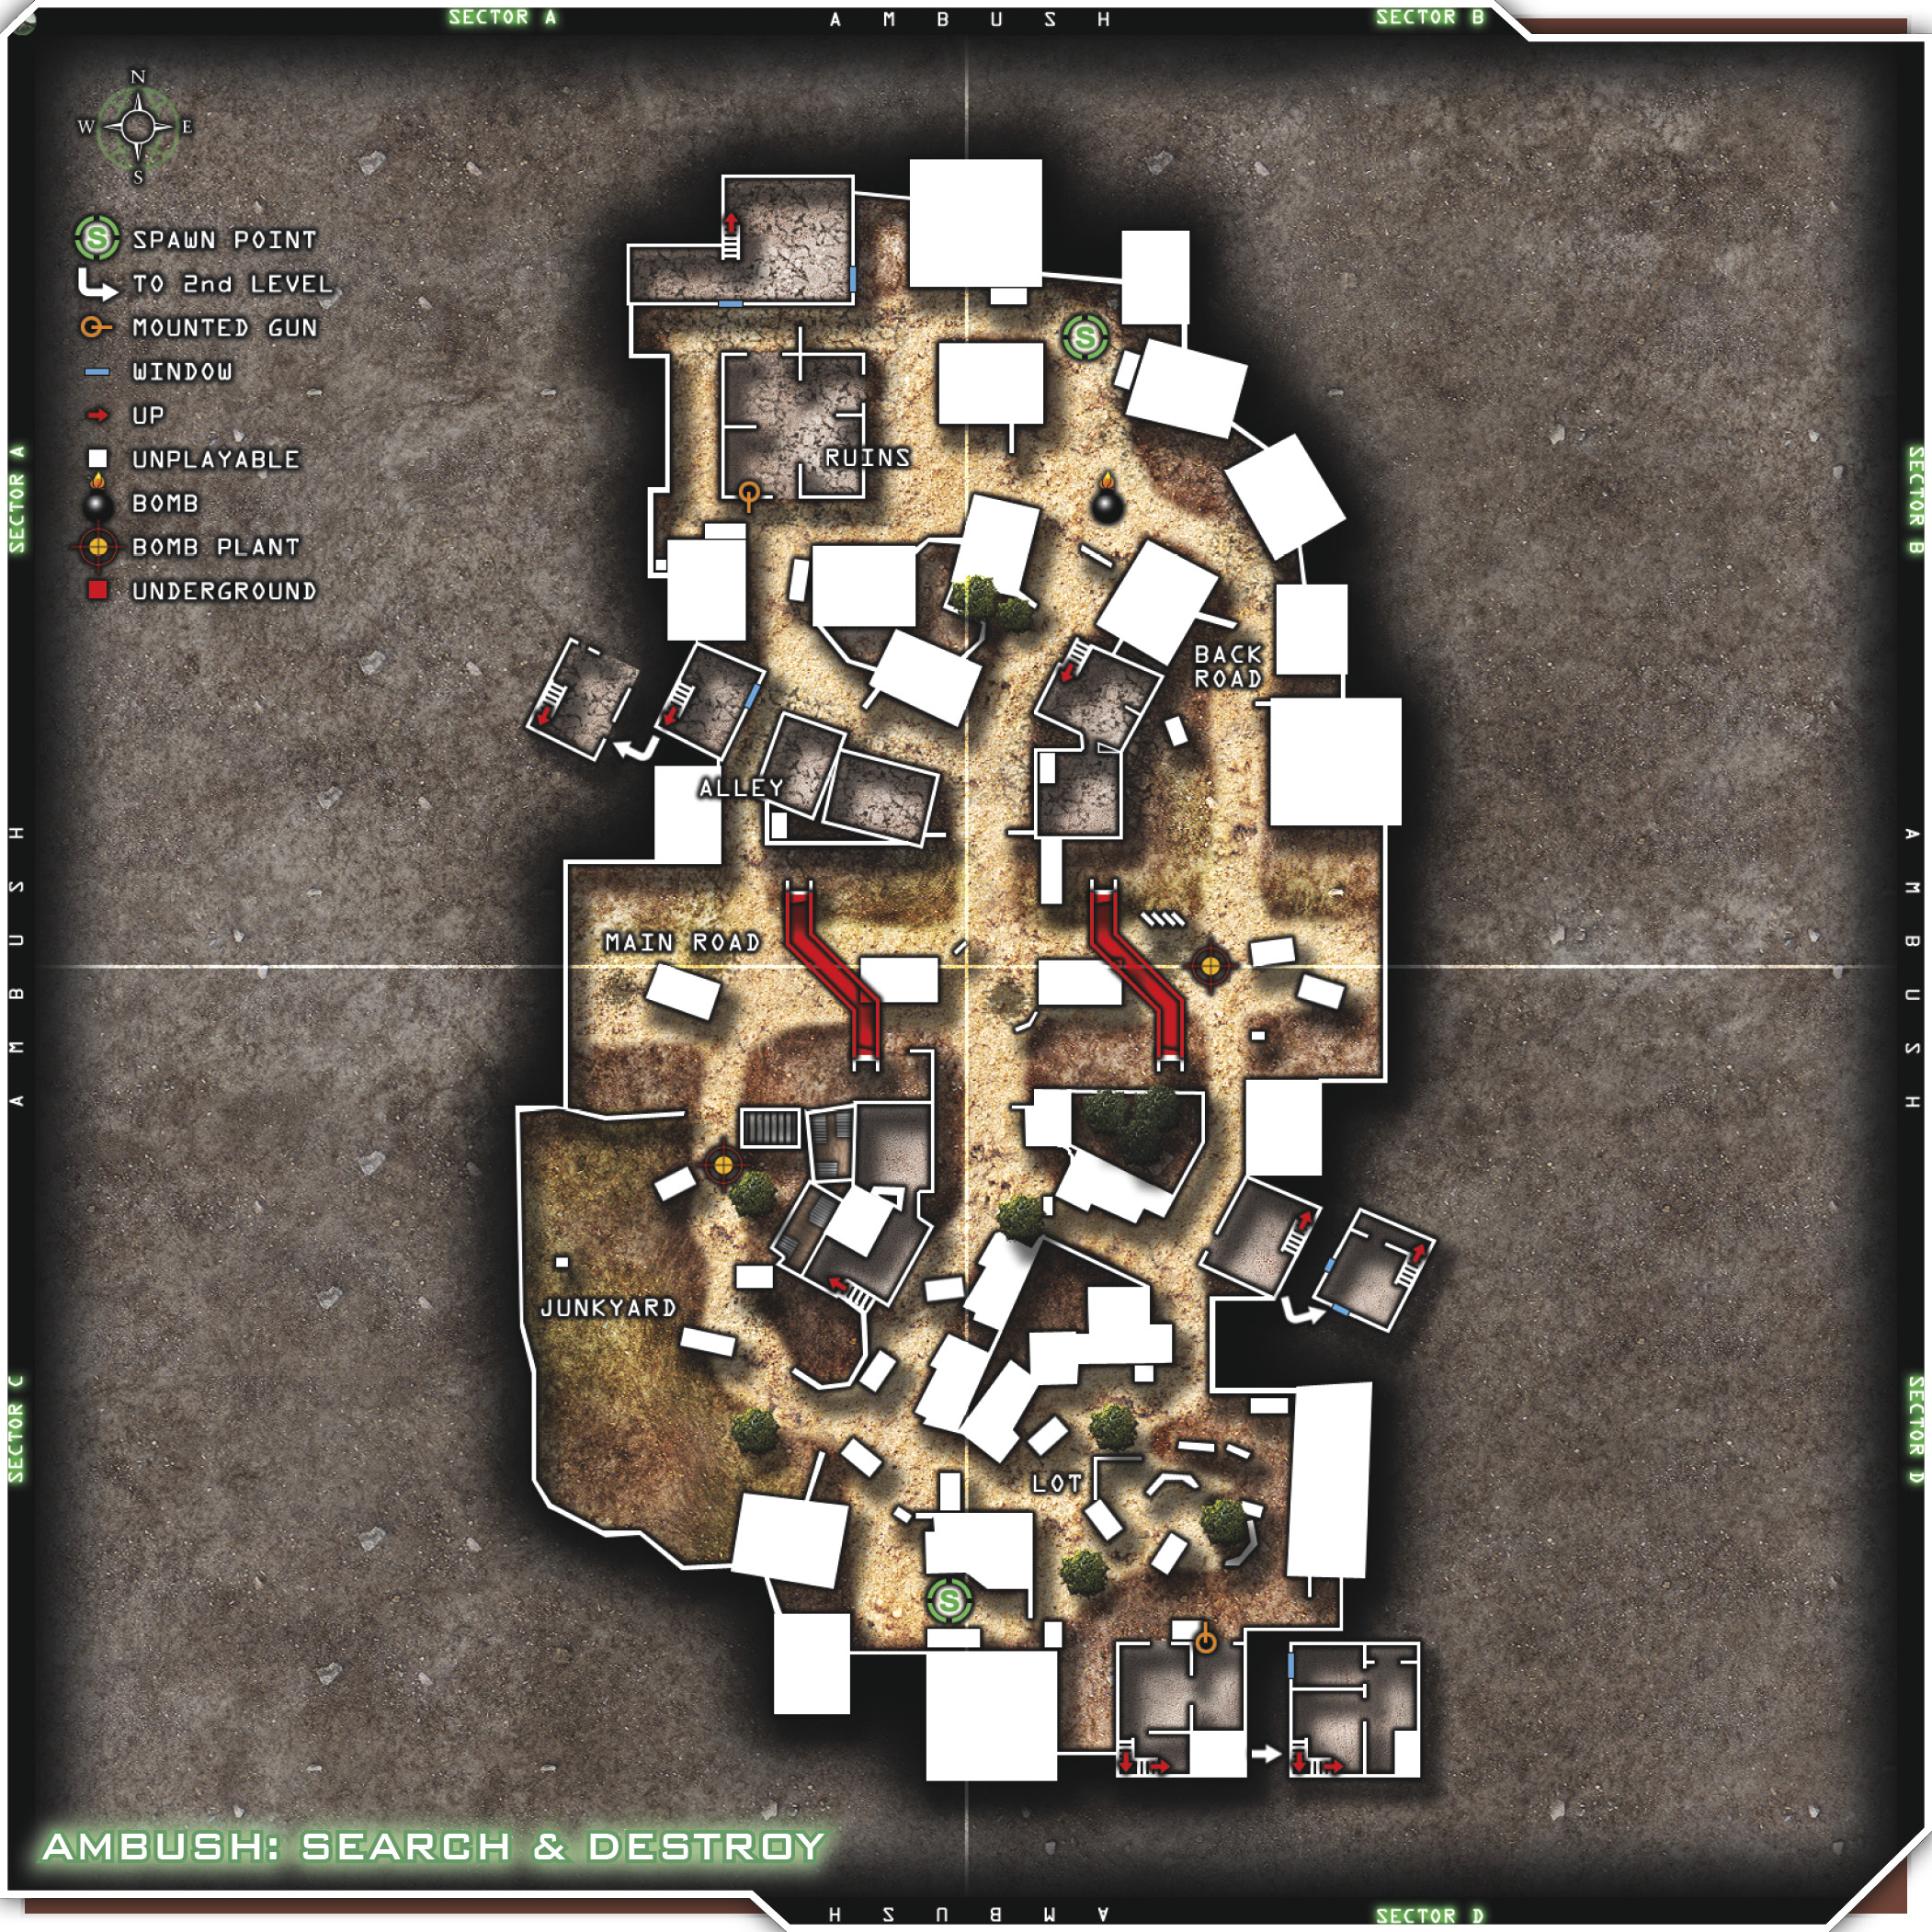
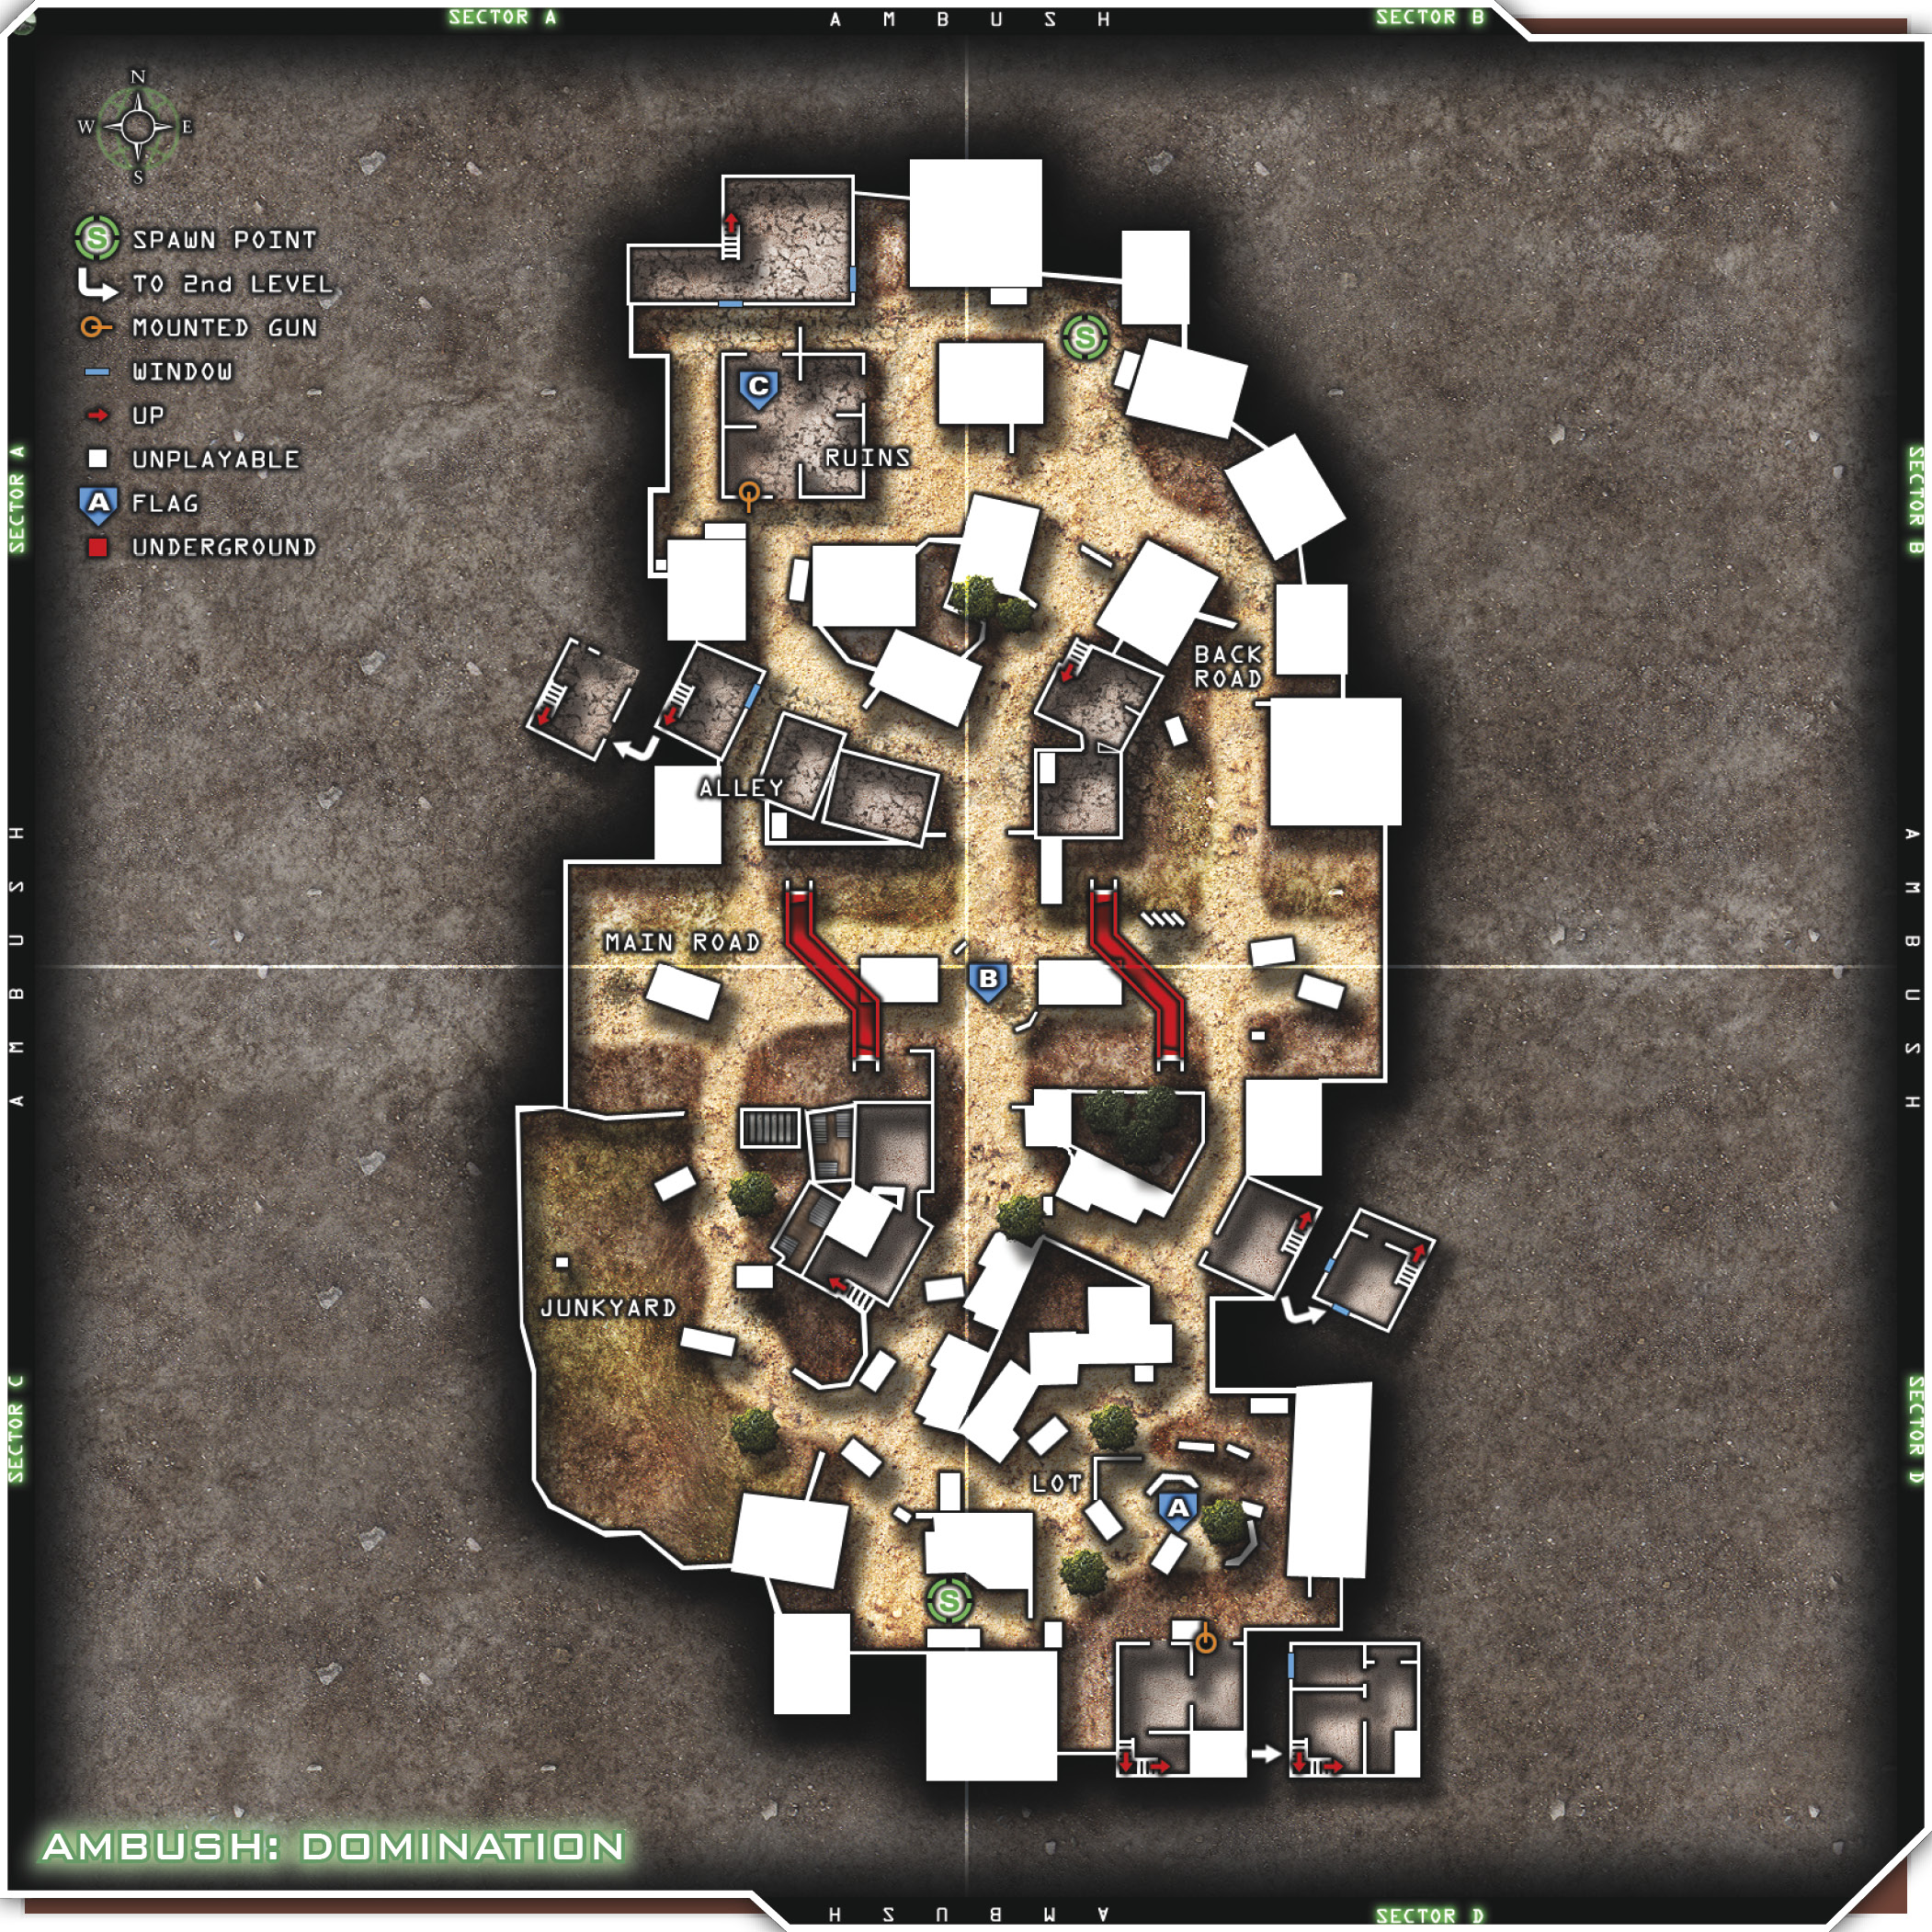
There are many ways to win on this map. There are three main routes across the road to engage the enemy. Let’s assume you’re running a six-man team. Break up your team into three squads of two (wingman teams) and send them all across the road simultaneously, under cover of either frags or smoke. Once your teams get across the road, they should all proceed along the same routes they took to get across, clearing every building and area along the way. All teams should make their way to the back of the map (enemy spawn) and regroup to work back through the map in a single unit. While clearing rooms, buildings, and alleys, maintain good communication with the other wingman teams, and call them over for support if needed. You can effectively push the enemy out of their side of the map if you do it right.
Once your teams have regrouped, go back the way you came, but choose a side and circle the map. Keep your backs to the outer edges of the map. Maneuver throughout the map, maintaining decent spacing so grenades don’t take out more than one player.
Teams can also set up camp in a fortifiable area. You can back into an area such as the Ruins or the Lot, and seal off the chokepoints to those locations. Have your camp team use the UAV Jammer perk and put silencers on all primary weapons and side arms. This will render you invisible on radar and allow you to get off a few more shots before the enemy realizes where you are. If you’re camping the Ruins, you may even send one player up to the building just south of Ruins to operate the mounted machine gun on the south-facing wall. This will certainly delay the enemy’s advance. Set up Claymores at all chokepoints, and seal off the area. Let some of your snipers or long-range riflemen pick off incoming enemies from the rooftop or windows.
The all-stealth assault works great if you can get everyone to load up with UAV Jammers and silencers. Split into two squads of equal numbers, and smoke the west and east routes on the main road simultaneously. Let the smoke billow up a bit and make your way across. Meet each other at the back of the map, clearing the way as you go. Then regroup and head back through the middle of the map. Make for the tunnels. Always be ready to knife someone who comes up on you too quick. Clear the tunnels and comb the other side of the map before making your way back where you started and repeating the process.
A great way to switch up this assault is to run it once the same way, but then on the next round, pop the smokes in the same places simultaneously, but run as a single unit and circle the map. Continue to rotate through different ways of getting across the road and eliminating the enemy on their turf. Another tactic is to have everyone pop smoke on both sides of the road, and then one at each end of each tunnel entrance. Move through the tunnels quickly and you should still be able to exit under cover of smoke. You’ll have to do this in a very coordinated manner, so everyone knows where they need to throw their smoke.