Call of Duty: Infinite Warfare Guide Single-Player Campaign Walkthrough
Rising Threat
The Infinite Warfare campaign takes you to places you’ve never been before in the Call of Duty universe. As commander of the Retribution, you will explore many locations in the solar system.
Our walkthrough is written on the Veteran difficulty to ensure we catch all the tricky spots that may occur during the campaign. You can either refer to the walkthrough as you play, or come back when you get stuck in a particularly difficult section.
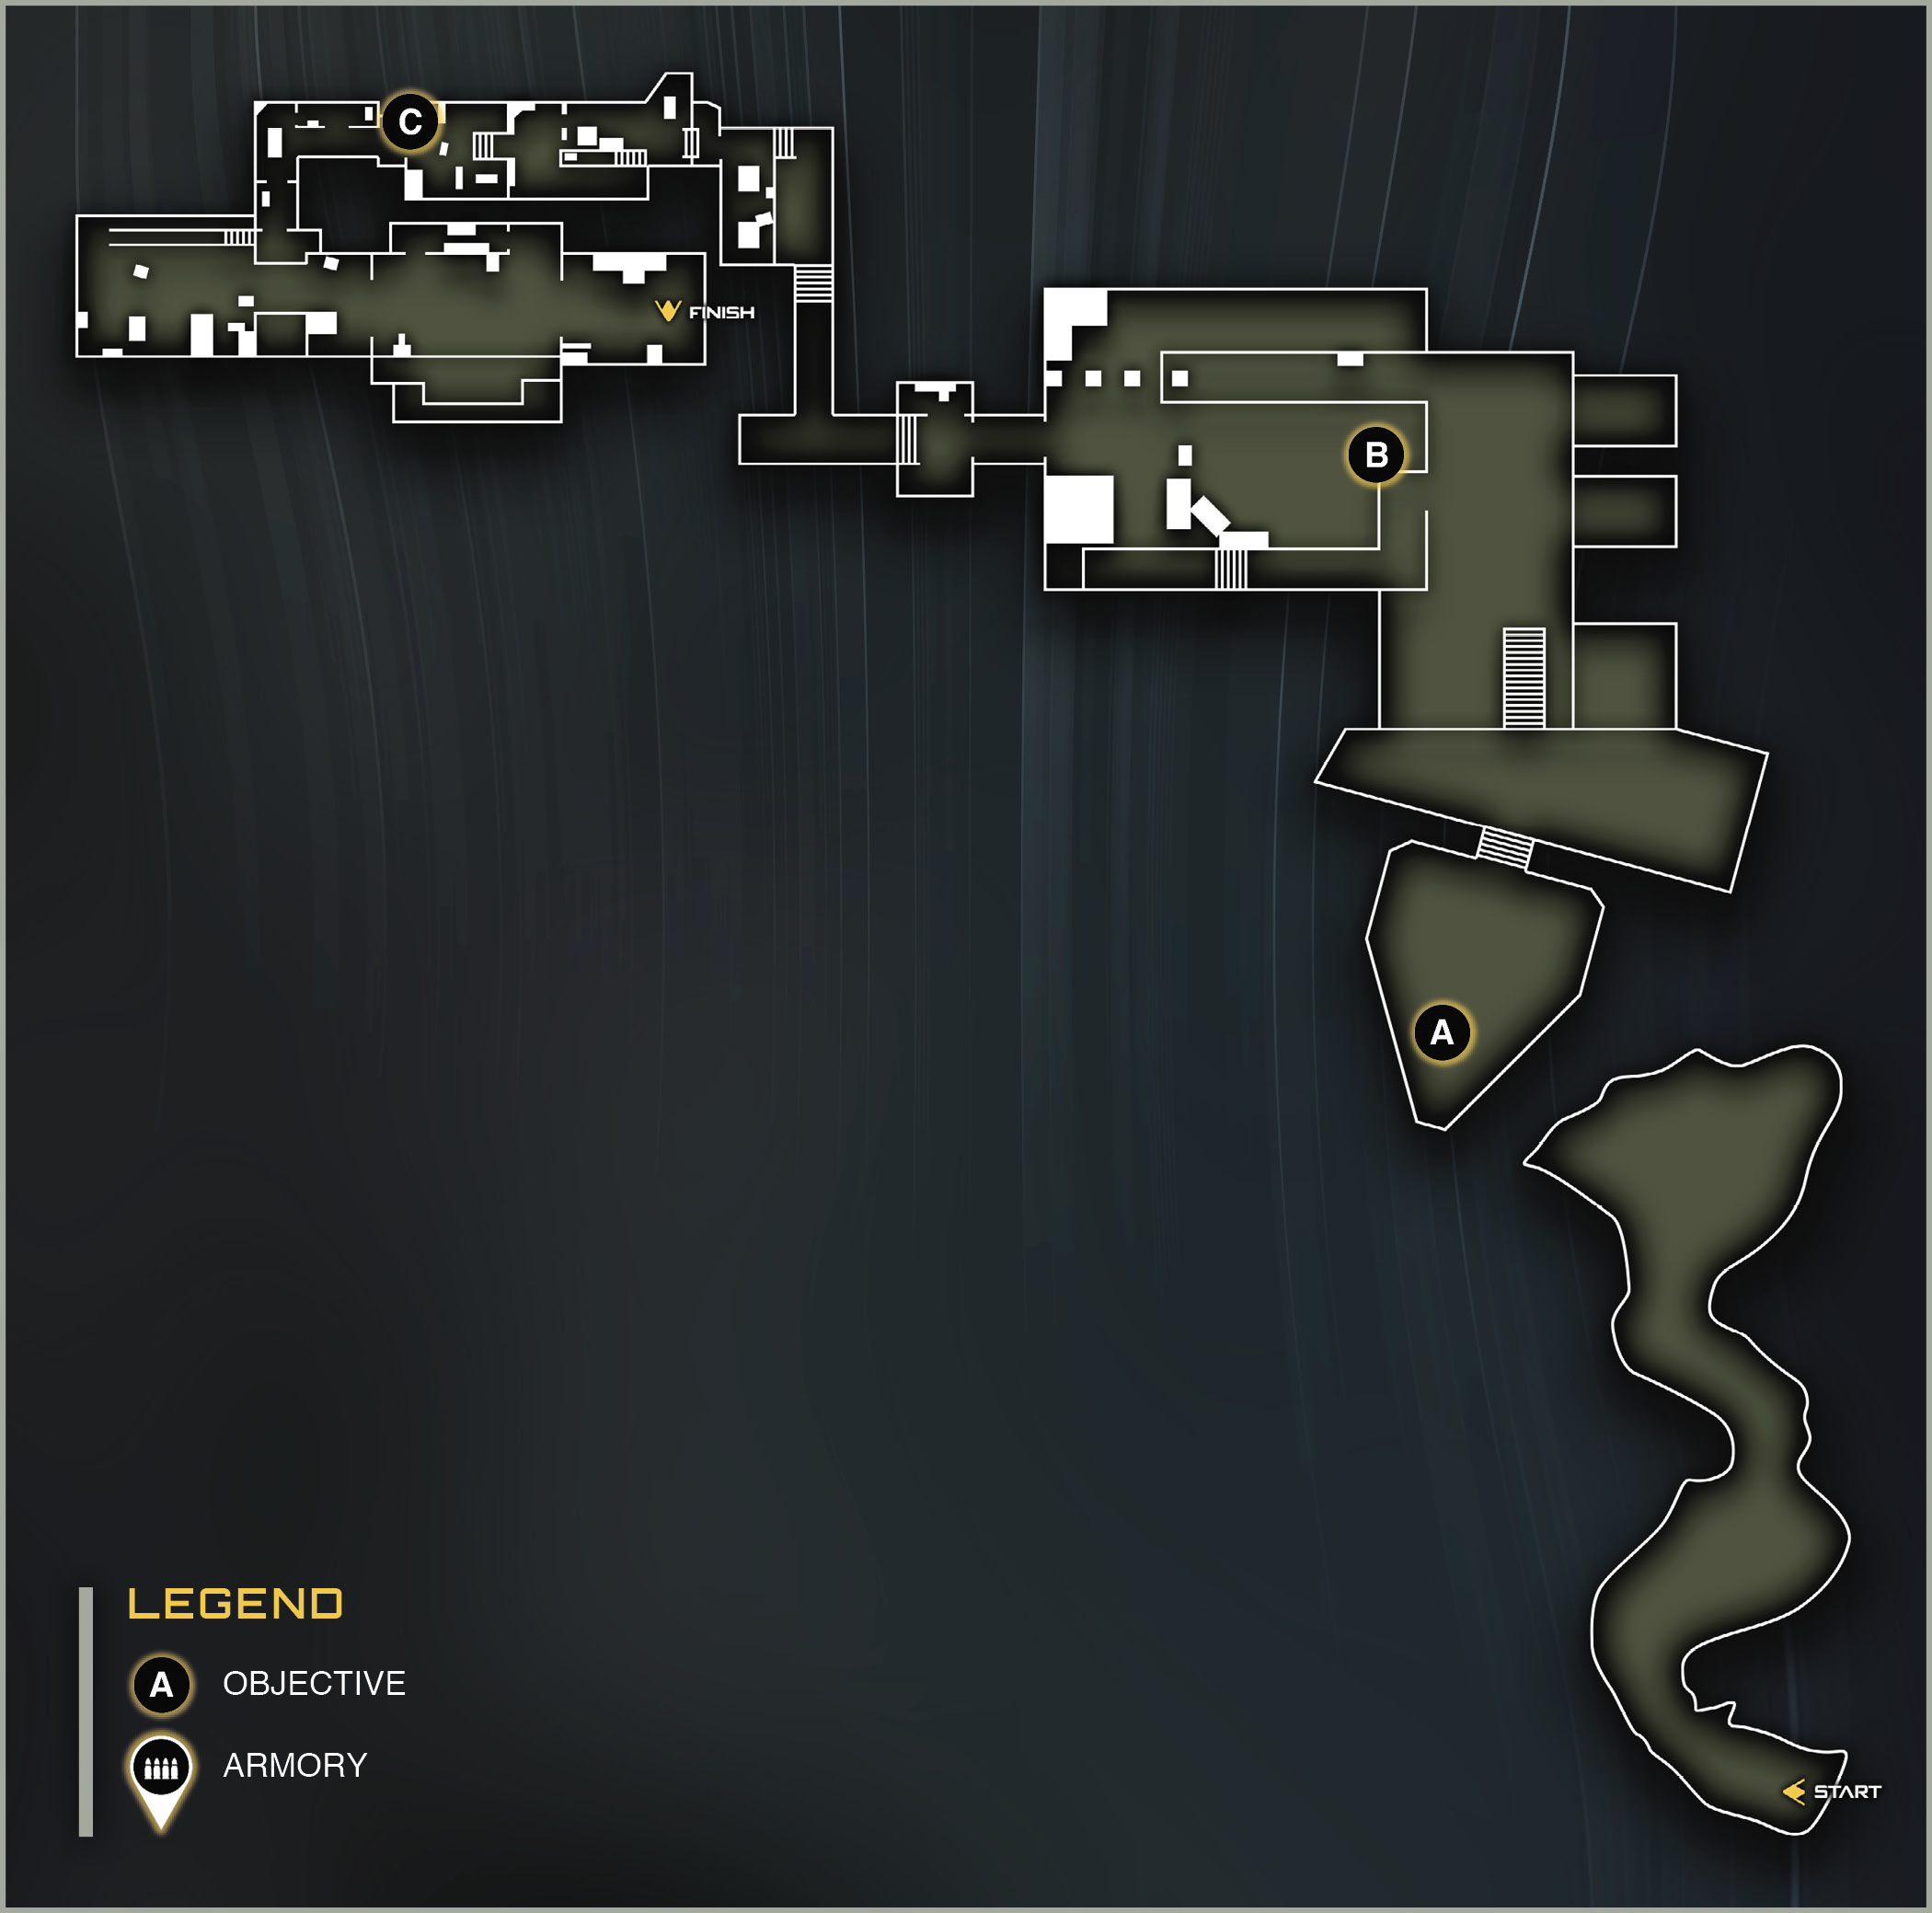
Welcome to Europa.
You are in control of Commander Wolf, a member of an elite squad of UNSA soldiers known as SCAR Team 7. Your team’s job is to infiltrate the SDF base and secure the prototype energy weapon they have been building.
Hit the Jump button to dive out of the plane door. Keep your fellow SCARs in view as you free fall into the moon’s atmosphere. If you get too far to the left or right, large arrows will direct you back into the center.
Keep balanced in the middle. When you hear Tee say, “Boost. Boost,” hold the Jump button again to slow your fall before you hit the ice.
Follow the team across the ice. When you reach the ledge, fall in. Towards the end of your landing, hold down the Jump button to both slow your fall and knock down the soldier at the bottom. Hit the Melee button to score your first kill! They won’t all be that easy.
 OBJECTIVE: Gain access to UNSA R&D facility.
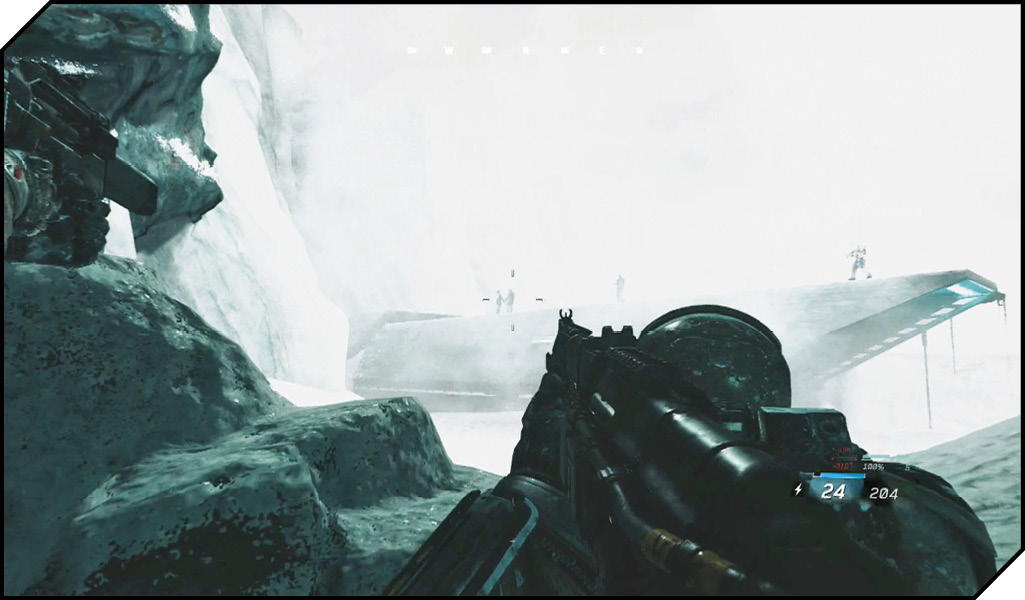
Move through the snowy cave. Crouch behind a rock when you exit out to the open area. Use Aim Down Sight to target and kill any soldier patrolling at the top of the building. Your squad takes out the rest.
Stay in cover. More enemies are approaching from an elevator on the left. From cover, the enemies are easy kills. Pick them off.
Step forward. You need to complete a Boost Jump to clear the gap. To Boost Jump, hit the Jump button; then quickly press and hold the Jump button a second time.
 OBJECTIVE: Find and acquire the F-SpAr energy weapon prototype.
The door of the facility is in the open. First objective complete. Step inside and there is a group of SDF scientists working in the lower area of the next room. Hit the Lethal button to deploy a Seeker-Bot. Seeker-Bots are half-robot/half-grenade, and find and attach themselves to a nearby enemy before exploding.
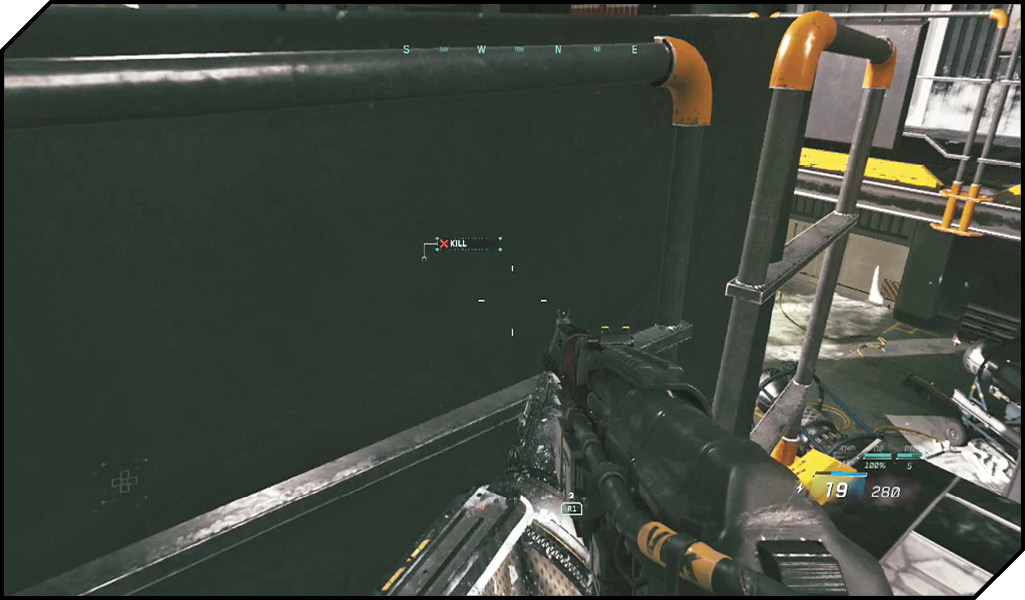
Shoot the explosive barrel in the room to finish off any survivors. Drop down.
Switch your NV4 scope to short-range mode by pressing the indicated Inventory button. Activate the hatch, and your teammate tosses an Anti-Grav Grenade through the door. Eliminate the floating and helpless SDF guards before they can recover.
Stay behind your squad as they move through the laboratories. A large group of enemies congregates ahead. Shoot the patrolling guard as he approaches your squad. Find some cover, and then open up on the guards in the back. If the enemies are giving you trouble, toss a Seeker-Bot inside.
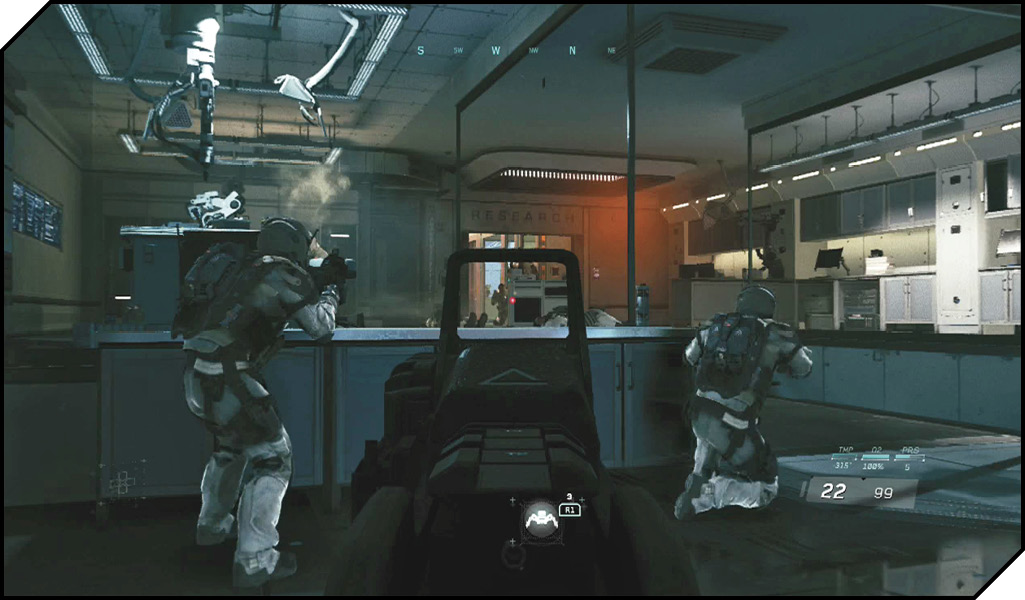
There are two more enemies defending the door to the main research laboratory at the back of the area. Approach the exit carefully and kill the two enemies. A welder bot cuts through the door. When Sipes knocks the door down, jump through to the large hangar area.
Hit the Activate button on the computer console.
 OBJECTIVE: Escape with F-SpAr energy weapon prototype.
You now have the F-SpAr Torch, an extremely powerful weapon. This will be useful for the upcoming fight, but stash it for now by hitting the Switch Weapon button. Restock your Seeker-Bots using the crate on the desk.
When the double doors open, a huge number of SDF are inside. Use Seeker-Bots to begin thinning their numbers. There is a second crate of bots in this room you can use to resupply.
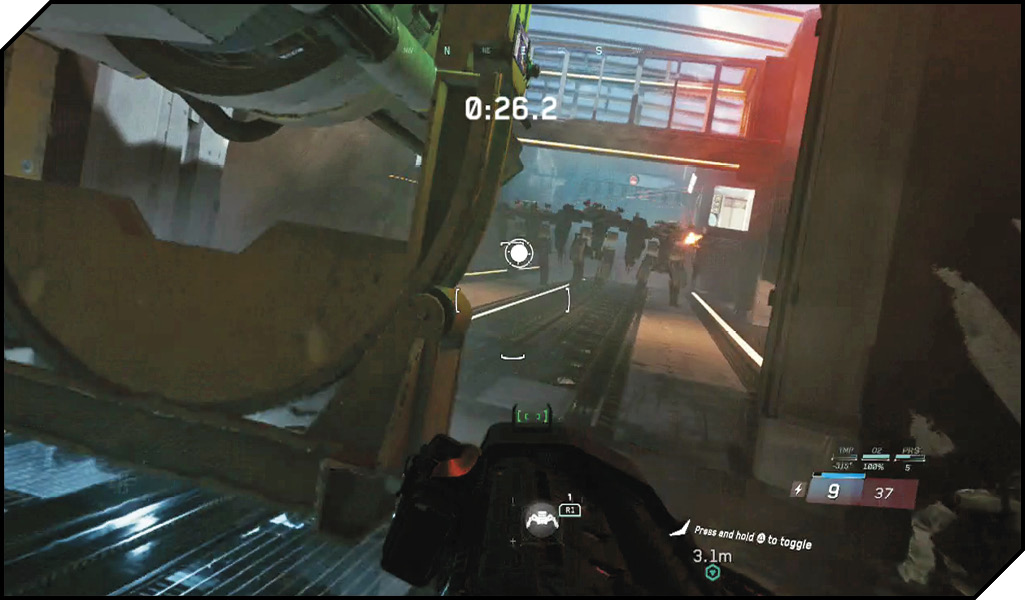
After you wipe out the first wave of enemies, a C12 mech arrives. Get ready for a serious boss fight! Luckily, you should still have ammo in your F-SpAr. Concentrate fire on one of the C12’s arms. You should have just enough energy to take out one of the arms.
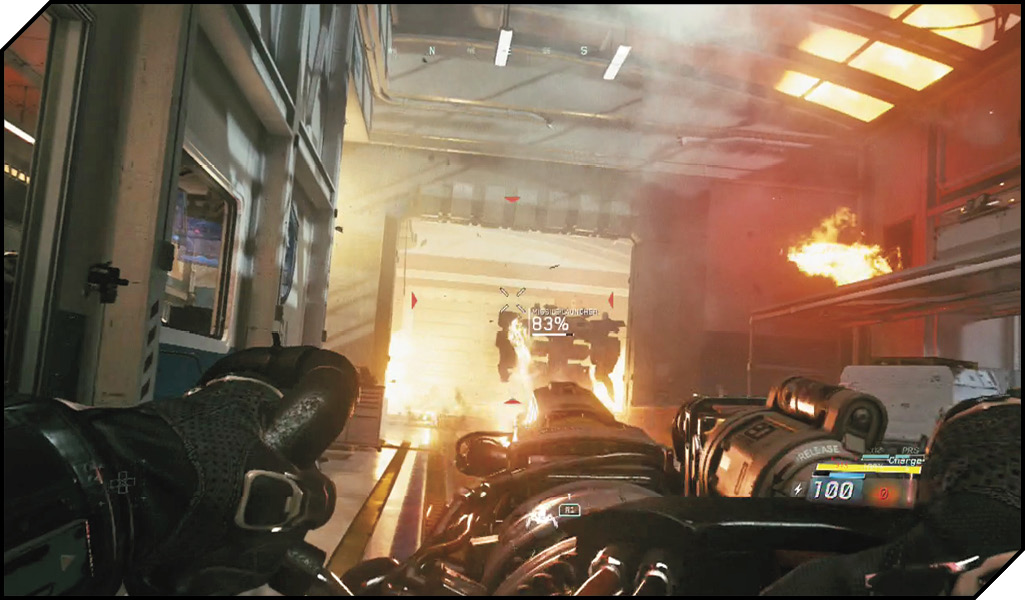
With one arm down, you need to get more ammunition for the torch. You should see ammunition icons on your screen to indicate the location of more torches. Sprint into the C12’s room and get near one of the torches on either side of the room to restock ammo.
With a full tank, use the torch to target the second arm. When both arms are destroyed, the C12 explodes.
When the C12 goes, the larger version of the F-SpAr begins rolling forward. Follow it down the track. When it stops, find the computer on the right side and Activate it before the countdown timer expires.