Call of Duty: Infinite Warfare Guide Single-Player Campaign Walkthrough
Operation Blood Storm
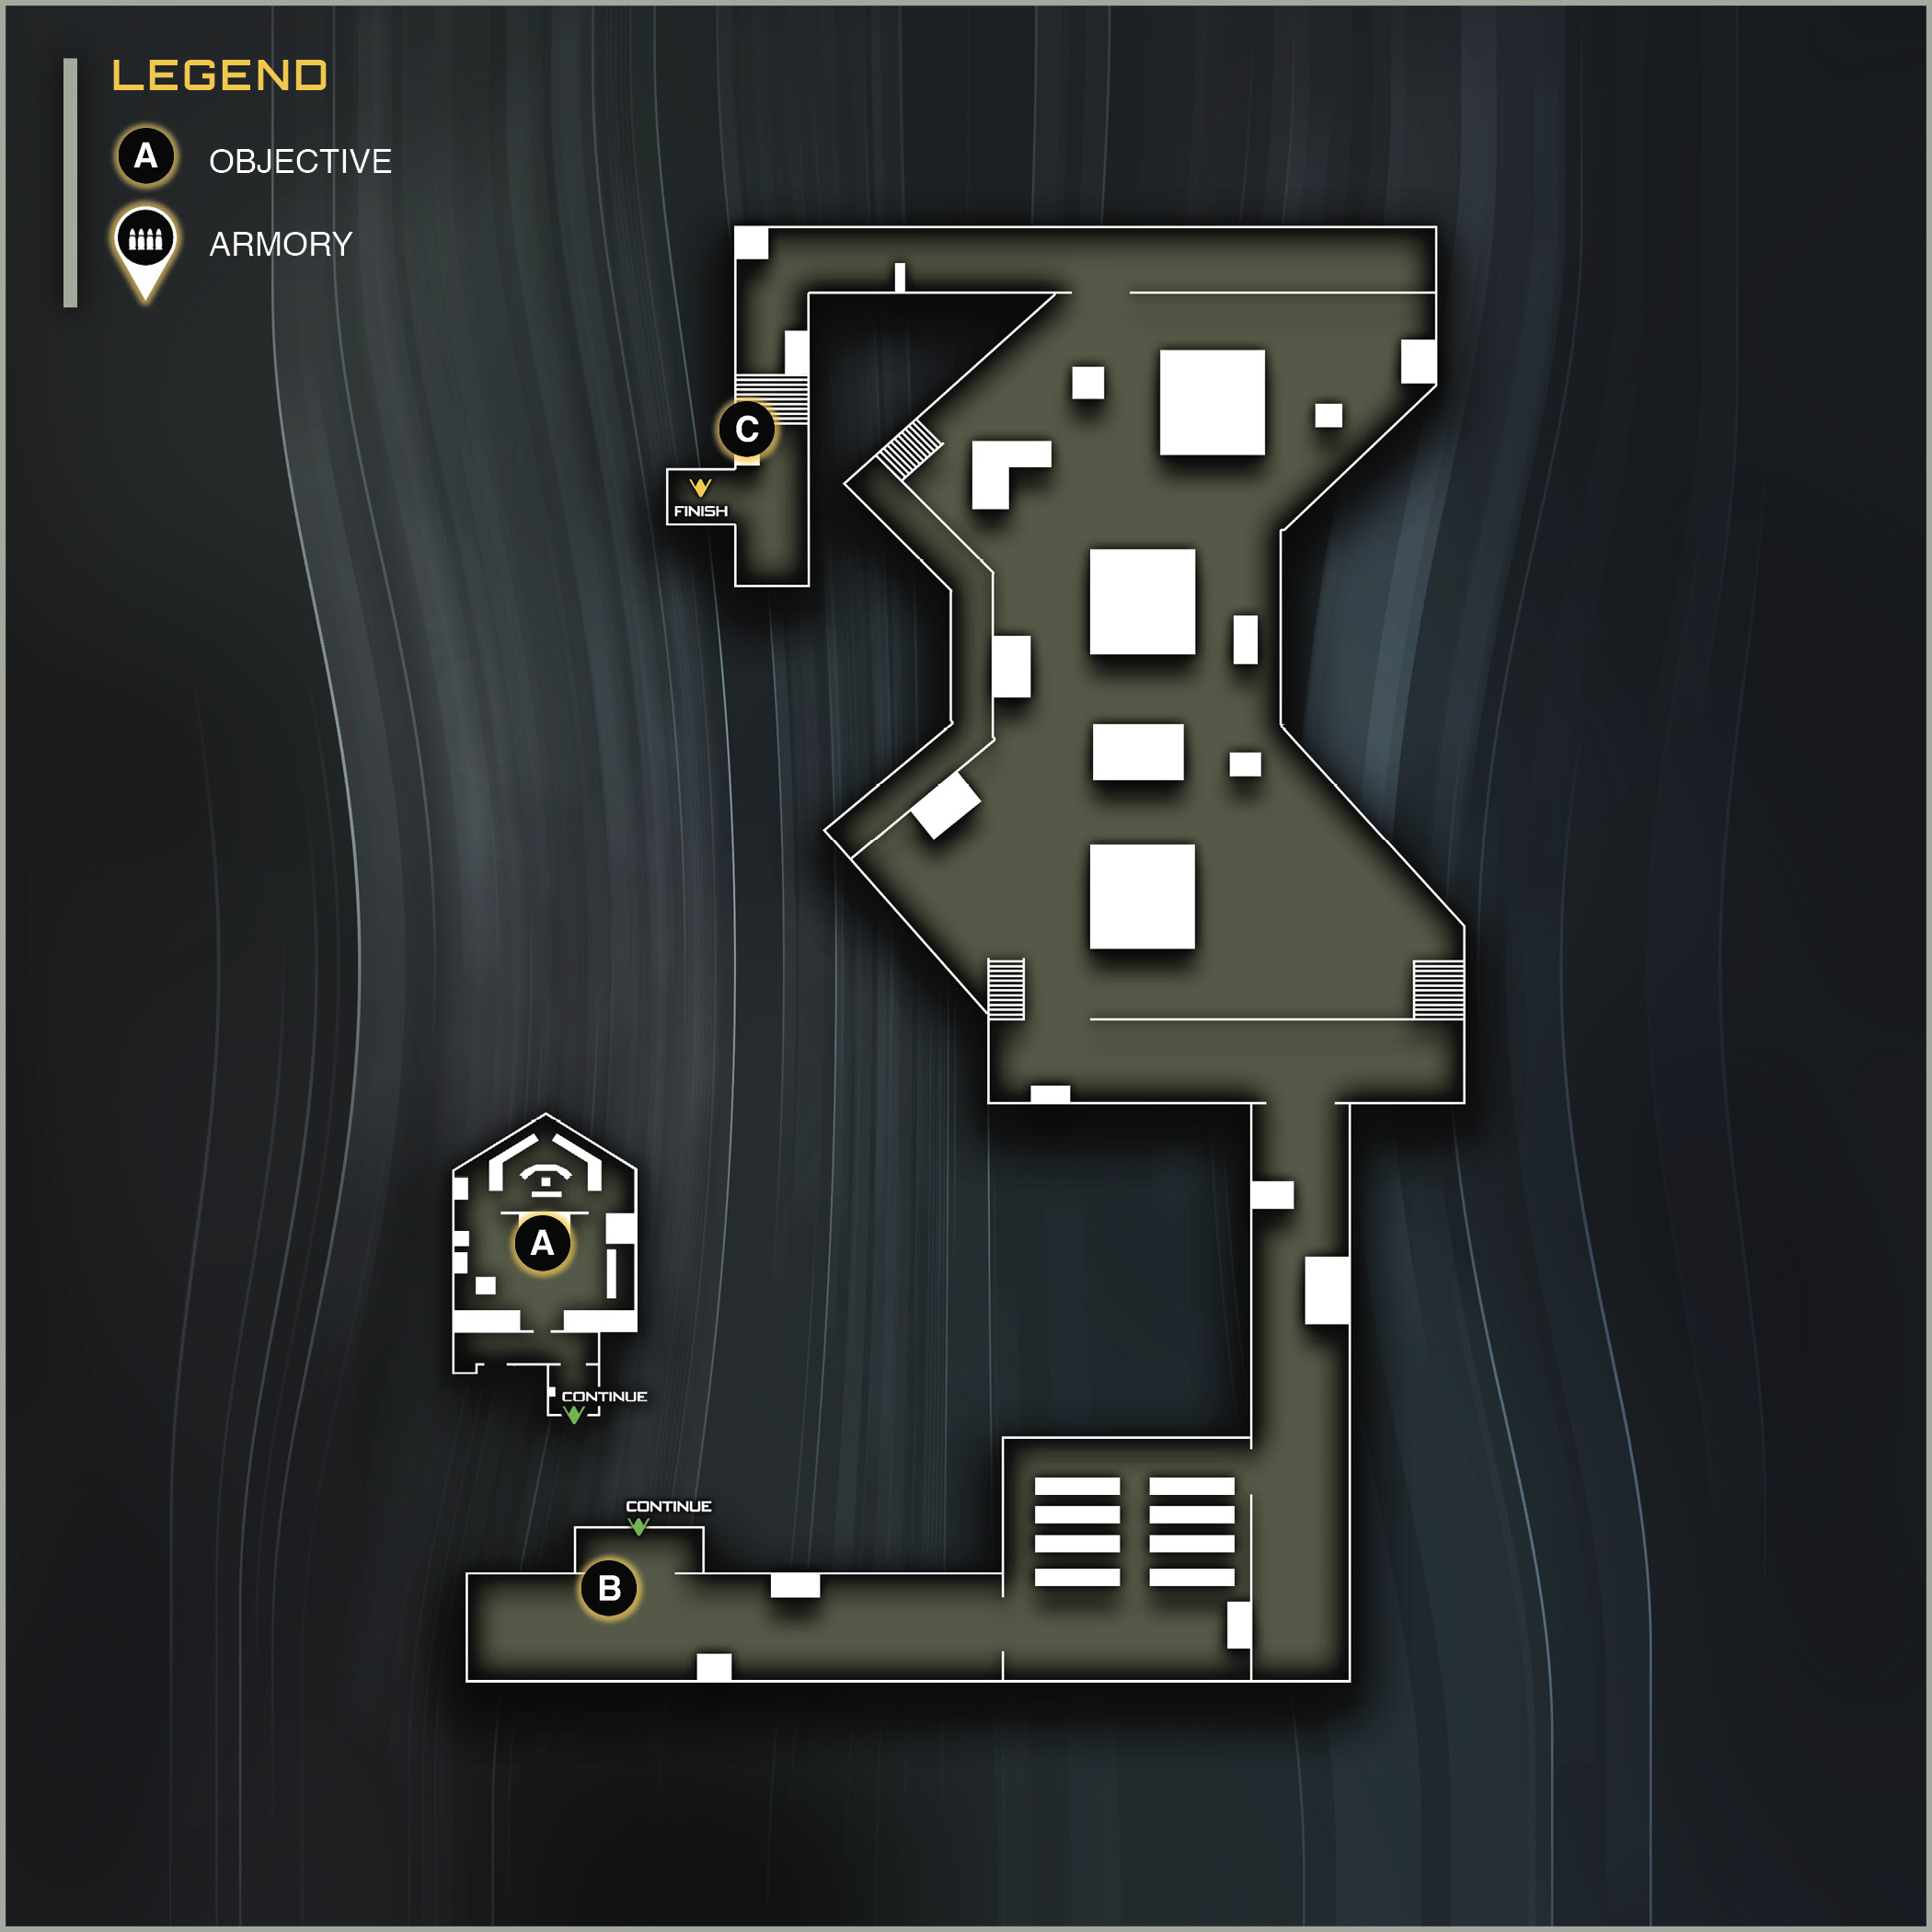
Location: Mars
Target: SetDef Shipyard
Mission Summary: From the helm of the Olympus Mons, fight your way to the SDF shipyard.
Mission Description: After you have captured the Mons, the plan is to use its super guns to destroy the SDF Orbital Shipyard near Mars and end the SDF’s threat forever. The entire SDF fleet is defending the shipyard, so the element of surprise is crucial.
Team: LT Nora Salter SCAR Flight Support 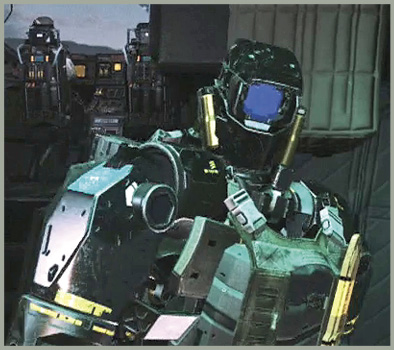 POFC E3N (Ethan) SCAR Ground and Flight Support 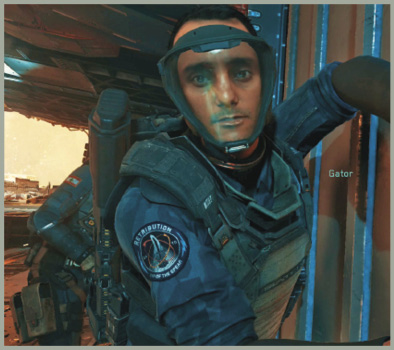 LT Victor “Gator” Diallo Navy Flying the Retribution |
Trojan Horse
Blood Storm starts immediately after you’ve completed Operation Black Flag. You now have secured the Mons; a slim window exists to completely destroy the SDF fleet by destroying their orbital shipyard.
 OBJECTIVE: Use the F-SpAr energy weapon on the SDF fleet.
Hold down the Aim Down Sight and Fire buttons simultaneously to charge the F-SpAr weapon. You can only fire on ships that are in range. Valid targets will highlight orange when the bridge’s crosshair is on them.
Release the buttons when the gun is fully charged and targeting a ship to let loose. Shooting the unaware fleet with the F-SpAr is like shooting fish in a barrel. Take out as many as you can before the gun breaks down.
 OBJECTIVE: Get ordnance control back up.
Brooks and Kashima hang back to keep the bridge secured. Follow Salter off the bridge to the elevator. Hit the Activate button to start the elevator.
Salter leads you to the briefing room. There, you will find an ammo crate and grenade resupplies. Equip Seekers and Hacking Charges.
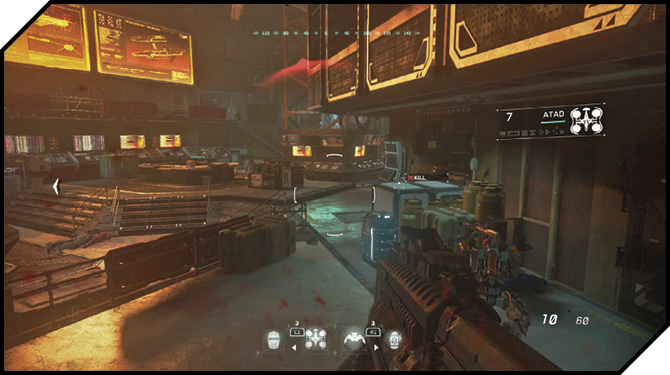
In the next large room, some SetDef have mounted an assault on the bridge. Fight back by hacking your own drones, and then running them behind enemy lines, cutting the enemy down from behind cover. After the first group is disposed of, hack a second friendly drone and do the same to the next group.
Push into the next corridor and avoid the flames at the sides of the corridor. Salter leads you to a sealed door at the end of the hallway. Activate the door to get it open.
 OBJECTIVE: Clear the way for the olympus to ram the shipyard
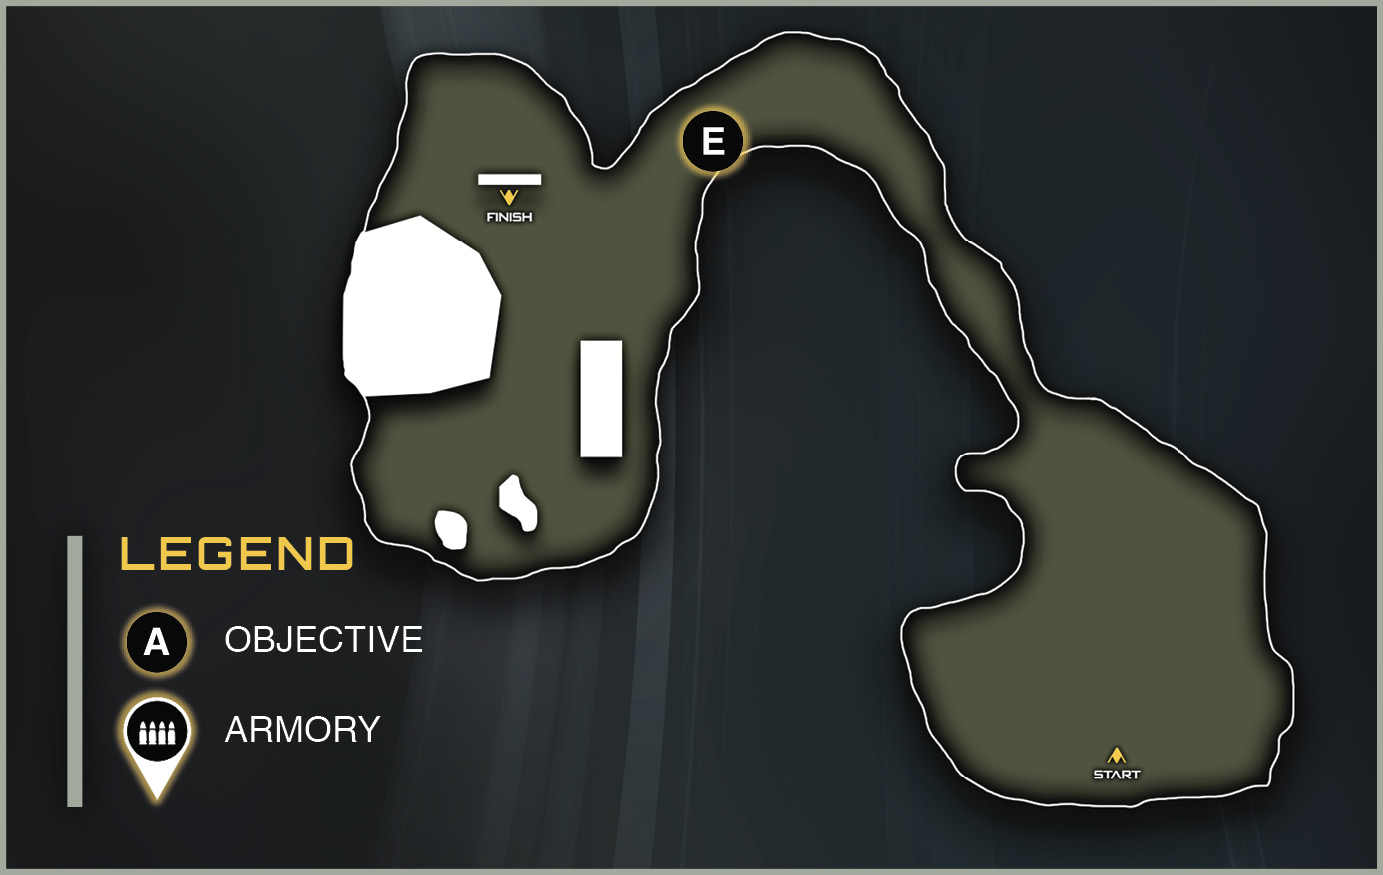
Plans have changed. You now need to secure your Jackal so you can cover the Olympus as it moves to ram the shipyard. To get to your ship, you need to fight your way in Zero-G to the exterior of the Mons hull.
There are many SetDef floating around outside. Use your grappling hook to get to cover immediately. There are two enemies in this first room that can kill you very quickly. Use your short-range weapon to take them out, and then get back behind cover.
As you wait here, enemies will float into your view from the outside. This section is deadly on Veteran, so hang in cover and wait patiently for all the enemies to appear (about a half a dozen) before you move forward. If you are having trouble firing on an enemy, feel free to use your rocket grenades. This is a short section.
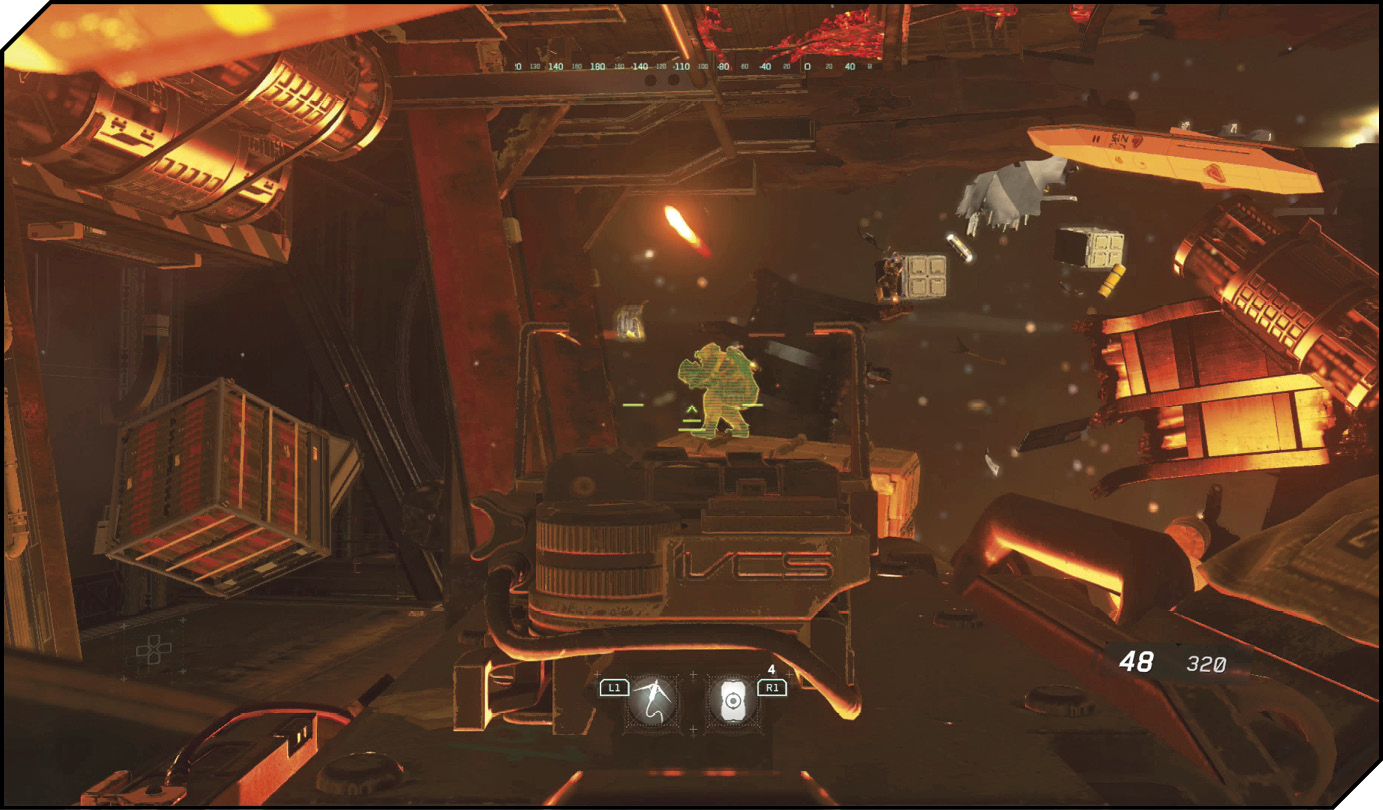
As soon as you get an opening, rappel outside. This causes your Jackal to autopilot into the area. Wait for the Jackal to settle down, and then use your hook to quickly get inside.
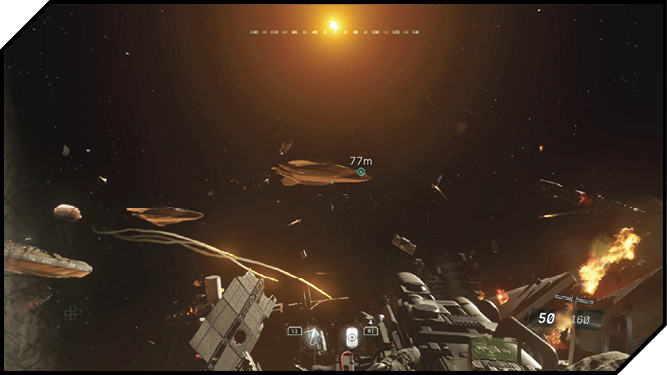
Now that you are inside your Jackal, you have one of the most difficult space battles ahead. There are three SDF Aces in space, several squads of enemy Jackals, and destroyers providing cover.
As usual, the Aces are your priority. They can do the most damage to your ship, so taking them out as quickly as possible is your top task. They are initially marked in your radar with yellow objective markers. Pick one and engage until it’s dead.
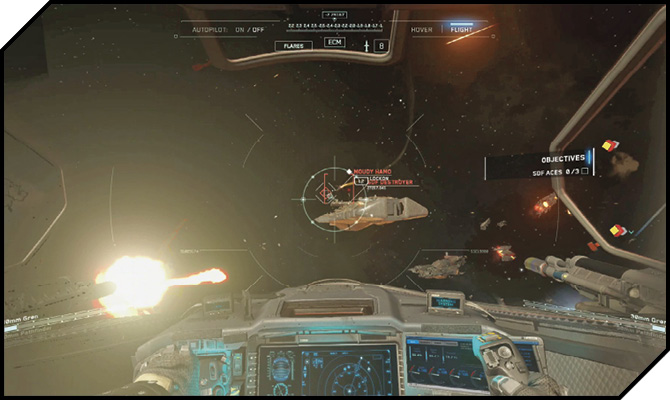
If you take fire, you can flee the battle, but just keep an eye on the location of the SDF destroyers. If you get too close, not only will you take gunfire from the cannons, but can be targeted by missile volleys.
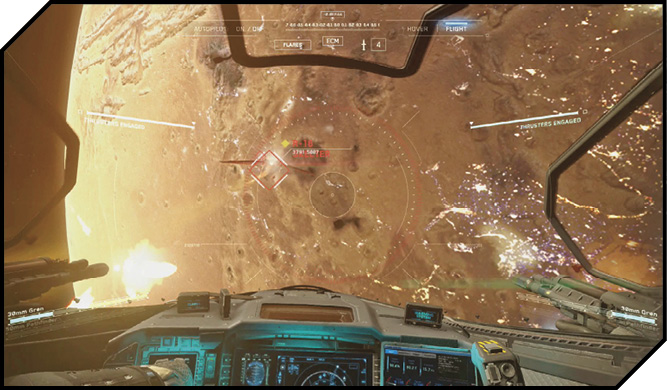
Unlike some of the earlier missions, your squad does a good job of keeping the heat off of you in this fight. As long as you keep moving around the field, you won’t get ganged up on too badly by the Aces. Keep the burners engaged, and if you lose target on an Ace, quickly switch targets.
Once the Aces are down, start clearing out remaining Skelters. Shortly, Salt reports she has an enemy on her tail. This is an unnamed Ace who is very difficult to kill. He will show up in your HUD as a yellow marker. Ignore all other forces on the field and pursue to help Salter.
 OBJECTIVE: Defend Salter.
Once you shoot down the Skelter on Salter, your ship takes critical damage. A crash into Mars is imminent.
Crash Landing
When you regain control of Reyes, quickly hit the Activate button to kick out the ship’s cockpit door before the suit overheats.
 OBJECTIVE: Find any survivors in the wreckage.
Follow the blinking red beacons up the Mars landscape. This leads to a crash site. Find Brooks and Kashima ahead.
Regroup
The Retribution is down, but the crew is far from done with this fight. After the cinema, you reunite with the survivors to strategize a final assault on the SDF Mars shipyard.
 OBJECTIVE: Find Griff and gear up.
GRIFF’S RECOMMENDED LOADOUT:Weaponry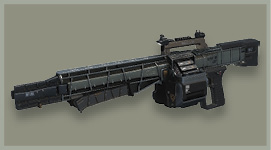 Primary: R.A.W. 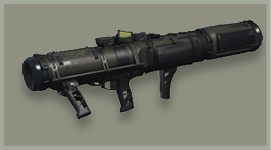 Secondary: Spartan-SA3 Tactical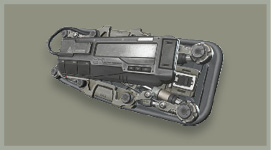 Retractable Shield Lethal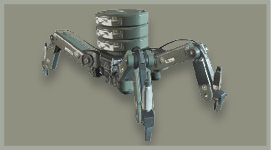 Seeker-Bot |
After selecting your loadout, grab the kit from Griff.
All or Nothing
Location: Mars
Target: SetDef Shipyard
Mission Description: Flying directly to the shipyard is impossible, due to its defenses. Ethan has a drone army and will be leading a frontal assault. The primary objective is to take out the Anti-Air guns to allow for the team to infiltrate and board the orbital platform. Ethan will be able to deploy missiles from the Olympus on the AA guns.
Team: LT Nora Salter SCAR Ground Support PFC E3N (Ethan) Marines Leading Drone Army LT Victor “Gator” Diallo Navy Flying the Retribution 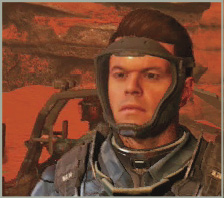 WO1 Griffin, Maynard “Griff” Navy Weaponry and Ground Support  LCDR Audrey MacCallum Navy Leading Echo Team 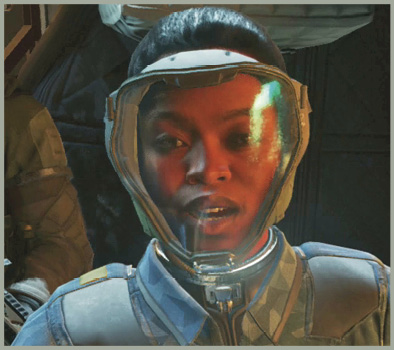 LTJG Ebele Yetide Navy Ground Support |
Follow the objective indicators around the path to the transport. Salter is waiting there. Follow her inside and Lieutenant Yetide is inside with a fresh Booster Rig for you.
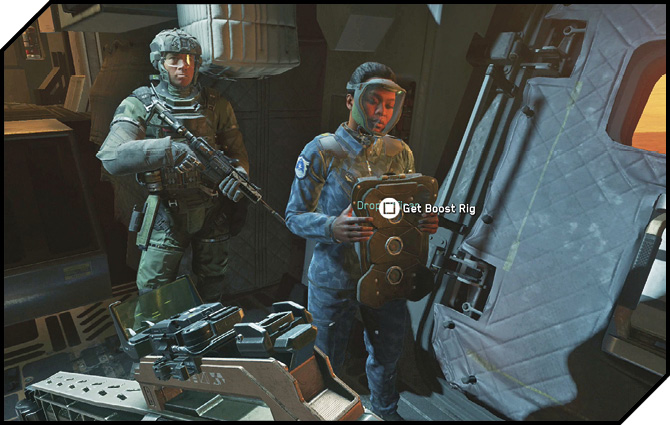
 OBJECTIVE: Lead the ground assault on the SDF base.
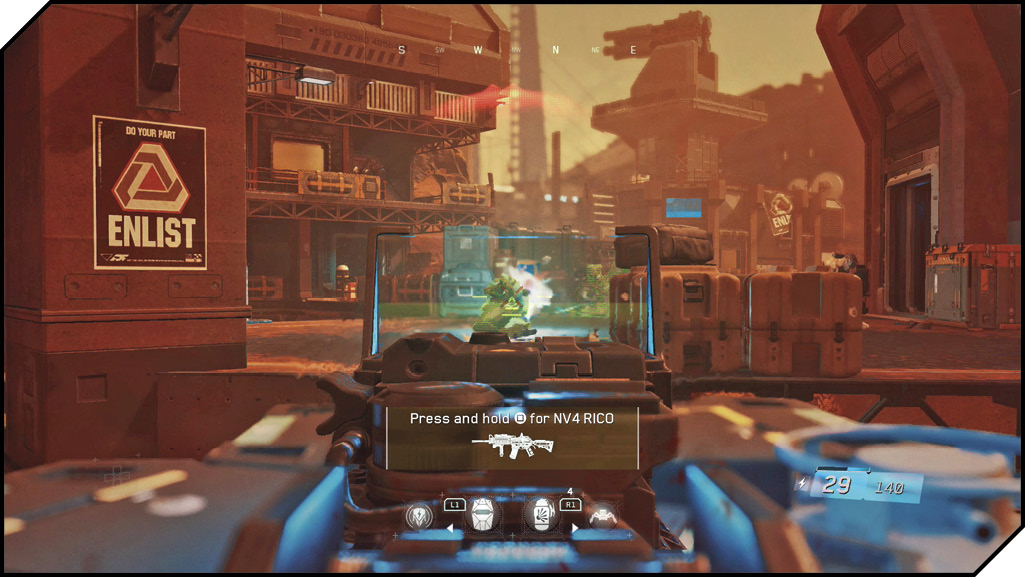
The transport has the full attention of the SDF, and bullets are flying everywhere when you land. As soon as you gain control, sprint forward and under cover of the crate directly ahead.
Stay in cover. Your team does a good job of advancing on their own. Feel free to pop your head out of cover. When your squad advances, move up behind them.
 OBJECTIVE: Eliminate the SDF AA gun.
At this point, Ethan has the guns online. Press the Item button indicated onscreen to activate the overwatch view.
This is a completely new type of targeting that you haven’t seen in any of the prior missions. The artillery bombards along a path, so you must draw a line to indicate the path the strike should hit.
You want to hit both AA guns with your first strike. (Otherwise you’ll have to wait in cover for the guns to reload.) Press the Fire button to begin the trail on the left AA, and then drag the path out to the right AA. Confirm the end point again with the Fire button.
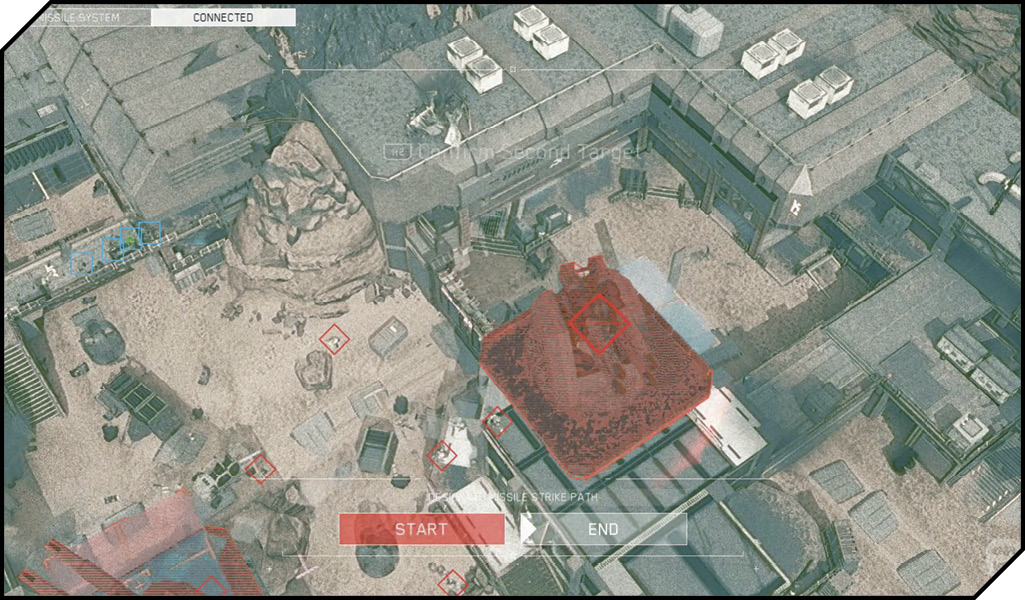
If your aim was true, both AA guns should go down (along with most of the SDF defenders).
Your squad will mop up any survivors. Head over to the large double doors off to the left. Your engineers hack the doors open, which leads to the second area.
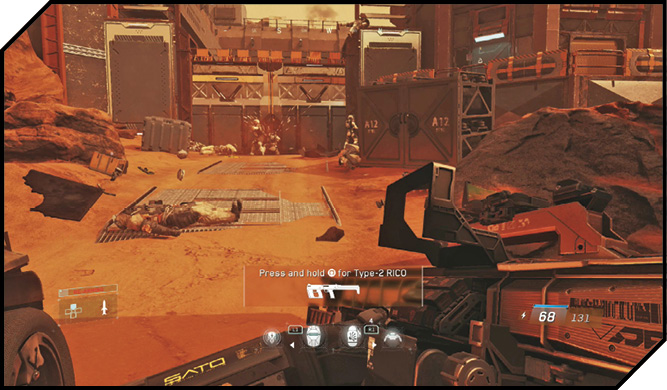
The next attack is overloaded with SDF soldiers. They also get a C8 to reinforce their position. Stay clear of the doors, in cover, as they open. Watch out for charging LMG-armed enemies.
Peek out from cover, but be very cautious. The C8 can pick you off very quickly. You have two options here. You can use your gun, Shock, and Frag Grenades to destroy the robot quickly, or if it is giving you trouble, you can wait until the Mons’ missiles recharge, and open a volley on it. This is much safer, but requires patience.
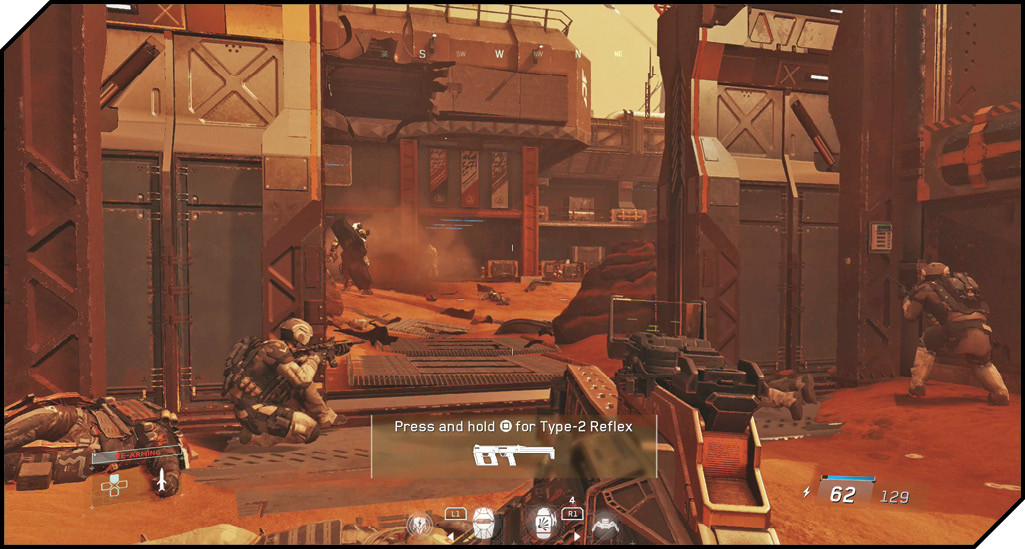
If you go the grenade route, there are more Frags near the level start. There is a box of Shock Grenades near the rock directly in front of the door. This rock makes for great cover for tossing grenades at the C8.
Whenever you successfully hit the robot with a Shock Grenade, be sure to peek out and nail it with your guns for extra damage.
Don’t go charging into the second area yet; when the C8 is down, the SDF immediately gets reinforcements. Wipe out these reinforcements from cover.
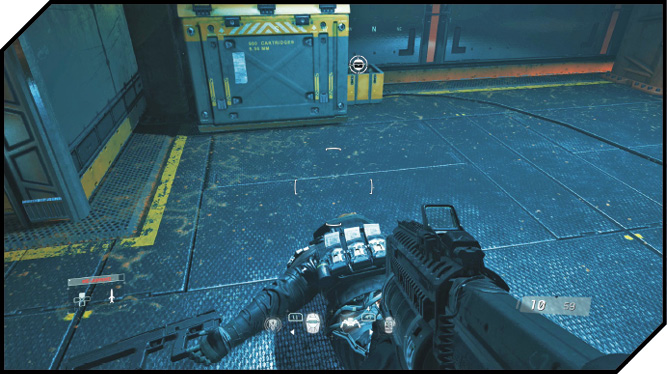
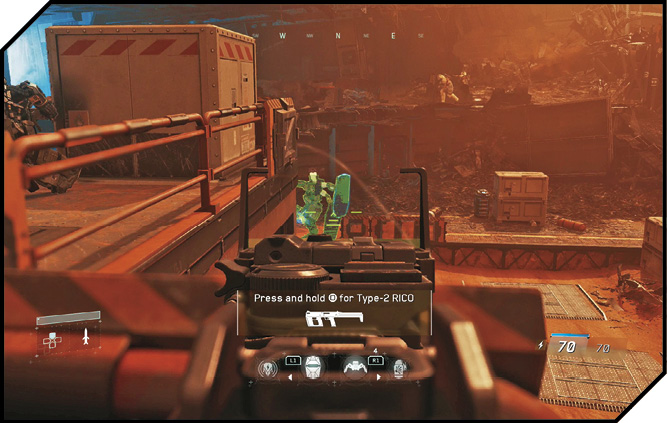
With the second area clear, Ethan and the rest of the squad should advance. Follow them there, and proceed up the staircase inside the building on the left. At the top of the stairs, find Lethal crates and an ammo box to restock your supply.
Watch for enemies advancing down the corridor. Use the ammo crate here to restock.
Outside, the SDF are raining in reinforcements. Slowly advance, using your weaponry to cut down these enemies from cover. This set of reinforcements is very thick, and will be very difficult to cut through by normal means. Luckily, by now, the Mons’ guns should be recharged. Activate the guns, and cut a path right through the reinforcements. It’s vital you hit the C8, because you can’t advance on the position until you do.
Assuming you got a good hit off, Reyes should announce that the area is secure. Now you get your own reinforcements.
Scale the rubble to find the Objective marker on a set of double doors. Gator steps forward to help you open the doors. Hit the Activate button to help him.
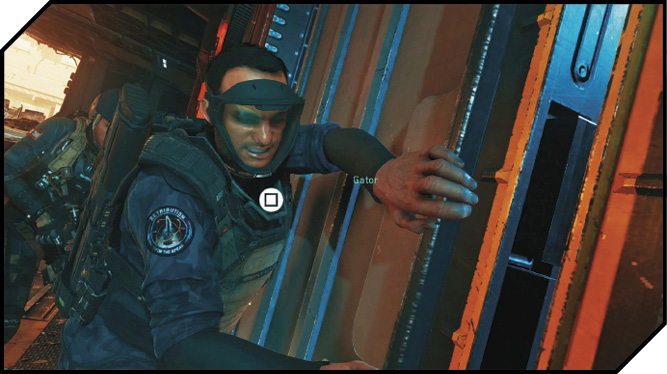
What happens next can’t be avoided and is the unfortunate reality of this mission. It’s possible no one will make it back alive.
Lay some fire on the enemy airship, and it flies off. The second set of AA guns is just ahead.
 OBJECTIVE: Eliminate the second SDF
AA gun.
The SDF here are vicious and cut you down quickly if you are out in the open. Find some cover in the rubble and wait for your guns to reload. This may take some time, so use patience, and only leave cover if an enemy is hitting you while you’re behind cover.
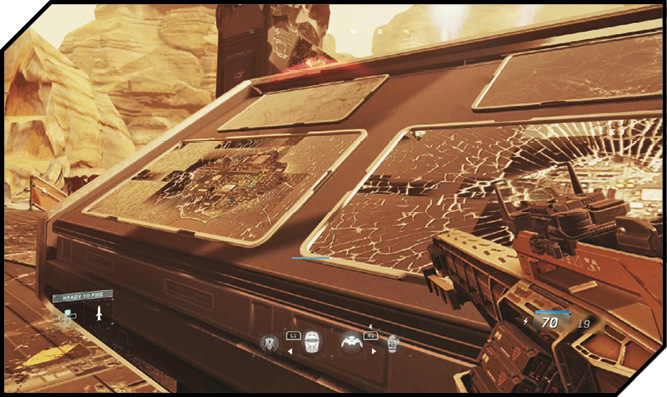
There are a lot of threats here. There is a gunship flying overhead, two C8s, rocket launcher soldiers, sniper drones, and a seemingly endless supply of SDF grunt reinforcements. On Veteran difficulty, we recommend you stay in cover until the gun is recharged here.
Once the guns are recharged, it’s time to end this second gun. Mark your first target as the C8 robot. It’s usually patrolling at the top of the screen. Make sure it’s in the line of fire. End the sweep with the AA gun. This should wipe out all defending enemies. Duck out of cover and check to see if anything is still firing on you. If it is, find whatever it is and neutralize it.
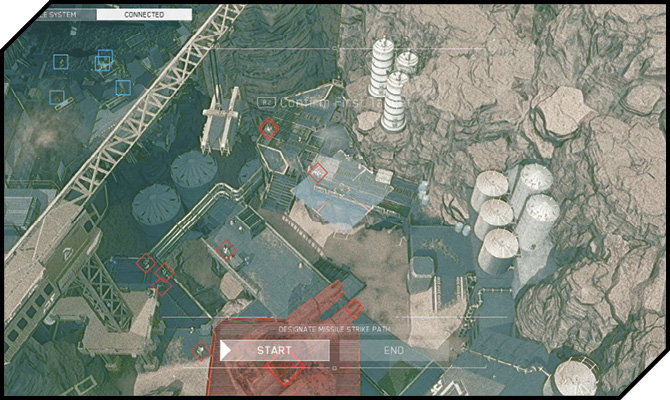
It’s a safe bet to wait for Salter and the rest of the squad to go ahead. The jump here is very difficult. The wall run on the curved wall on the right is a much easier alternative. Usually you do get a checkpoint here, so you should be okay to try again if you fail.
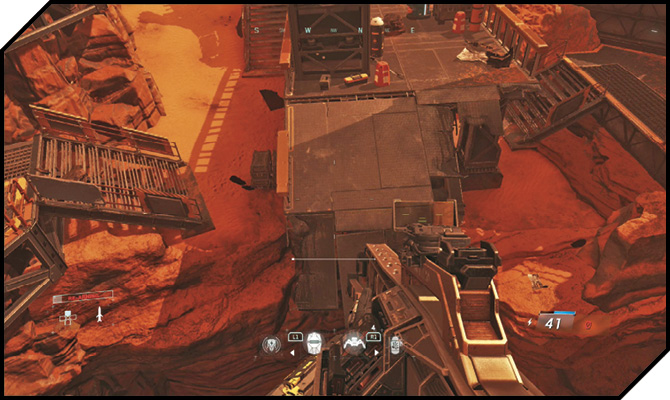
Follow Salter and the rest of the squad into the fiery corridor. Activate the hatch at the end.
This fight isn’t over yet! On the other side of the hatch, you see a soldier using a F-SpAr torch on a C12. Both are doomed. Search the wreckage for the torch and then switch that out with your secondary weapon. Now, sprint up the left side using the rocks on your right for cover.
There are several enemies in good cover in the building ahead. Use your Seekers to take them out from safety of cover. When you have an opening, charge up the stairs to the exterior of the building. The bulk of the remaining SDF will be defending to your right.
When you advance here, more C8s arrive. This is too many to engage directly. Instead, wait for the Mons guns to ready and hit all of them with one blast. To nail all of them, you need to direct the shots up the road the C8s are walking down. If done correctly, you will completely clear the path to the third gun for your team. Be vigilant to avoid blue dots when marking the targets—it is very easy to fail via friendly fire here!
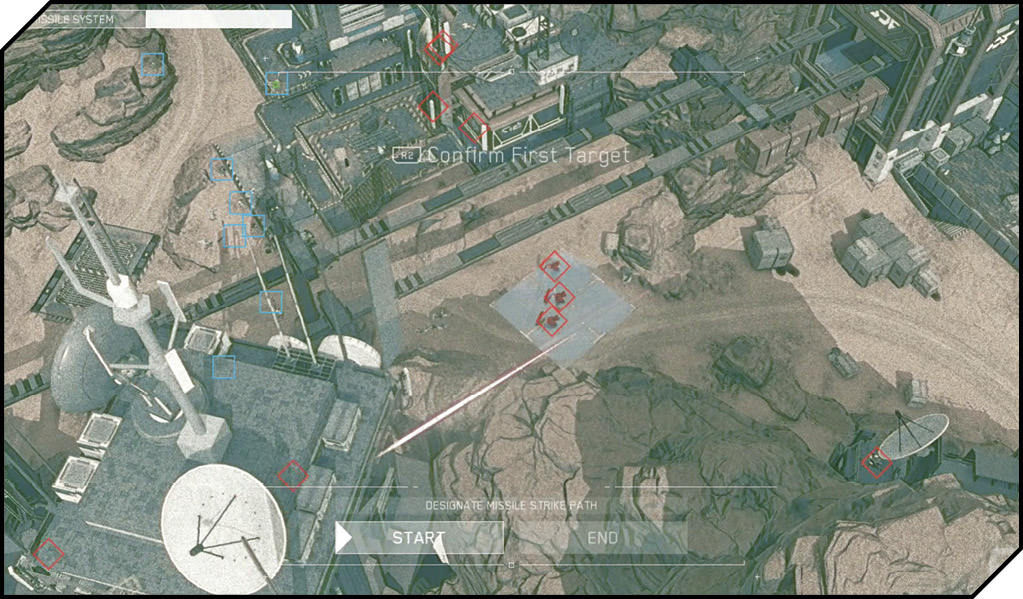
 OBJECTIVE: Eliminate the third SDF AA gun.
Run up the dirt path after your squad. There are a ton of ammo crates in this area, so be sure to get a resupply for your primary before moving into the third SDF AA gun area.
Ethan informs you that the guns are now down, so you can’t call in fire support from this point on. Take cover behind the rocks near Salter.
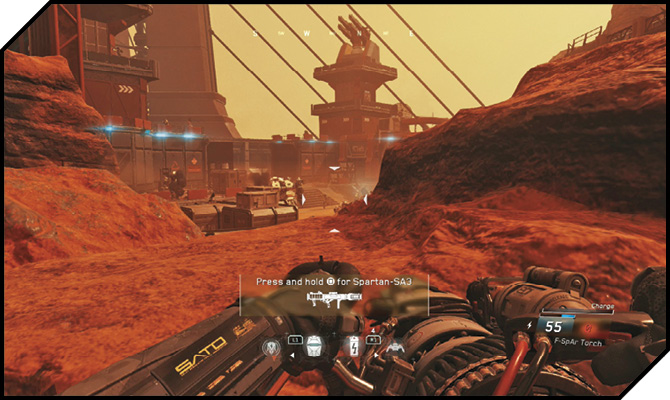
At the base of the AA tower, there are two C12s. Use your F-SpAr to take the one in the courtyard down. If you run out of ammo, there are launchers here to help you finish the job.
When the C12 is down, your Jackal support does what it needs to do to finish the last tower. The quadrant is still very hot, so wait until the AA gun is destroyed before leaving cover. Be sure to grab any remaining rocket ammo before following your squad to the space elevator.
 OBJECTIVE: Gain access to the SDF space elevator.
Activate the grate inside the elevator to gain access to the elevator. Grab the ammo crate as you pass through the corridor. In the space elevator room, strap in; next stop, SDF shipyard!
Assault the Shipyard
 OBJECTIVE: Stop the ambush.
Salter and MacCallum provide support for this part of the mission. Two SDF Marines arrive from down the corridor. Take cover behind a crate and wait for them to pop into view. Kill them and proceed.
Several engineers are working in the next room. Take cover on the left side of the doorway and kill the three soldiers on the right. You don’t have stealth weapons at this point, so the rest of the enemies in the room attack. MacCallum and Salter move up to help you.
Before leaving the room, search it for Shocks. Activate the door next to MacCallum.
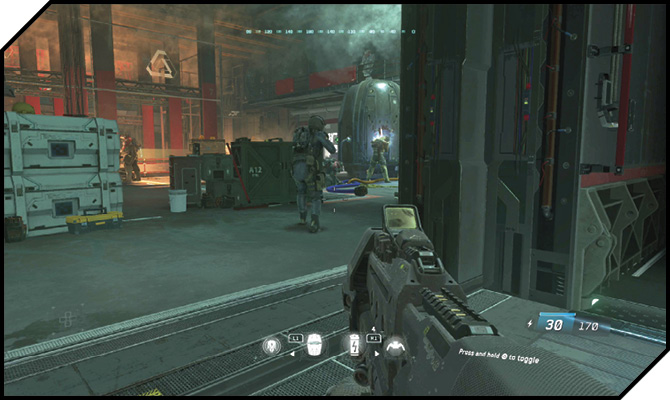
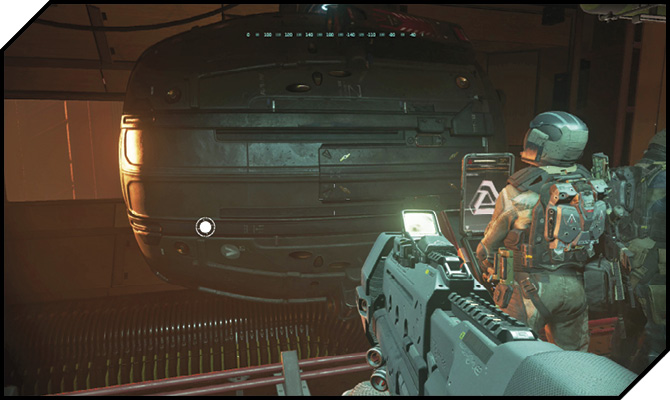
This leads to an alternate gravity corridor. Plant the charge when instructed. No matter how quickly you hit the Activate button, you can’t save MacCallum. Now it’s just Reyes and Salter.
The corridor leads to a room with several types of ammunition crates. Grab the Hacking Charges. Hack one of the robots in the lower area and self-destruct to kill all of the enemies in one go. Alternatively, one Shock Grenade can wipe out the whole group.
Activate the lever.
 OBJECTIVE: Get to the Firing Controls and release the Weapons Systems.
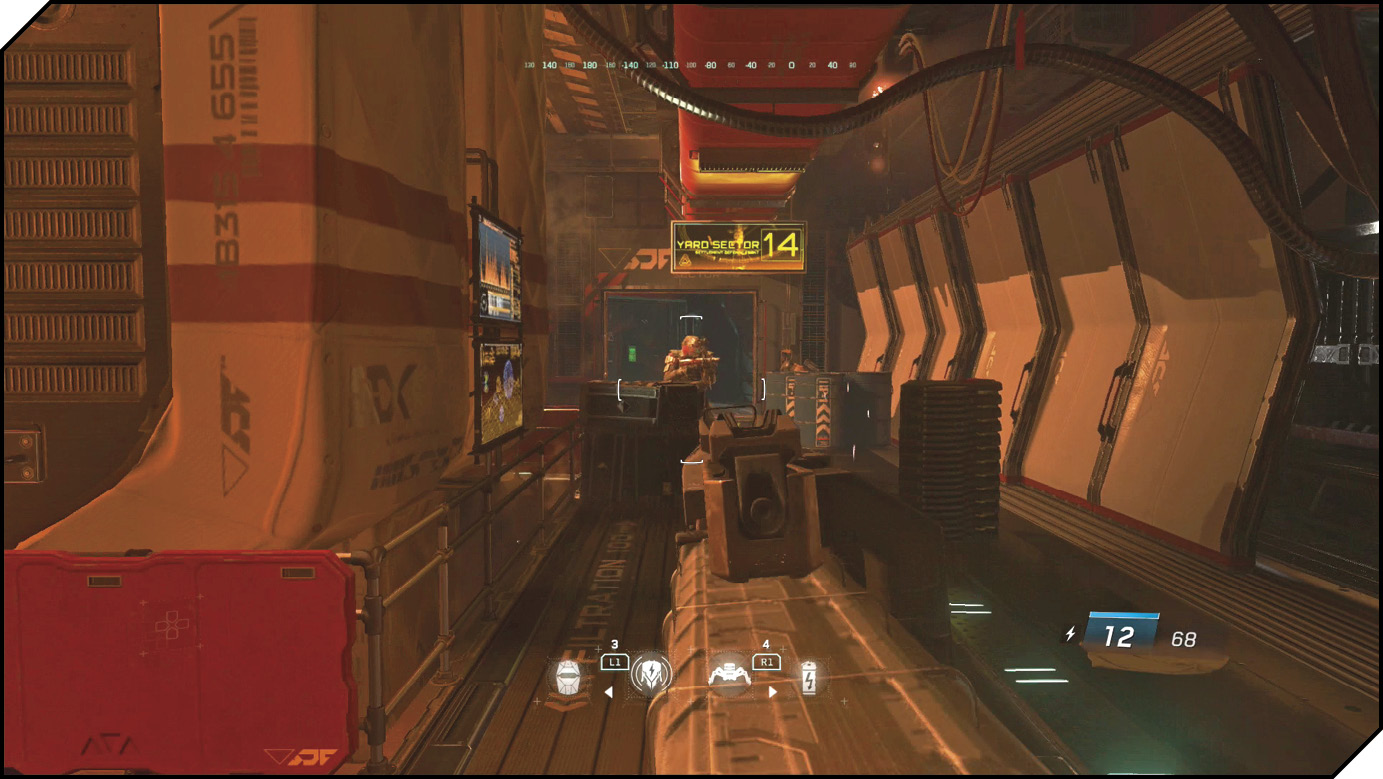
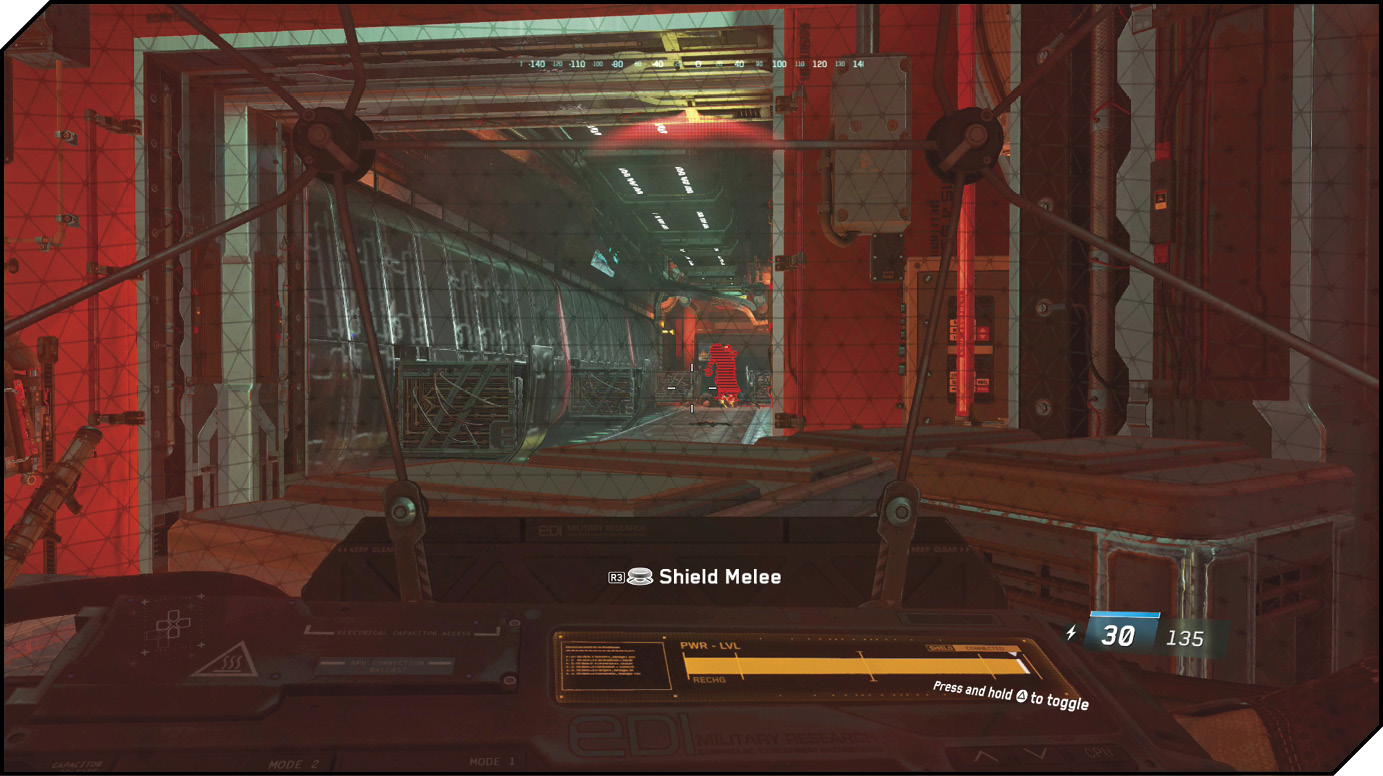
Ethan will be your eyes and ears for this section of the mission. He pilots your shuttle automatically to the Weapons Systems.
As you exit the shuttle, temporarily switch out your Shock Grenades for Seeker-Bots and restock your Hacking Charges. There’s also an ammo crate. When you’re ready to proceed, move to the open corridor. There are two enemies behind cover; eliminate them.
The door here opens, and there are two robots inside. Kill them, and then toss Seeker-Bots into the next room to kill all the soldiers within.
Before going forward, return to the supply room and grab the Shock Grenades. Walk down the corridor. When the next door unlocks, have a Hacking Charge ready and hack the drone inside from cover. Use the drone to kill the two defenders. As you advance, Ethan kicks out the high-tech drawers in the area to give you cover. Use a second Hacking Charge to hack the reinforcements.
With the first corridor clear, another high-tech drawer corridor is ahead. Advance carefully. There are snipers inside. Additionally, a C8 will appear at the back of the corridor. This is a worst-case scenario for battling a C8. On Veteran difficulty, it will kill you only a few seconds after you pop out of cover.
Use the rocket launcher you acquired on the previous level to destroy the C8. Dumb fire the rockets down the corridor, and it should take massive damage. If it’s still standing after that, or you don’t have the launcher, you will need to use Shock Grenades to take it out. Toss a Shock Grenade, and then strafe out and fire on it while it is defenseless.
The tricky part about using the grenades is that you need to lure the C8 to move down the corridor farther. If this isn’t working for you, go prone and use the crate to just edge out and shoot the robot from behind cover. If done correctly, it will let you get shots on the C8 without it being able to target you.
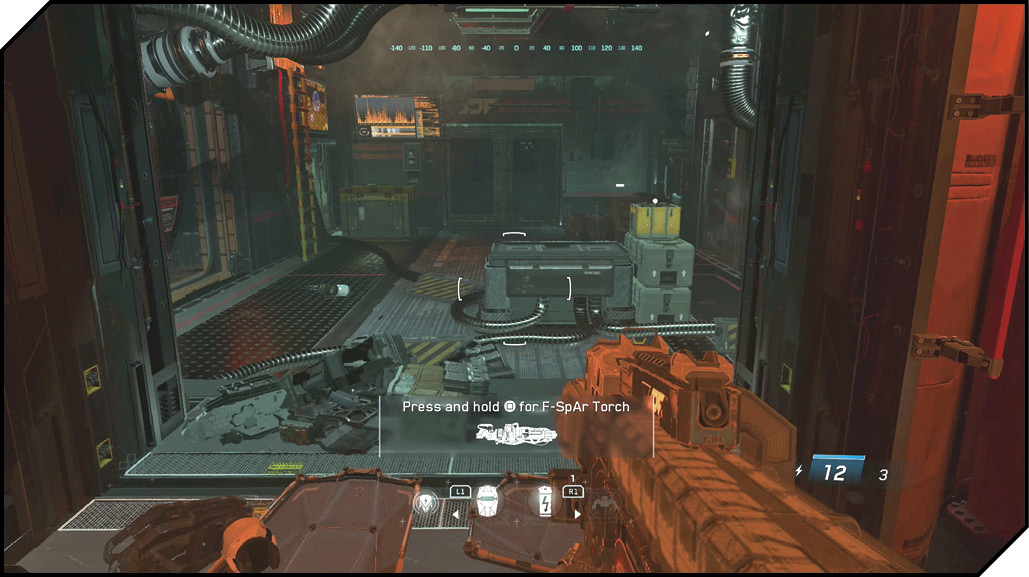
Once the C8 is down, jog down the corridor. Take the shield from the C8, and then grab the frag grenades in the next room.
The way forward is up a ladder and into a maintenance shaft.
The shaft is narrow; you must go prone to proceed forward.
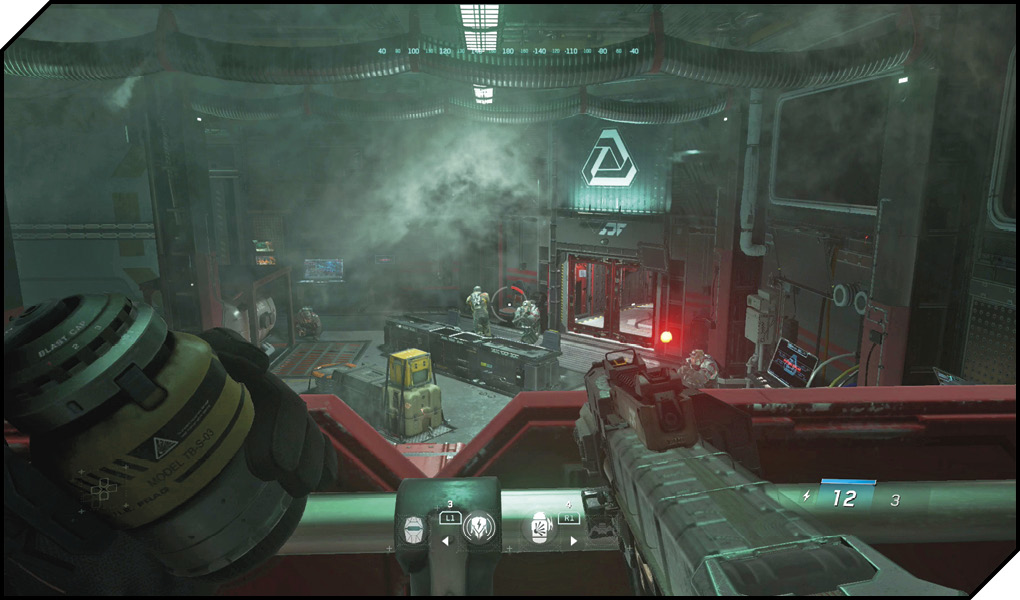
When you fall down the shaft, wait for Ethan to clear the room. Step inside, and several enemies charge into the room. Sprint up the stairs on your right and take cover at the top. Drop a Frag Grenade on them from above. Clean up any survivors and head into the elevator.
 OBJECTIVE: Deactivate the Firing Controls.
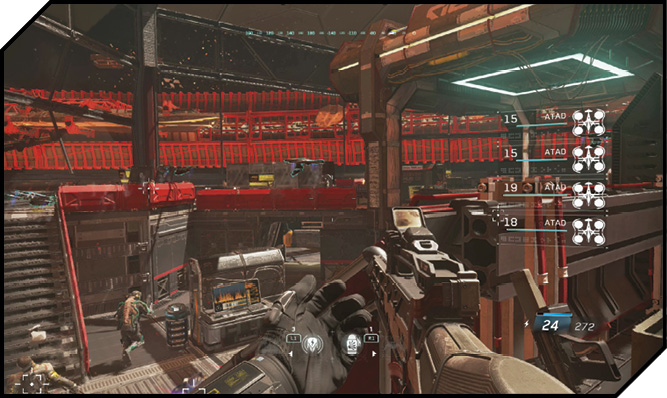
Have your shield ready at the top of the door. An enemy spots you just before the door opens. Deflect his fire and melee-kill him with the shield.
This control room is
absolutely filled with enemies. Luckily they left some Lethal and Tactical equipment by the door. Move forward and grab the drones. Activate both of them, then re-equip the shield. There are also Frag and Anti-Grav grenades.
Clear the left side of the area first. Use cover to pick off the enemies in the upper and lower areas. Toss Frags below to clear out the SDF and drones from cover.
Once you make it through the section, Ethan instructs you to hack the terminal. It is in the center of the room. Activate it.
 OBJECTIVE: Use Ethan to release the moorings.
Ethan sees only one way to deactivate the Firing Controls, and that’s to have you hack him. Faced with no other options, you hack into Ethan automatically.
 OBJECTIVE: Destabilize the reactor to release the moorings.
Now that you are controlling Ethan, move down the stairs to the tunnel below.
Activate to the pull the hatch. Drop down to the reactor room below. Continually hit the Activate button to pull the reactor shielding free.
Move forward toward the reactor, you must make Ethan’s final sacrifice for him. Hit the Lethal button to activate the self-destruct and complete the mission.