
Call of Duty: Infinite Warfare Guide Single-Player Campaign Walkthrough
Black Sky
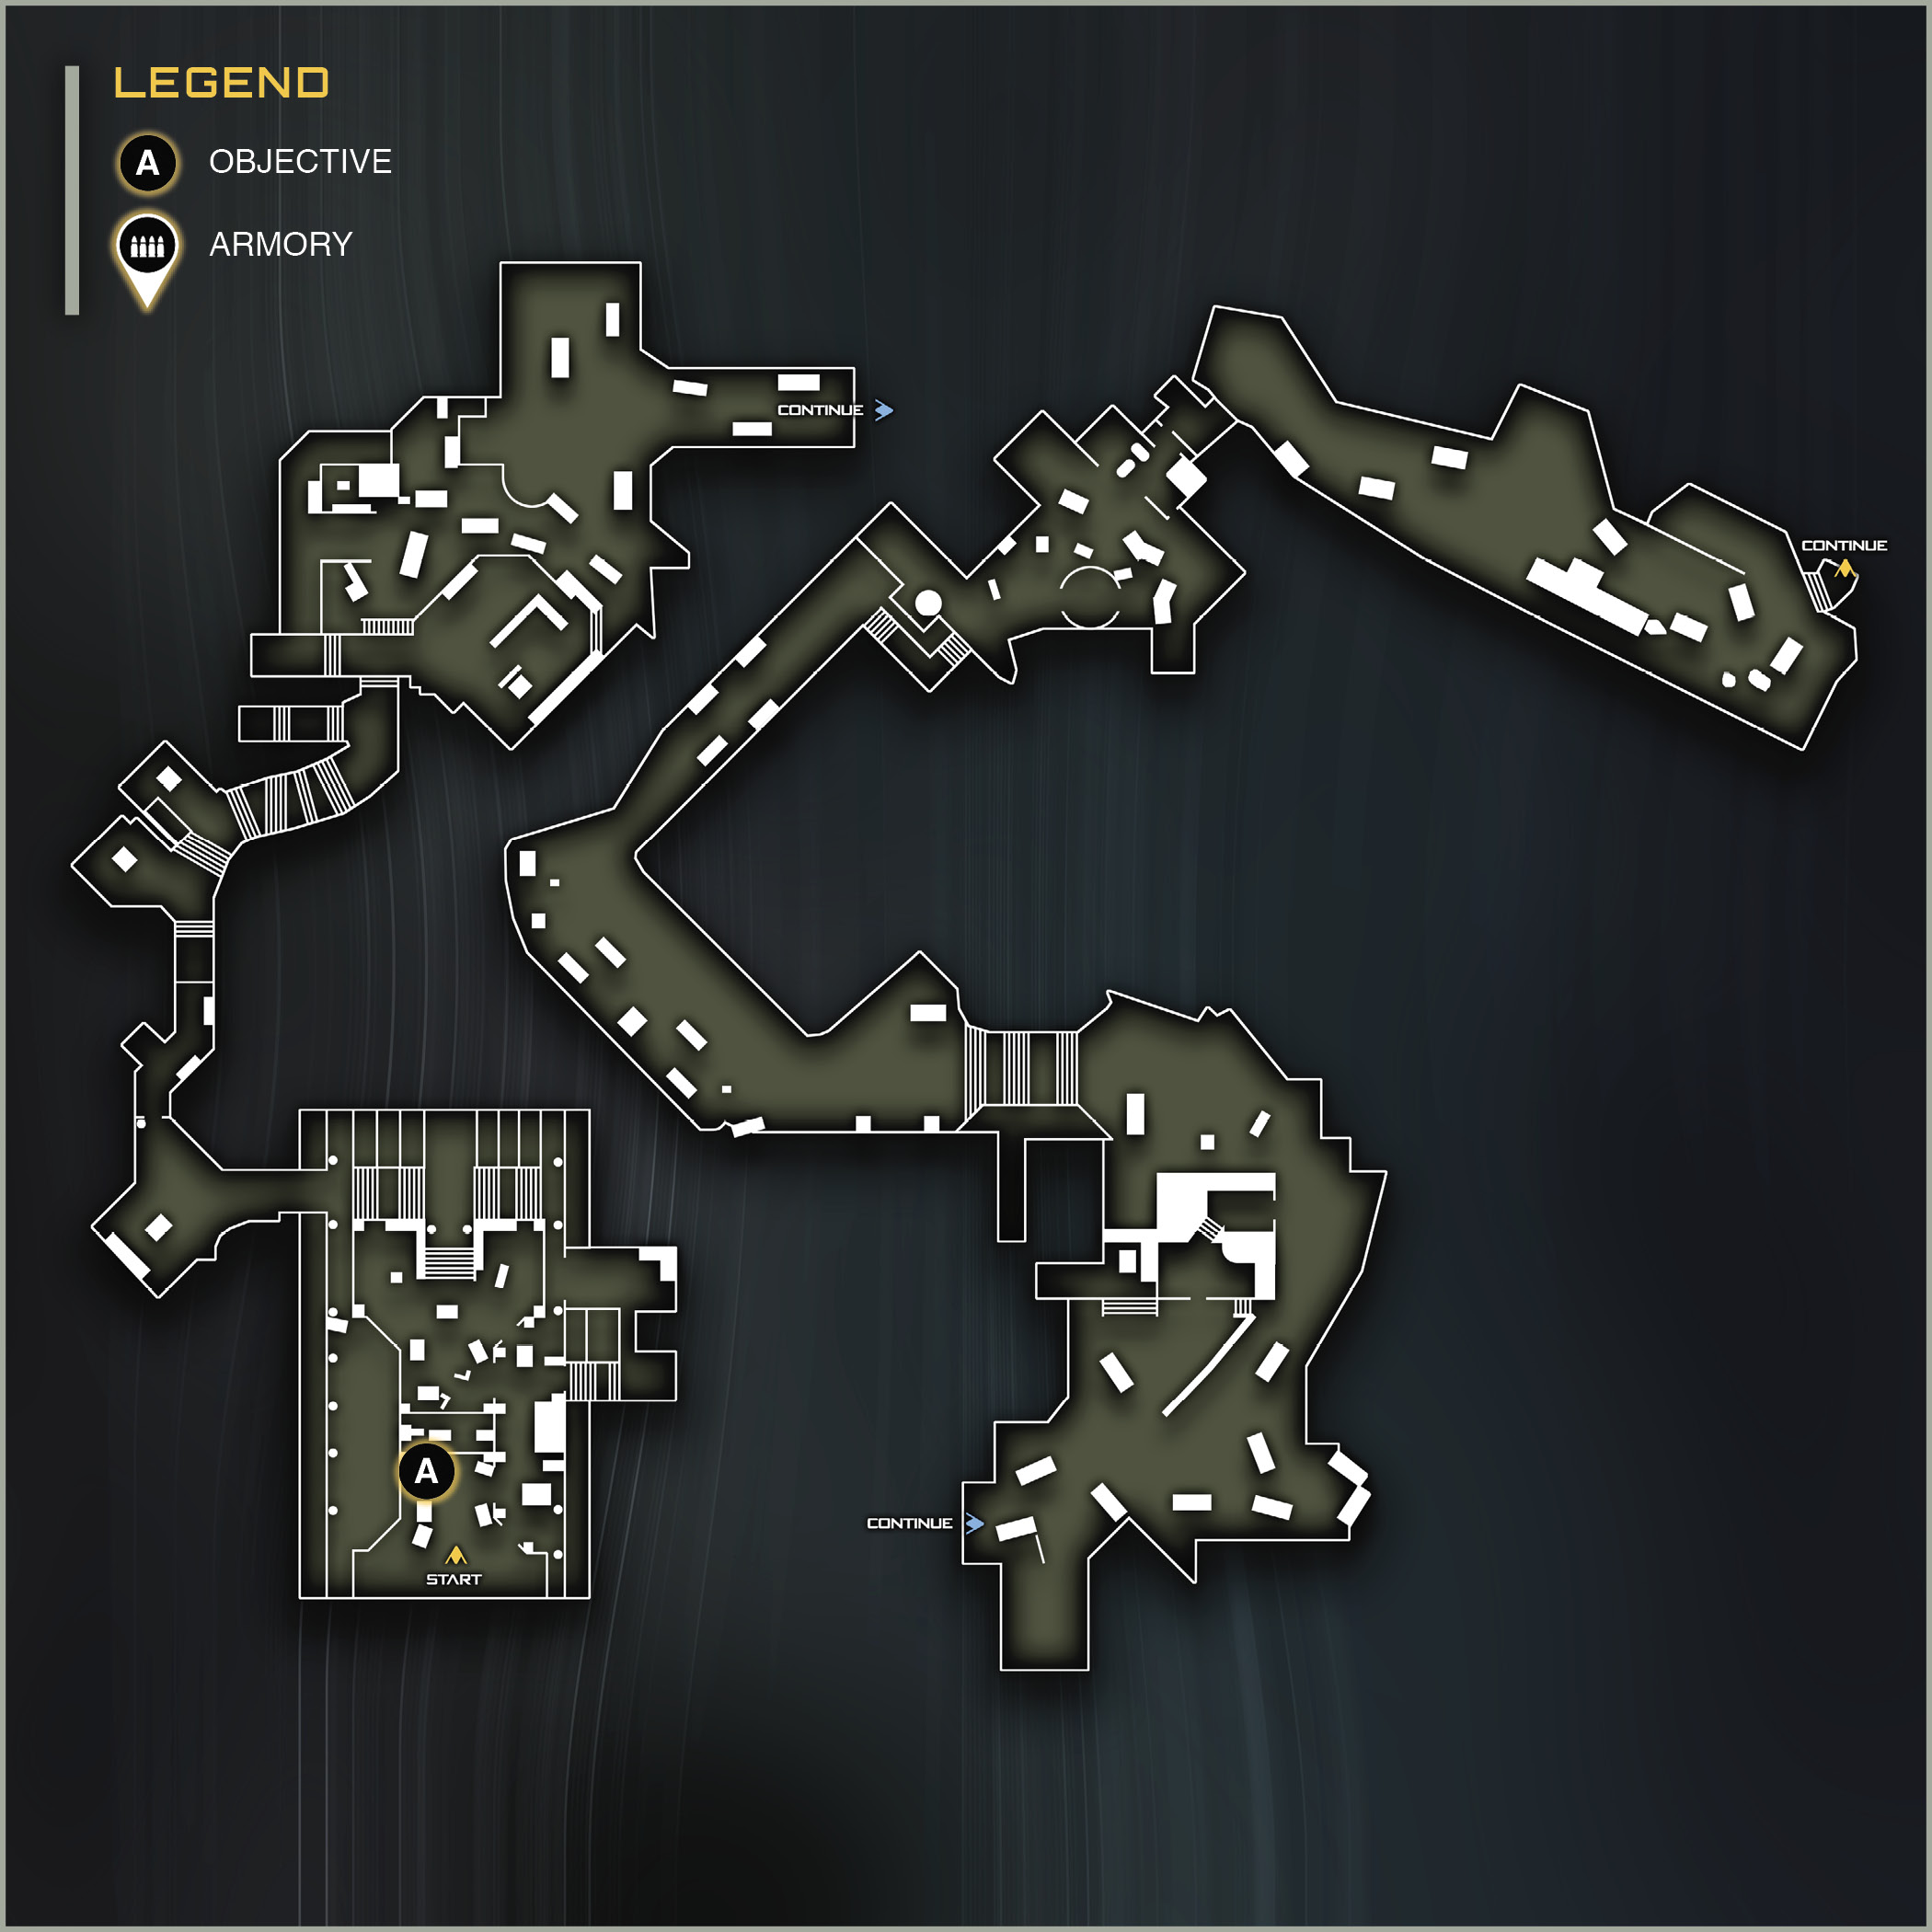
Parade
Team:
LT Nora Salter SCAR Ground Support 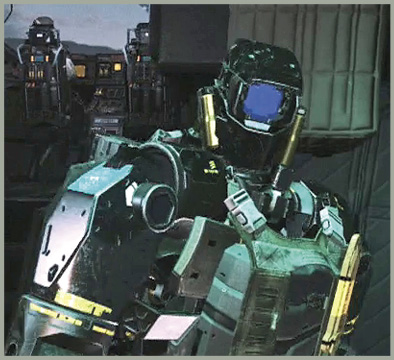
PFC E3N (Ethan) Marines Ground Support 
FADM Raines Navy Ground Support |
It’s Fleet Week on Earth, and the UNSA is showing off its latest tech and the newest additions to the fleet.
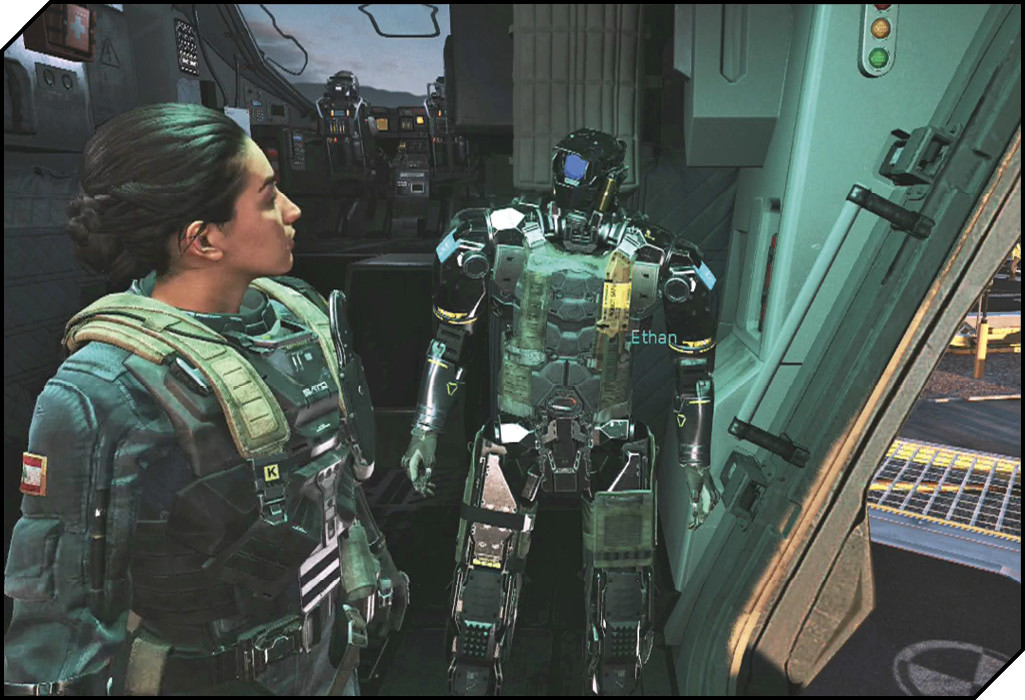
You are playing Lieutenant Reyes, leader of a squad of elite navy pilots named the SCARs. You start the level next to Lieutenant Salter, Reyes’ right-hand woman. She’ll be your number one throughout most of the campaign. Follow her as she leads you through the crowd to the transport ship.
Hit Activate to meet E3N (henceforth referred to as Ethan, his preferred designation). Ethan is the latest UNSA tech, a battle drone programmed with a real Artificial Intelligence. Ethan shows off some of his AI humor as you take off with Admiral Raines.
You may have guessed by the foreboding mission title, all is not well on Earth. SetDef shows its ugly head shortly after you take off.
Under Attack
After you regain consciousness, Salter throws you a KB45 Pistol. This is a life or death situation. Hold the Aim Down Sight button and kill the soldier directly in front of you.
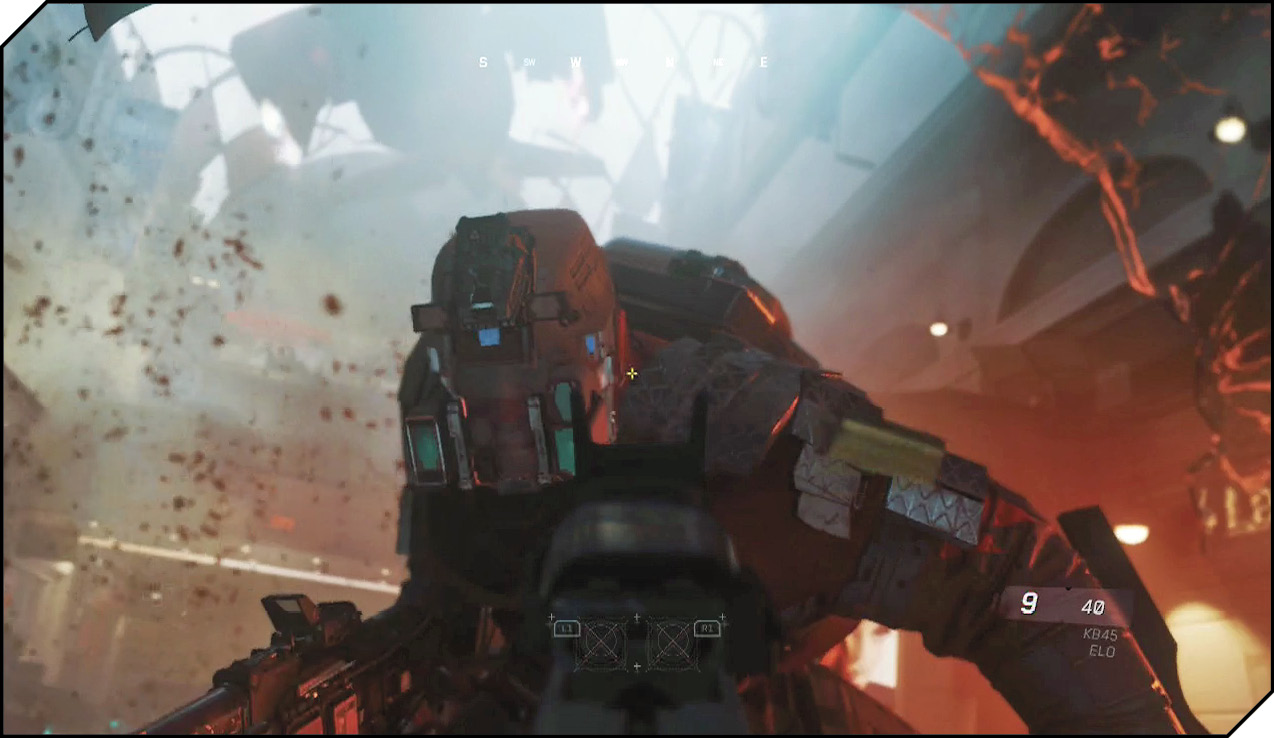
 OBJECTIVE: Fight your way to the AATIS control tower and stop the SDF attack.
When you’re free of the ship, your first order of business is going to be obtaining a weapon upgrade. Your easiest option is to grab the weapon that enemy soldier just dropped—it should be directly at your feet once you jump down from the transport ship.
Instead of engaging them from a distance, sprint to the magazine rack in the middle of the area. Stay in cover, peek out, and shoot one or two of the enemies here and grab their weapons. Now, fight your way up the stairs on your right.
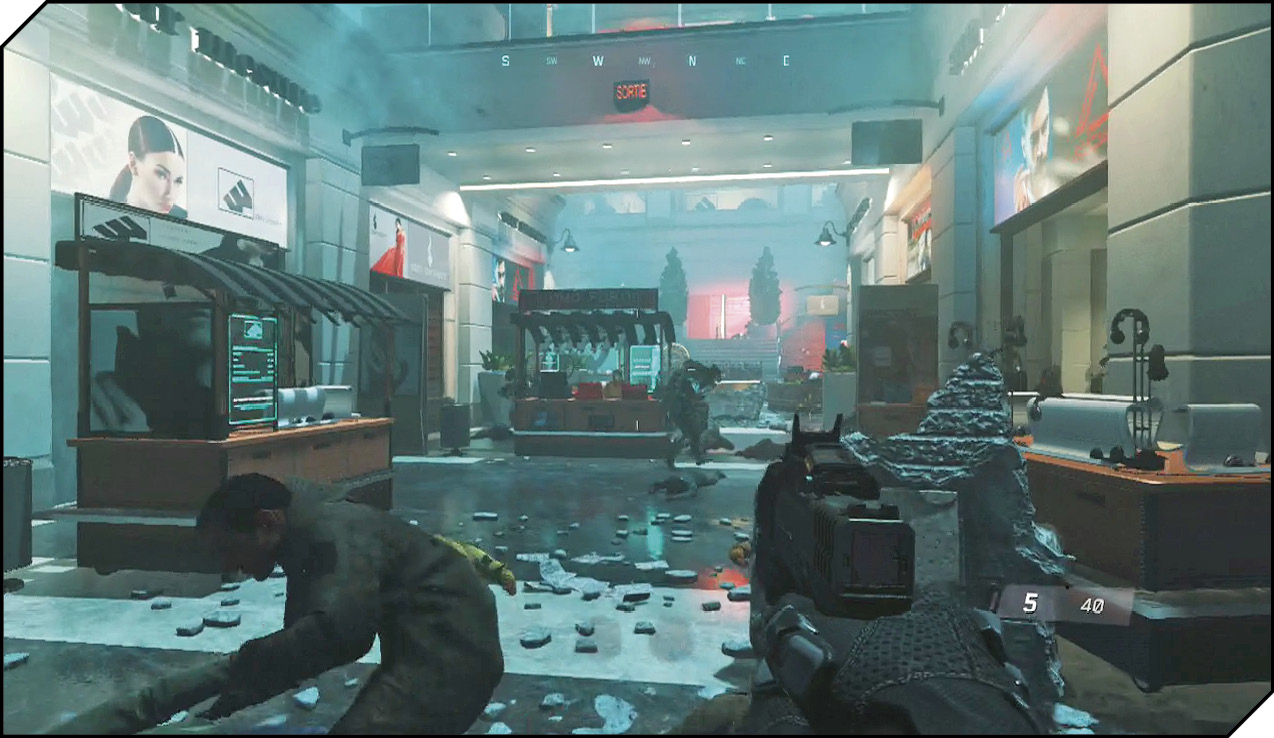
At the top of the stairs, there are a few guards firing down into the main position. Salter will help you take these guys out, but stay in cover when you open fire.
With the top clear, your team should advance on the lower level and clear out the rest of this large mall corridor. Kill any stragglers on the opposite staircase, and then search the battlefield for weapons and ammo before moving on.
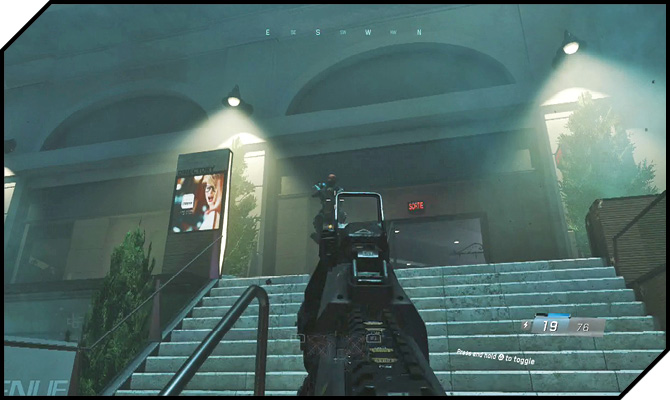
The exit is the stairs on the left side of the hall. Climb up the stairs and proceed down the hallway.
The hall leads to an outside area. Follow your squad down the stairs and use the Activate button to open the double doors.
Salter hands you a Frag Grenade. Prime the grenade and toss it down into the newly arrived SDF forces below.
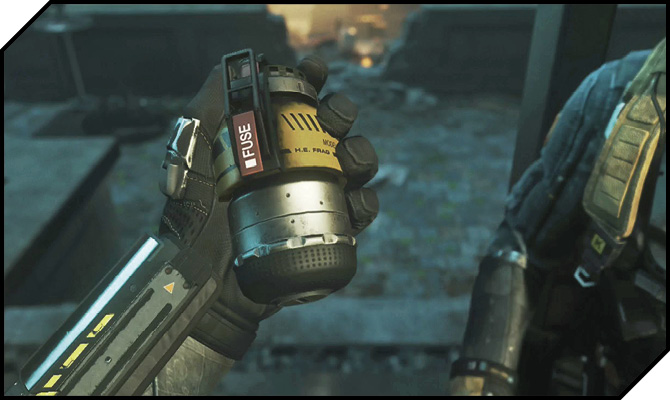
Follow Salter, and use your Frag Grenades to take out the enemies hiding behind the rounded concrete wall and in the streets. There are civilians in this area, so be sure not to catch any in your blasts.
Before following Salter back into the street, restock your Frags from the two weapons cases in the cover here.
Follow Ethan and Salter up the street. Keep an eye out for any enemy survivors.
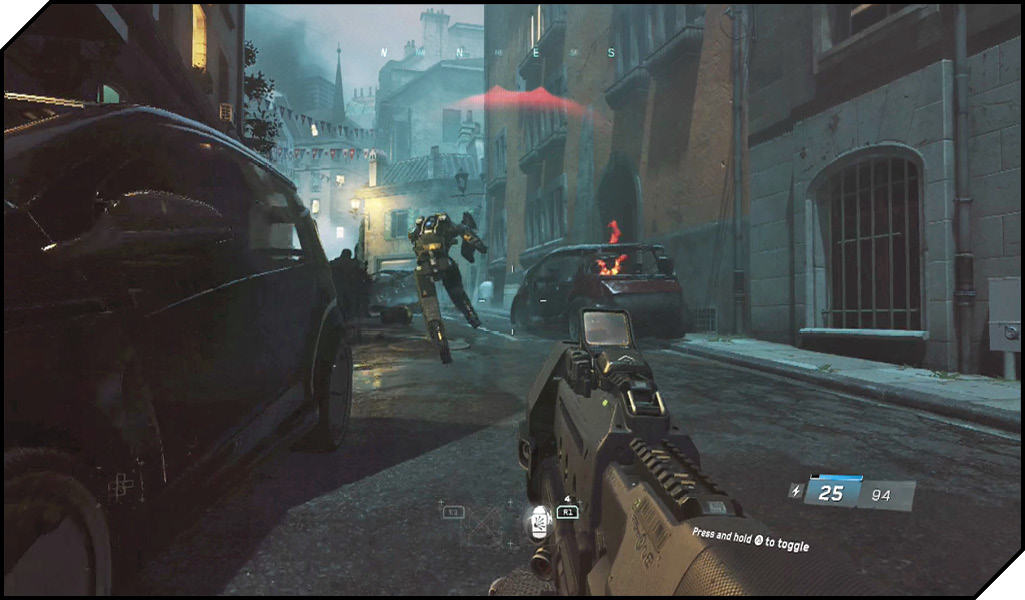
At the intersection, lean out and kill the Turret gunner in the hovering drop ship.
At the end of the intersection, a large set of SDF reinforcements arrives. Stay in cover and use up your Frag Grenades to weaken them. Check the house on the right for a crate of Seeker-Bots. These are the robotic grenades from the first mission.
The town square you are in has snipers in the second floors of the buildings, as heavily armed grunts patrol on the ground. Pick them off from cover; you should have plenty of ammo to clear them all. If you run low, you can return to the docks to get some more Volk and EB40 ammo from the downed soldiers there.
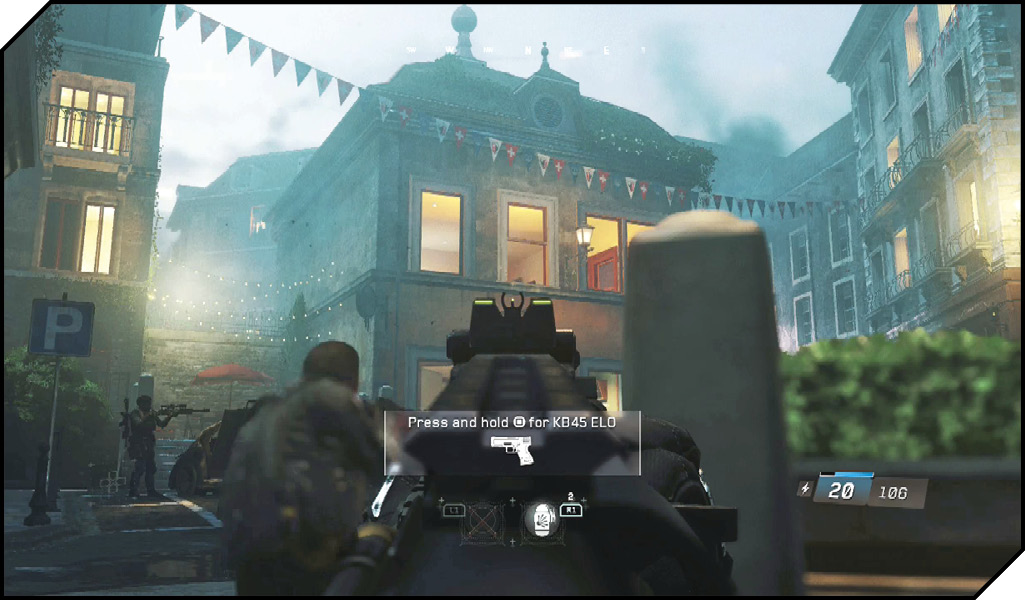
When the second group of reinforcements arrives and uses the barricades for cover, use a Frag Grenade to blow the car at the back of the area.
With the square clear, carefully move into the shop on the left. There is a soldier in the back room, so be ready to stop him as he charges out.
Back on the street, there is a KBAR-32 leaning against a jersey barrier.
Follow your squad as the street curves back down to the docks. After the yacht is launched into the street, cut up the street right and sprint past the cars here to the staircase on the right side. (You can safely ignore the enemies that arrive at the end of the alley.)
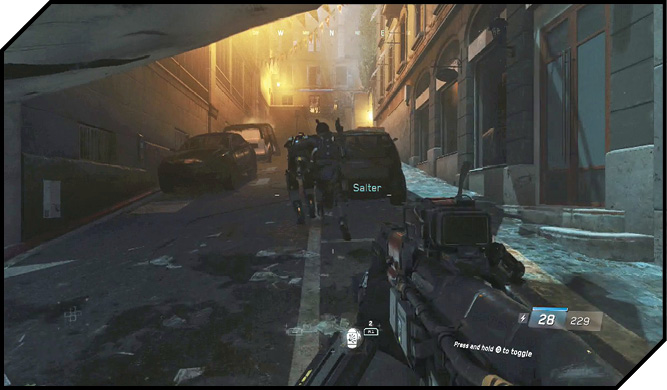
SetDef has completely locked down the street at the top of these stairs. They have LMG robots and snipers in the buildings above. Carefully peek out and take down the robot in the window. Do the same with its sniper partner in the next window to the left.
The enemy has strong position in the market stalls below. This is a great place to use your Seeker-Bots. Deploy them, and then restock with the Frags crate off to the left.
When you’ve cleared most of the enemies out, advance in cover along the back right side of the area. This leads you to the enemy’s flank, which will make it easy to finish them off.
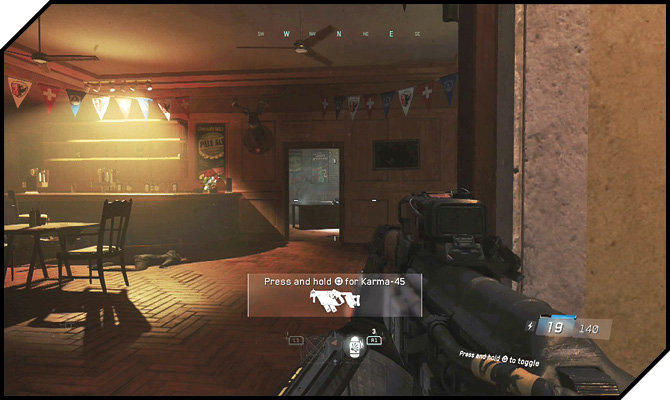
Follow your squad through the bookstore. Since you don’t have a booster pack, Ethan helps you over the wall at the dead end.
After the Nova crashes, proceed up the darkened streets. There’s nothing you can do to help the civilians. You must continue on to the AATIS tower.
At the end of the street, a drone attacks you. A quick melee attack will is a sufficient counterattack, but be ready to kill the bot partner with your weapon after you are released.
The next street leads to a fountain square. There’s a R.A.W. Reflex LMG loaded with energy rounds leaning on the wall here. This is the perfect weapon to use against the robots. You can also find another three crates of Frags, and a box of Seeker-Bots. Feel free to use all the Seekers and Frags on the robots; you’ll get some more Seekers on the way out.
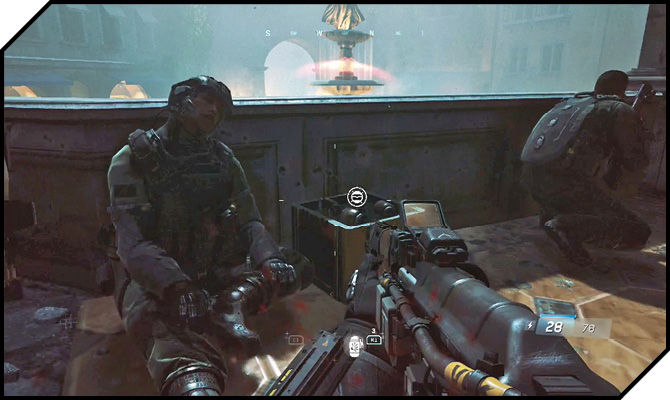
Follow the upper cannon walkway around the side to get a better position on the robots. When the fountain is cleared, Raines signals to Salter to lead the charge out. Replenish your ammo supply with the ammo crate in the middle of the fountain area. As you exit into the next street, a crate of Seeker-Bots sits next to the corpse on the left side.
Leaving the fountain area, a large SDF ship arrives and pummels the street with fire. Sprint out of the street to take cover along the left side. SDF defend the building directly ahead. Use a Seeker to clear the building.
There are some enemies on the street to your right, so be careful you aren’t exposed from your cover.
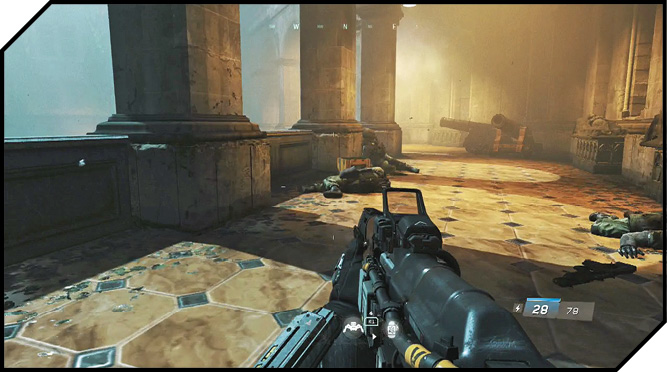
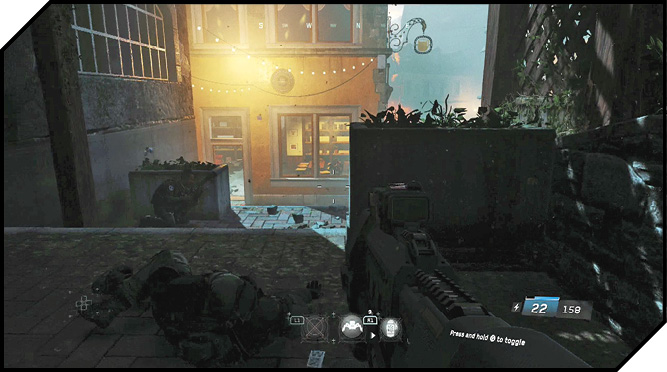
Move into the building directly ahead. When you emerge out the backside, check your left flank to get a drop on the enemy there. Use your remaining Seekers on the street ahead and replenish Frags from the nearby crate on your left.
When the way is clear, press forward to the Ziegler Francisco building.
Hit Activate to begin your first Peek action. Peeking allows you to see what’s on the other side of the door without immediately alerting the enemy of your presence. Peek inside; shoot the trooper immediately in front of you. Kick the door open and kill the solider behind cover on the right.
Use a Frag to dispose of the arriving enemies at the front of the restaurant.
As you move forward, a large deployment of bots drops in the front door. Ethan seals the window and gives you a Hacking Device.
While controlling the bot, you can freely attack its friends. Eventually, however, the enemies realize the bot has turned and begin attacking back. When this happens, hit the Throw Frag button to start a self-destruct sequence that results in a massive blast, killing any nearby enemies. You only get about thirty seconds in control of the bot, so use your time wisely.
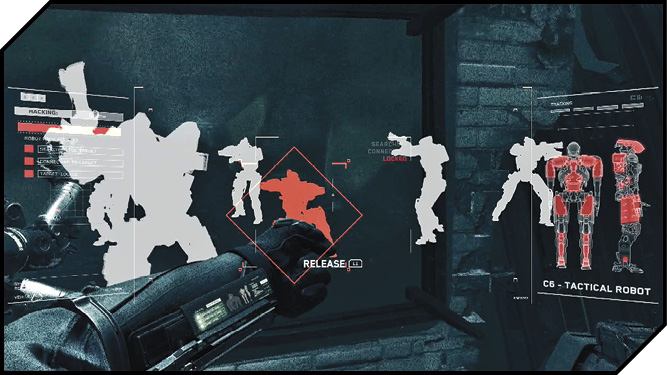
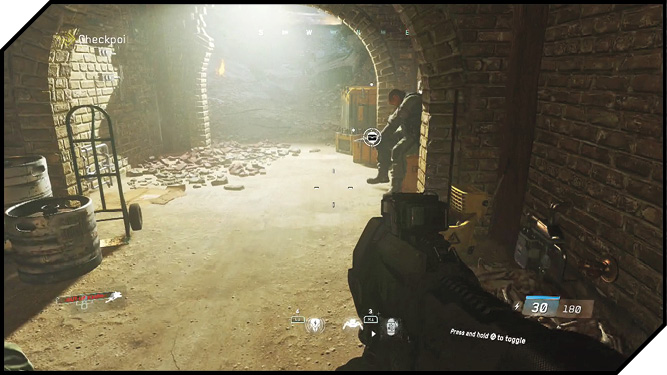
With the bot squad twitching and in pieces, jump through the window. Follow your squad up the street to the downed beam. Help Salter lift the beam with the Activate button. This is your first Tactical Equipment. Hit the Tactical Equipment button to activate the hack. Focus on one bot and wait until it turns red. Release the button, and you take control of the bot.
In the basement, you find makeshift quarters for the wounded. You will find a crate of both Seekers and Frags here; take whichever type you prefer. There is also an NV4 Assault Rifle sitting on one of the crates. Don’t miss the ammo crate; restock your weapons before leaving the basement.
The tower is dead ahead. Time to charge!
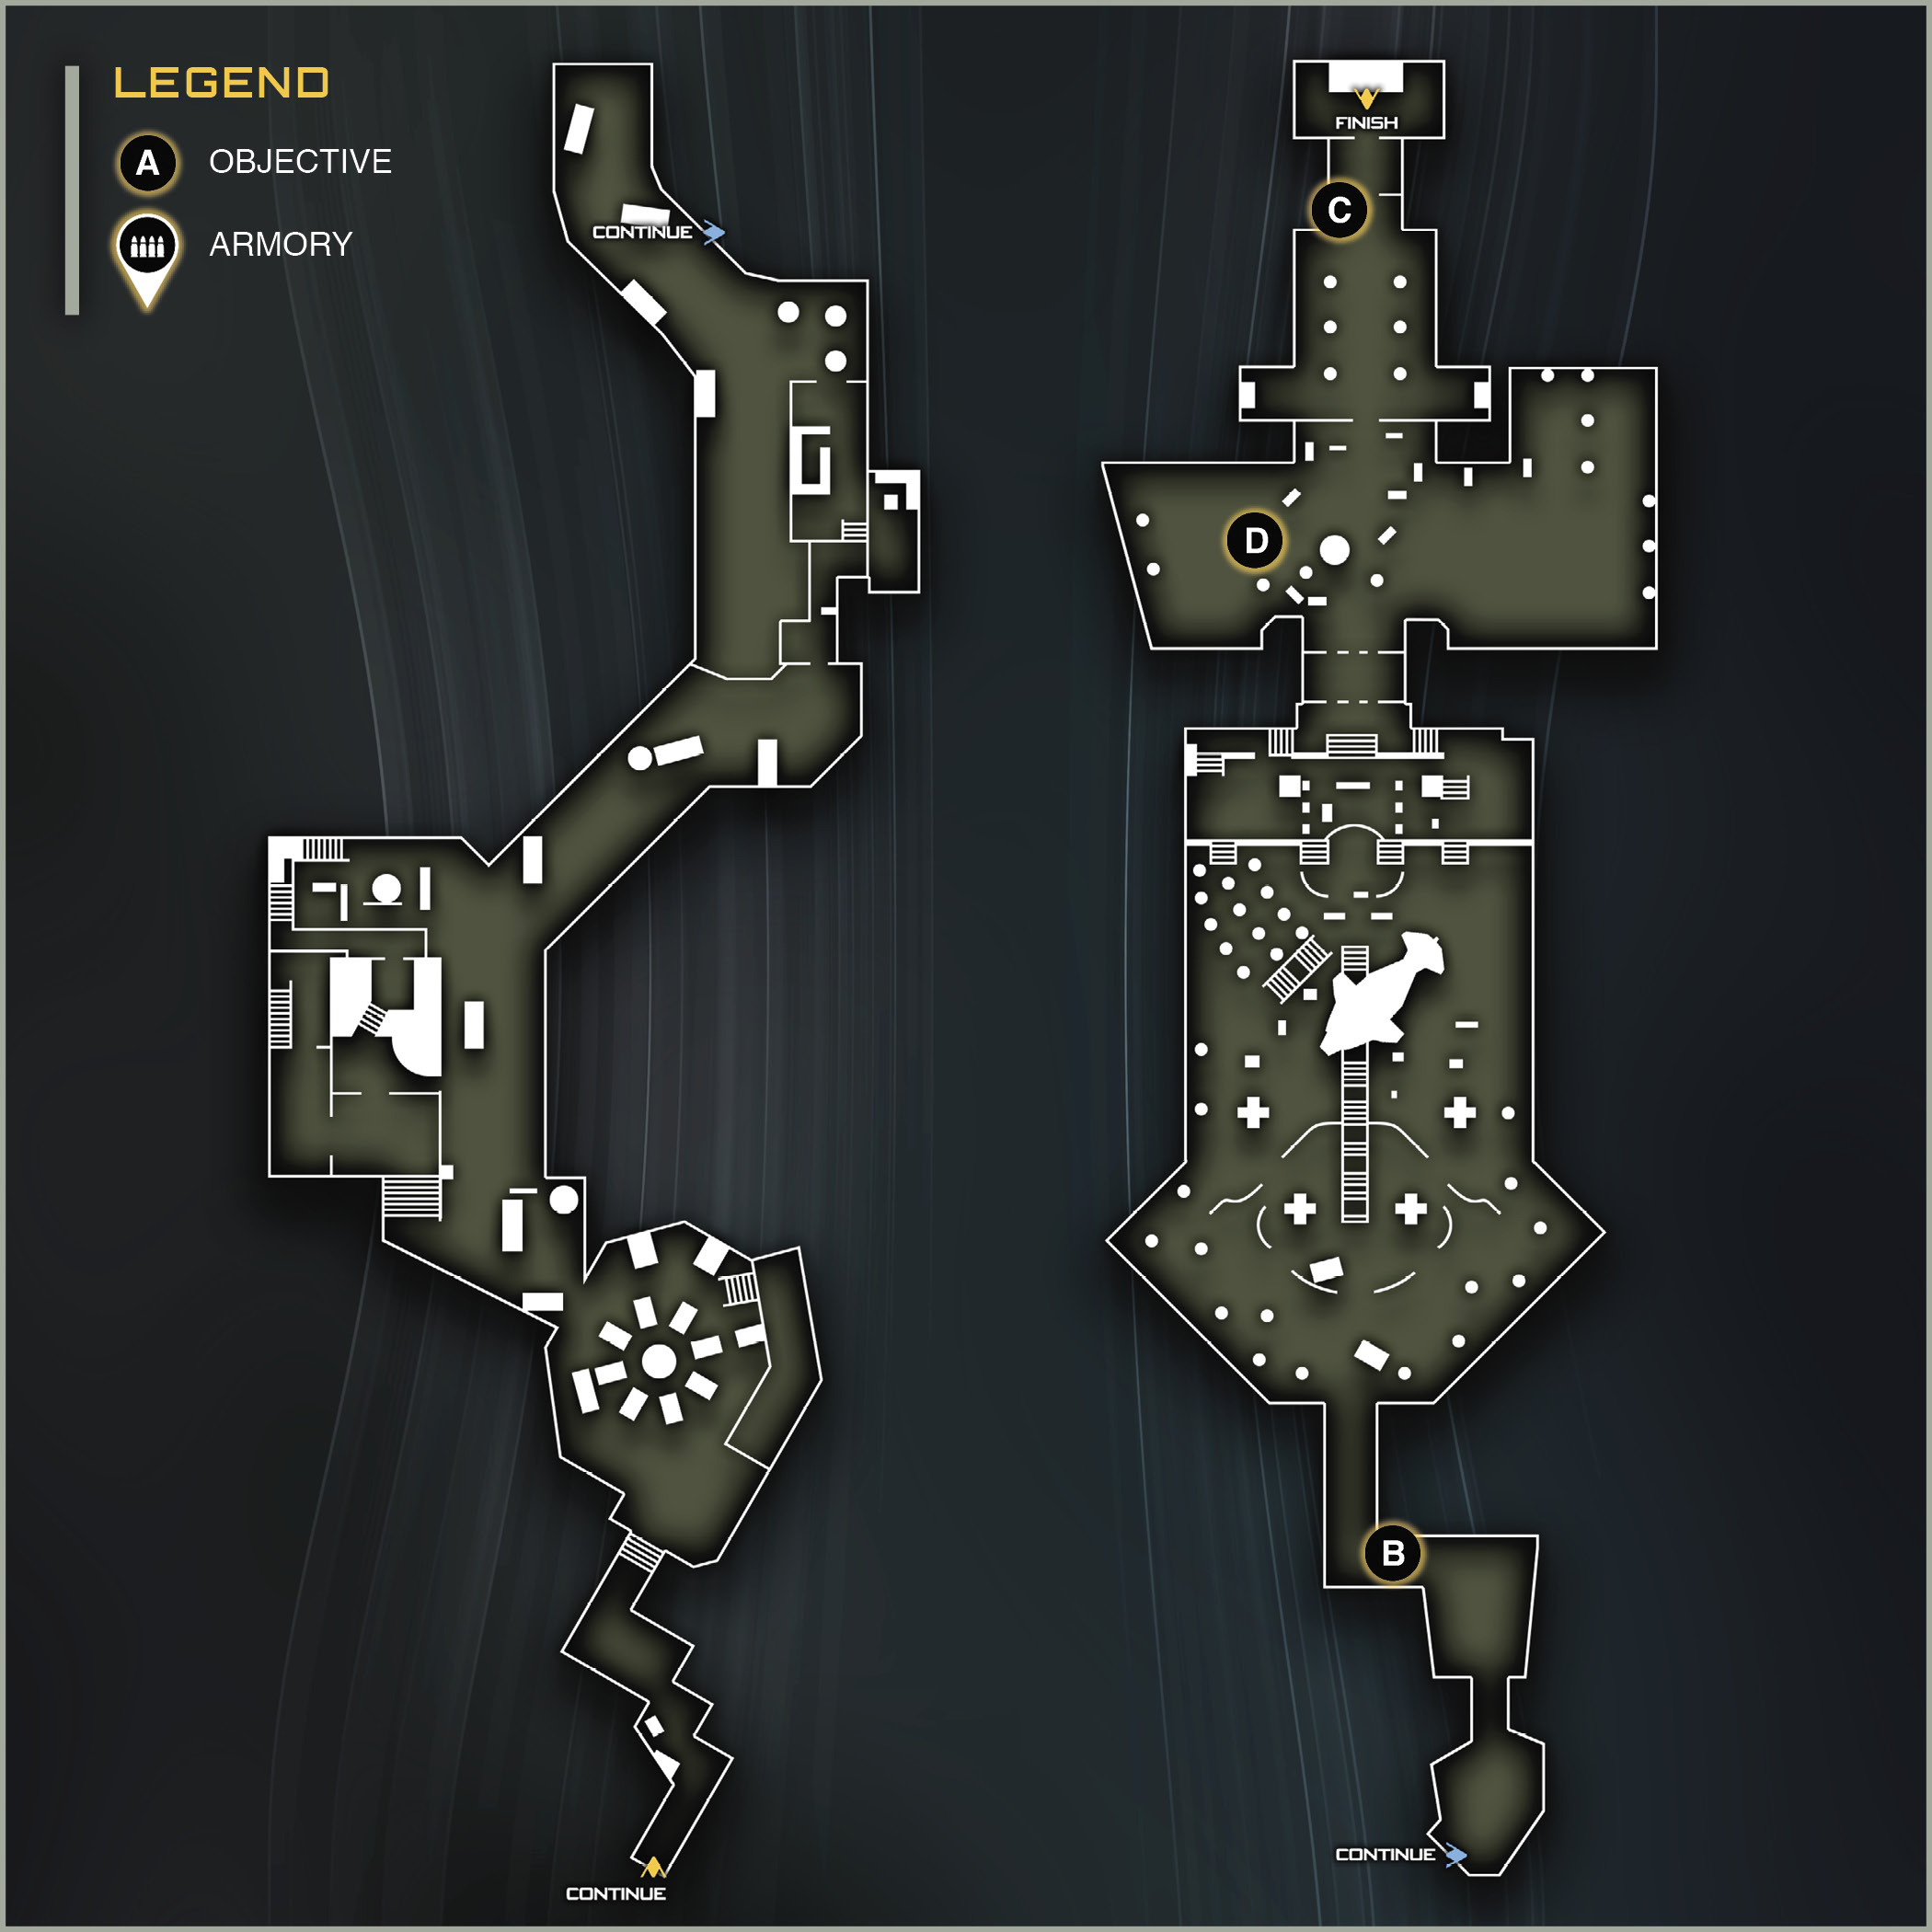
 OBJECTIVE: Take the hill and repel the SDF forces.
Sprint up the right side of the area. This keeps you out of most of the incoming fire. There’s plenty of cover on the barriers here. When you see the downed enemy transport ship in the middle of the area, head for the low wall to the right at the bottom of the central staircase (that the transport cockpit rolls down) to grab an EBR-800 sniper rifle.
When they give you the go, you can use the indicated Inventory button to pull up the Jackal strike interface. Highlight the enemies on the downed transport and hit the Fire button to call in the strike.
Now, head for cover inside the hull of the downed transport straight ahead. Refill on Hacking Charges here if needed. You are waiting for a drone ship to arrive and hover over the area ahead. From the safety of the dropship, use your Hacking Device to hack one of the bots on the drone ship, and self-destruct it to bring the whole thing down.
Your Jackals should be ready for a second strike. Use it to take out the enemies defending the right side of the tower base ahead. Continue advancing in cover and using the Jackals when they are ready. Using the Jackal interface can tell you when an area is clear, but you must advance on the enemy or they will continue to reinforce.
Don’t rely entirely on the Jackals. Stay in cover and pick off enemies from safety while you wait for your squad to get into position.
If you stuck to the right side, you will eventually jump up into the tower base and find a ladder that leads to an upper area. This is the perfect place to finish off the SDF with the Jackals. Wait for the recharge and rain fire on the defenders.
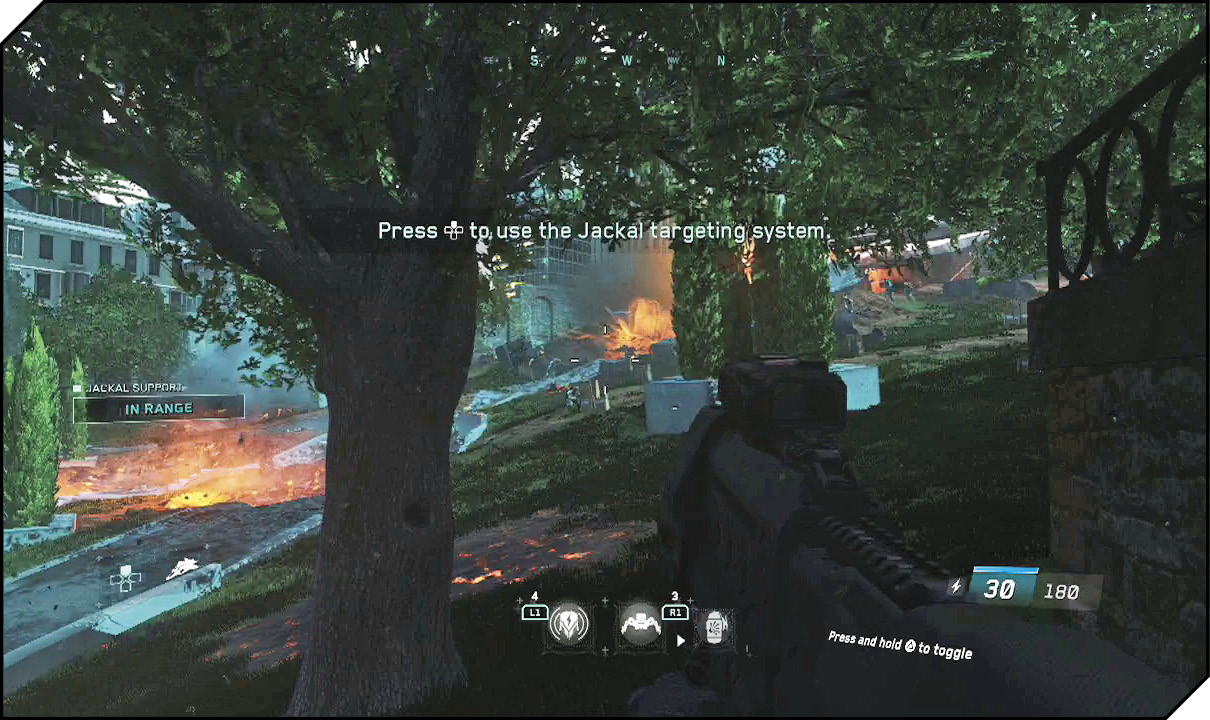
Don’t forget, you still have Hacking Charges, very useful while you are waiting for three-one to get on point. When you’ve cleared the base exterior, jump the wall and proceed to the next point of cover, just outside the base entrance.There are plenty of SDF here, so be patient and wait for your Jackals to recharge and deploy another attack before making an attempt at the tower doors. You can wait for the rest of the UNSA forces to advance before following them through the doors.
When you get inside the lobby, you need one more Jackal strike to secure this position. Fire away, and clean up any stragglers with your Seekers. Ethan will give you an all clear.
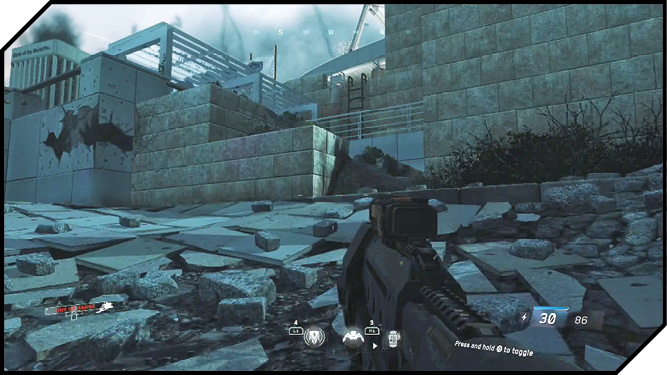
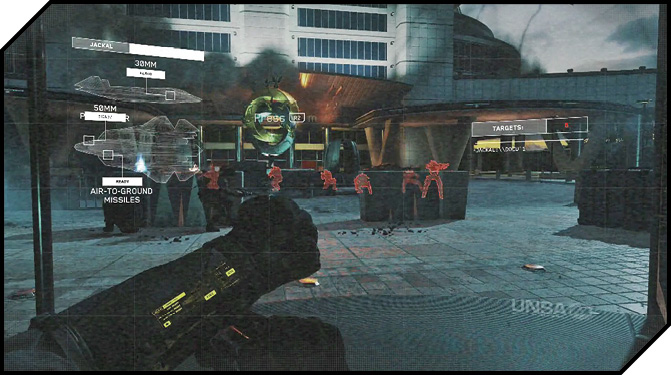
 OBJECTIVE: Breach the control room and stop the attack.
Sprint after Ethan and the rest of your squad. The SDF is behind the sealed doors.
Before breaching the doors, make sure your weapon is reloaded. If you are playing on Veteran or higher difficulty, you need to make sure you have a powerful weapon equipped so you can kill the guards quickly. The KBAR-32 in the room just before the breach doors is sufficient for this task.
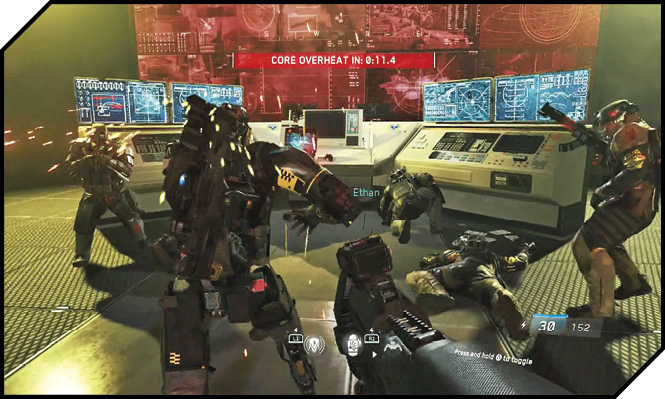
Breach the door with the Activate button. The game enters slow-motion breach mode. Your primary targets are the three guards to Ethan’s right, just after the breach. Start with the crouching guy on the left, then the guard all the way to the right, and finally the guard in the middle.
Quickly activate the terminal in the center of the room. You only have a few seconds before it self-destructs.
Take to the Sky
With SDF’s plan foiled, it’s time to bring the fight to them, repelling them from Earth’s orbit.
 OBJECTIVE: Board your Jackal.
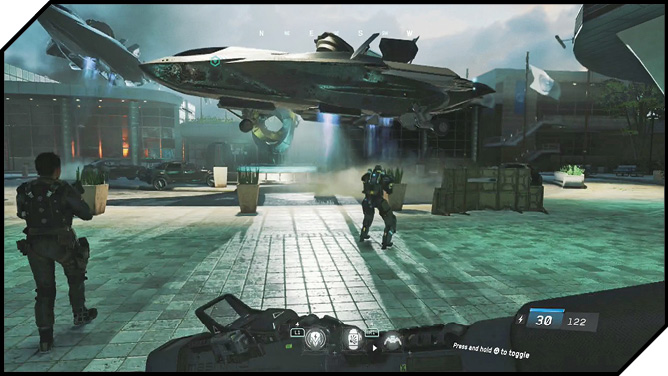
Your Jackal lands just outside shortly after the level begins. Approach the side of the ship and hit the Activate button to enter. The ship enters autopilot as you take position to leave the Earth’s atmosphere.
 OBJECTIVE: Assist the UNSA fleet and repel the SDF attack.
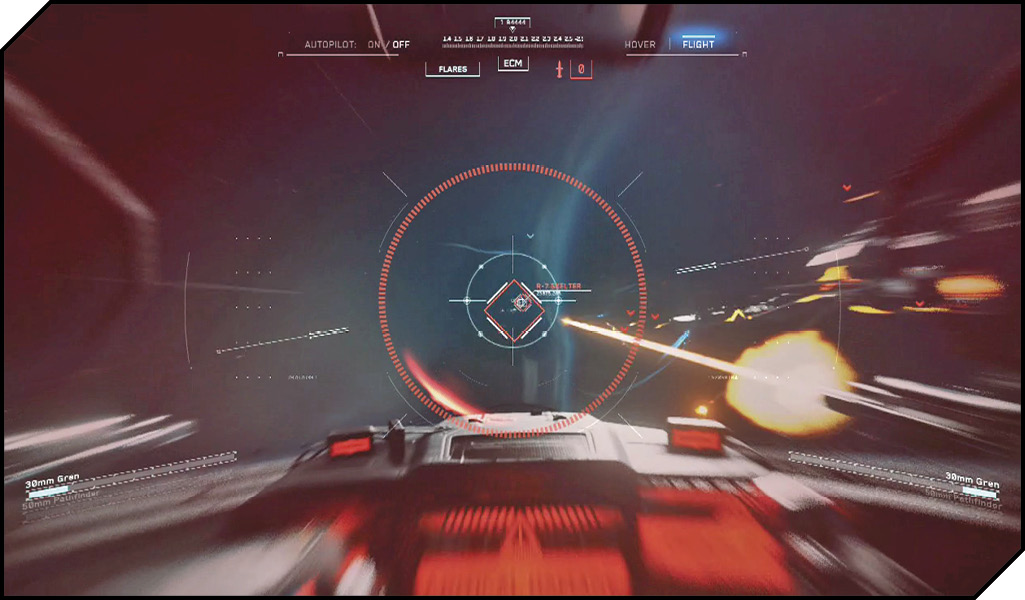
Once in position, follow the on-screen indicators to charge your Afterburners and leave the atmosphere.
This is your first time in a Jackal, so it wouldn’t hurt to check out the details on flight combat in the Gameplay Basics section. You will be facing light resistance from SDF Skelter groups.
When you regain control of your ship outside of Earth’s atmosphere, press the Sprint button to fire Afterburners to quickly enter the fray. The enemy is dead ahead!
You don’t have access to missiles in this mission, but your 30mm guns will be good enough for disposing of the Skelters. Use the lock to get in position behind a Skelter and open fire on the reticle that leads their ship. (This approximates where you need to fire to hit.)
The biggest threats are incoming missiles, so keep your finger ready on the Tactical Equipment button. As soon as you get an incoming missile alert, hit the button to fire flares and kill the threat.
Luckily, the destroyers in this sector are distracted by the incoming UNSA fleet, so you won’t need to worry about drawing fire from them during this dogfight.
Fire in bursts when shooting at a Skelter. This reduces the chances of your guns overheating while dogfighting. If you take critical damage, immediately engage your Afterburners and change directions. This should allow you to lose any enemies on your tail.
 OBJECTIVE: Destroy the SDF destroyer.
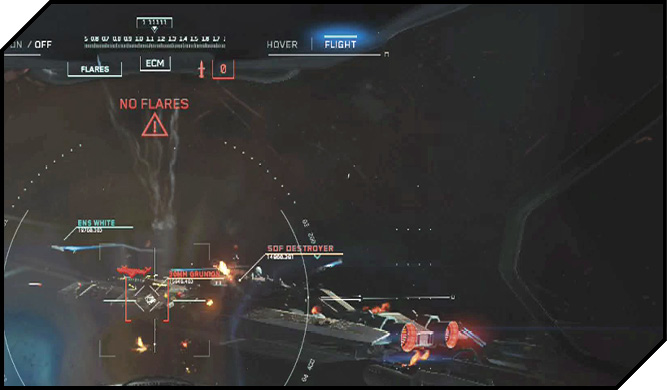
After you have shot down about a half dozen Skelters, you are instructed to target one of the SDF destroyers. These things are very deadly if you get too close. Switch to your 50mm guns and let loose into the side of the warship. You can target any of the lit targets to start disabling its gun batteries.
Be sure to use Aim Down Sight to automatically lock on targets with your 50mm. Keep an eye on your heat meter. If your 50mm gets too hot, you can switch back to your 30mm gun while it cools.
Eventually the destroyer can’t take any more from your wing’s relentless assault. When it blows, return to the UNSA Retribution.
 OBJECTIVE: Return to the Retribution.
Fly to the blue hash on your screen. As you approach the Retribution, blue spheres light up in your HUD. Fly through the spheres to initiate docking procedure.
Unfortunately, before you can safely dock, the SDF flagship Olympus Mons arrives. This battle isn’t over yet!
 OBJECTIVE: Engage the enemy supercarrier Olympus Mons.
Ethan takes over the controls, so you only need to worry about firing your guns and deploying flares. You can use either gun for this section. Do your best to take out as many guns as you can as you strafe the side of the Mons.
No matter how well you perform in this section, the escape of the Mons is inevitable, but the cost was high. The Retribution rammed the side of the Mons to initiate the retreat.
 OBJECTIVE: Return to the Retribution.
Try docking with the Retribution one more time by flying through the nav circles near the landing area. When you’ve successfully docked, the mission is complete.