
Call of Duty: Infinite Warfare Guide Call of Duty 4: Modern Warfare Multiplayer Map Tactics
Downpour
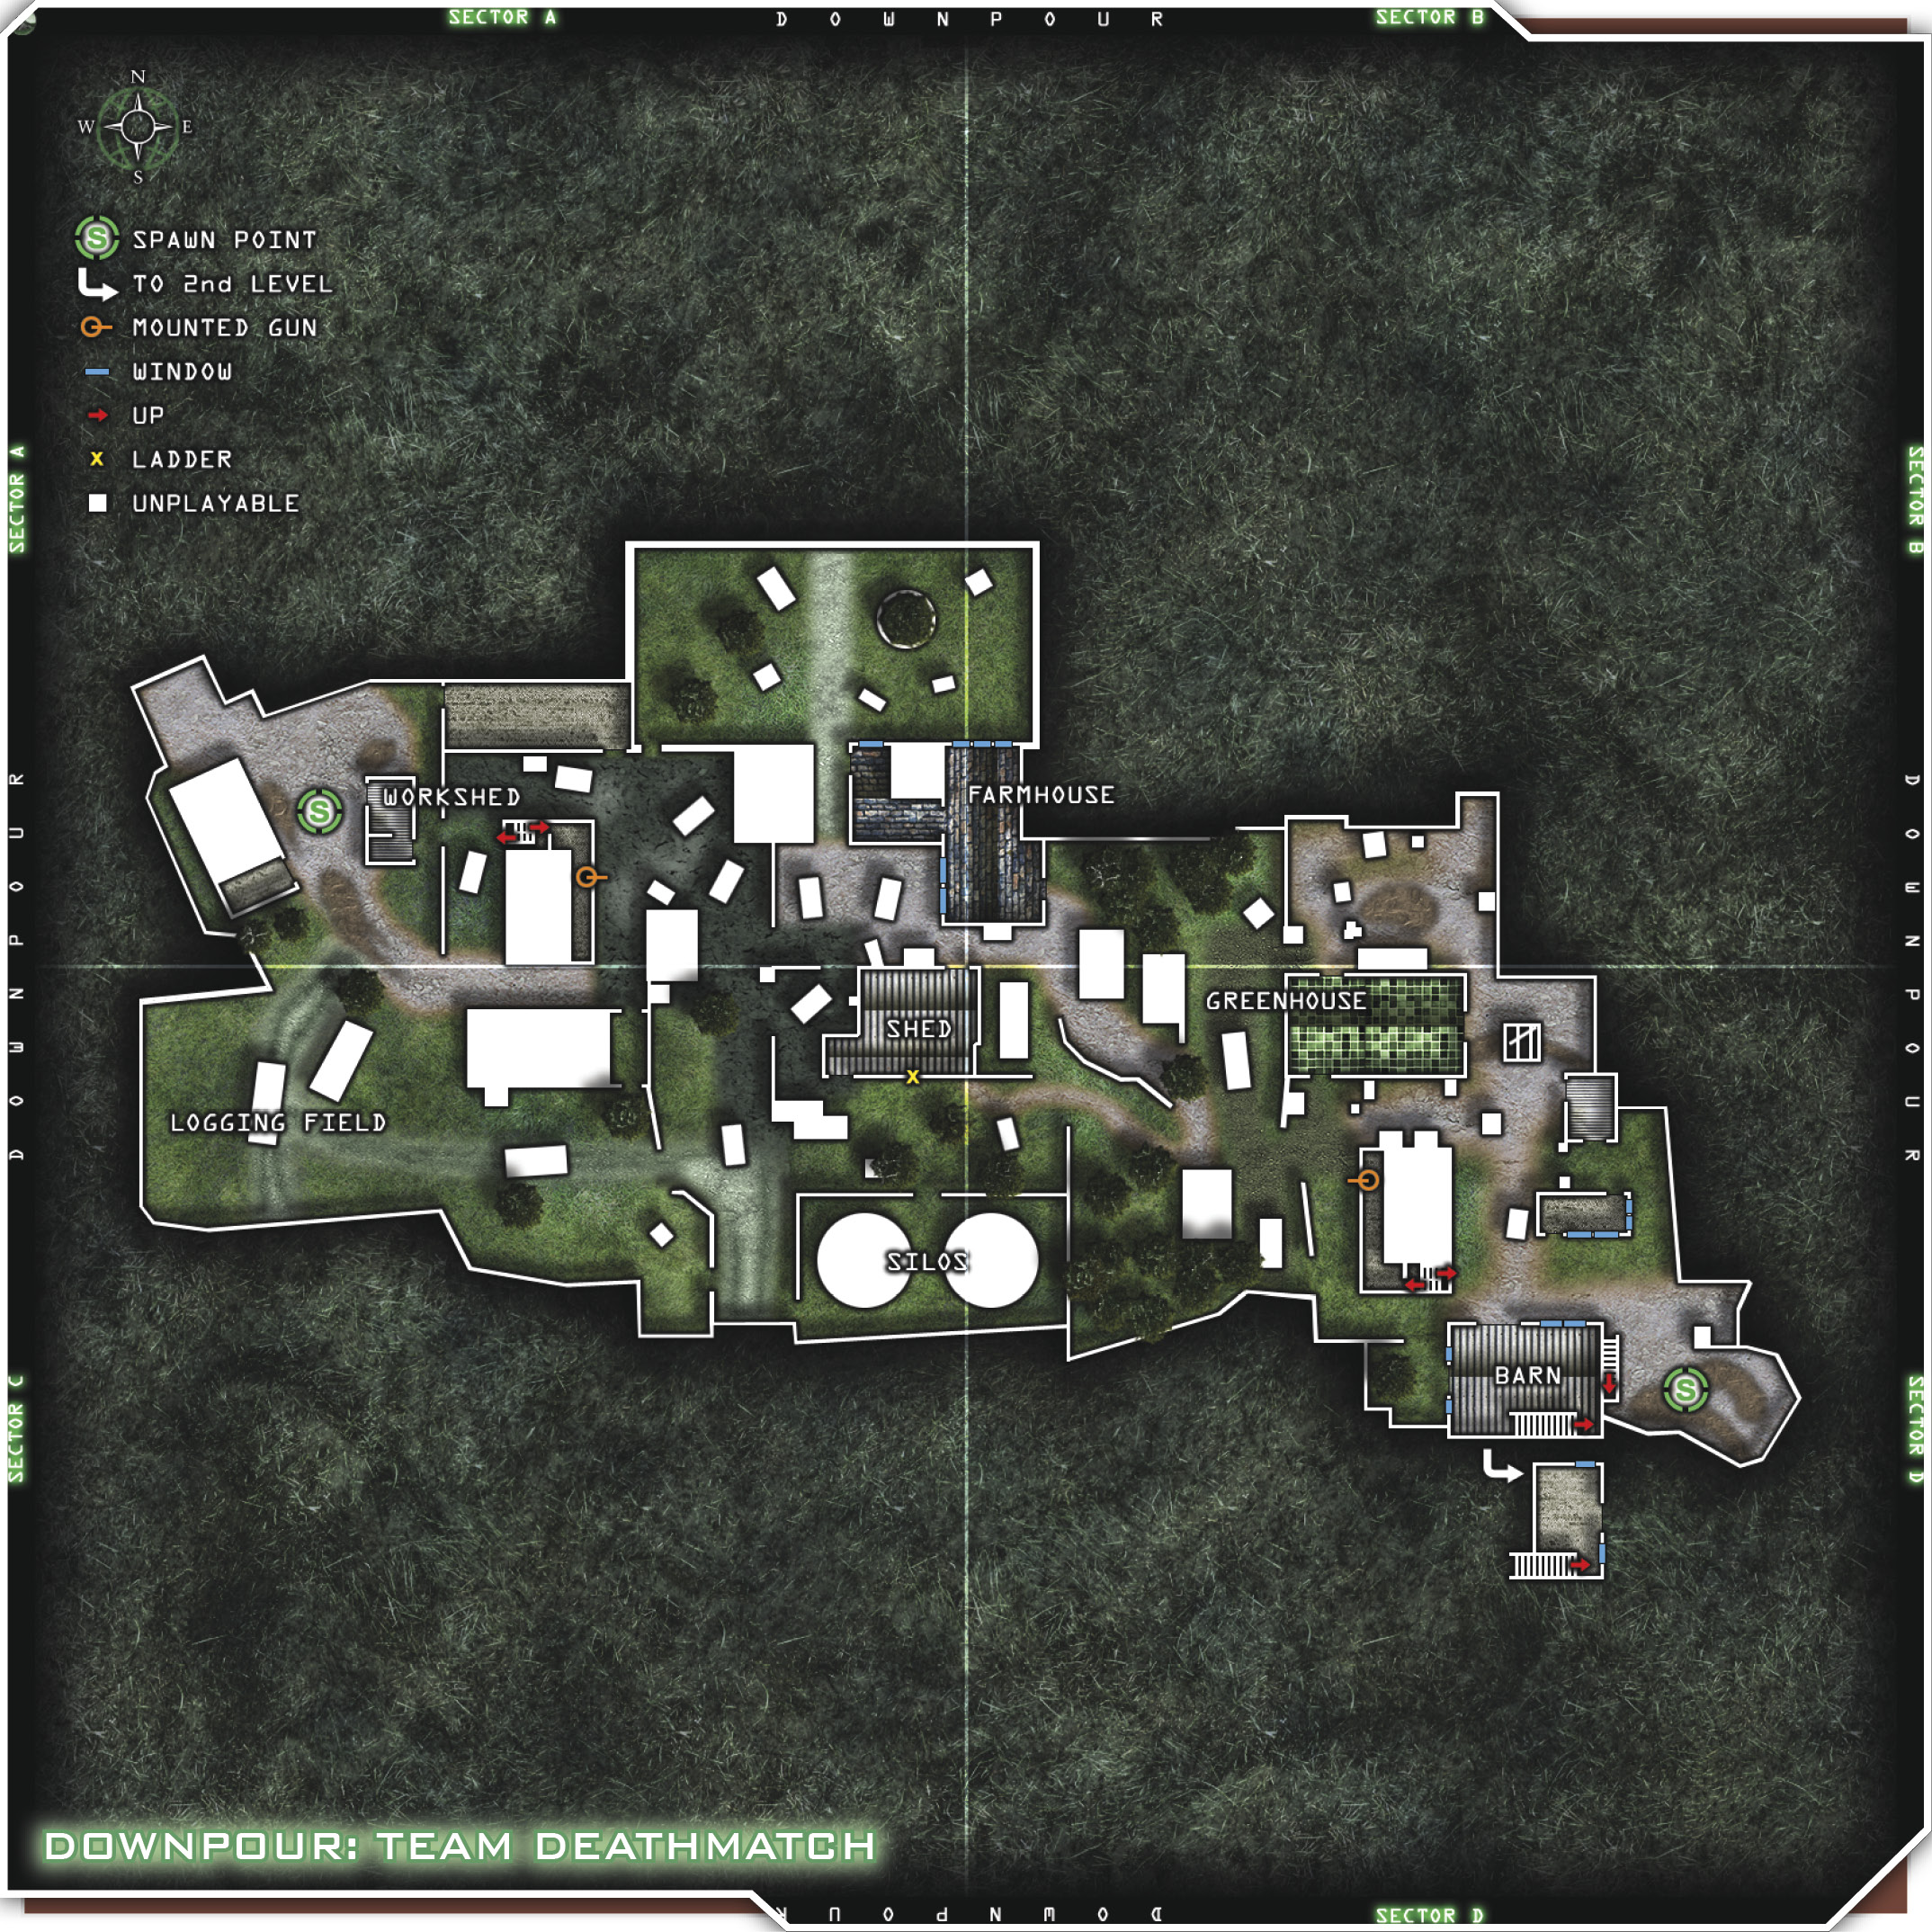
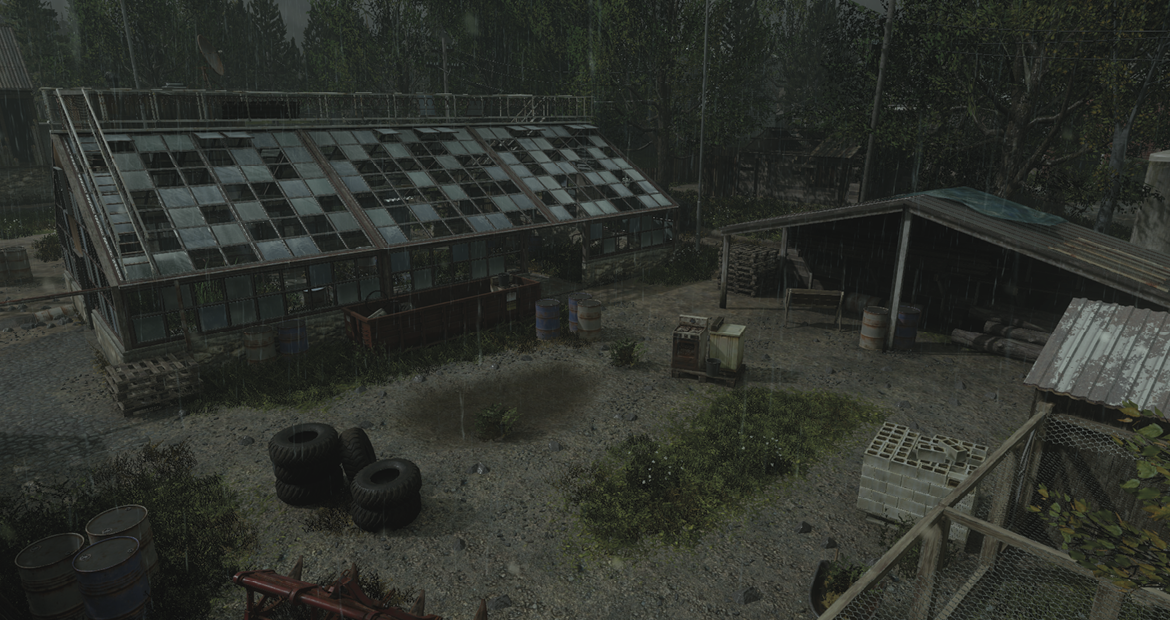
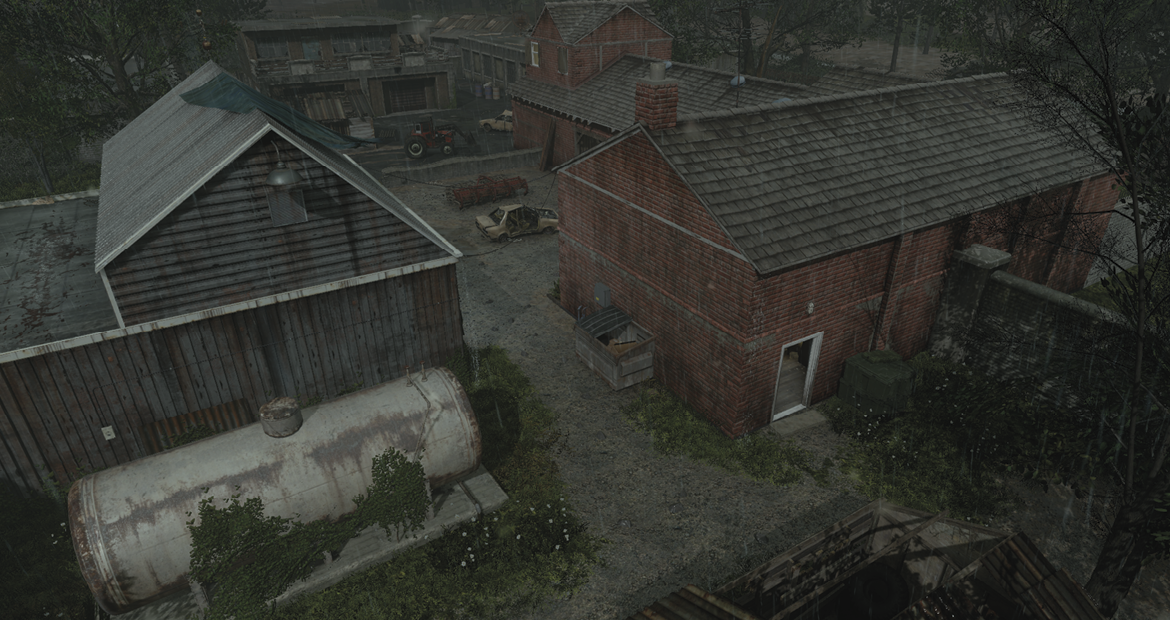
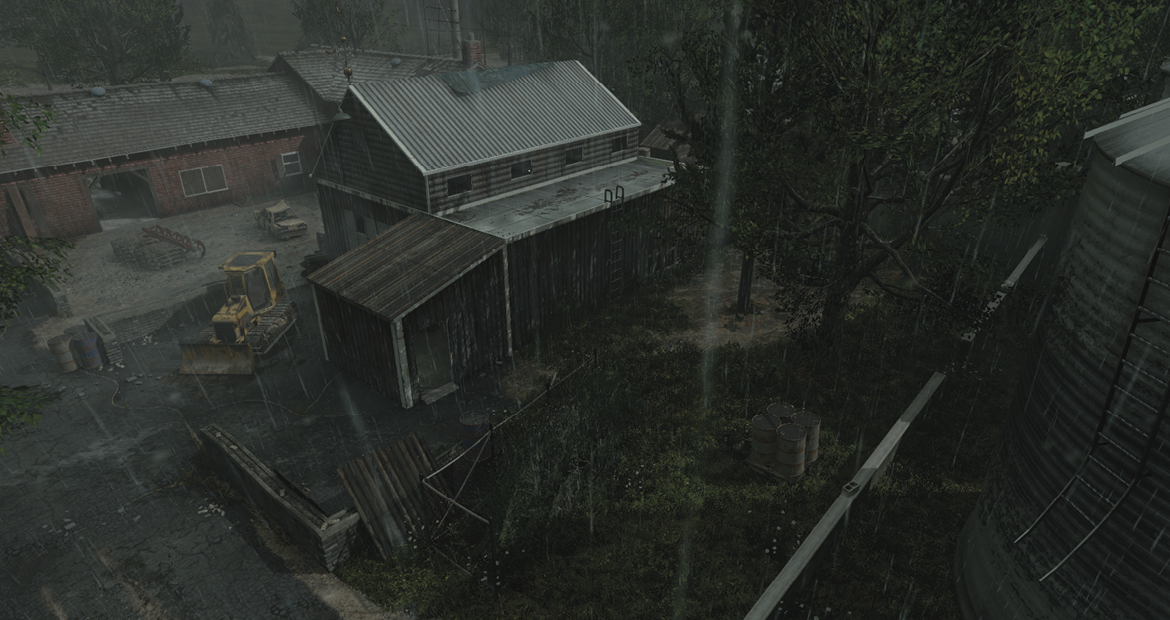
Spec Ops vs. Spetsnaz. This map is a farm on an overcast, rainy day. Lots of vegetation allows for great stealth maneuvering and use of the ghillie suit. The weather on this map makes for low visibility, but some good cover as well. Use it to your advantage whenever possible.
These classes are great for keeping mobile, stealthy, and deadly. The Silent Assault kit lets you move in and out of cover and around the map without making a sound or getting lit up on radar, while the Mid-Range Sniper CCS lets you pop off some deadly one-shots whether your enemy is hiding behind cover or not. The increased damage from Stopping Power, combined with the Deep Impact perk, will let you shoot through most cover on this map and retain your bullet damage.
Remember, these are only suggested loadouts, and you can mix and match whatever you like whenever you want. With the Silent Assault kit, you could replace the Dead Silence perk with Steady Aim to increase your accuracy while ground-pounding. With the Mid-Range Sniper, you could swap out your G3 for a Barrett .50 cal and your Stopping Power for Overkill, and take an assault rifle with you as well. The choice is yours.
Suggested Loadouts
Silent Assault
| Slot | Name |
|---|---|
| Primary Weapon | M4 Carbine |
| Notes/Attachment | Silencer |
| Side Arm | M1911 |
| Notes/Attachment | Silencer |
| Special Grenade | Smoke |
| Perk 1 | Claymore x2 |
| Perk 2 | UAV Jammer |
| Perk 3 | Dead Silence |
Mid-Range Sniper
| Slot | Name |
|---|---|
| Primary Weapon | G3 |
| Notes/Attachment | ACOG Scope |
| Side Arm | M1911 |
| Notes/Attachment | Silencer |
| Special Grenade | Smoke |
| Perk 1 | Claymore x2 |
| Perk 2 | Stopping Power |
| Perk 3 | Deep Impact |
Tips & Locations
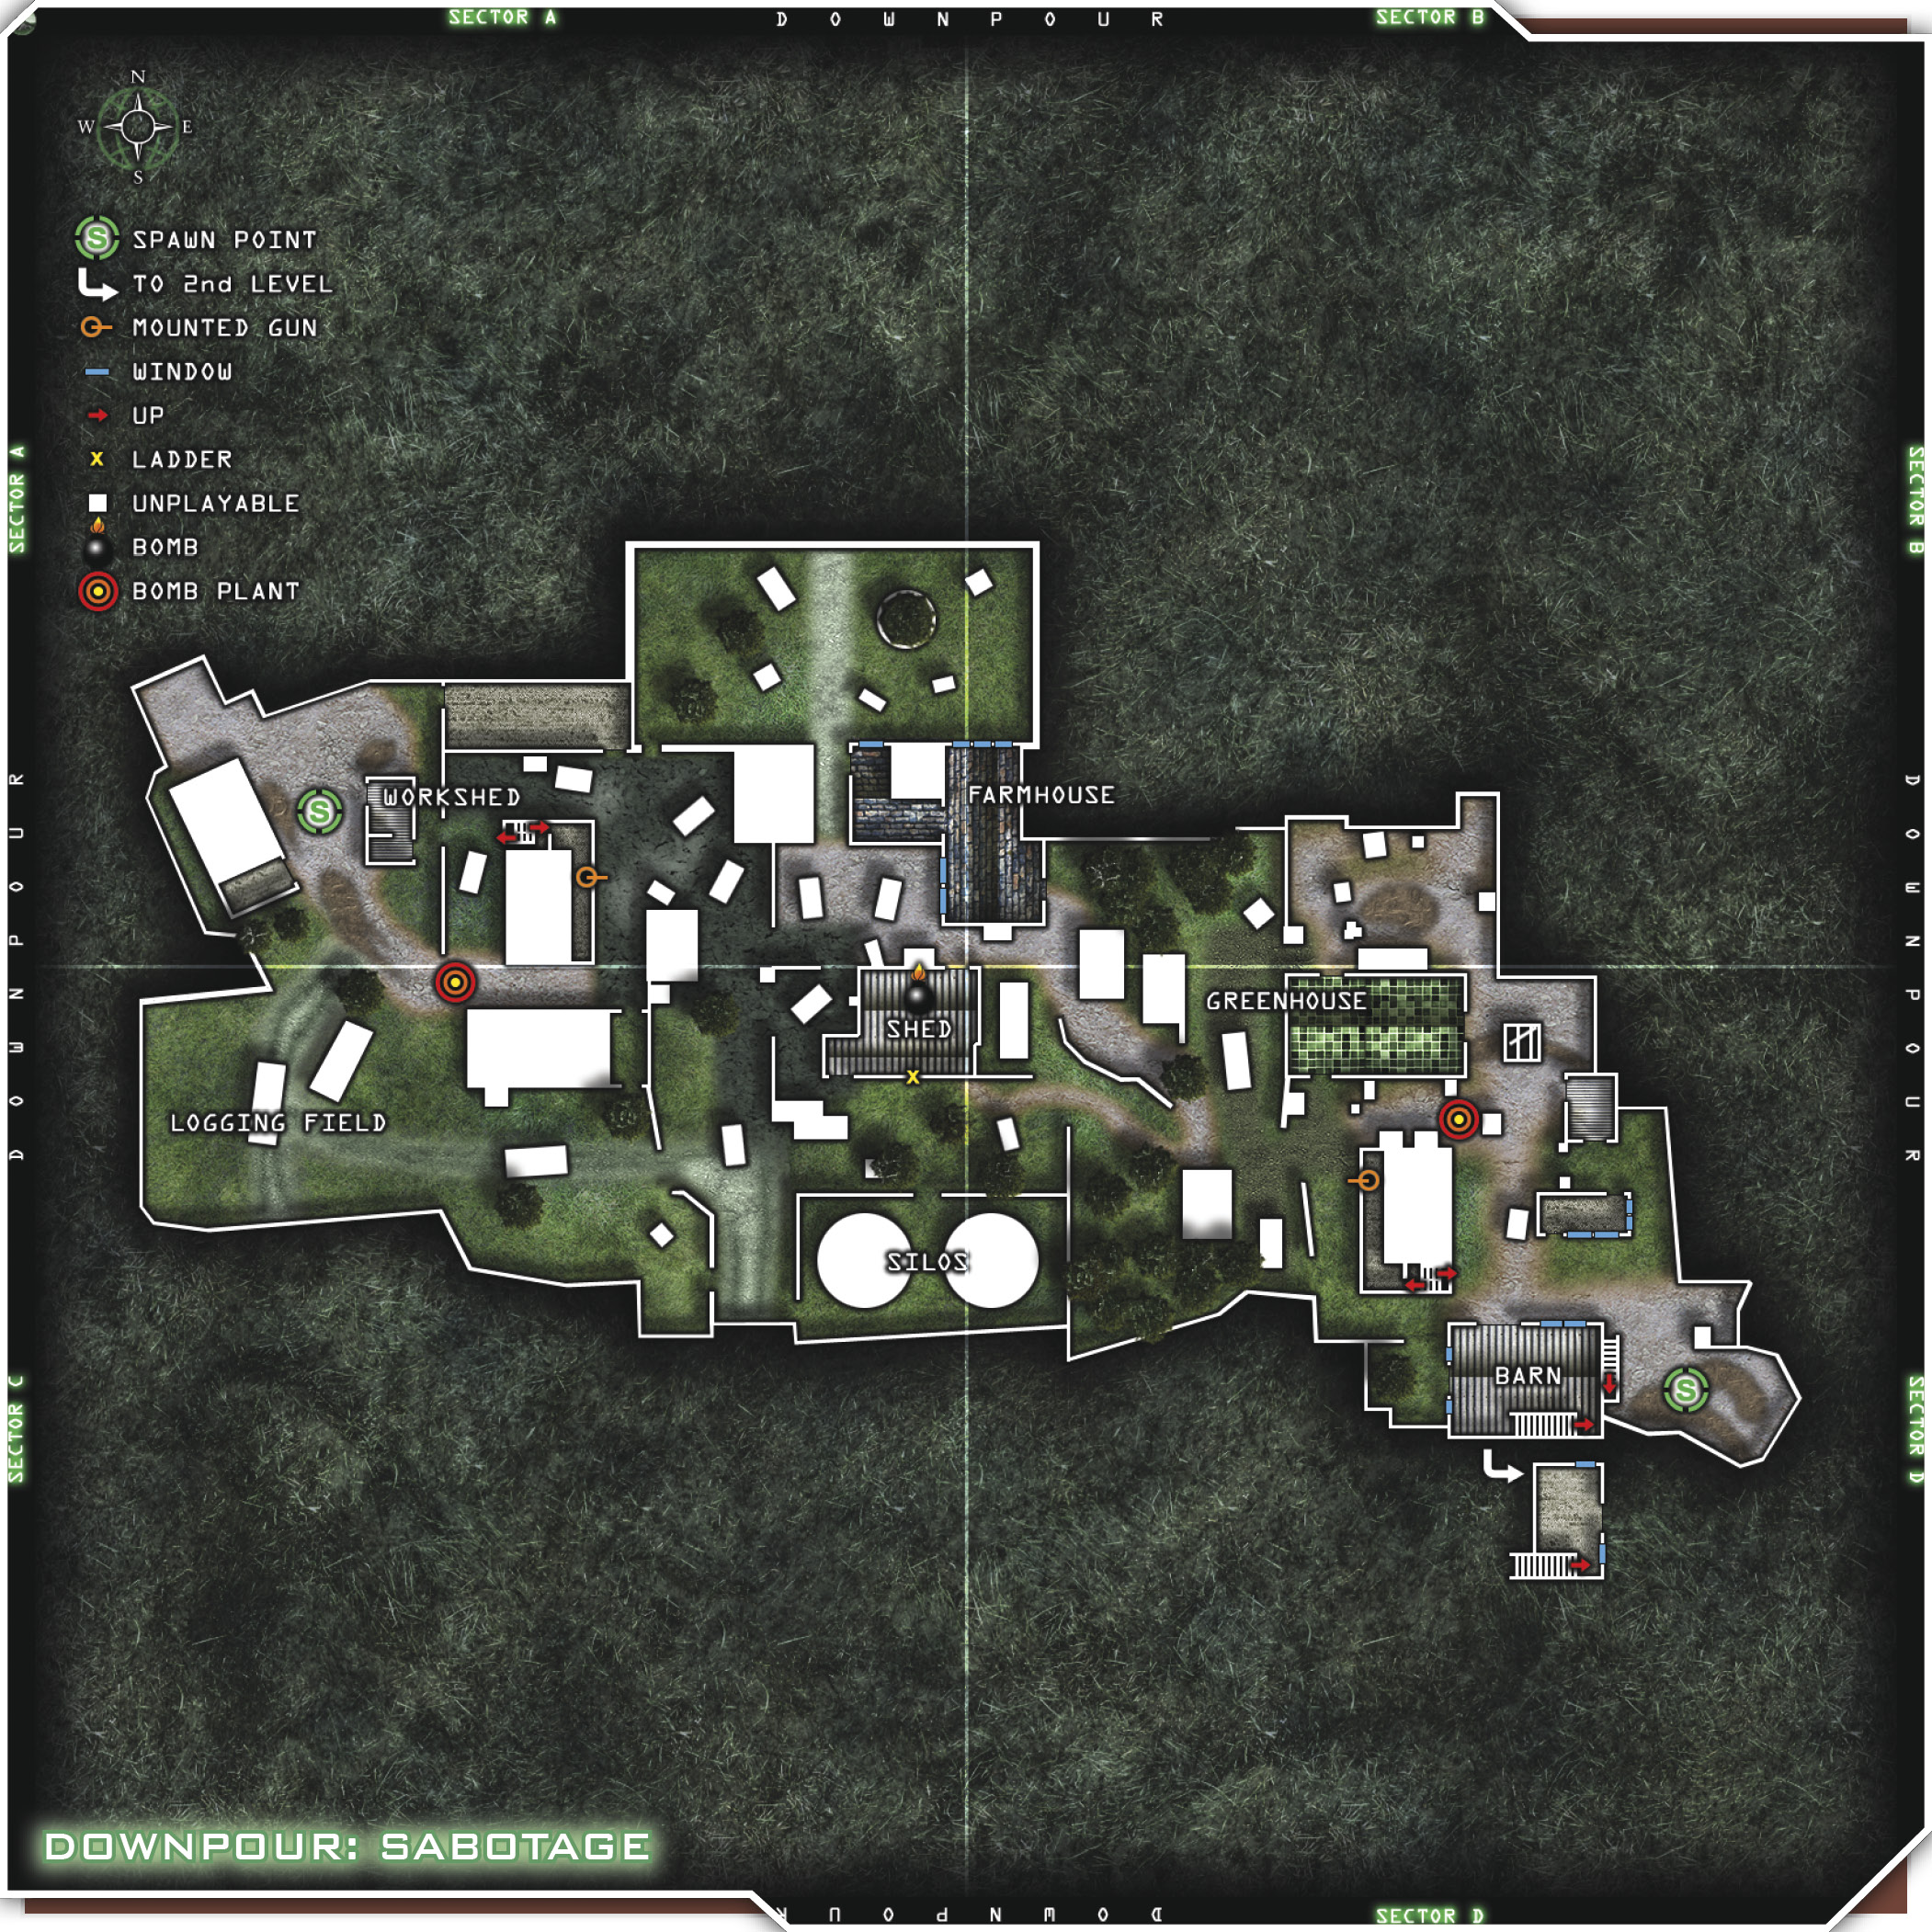
Major locations on this level include the Barn, which consists of an open lower level with access on the west and north sides and an east entrance to the second story. The second level offers a north-facing window, while the entire upper level overlooks the lower level. The Greenhouse on the east side of the map offers some great foliage for cover, as does the Logging Field on the opposite end of the map. The Workshed can provide temporary concealment if you’re not lit up on radar, but remember that it’s only soft cover and can be shot through. Most of the action will take place at the Farmhouse to the north, the Silos to the south, and the Shed in the middle. The building just northwest of the Barn offers a great balcony for shooting down on enemies.
This map is a perfect choice for running silent. There are so many places to hide, especially with a ghillie suit, that you’ll need radar to see anybody at all. Of course, you’ll get a few run-and-gunners coming at you from time to time, but running silent will be key to your perpetual ownage. For the Silent Assault class, don’t worry about opening up on the enemy. They won’t see you on radar and probably won’t locate you until it’s too late. The Dead
Silence perk will help keep the noise down when you’re moving from spot to spot. Always use cover and communication to hide while you gather your troops and point them in the direction of the enemy. Never stop in the middle of town to tell your team what’s going on. Even if you just need to reload, duck and cover while you bang in another magazine. Always remember that your movement will give away your position; even minor controller adjustments can be seen by the enemy. Be patient and wait for the most opportune time to readjust or relocate yourself.
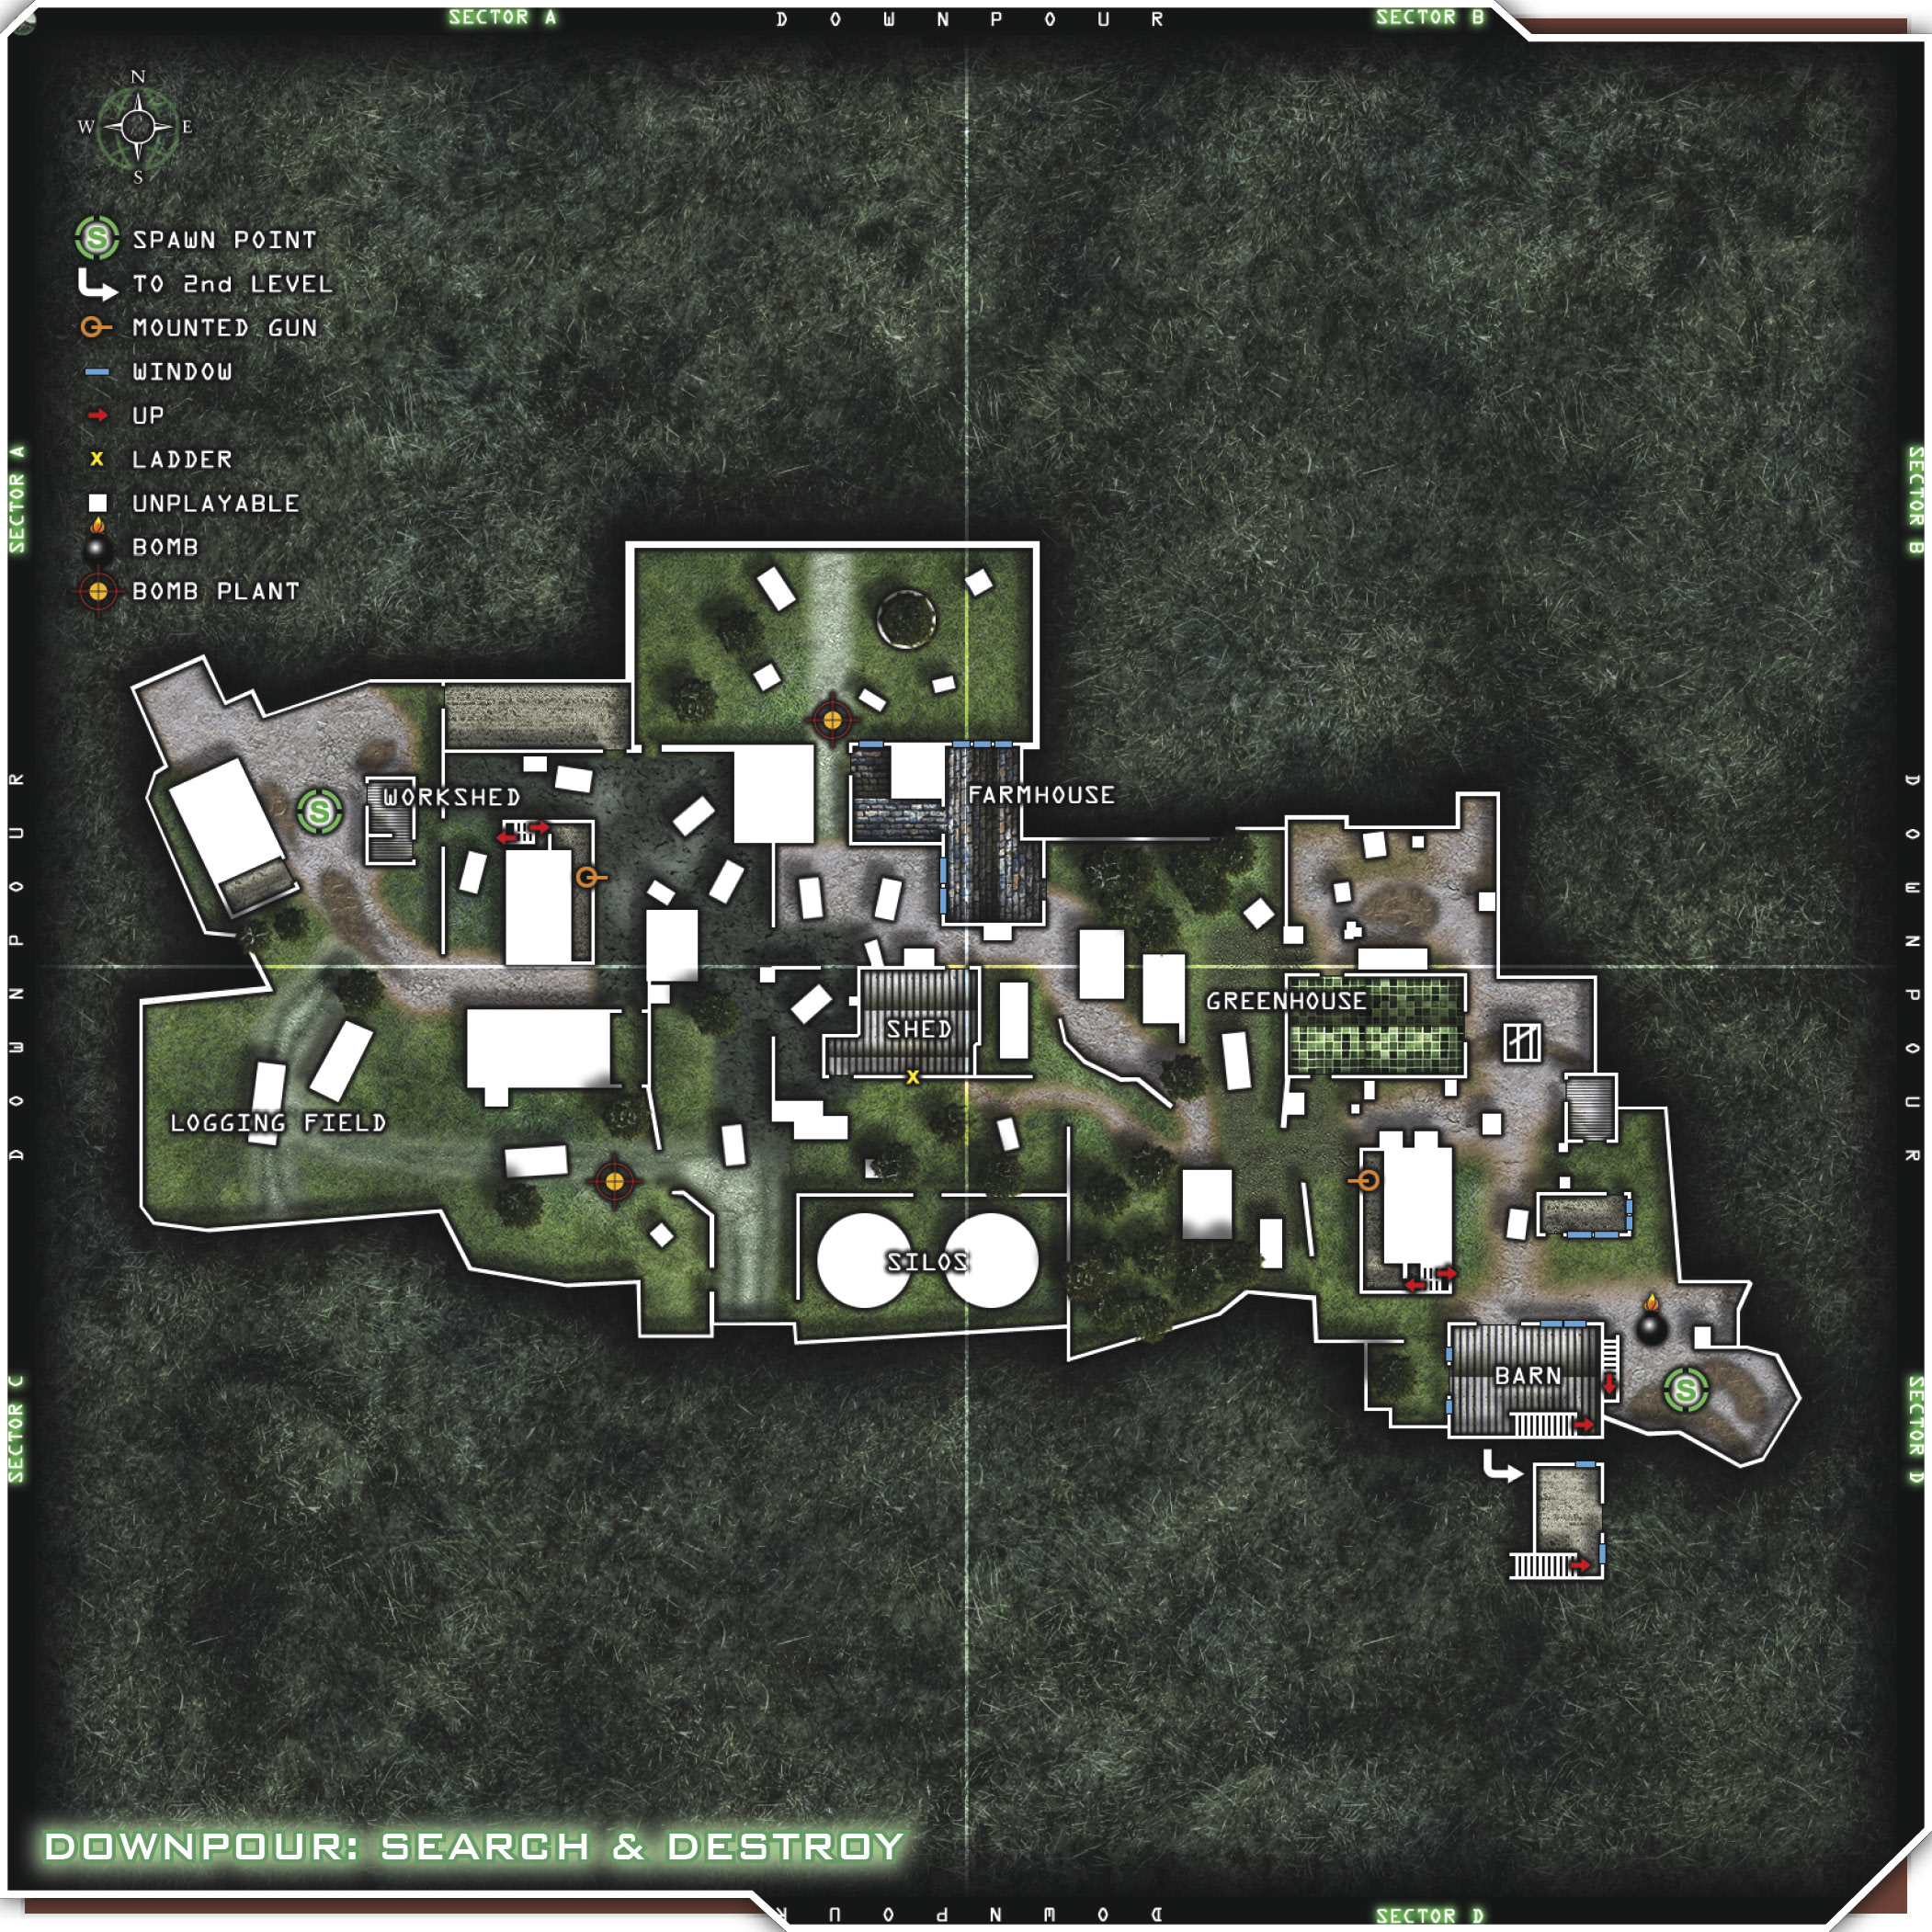
Due to the weather and cover on this map, you can use the perimeter and walled-off areas, such as the Silo walls and makeshift walls around the Shed, to maneuver to your position. You can make your way southeast from the Workshed to the Silos without ever having to go near the center of the map. This map can be a tug of war when teams start meeting in the center and on either side of the Shed. Use this to your advantage, and make your way around the enemy using cover and the grassy perimeters.
Team Tactics
Since there are only a couple of buildings that offer good cover on this map (the Farmhouse and the Barn), you may want to work in roving squads. Split into two squads and head off in different directions, with the main objective being to sandwich your enemy. One team should move from the Barn spawn west through the Silos and then break north toward the center of the map. The other squad should immediately head north through the Greenhouse and up through the Farmhouse, before cutting south toward the center to rendezvous with the other squad. If your squads are using the Silent Assault CCS, they shouldn’t have any problems getting where they’re going.
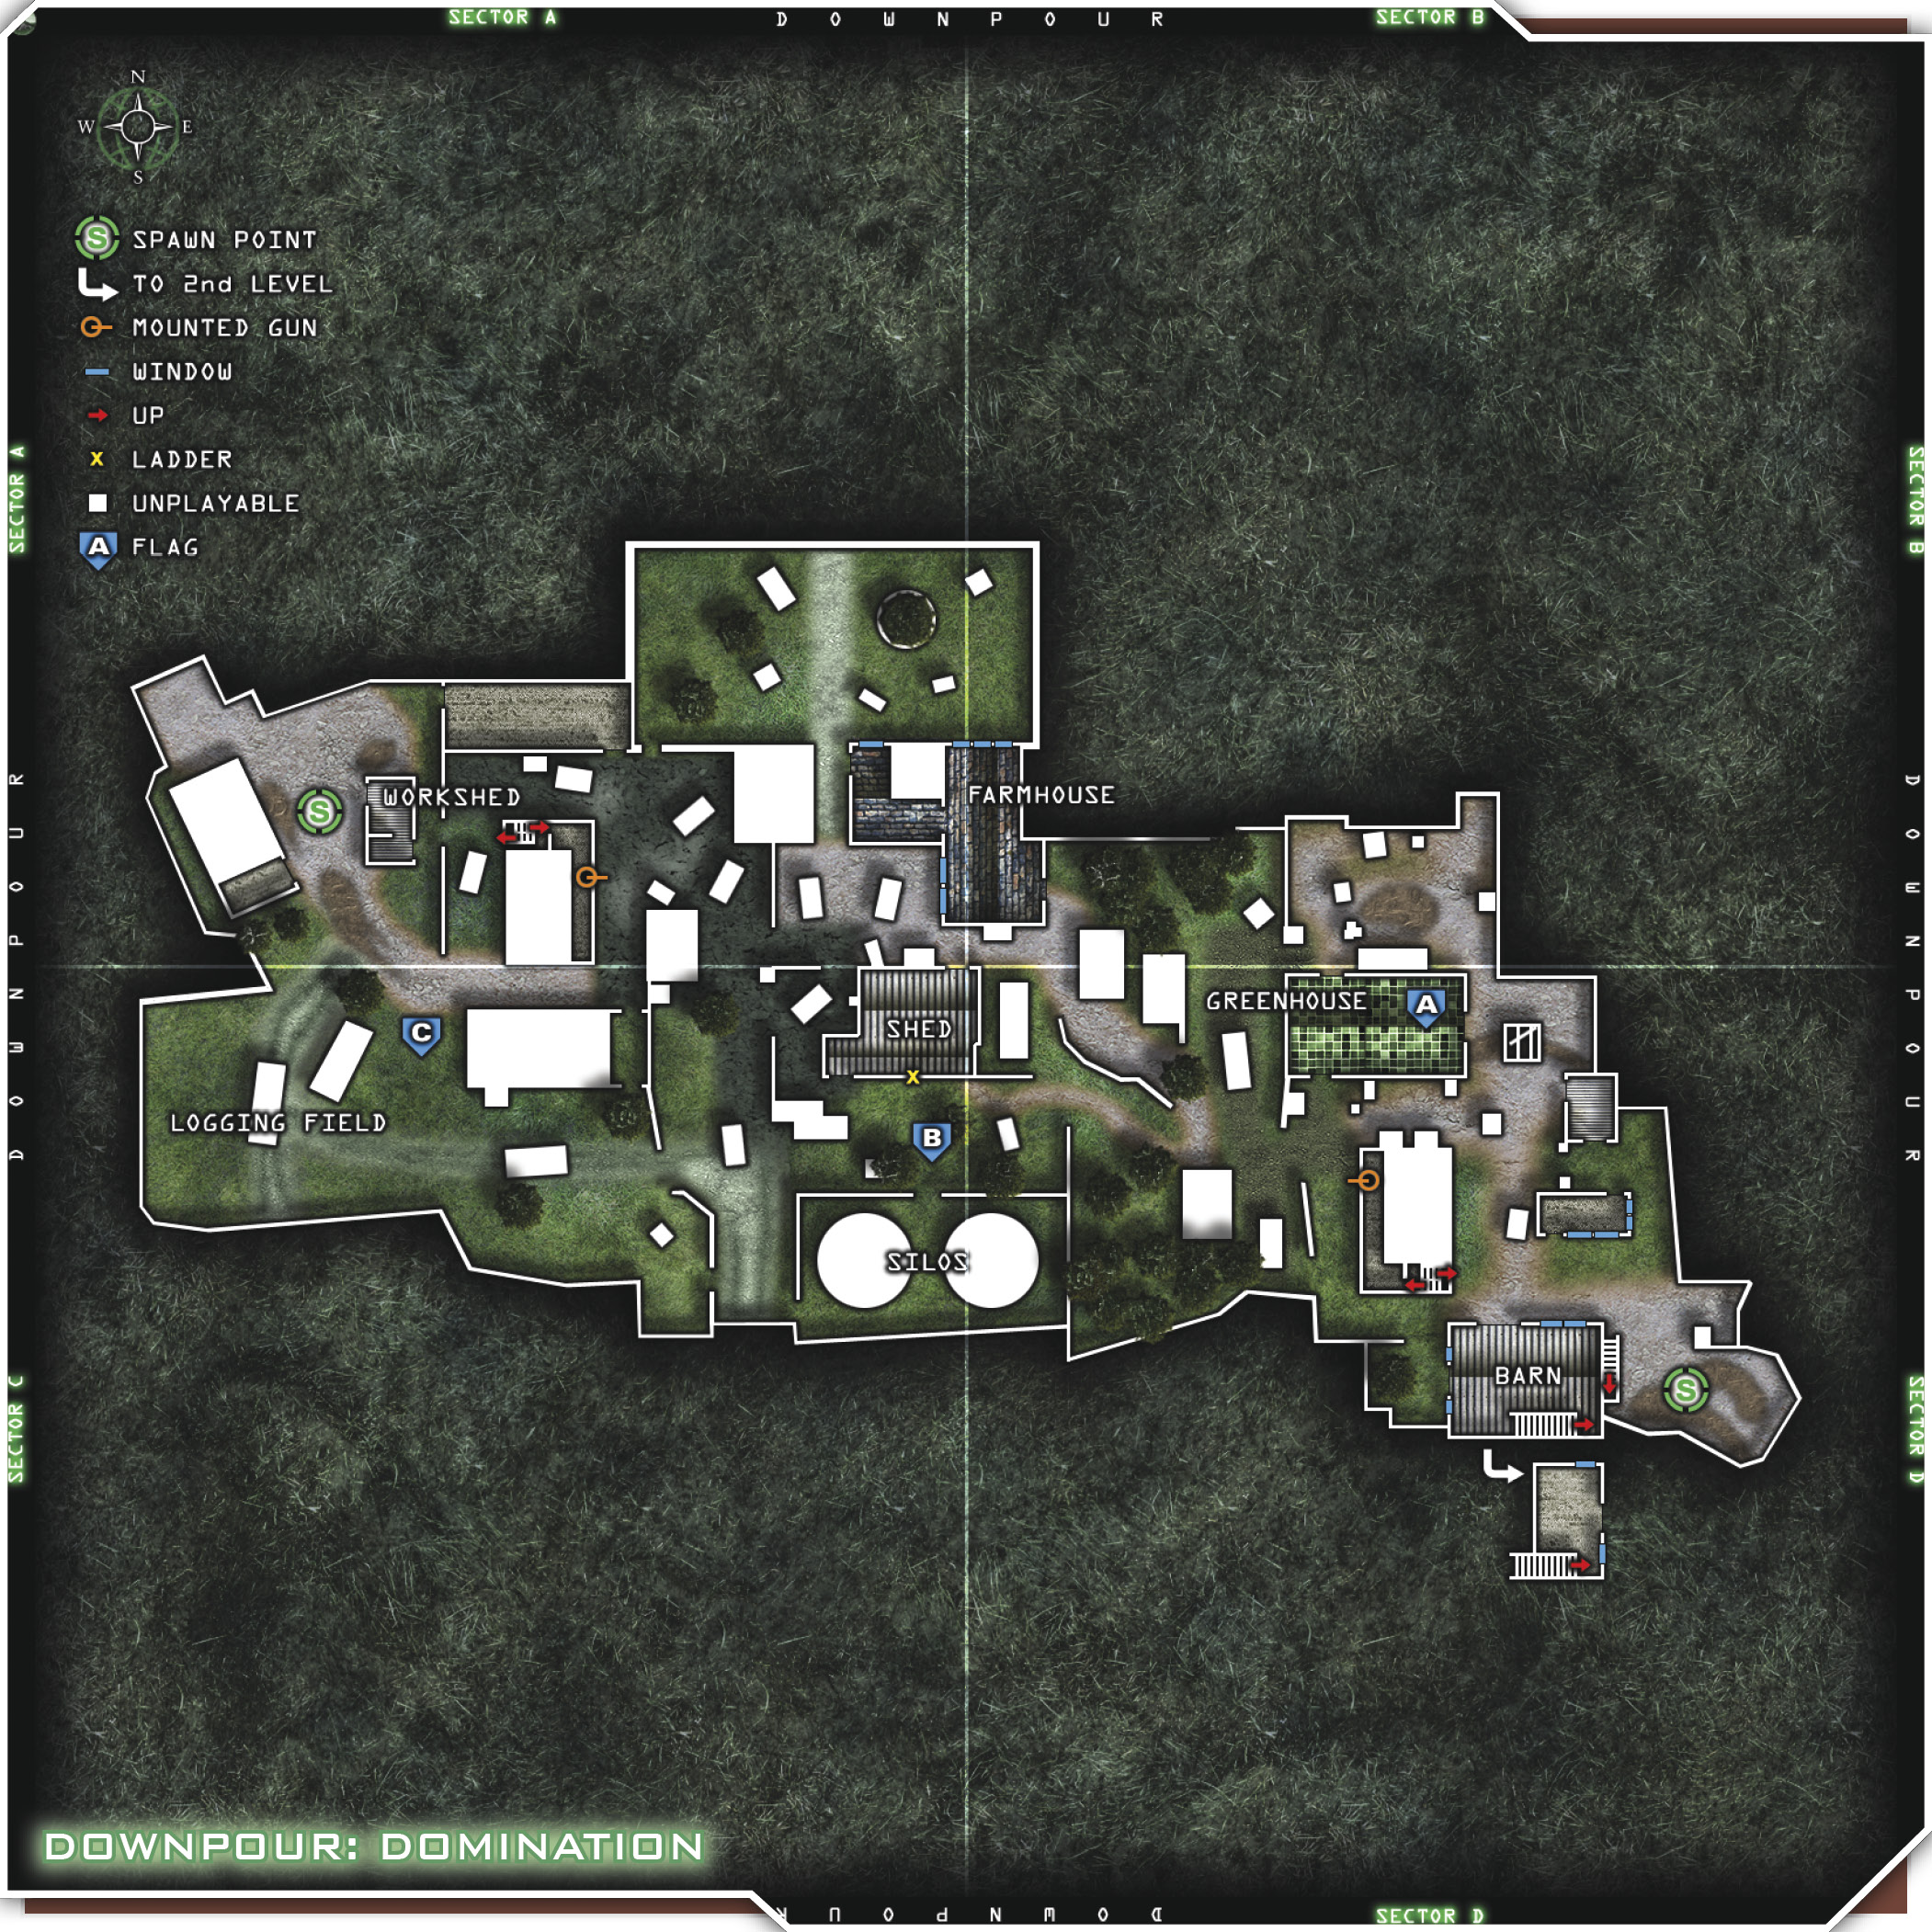
Once the two squads meet up, move back east through the center of the map toward your initial spawn point. As both squads move back through the center of the map, eliminate as many enemies as you can, effectively pushing them back to their initial spawn. Once you’ve cleared the area of bad guys, split back into two squads, run your routes again, and meet farther back toward the enemy spawn to pin them in.
This map is another great excuse to use the walking unit technique. Move out from your spawn point in a single unit, and decide which way you plan to move. If you’re starting at the Barn spawn (east), make your way north through the Greenhouse and the Farmhouse. If any of your teammates get picked off along the way, everyone stop and take cover to wait for your fallen teammate to regroup. Once he’s back from his smoke break, continue moving forward to the Workshed. From there, run the perimeter of the map back to your initial spawn, stopping and taking cover if one of your team gets hit. When you make it back to your spawn, start the run again while staying together, but make for the center of the map to clear out the enemies you’ve herded there. This is a great time to pop off a couple of grenades and coat the inside of the map like explosive Pepto-Bismol.
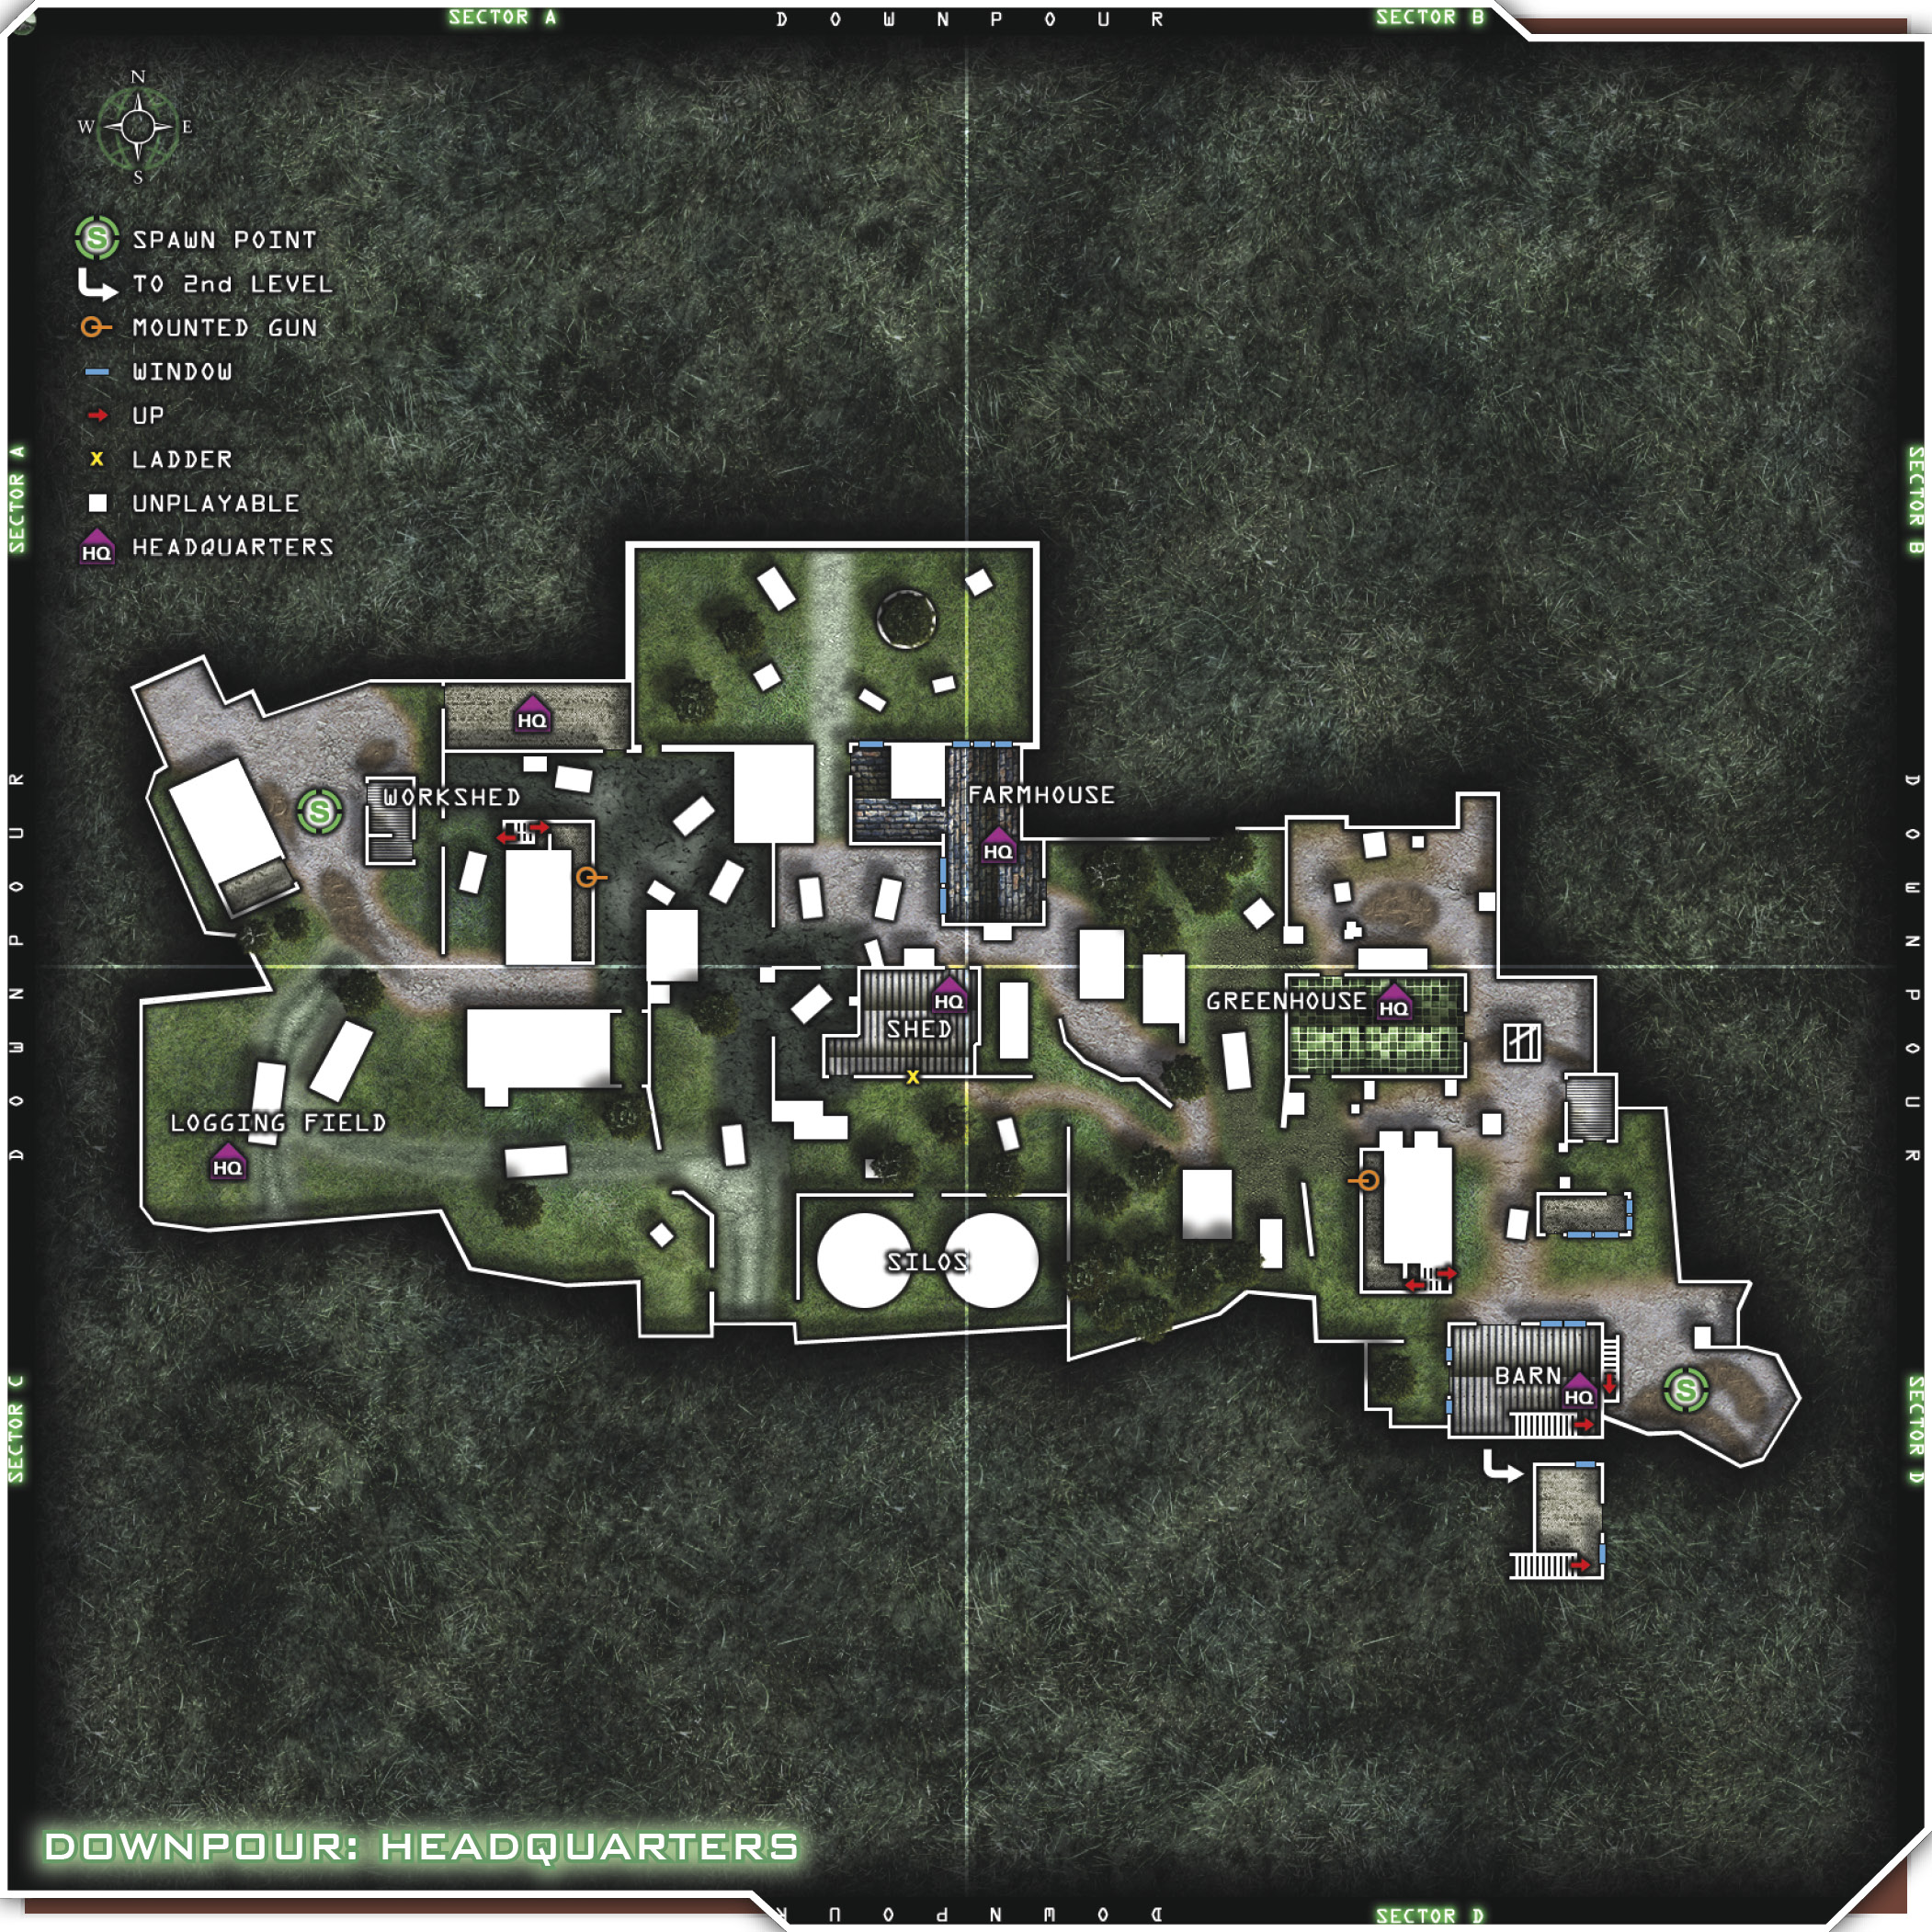
You can run wingman teams here, but it won’t be as easy as sticking together. Although you and your wingman will be more mobile than a mob, it will be more difficult to regroup with your other wingman teams when needed. Be careful about using this tactic on this map. It can work if you make it work.
Here are some ideas… Have each wingman team take up residence in a fortifiable area, such as the Barn, the Shed, and the Farmhouse. From these positions, you can effectively hold your own. If you can take and hold the Farmhouse with one wingman team and the Shed with another team, you may decide to call up your Barn team to create a defensive force just outside those two buildings, or even to split up and send one extra player to each building to help lock it down even further. If you decide to run this tactic, consider grabbing the Claymore x2 perk to assist in your defense.