Call of Duty: Infinite Warfare Guide Call of Duty 4: Modern Warfare Multiplayer Map Tactics
Crash
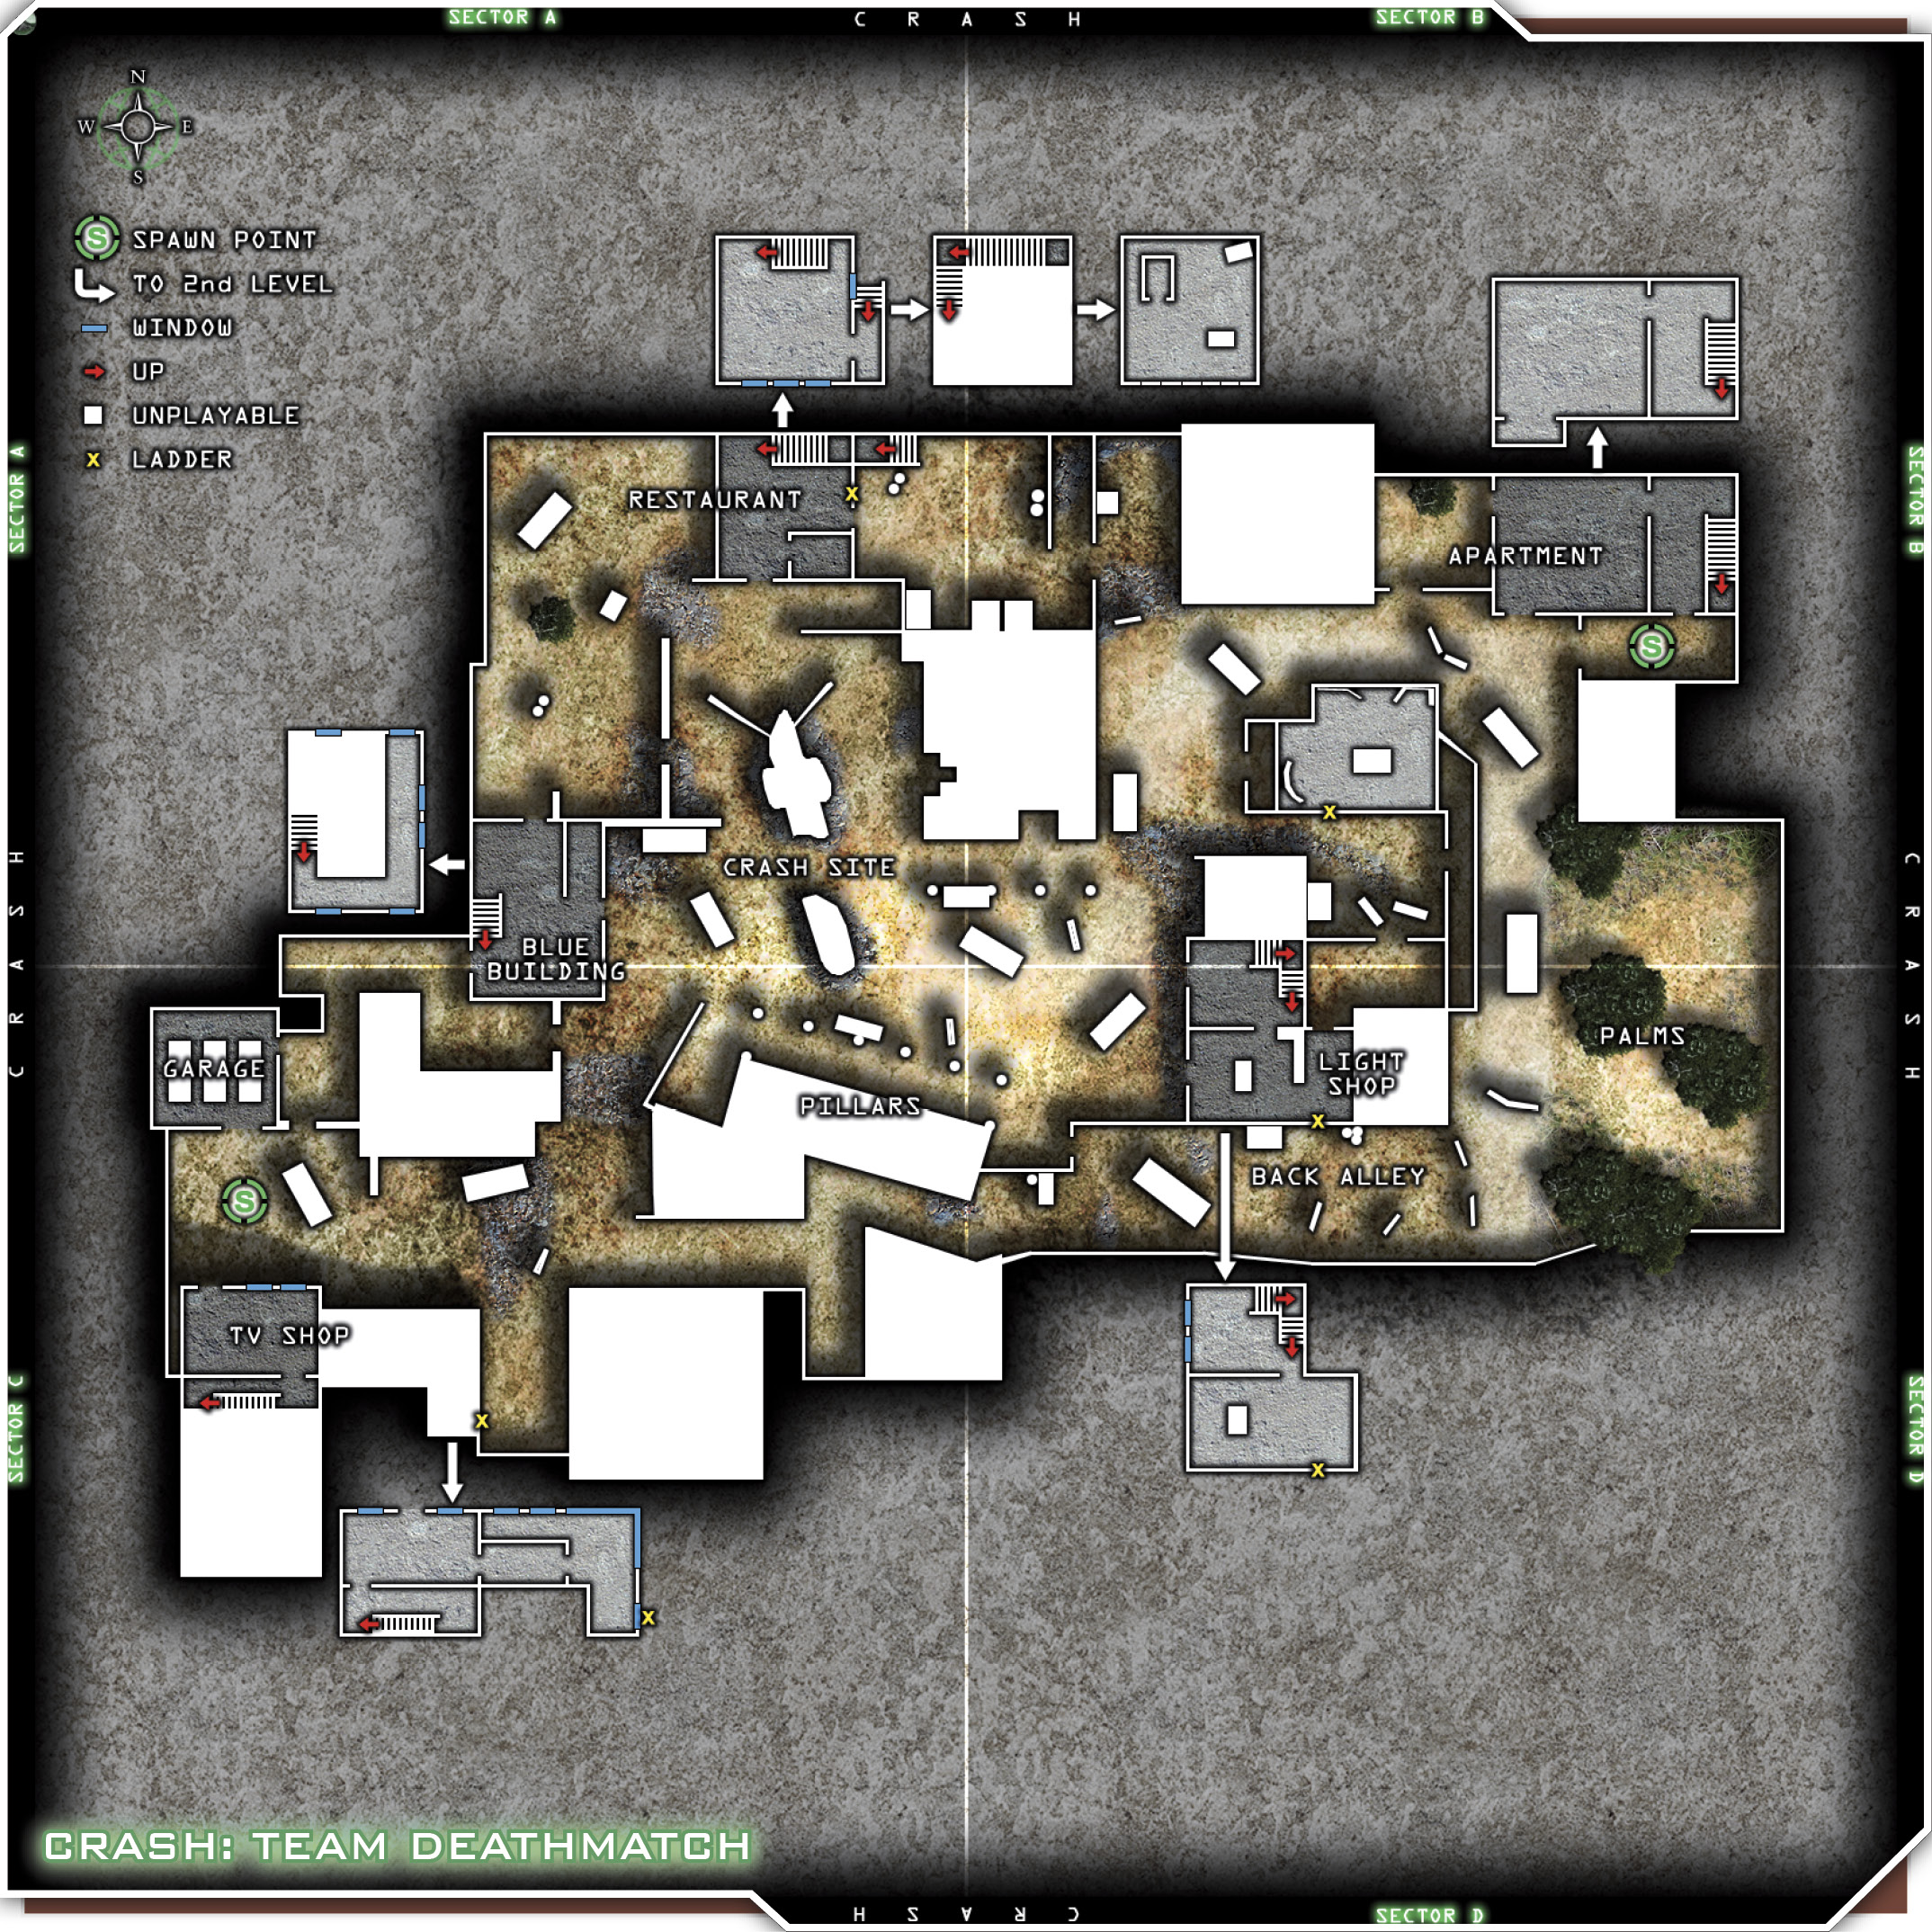
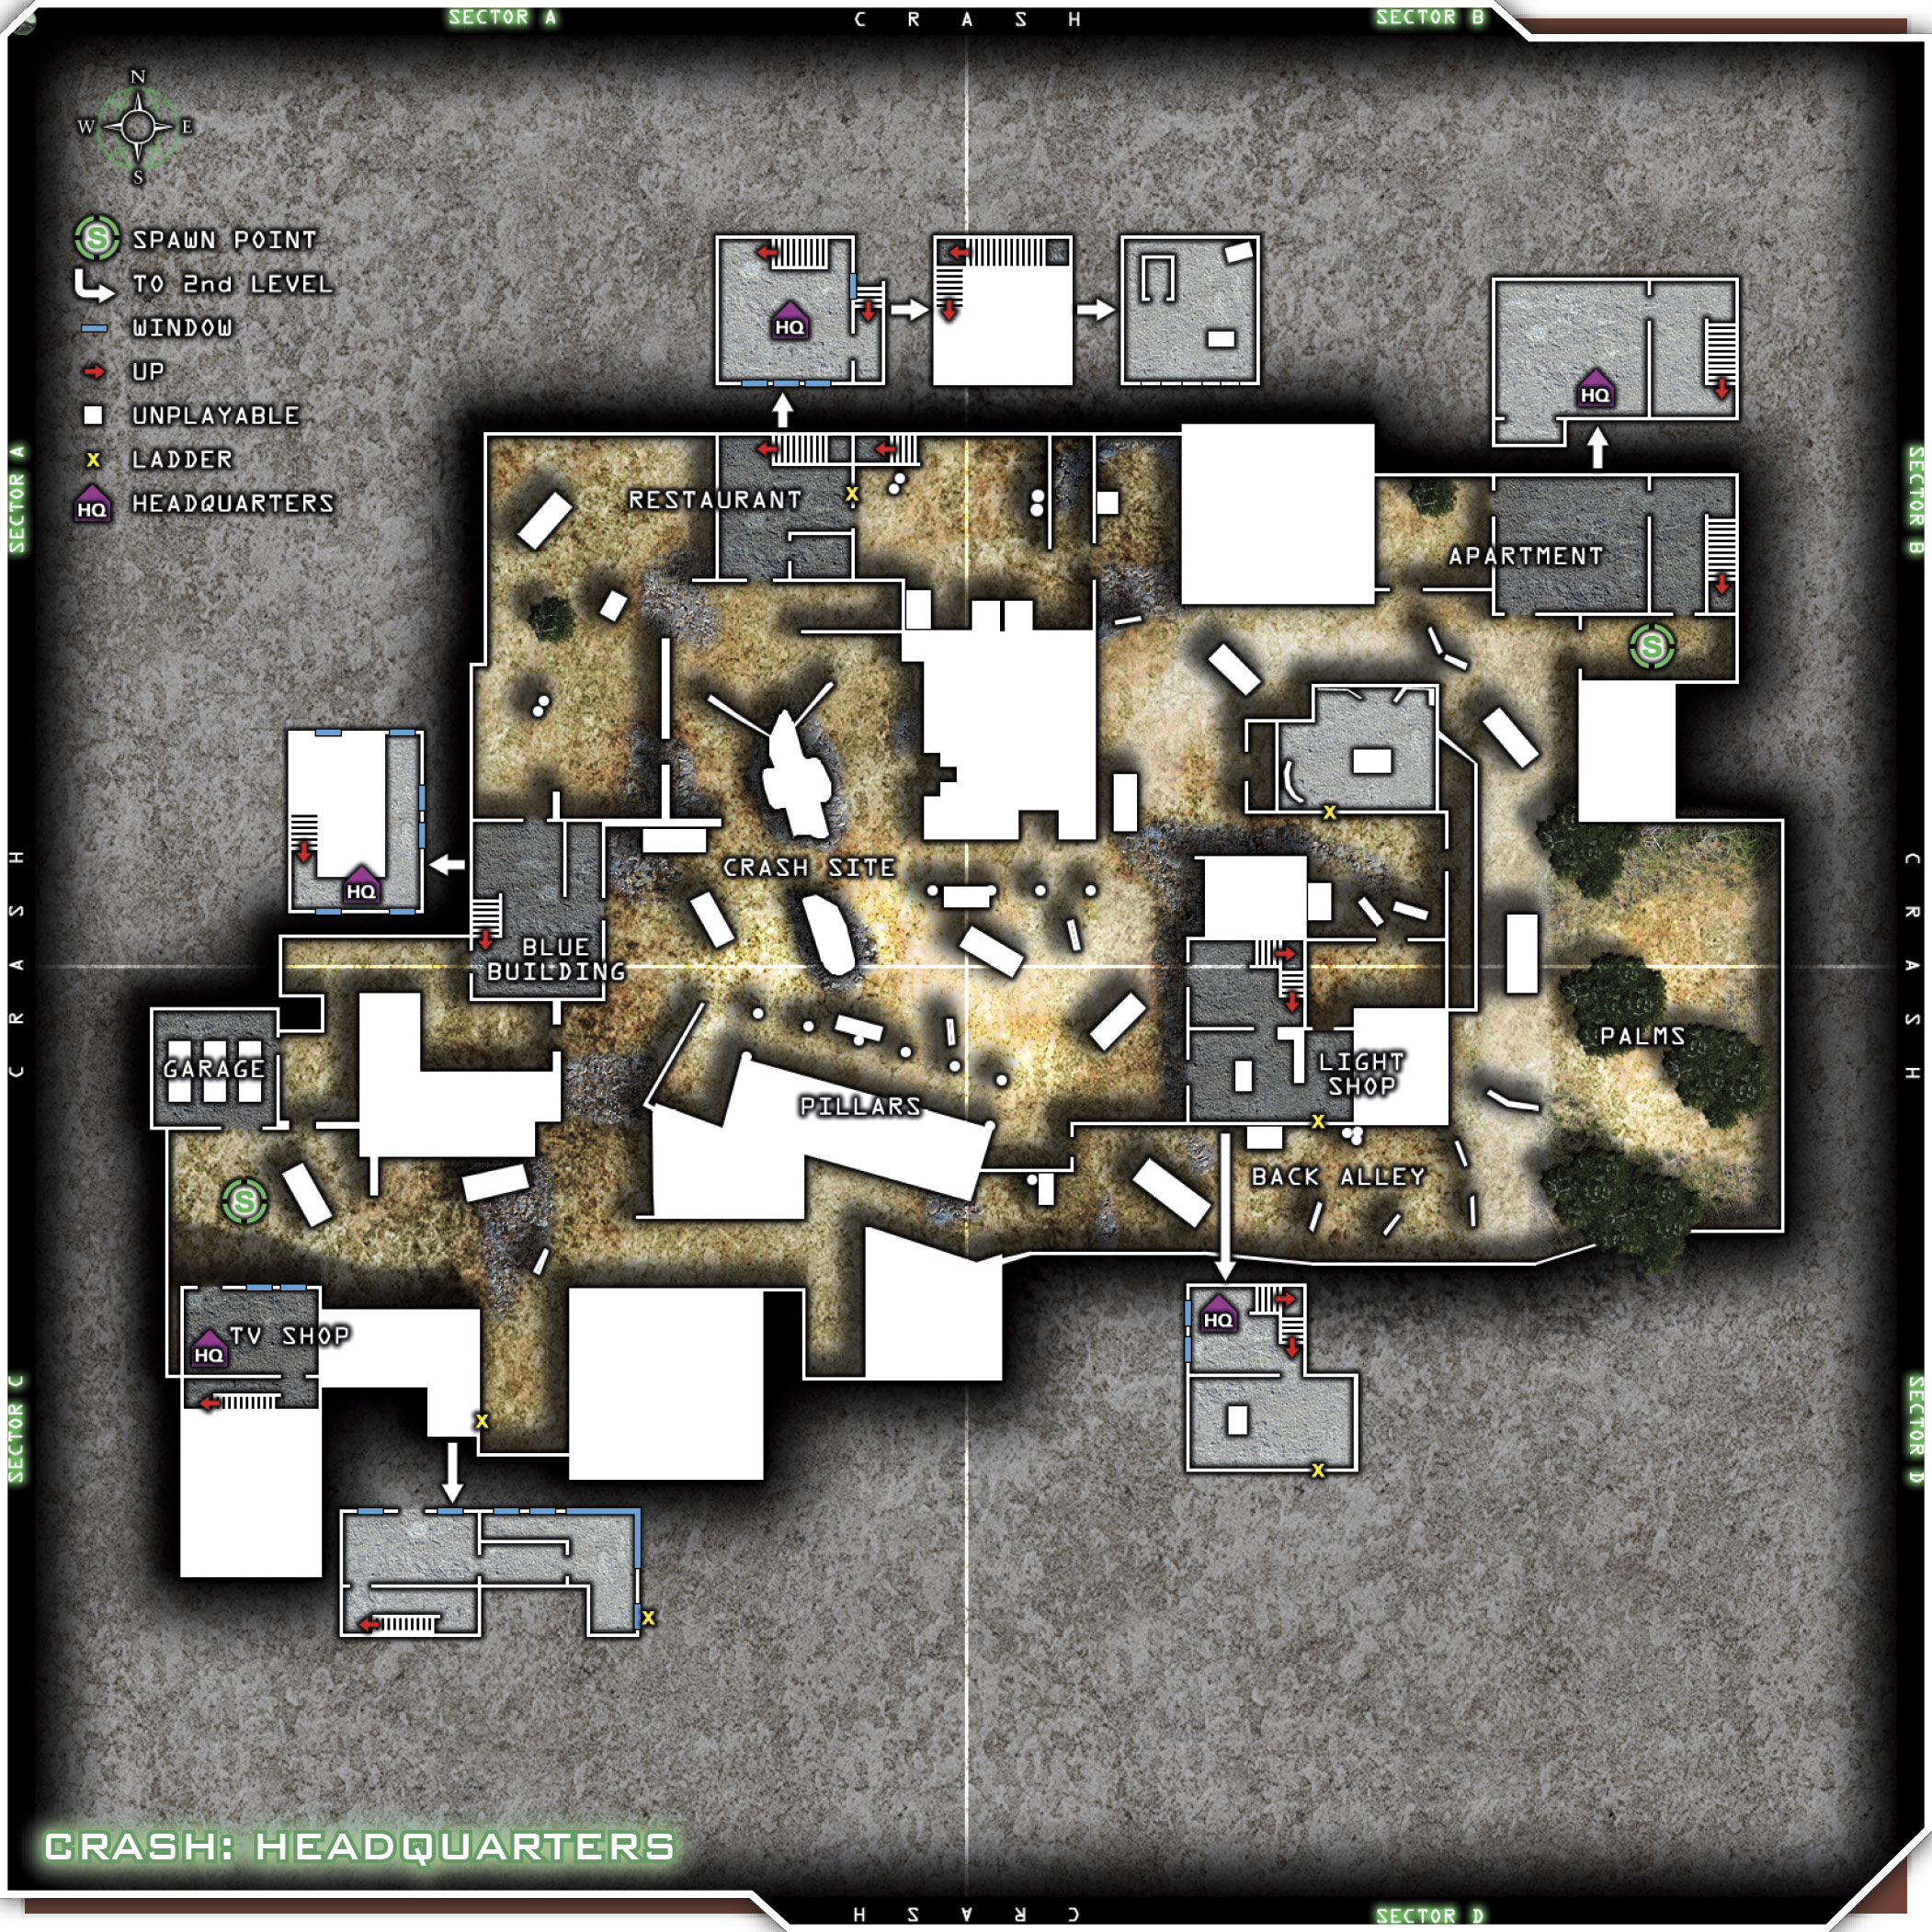
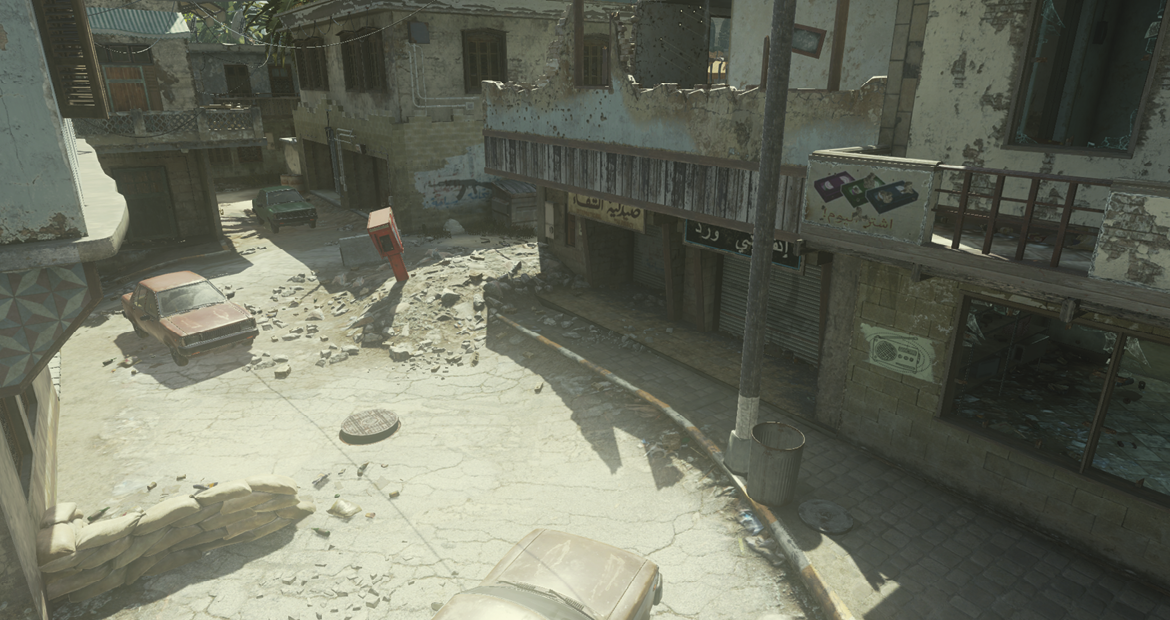
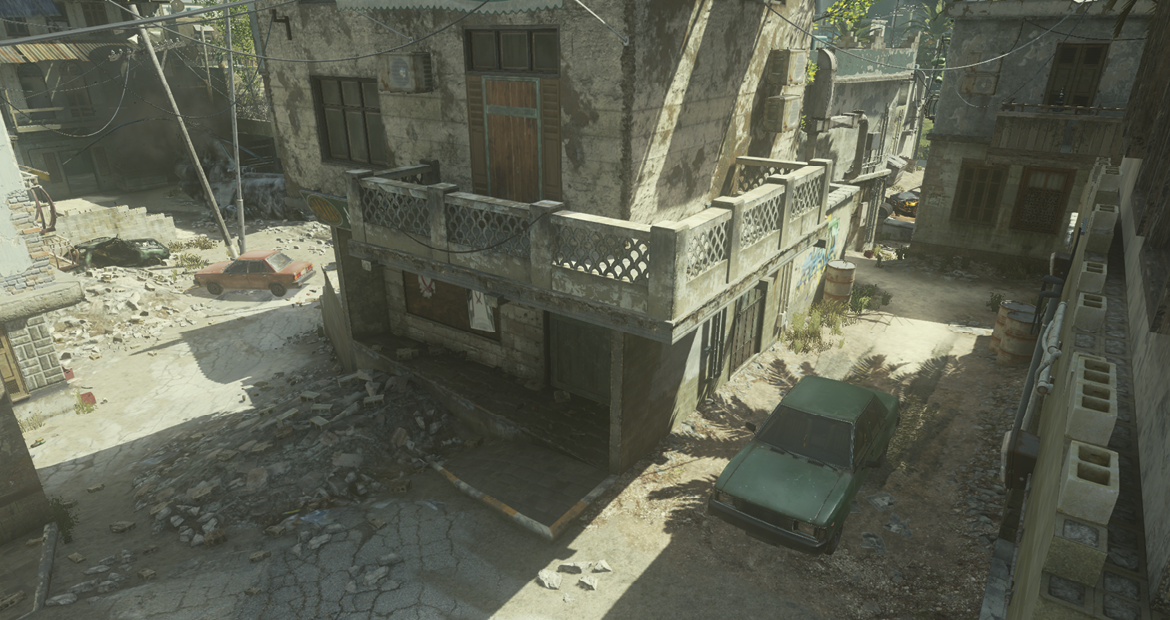
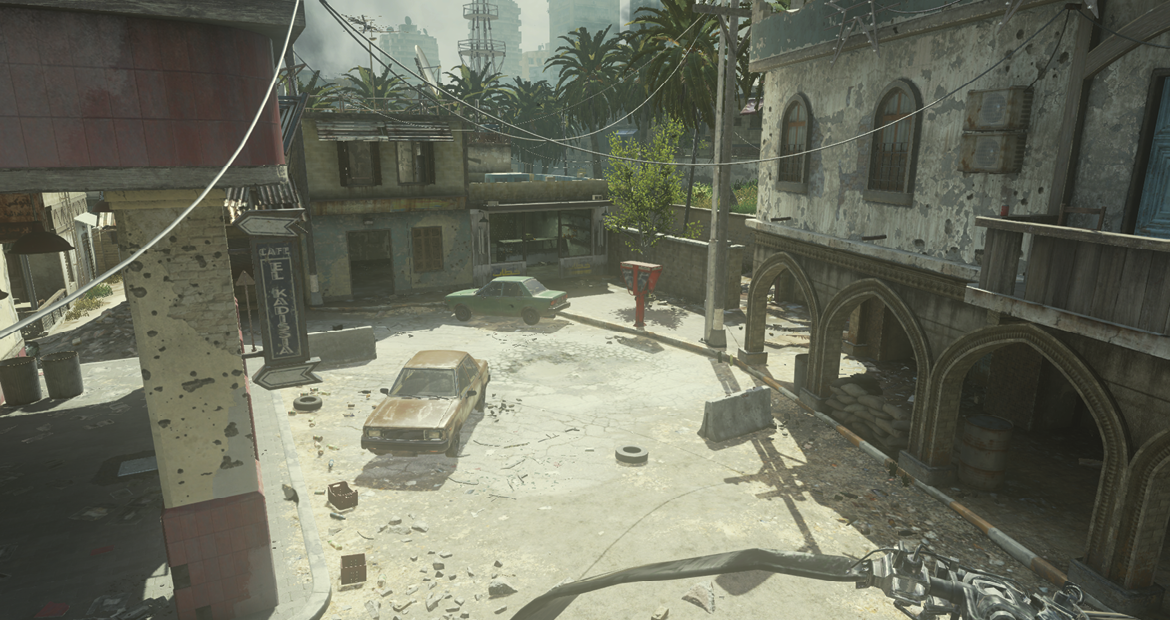
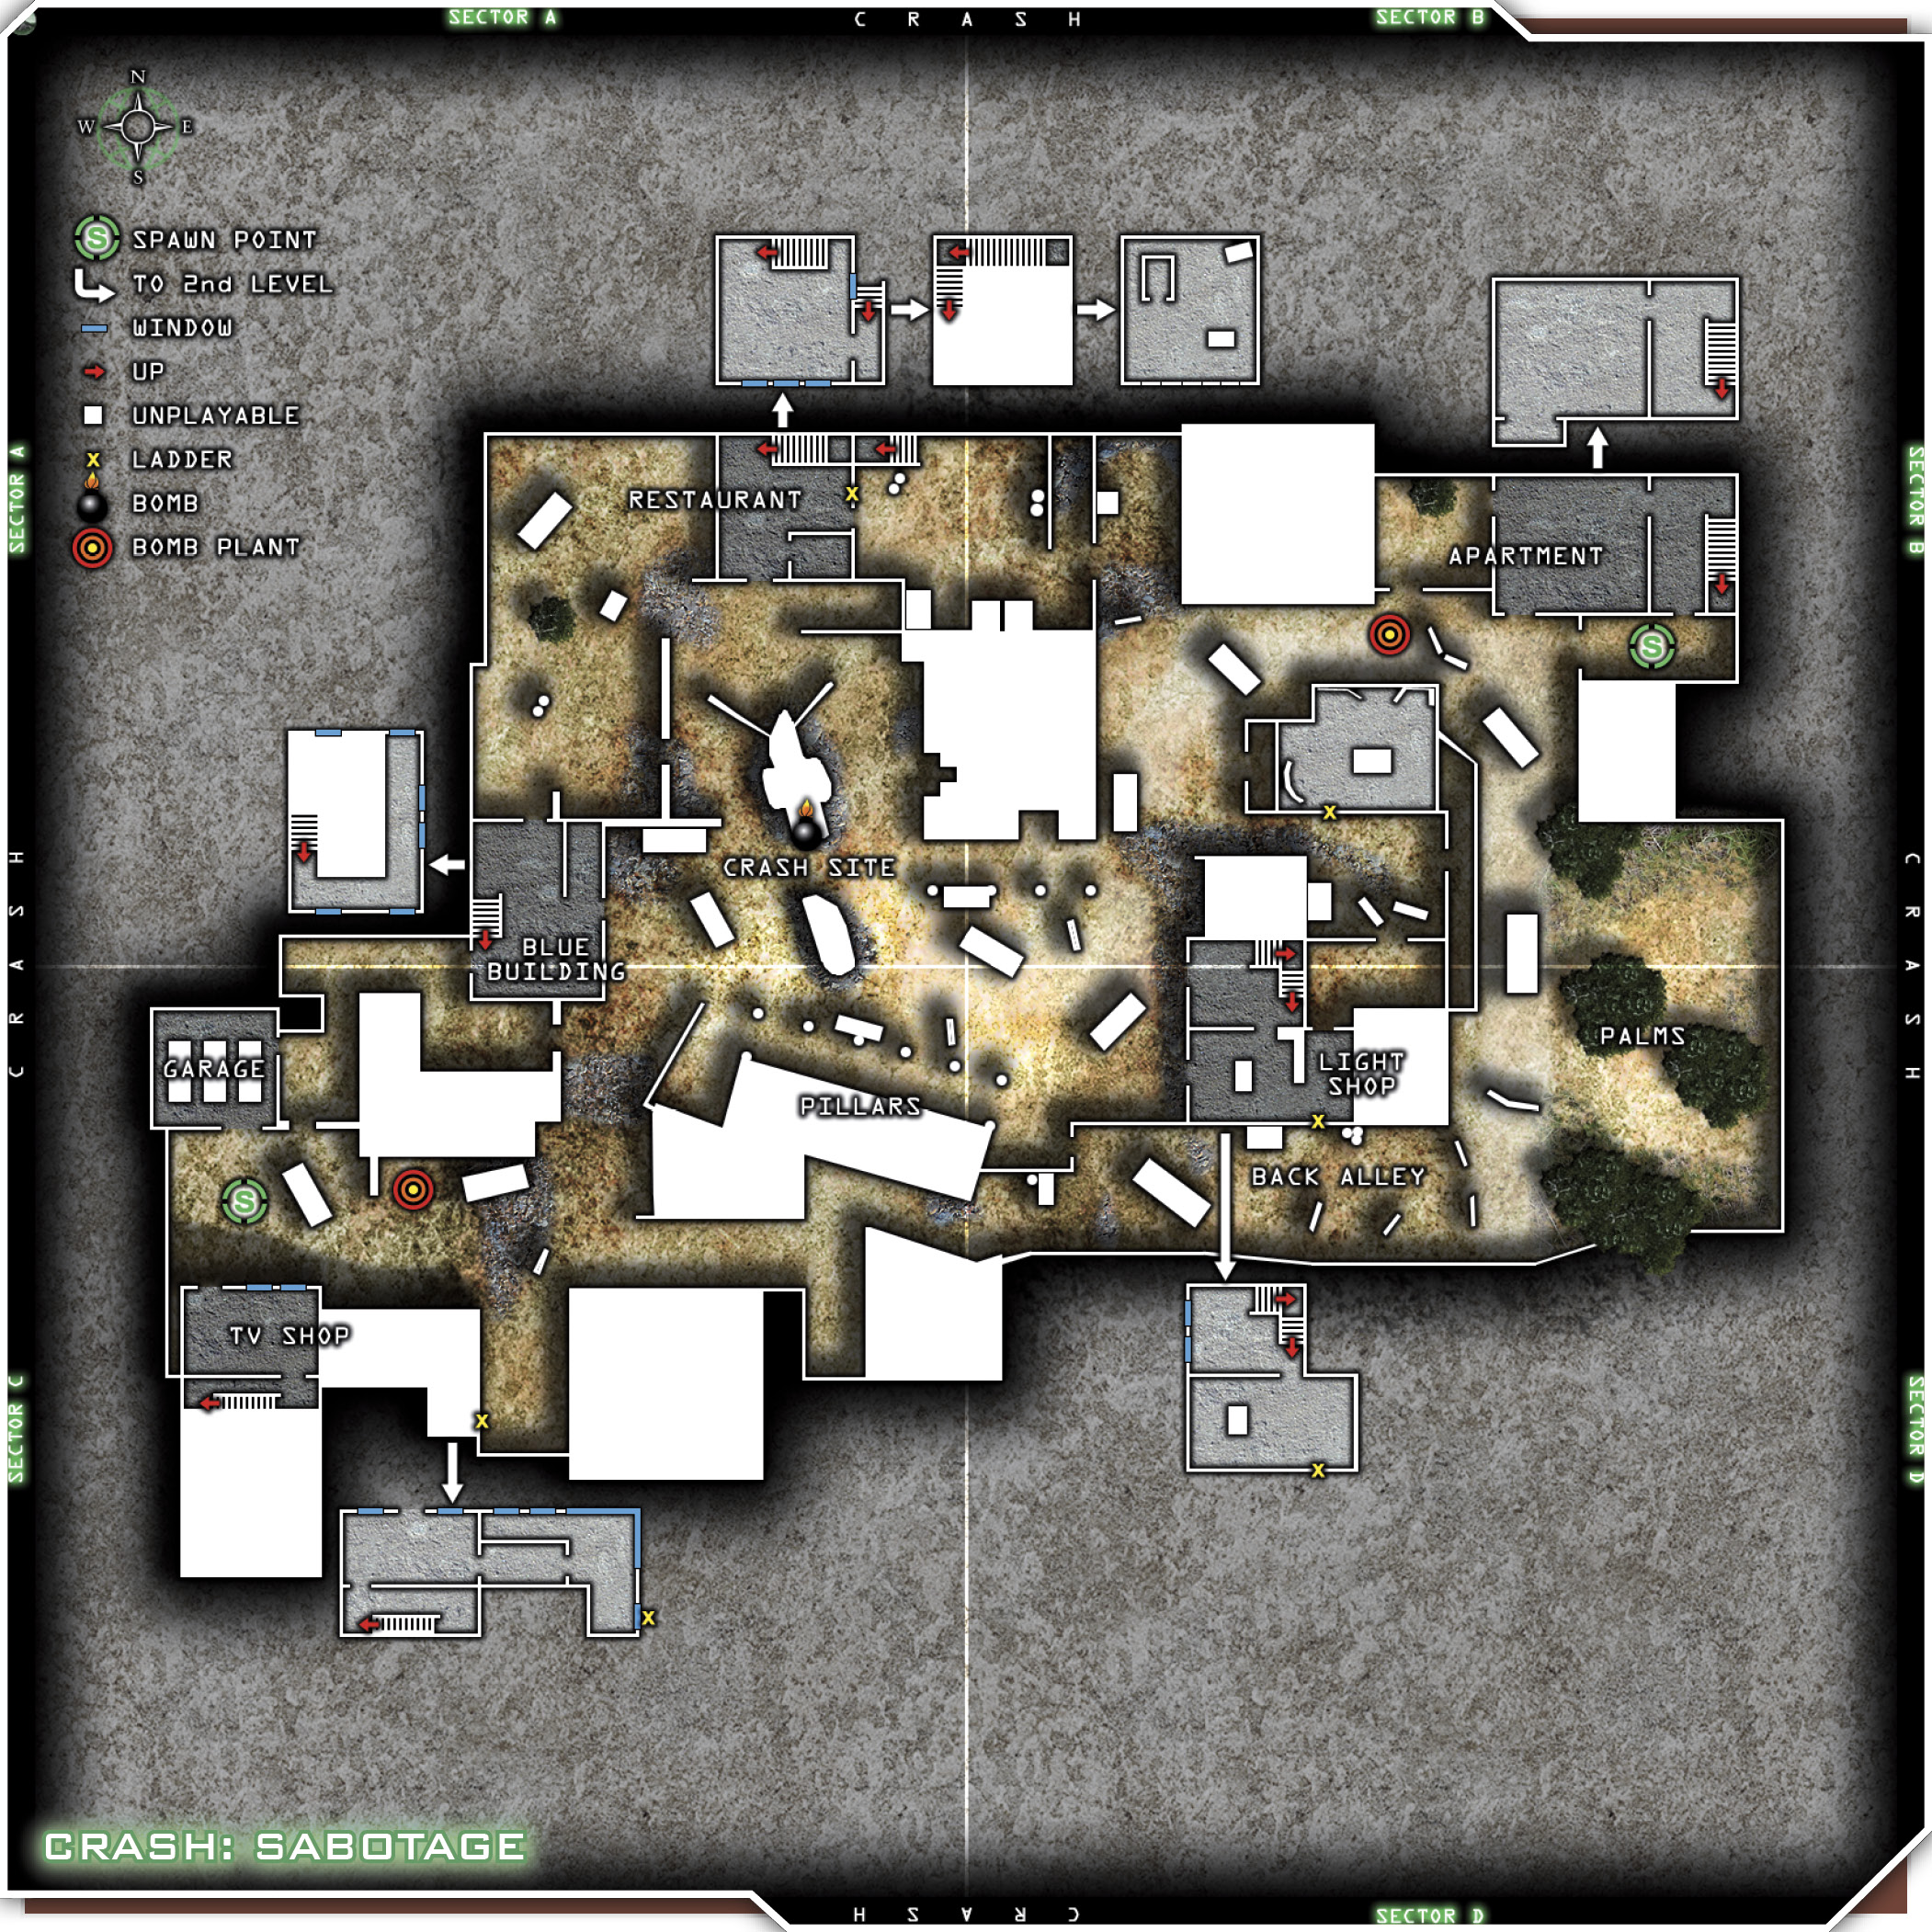
U.S. Forces vs. OpFor. This map is centered around a downed helicopter, and most of the action takes place directly around it. The chopper has crashed in the center of a war-torn town, and the teams initially spawn in the southwest corner and the northeast corner. Initial meeting areas include the Back Alley, the Restaurant, and the Crash Site.
The Basic Assault custom class setup will give you some good long- and medium-range proficiency, allowing you to lob grenades with the grenade launcher and still pop off some long/medium shots with the M4. Sonic Boom will give your grenades a higher damage radius. If you get picked off while trying to set up your lob shot, you’ll still have a chance to kill your assailant via the Last Stand perk. The assault class gives you decent mobility and still allows you to make accurate shots at most distances on this map. Use your special grenades, in this case stun or flash, to access building interiors that have been fortified by the enemy.
The Assault Sniper loadout is a mix between medium and long range. Your primary weapon will allow you to run and gun, quickly acquiring targets on the fly using the Red Dot Sight. By choosing the Overkill perk, you can carry a sniper rifle to use when you get set up in a secure area. Of course, not all secure areas are actually secure, so make good use of the Claymores. If you’re sniping out a window, set Claymores at the entrance to the room you’re in, or at the entrance to the building.
Suggested Loadouts
Basic Assault
| Slot | Name |
|---|---|
| Primary Weapon | M4 Carbine |
| Notes/Attachment | Grenade Launcher |
| Side Arm | M1911 |
| Special Grenade | Stun |
| Perk 1 | DISABLED |
| Perk 2 | Sonic Boom |
| Perk 3 | Last Stand |
Assault Sniper
| Slot | Name |
|---|---|
| Primary Weapon | G36c |
| Notes/Attachment | Red Dot |
| Side Arm | M1911 |
| Special Grenade | Smoke |
| Perk 1 | Claymore x2 |
| Perk 2 | Overkill |
| Perk 3 | Deep Impact |
Tips & Locations
Use your special grenades, in this case stun or flash, to access building interiors that have been fortified by the enemy. Stack up your team just outside the building you want to enter. Then select one player to pop flash (or stun), allowing your team to enter and clear out the building.
Stun grenades will tell you if you’ve stunned someone by rotating the crosshairs from a + to an x. This will let you know if someone is actually in the building you’re trying to enter, and that you should exercise caution. He’ll be stunned and moving slowly, but still can see. Special grenades are best used in these situations, when you don’t know exactly where the enemies are. Save your frags for when you know where people are but just can’t get a shot at them.
An alternative to running into the ground war immediately is to take up high-ground locations close to your team’s spawn, but close to the heat of battle as well. When spawning in the southwest, take up positions on the second story of the TV Shop and the Blue Building. If you’re spawning in the northeast, dig in upstairs in the Light Shop and even the Apartment. These locations will give you great views of the battle, allowing you to snipe or push back advancing enemies. Let your long-range shooters rack up a few kills and get a UAV called in. Once you’ve got an idea of where the enemy is, you can regroup and plan your attack.
Use smoke grenades as a distraction to make enemies think you’re going one way when you’re actually going the other way. Then mix it up and smoke the way you’re actually going the next time. Keep your enemies guessing and off-balance as much as possible.
Most of the battles on this map are for the Restaurant, the Light Shop, the Blue Building, and of course the Crash Site. Once you have control of one of these buildings, try to maintain it. Set up team members to watch each entrance, while positioning a sniper at advantageous windows or cracks to rack up enough kills for a UAV or an airstrike. Be aware of enemies in shadow, especially in areas such as the Pillars and the overhang on the south side of the hotel. Move in the shadows to avoid detection, and possibly even attach a silencer so you don’t appear on enemy radar while shooting.
Always remember that your primary weapon directly affects your mobility. Look at your stat meters to see how each weapon affects you. Your primary weapon also changes your skin. If you pick a sniper rifle for your primary weapon, you’ll be wearing a ghillie suit (Russian maps only).
Crash is a medium-range map. Recommended primary weapons are either a light machine gun or an assault rifle with at least a Red Dot Sight, and possibly an ACOG depending on your preference and style of play. If you like to run and gun, choose the Red Dot Sight. This will give you the quickest acquisition of targets on the run. Use the ACOG scope if you plan on setting up for a semi-long shot from time to time, and you feel comfortable firing from the hip as well.
Since there are so many places to take cover on this map, select the Deep Impact perk so your bullets will pass through normally impassable objects, such as concrete barriers and walls of buildings. You can also use the Stopping Power perk in combination with the Deep Impact perk to maximize your bullet penetration. Bear in mind that after a bullet passes through an object, it decreases in power/damage. If you get into a sniper battle, don’t be afraid to take a shot through the wall where your enemy might be hiding. You never know… You may find yourself pinned down if you switch to sniping, so be sure to choose smoke grenades. Pop smoke to reposition from one building to another or get away from a counter-sniper.
Team Tactics
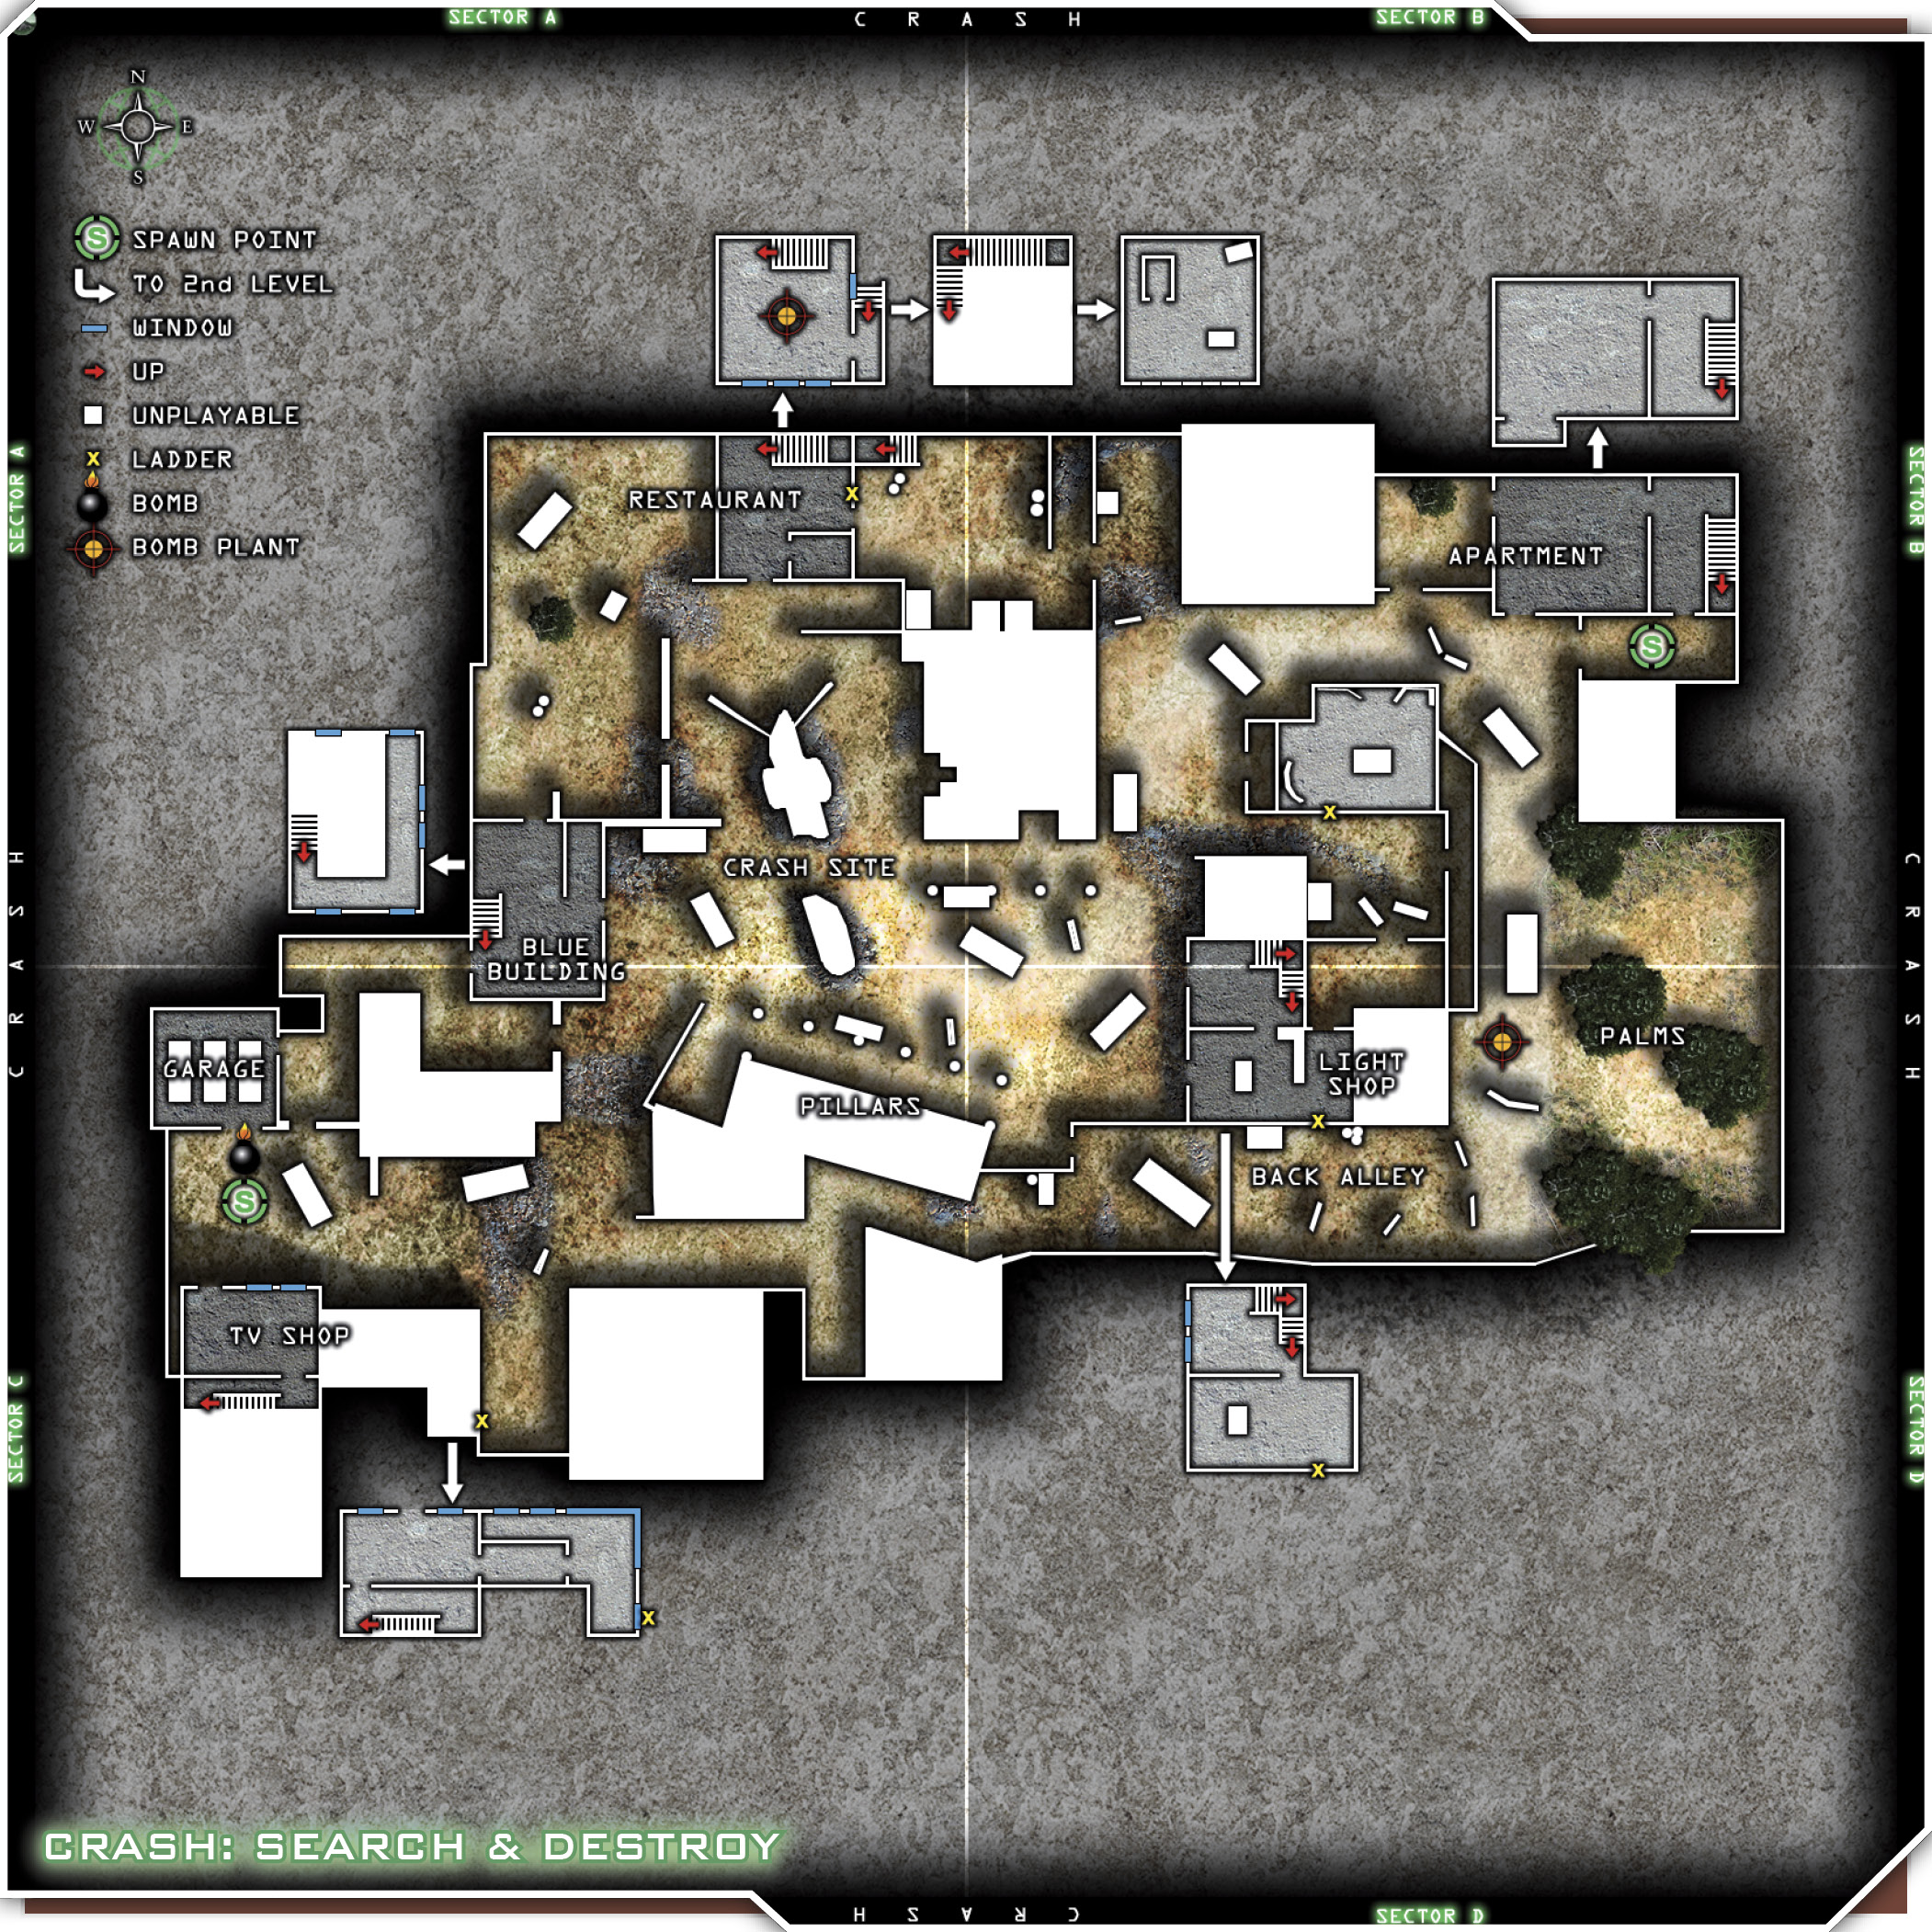
One team initially spawns at the Garage on the west side of the map, and the other team initially spawns on the east side near the Apartments. Since most of the action will be centered directly around the Crash Site, try a slow team approach. Keep your team together as a single unit, and progress from your spawn to the first set of chokepoints. If you spawn at the Garage on the west side, move up toward the Blue Building and the roof on the TV Shop. If you spawn at the Apartments, move up toward the Restaurant and the Light Shop while watching the back of the shop via the Palms. These locations offer some decent high ground so your team can start picking off enemies. Call in your UAV to see where the enemies are congregating, and regroup to advance on their position. Move in a group, and use communication to point out enemy locations so that someone with a scope can pick off any snipers in the windows. Help out by tossing a few grenades their way.
Since most battles on this map seem to end up in a fight for either the Restaurant or the Light Shop, consider camping the majority of your team in one of those two buildings. They both offer second stories and can provide great vantage points for snipers. It won’t be easy to fight your way into either of these buildings, so keep up the good communication. Let your buddies know if you’ve managed to clear out one of the buildings and that it’s safe to come on in. Get everyone in as quickly as possible, and then seal it off.
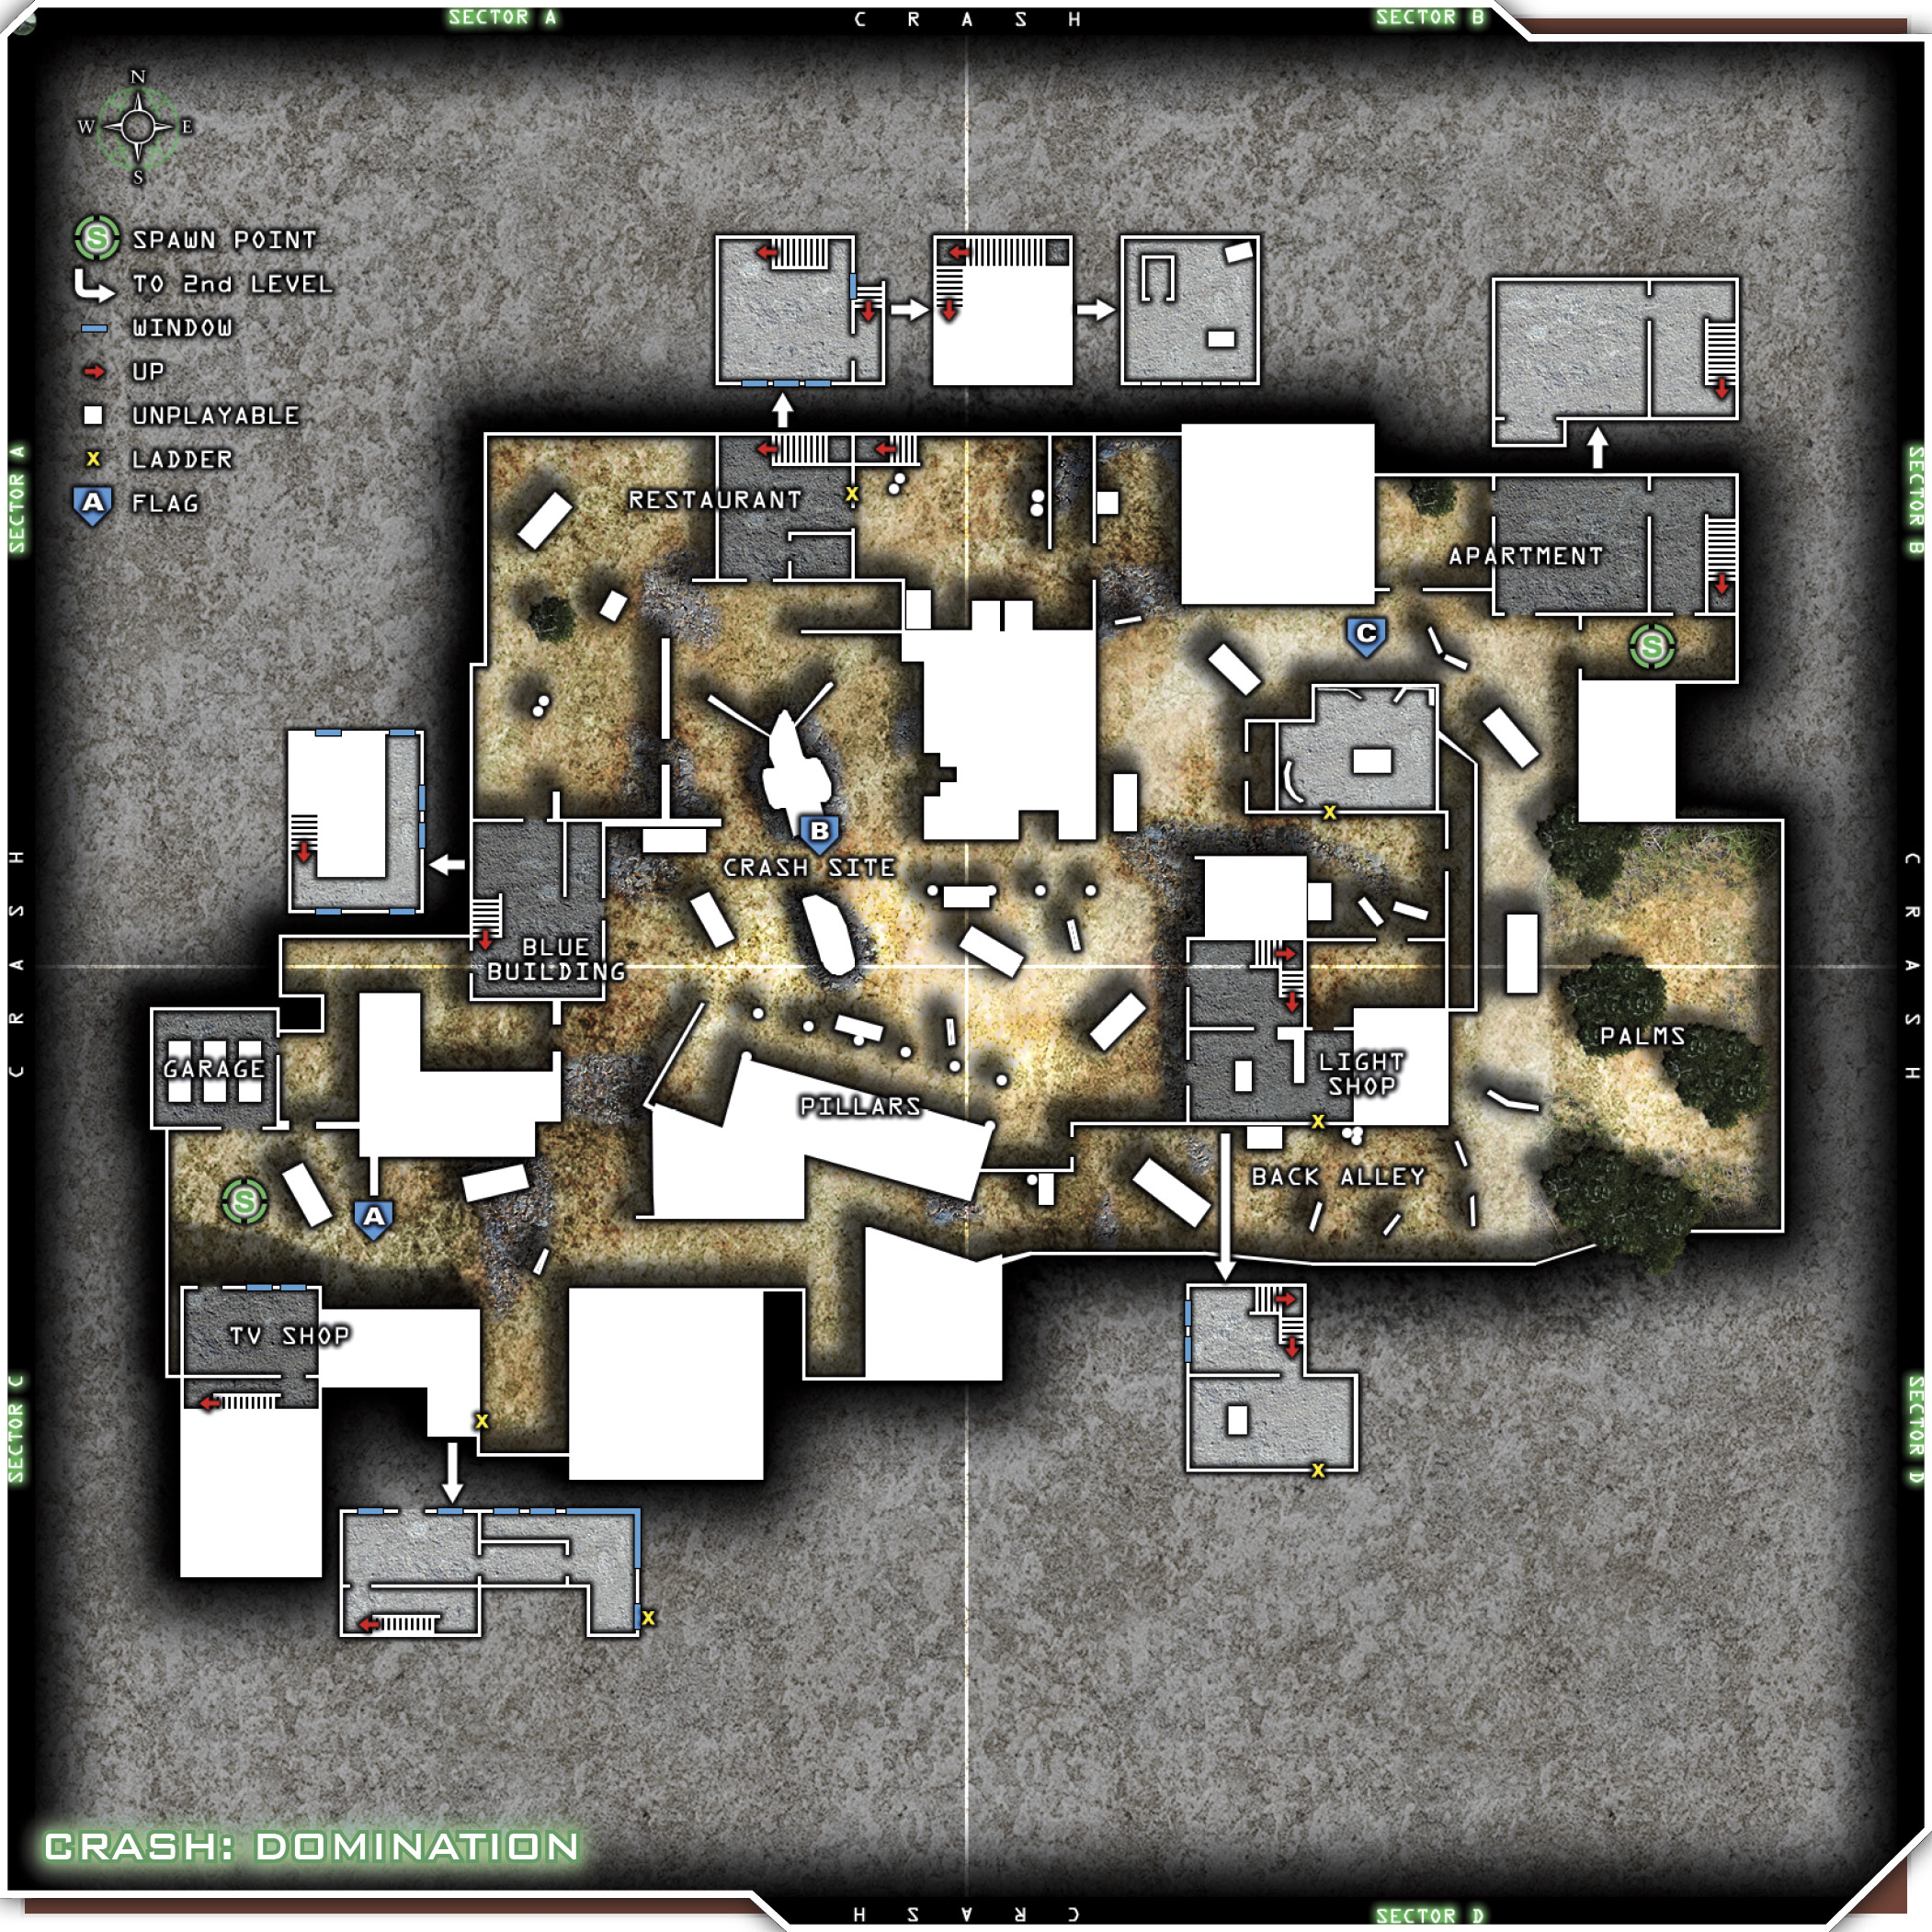
Since there are no doors in Call of Duty 4: Modern Warfare, you’ll have to position yourselves carefully. In the Restaurant, there’s a pantry just to the right as you enter from the southern entrance. Camp at least one player here with C-4 and an LMG. Consider positioning someone just outside the door on the east side as well, to prevent anyone from sneaking up behind your pantry raider. You’ll need someone to watch the second level’s east entrance, which is accessible via a set of stairs. Put yourself in the southwestern corner so you can watch both entrances on the second level. The roof of the Restaurant offers a good look at the Crash Site and the Apartments. Put a sniper up top and a defense gunner to watch his back in case someone makes it up the stairs. Always be ready inside the building to knife someone quickly.