Call of Duty: Infinite Warfare Guide Call of Duty 4: Modern Warfare Multiplayer Basic Training
Weapon And Character Skins
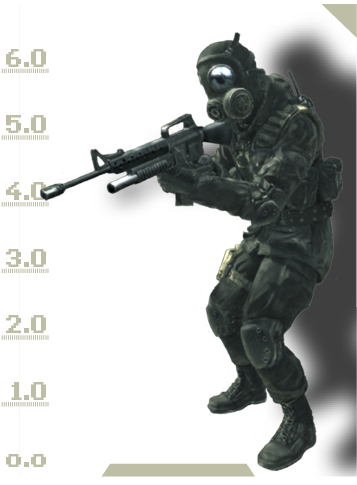
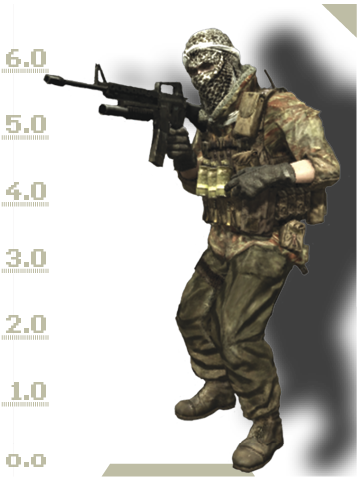
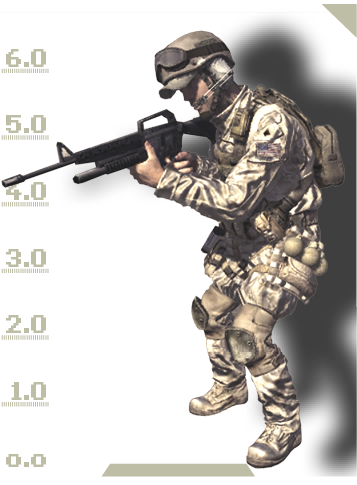
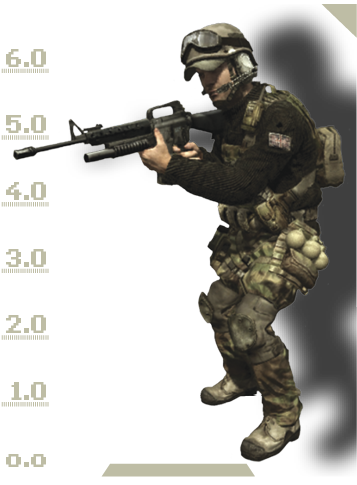
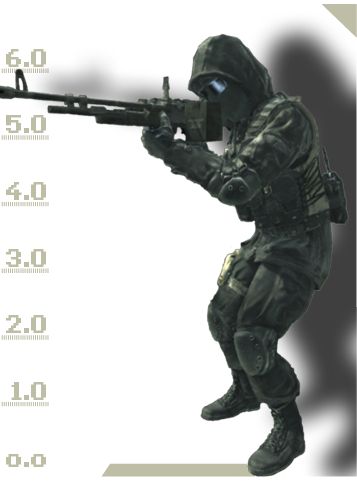
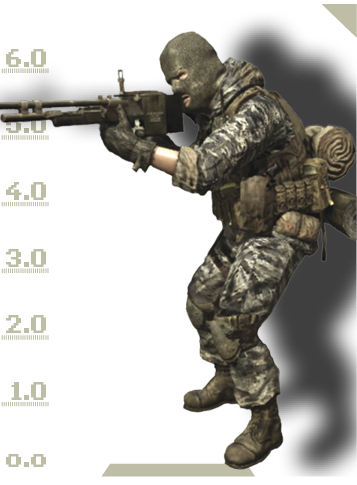
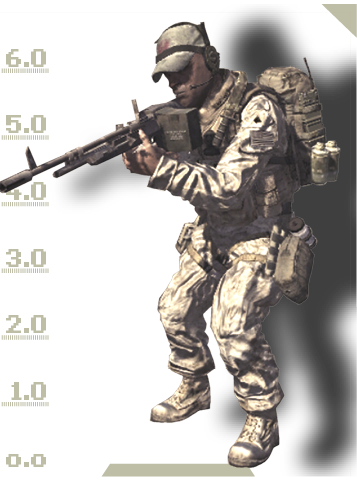
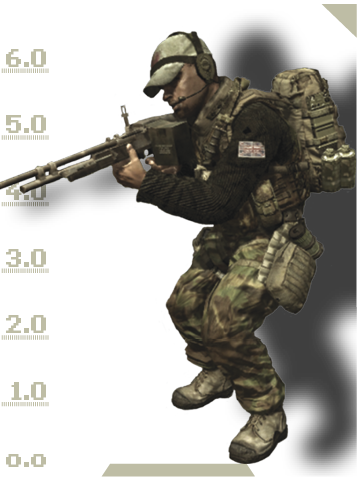
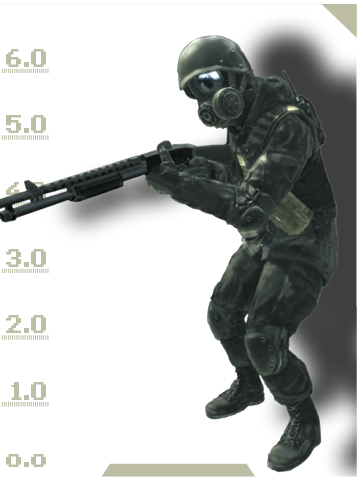
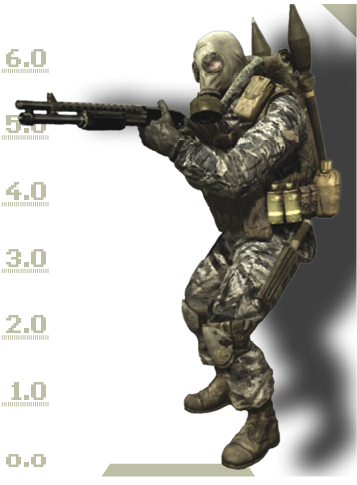
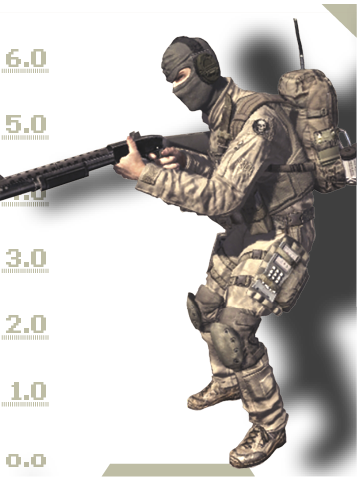
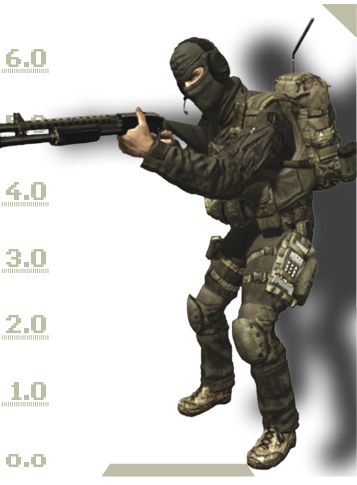
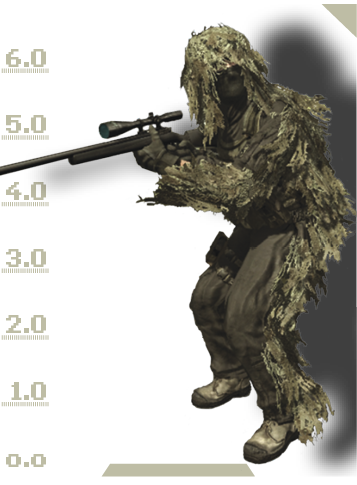
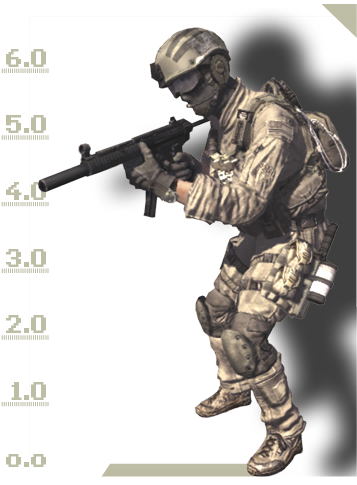
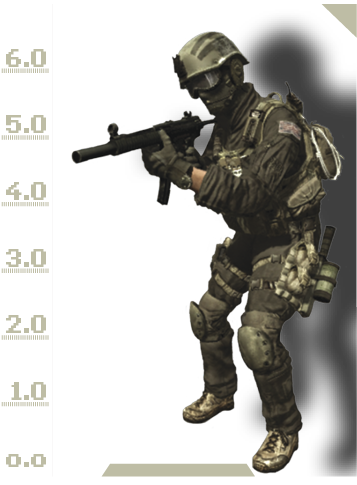
Your character’s outfit is directly related to the primary weapon you choose, the environment you’re fighting in, and the factions involved (U.S. Forces, British Spec Ops, Spetsnaz, etc.). Choose the right skin for the map. Sometimes you’ll need to sacrifice your weapon of choice to get the best camouflage for a certain map, so choose what suits you best on a per-map basis. Your weapons can be painted as well. You can unlock weapon camo by ranking up or via specific challenges. Try to select a camo pattern that gives you the best concealment for each map, and that matches your character’s skin.
| Name | OPFORCE DESERT | Spec OPS | Spetsnaz | U.S. Desert | U.S. Woodland |
|---|---|---|---|---|---|
| Assault Rifle | 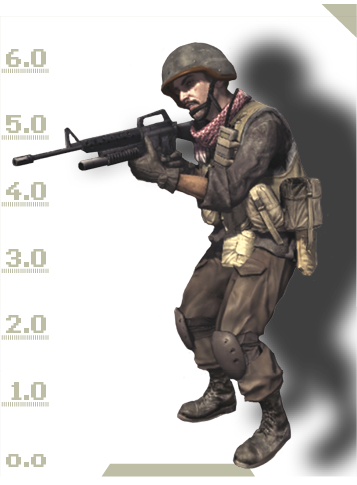 |
 |
 |
 |
 |
| Light Machinegun | 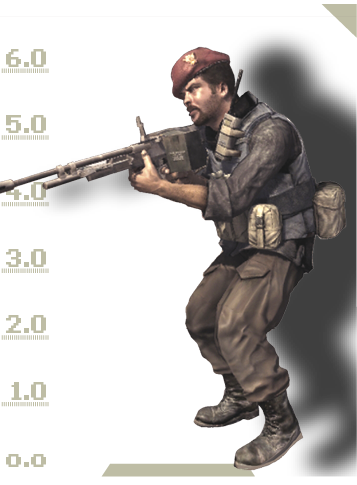 |
 |
 |
 |
 |
| Shotgun |  |
 |
 |
 |
 |
| Sniper Rifle | 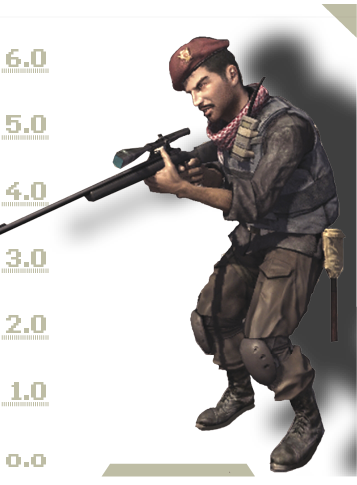 |
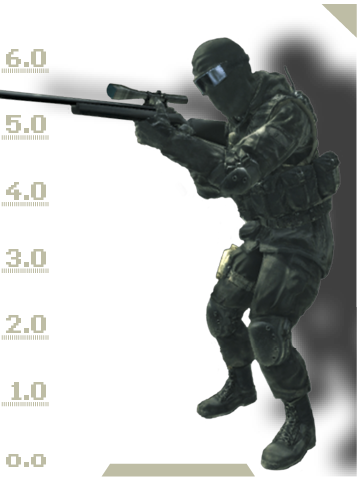 |
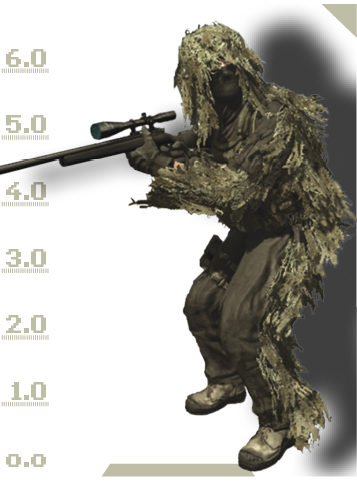 |
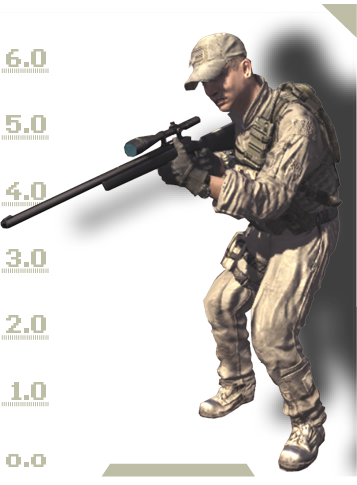 |
 |
| Sub Machinegun | 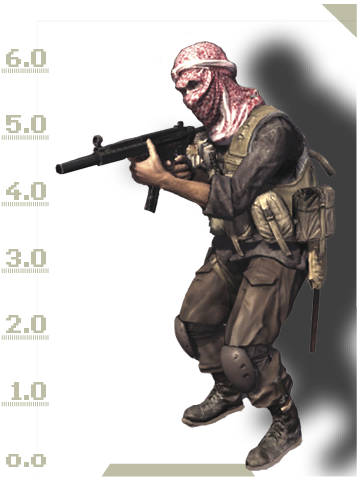 |
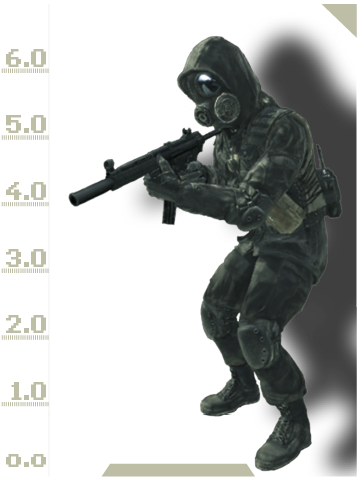 |
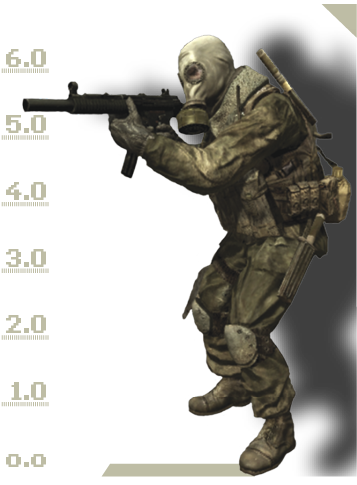 |
 |
 |
Rank
You get promoted in Call of Duty 4: Modern Warfare by gaining experience points. You get points for kills, planting a bomb, defusing it, taking a headquarters, holding it, taking flags in domination, and many other things. When you rank up, you get rewarded with things like new weapons, perks, challenges, camos, and features. Following is a list of all of the ranks and the experience points (XP) need to attain each one.
| Rank # | Insignia | Rank Title | XP Required |
|---|---|---|---|
| 1 |  |
Private First Class |
0 |
| 2 |  |
Private First Class I |
30 |
| 3 |  |
Private First Class II |
120 |
| 4 |  |
Lance Corporal |
270 |
| 5 |  |
Lance Corporal I |
480 |
| 6 |  |
Lance Corporal II |
750 |
| 7 |  |
Corporal |
1080 |
| 8 |  |
Corporal I |
1470 |
| 9 |  |
Corporal II |
1920 |
| 10 |  |
Sergeant |
2430 |
| 11 |  |
Sergeant I |
3000 |
| 12 |  |
Sergeant II |
3650 |
| 13 |  |
Staff Sergeant |
4380 |
| 14 |  |
Staff Sergeant I |
5190 |
| 15 |  |
Staff Sergeant II |
6080 |
| 16 |  |
Gunnery Sergeant |
7050 |
| 17 |  |
Gunnery Sergeant I |
8100 |
| 18 |  |
Gunnery Sergeant II |
9230 |
| 19 |  |
Master Sergeant |
10440 |
| 20 |  |
Master Sergeant I |
11730 |
| 21 |  |
Master Sergeant II |
13100 |
| 22 |  |
Master Gunnery Sergeant |
14550 |
| 23 |  |
Master Gunnery Sergeant I |
16080 |
| 24 |  |
Master Gunnery Sergeant II |
17690 |
| 25 |  |
2nd Lieutenant |
19380 |
| 26 |  |
2nd Lieutenant I |
21150 |
| 27 |  |
2nd Lieutenant II |
23000 |
| 28 |  |
1st Lieutenant |
24930 |
| 29 |  |
1st Lieutenant I |
26940 |
| 30 |  |
1st Lieutenant II |
29030 |
| 31 |  |
Captain |
31240 |
| 32 |  |
Captain I |
33570 |
| 33 |  |
Captain II |
36020 |
| 34 |  |
Major |
38590 |
| 35 |  |
Major I |
41280 |
| 36 |  |
Major II |
44090 |
| 37 |  |
Lt. Colonel |
47020 |
| 38 |  |
Lt. Colonel I |
50070 |
| 39 |  |
Lt. Colonel II |
53240 |
| 40 |  |
Colonel |
56530 |
| 41 |  |
Colonel I |
59940 |
| 42 |  |
Colonel II |
63470 |
| 43 |  |
Brigadier General |
67120 |
| 44 |  |
Brigadier General I |
70890 |
| 45 |  |
Brigadier General II |
74780 |
| 46 |  |
Major General |
78790 |
| 47 |  |
Major General I |
82920 |
| 48 |  |
Major General II |
87170 |
| 49 |  |
Lieutenant General |
91540 |
| 50 |  |
Lieutenant General I |
96030 |
| 51 |  |
Lieutenant General II |
100640 |
| 52 |  |
General |
105370 |
| 53 |  |
General I |
110220 |
| 54 |  |
General II |
115190 |
| 55 |  |
Commander |
120280 |
Kill Streak Bonuses: Air Support
There are three different types of air support that you can use when you go on a kill streak. Remember that you don’t have to use them right away; they’ll still be available to you after you respawn.
| 3-Kill Streak | Call in a UAV. This bonus will give you a radar sweep of the entire map and reveal all enemy locations in motion. UAVs only last for a short period of time, so use them wisely. Try to coordinate your UAVs with your teammates so that you don’t waste one of your radar sweeps. |
|---|---|
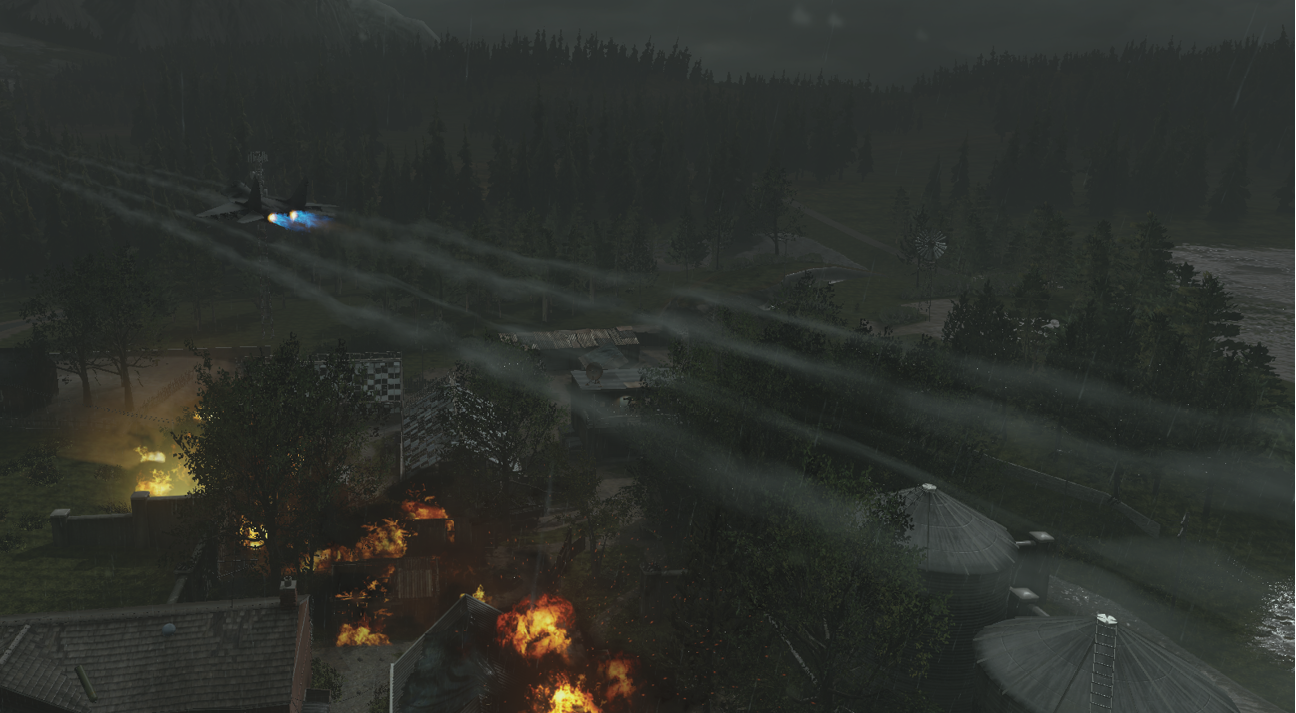
| 5-Kill Streak | Call in an airstrike. This will send in a formation of jets to drop bombs on a location of your choosing. You can flip to the entire map view and reposition the crosshairs to tell your air support team exactly where you want the strike to take place. Make sure to notify your teammates and check the maps for friendlies before you call in the strike. |
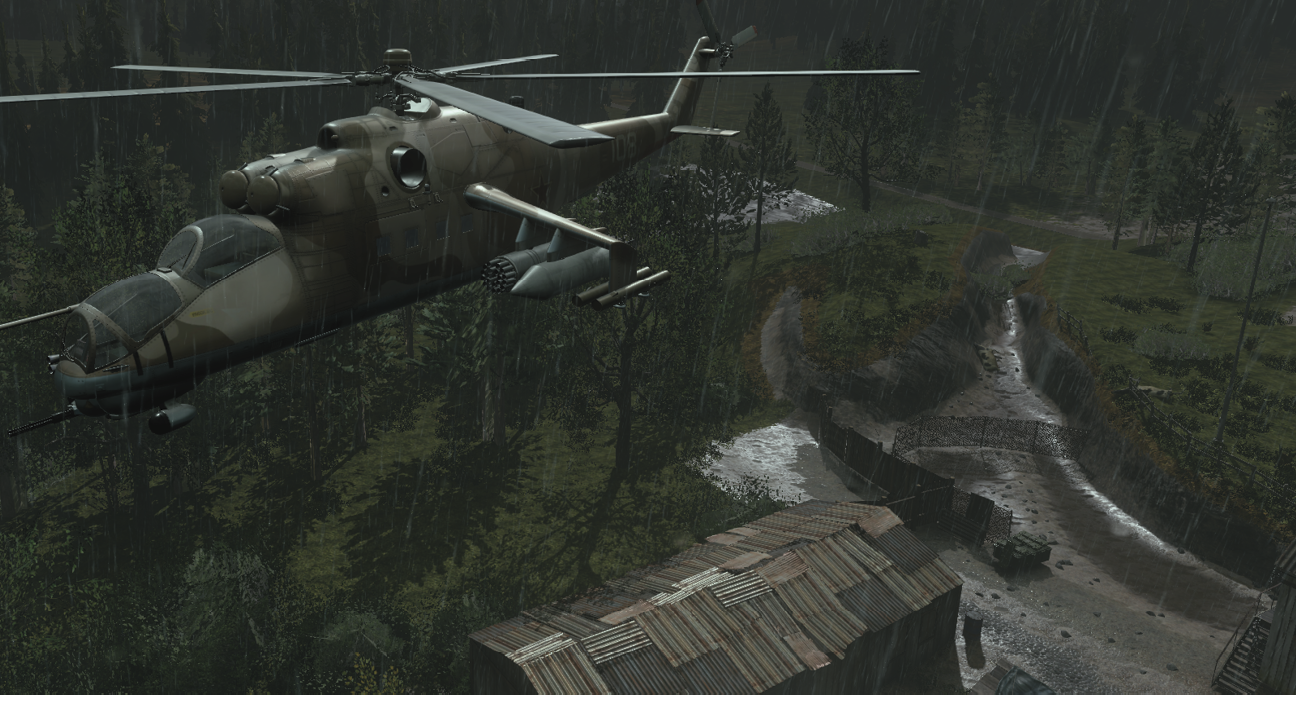
| 7-Kill Streak | Call in the chopper. If you’re man enough to achieve this bonus, you’re in for a treat. When you call in helicopter support, a chopper armed with a single minigun and missiles will eliminate your enemies and rack up points for you until the other team shoots it down. Remember that any weapon will damage the helicopter, so shoot at enemy choppers with anything you’ve got. |