
Call of Duty: Infinite Warfare Guide Call of Duty 4: Modern Warfare Multiplayer Basic Training
Modes
There are several modes available to you, depending on what type of match you decide to play. There are only preset modes and combinations of modes in Find Match, but setting up a Private Match allows you to customize just about every aspect, from the duration of a round to whether the match is headshots only.
Find Match Modes
These public room modes cannot be customized.
| Team Deathmatch | Straight-up Team Deathmatch. Use teamwork to kill enemy players and reach the score limit. |
|---|---|
| Free-For-All | Straight-up Deathmatch: Every man for himself. Kill everyone. |
| Domination | Three flags in the level must be captured. Your team gets points for taking flags. The more you hold, the more points you gain. |
| Ground War | Big team games—Team Deathmatch and Domination (up to 18 players). |
| Sabotage | A neutral bomb is in the center of the level, and each team fights to destroy the enemy team’s objective. The bomb carrier can be seen by all players. First team to successfully bomb the enemy objective wins. |
| Headquarters | Each team fights to capture a neutral base. Capture and hold it to gain points. The team that holds the HQ doesn’t respawn. |
| Search & Destroy | No respawning. Defend and destroy the objective. |
| Team Objective | Objective game modes only. Domination, Headquarters, Sabotage, and Search & Destroy. |
| Team Hardcore | Hardcore Team Deathmatch and Search & Destroy. Limited HUD, extra bullet damage, friendly fire on. |
| Old School | Old School Team Deathmatch and Free-For-All. No classes. Weapons are pickups, health is increased, and jumps are higher. |
| Oldcore | Old School pickups and jumping. Hardcore limited HUD and extra bullet damage. Team Deathmatch. |
Private Match Modes
These are private or invite-only rooms that you can fully customize. Great for clan matches.
Free-For-All
Team Deathmatch
Domination
Sabotage
Headquarters
Search & Destroy
Each mode has its own set of options to adjust, but all modes provide the following options (see exceptions for PC version at the bottom of this page):
Player Options
| Number of Lives | Unlimited, 1, 2, 3, 5, 9 |
| Respawn Delay | None, 5 sec, 7.5 sec, 10 sec, 15 sec, 30 sec |
| Max Health | Min, Half, Normal, Double |
| Health Regen | None, Fast, Normal, Slow |
| Allow Killcam | Yes, No |
| Allow Sprint | Yes, No |
Team Options
| Spectating | No, Team Only, Free |
| Wave Spawn Delay | None, 5 sec, 10 sec, 15 sec, 30 sec |
| Force Respawn | On, Off |
| Radar Always On | On, Off |
| Friendly Fire | Disabled, Enabled, Reflect, Shared |
Gameplay Options
| Headshots Only | On, Off |
| Allow Perks | On, Off |
| Allow Air Support | On, Off |
| Old School Mode | On, Off |
| Hardcore Mode | On, Off |
Private Match and several server options are available only in the console version of the game. The following options are not available in the PC version:
Number of Lives
Respawn Delay
Max Health
Health Regen
Allow Sprint
Wave Spawn Delay
Radar Always On
Headshots Only
Allow Perks
Allow Air Support
Mode Tactics
Not all matches contain the same number of players, so make adjustments as needed. Use the following tactics to successfully complete mode objectives and keep your team in the win column.
Free-For-All
What can you say about free-for-all? Shoot everything that moves. If it moves, it’s not on your team and it needs to die! Success in FFA mode depends on your custom class setup, including weapon and perk combinations. First, decide the map on which you’re fighting. Let’s take Vacant as an example. Everyone has a different style of play, but here’s what the optimum loadout for a map with such tight quarters might look like:
Confined Space Assassin
| Slot | Name |
|---|---|
| Primary Weapon | MP5 |
| Notes/Attachment | Red Dot |
| Side Arm | M1911 .45 |
| Special Grenade | Stun |
| Perk 1 | Frag x3 |
| Perk 2 | Juggernaut or Double Tap |
| Perk 3 | Martyrdom |
This loadout or CCS (custom class setup) allows your character to be very mobile because you’ve chosen a submachine gun, and you’re lethal because you’re packing three frags. For your second perk, your options are Juggernaut or Double Tap, which are almost equal on the Vacant map. By using Juggernaut, you can take more hits than your enemy and emerge the victor in one-on-one battles. The same holds true if you choose Double Tap. By doling out twice as many rounds as your enemy, you have twice the chance of killing him before he kills you. Remember, if you have Double Tap as your second perk, you may want to switch your Frag x3 perk to Bandolier. The Double Tap perk will chew through ammo very quickly.
Now that you’ve got your CCS selected, what do you do? Kill everyone! Since this is FFA, you don’t have any friends. Even if your friends are in the same room, they’re not your friends. Everyone is shooting at you, so shoot back. Stay mobile. Find a few good spots to shoot from, or ambush enemies and bounce from one to the other. You might want to hold back a bit at first and rack up your 3-kill streak so you can call in your UAV. Once you know where everyone is, you can relocate to your next spot and go for your 5-kill streak and bomb the lot of them.
Some other options for this mode are map-dependent, but consider taking a light machine gun, which has many more rounds than a submachine gun. If you do, take the Bandolier perk with you as well. Shotguns work well for FFA matches, as do Last Stand, Claymores x2, and even the UAV Jammer with a silencer on your primary weapon.
Always keep in mind that you can pick up a fallen enemy’s weapons. You’re probably such a badass that you’ll run out of ammo before you die, so keep an eye out for any bloody, previously owned weapons lying around.
Team Deathmatch
Two factions fight each other to reach the points total first. Try to organize who will be loading up with what, and do your best to not double up too much on the same class setups. The number of players will always vary, so divide up the classes as you see fit based on the map.
Let’s take a map like Crash, for instance. You may decide to set up a couple of long-range assault classes or snipers. Here are some suggested loadouts for 2-3 players.
Long-Range Assault Rifleman
| Slot | Name |
|---|---|
| Primary Weapon | M4 Carbine |
| Notes/Attachment | ACOG Scope |
| Side Arm | M1911 .45 |
| Special Grenade | Smoke |
| Perk 1 | Claymore x2 |
| Perk 2 | Stopping Power or UAV Jammer |
| Perk 3 | Steady Aim |
Sniper
| Slot | Name |
|---|---|
| Primary Weapon | Barrett .50 cal |
| Side Arm | M1911 .45 |
| Special Grenade | Smoke |
| Perk 1 | Claymore x2 |
| Perk 2 | Sleight of Hand |
| Perk 3 | Steady Aim or Iron Lung |
Find out who wants to run with the preceding kits, and have them hang back a bit to rack up a 3-kill streak and get your UAVs online. If you have to sacrifice being a run-and-gun guy when you want to be a sniper, do it. You’ll get more points for winning the round. Snipers and long-range assault guys should hang back near their spawns, but with a good view of the action. Good spots on Crash for these players would be the TV Shop balcony and the Blue Building (see our maps, which appear later in this chapter). If you spawn in the northeast, the Apartment balcony or the Light Shop roof are good places to set up. Do your best to thin the herd with your snipers, and get your kill streaks up as quickly as possible. If you can get enough points at the beginning of the round, you and your team can fall back and fortify a position like the Apartment Building or the TV Shop.
The rest of your team can pretty much load out with whatever they’re comfortable with, as long as it fits the map. If you’ve got six people on your team and two are long-range assault riflemen or snipers, the remaining four should not be those classes. To complement your long-rangers, try loading out with some of the following suggestions:
Heavy Gunner/Grenadier
| Slot | Name |
|---|---|
| Primary Weapon | M60E4 |
| Side Arm | Desert Eagle |
| Special Grenade | Stun |
| Perk 1 | Frag x3 |
| Perk 2 | Stopping Power or Sonic Boom |
| Perk 3 | Martyrdom or Deep Impact |
Run & Gunner
| Slot | Name |
|---|---|
| Primary Weapon | M4 or AK-47 |
| Notes/Attachment | Red Dot |
| Side Arm | M1911 .45 |
| Special Grenade | Flash |
| Perk 1 | Bandolier |
| Perk 2 | Juggernaut |
| Perk 3 | Extreme Conditioning |
Both of these custom classes can keep the enemies off the streets and rack up points in your column. Try to split the remaining four players into wingman teams (two teams of two), and find yourselves a place to fortify. Once you’ve fought your way in, bring up and cover your two long-range riflemen. Let them peek off the roofs (if any), through windows, etc., while the rest of the team locks down any entrances to your fortified camp. Team Deathmatch is all about points, and the only way to get ‘em is by eliminating the enemy. Once you’ve set yourselves up in a good area, lock it down for as long as you can and pick off the enemies as they come to you.
Another great way to win in Team Deathmatch is by being patient. Try moving your entire team up one side or another en route to your desired destination, and progress slowly. No doubt you’ll encounter enemies along your way, so dispose of them as best you can.
You’ll inevitably lose a man or two in the process, so here’s a great way to keep your forces strong and get where you’re going in one piece: When one of your teammates dies, everyone stop and take cover. Wait for him to respawn and regroup with the team, and then proceed to your destination. Since your fallen teammate will spawn closest to where most of your other teammates are congregated, he won’t be far away. Just wait for him and move on. Continue doing this until you reach your destination, or continue roving around the map in this fashion.
A variation on this “rolling” tactic is to equip your entire team with UAV Jammer perks and silencers on all primary weapons. You’ll be a virtually invisible mass of impending doom. The enemy won’t be able to see you on radar, no matter what. You can also equip everyone on your squad with either grenade launchers or Frag x3 with Sonic Boom.
These tactics depend on where you’ll be fighting. You may need the grenade launchers to reach areas you can’t with frags. You may not need to be stealthy and equip everyone with UAV Jammers and silencers. Understand the map and your surroundings before choosing which variation will work best for you and your team.
Domination
This mode has three flags placed on the map that your team must capture to gain points. Each team starts very close to one flag and can take it before the other team can even get there. The other flag is in the center of the map and is usually the most contested.
To take a flag, step close enough to it to start the meter ticking on your HUD. Once it reaches the end of the bar, the flag is yours and you must defend it. The more people you have in the flag’s radius, the faster the meter will fill up. The longer you hold a flag, the more points your team will get. If you control one flag, you get one point every five seconds or so. If you control two flags, you get two points every five seconds. With three flags, it’s three points every five seconds. Let’s start with a recommended CCS.
Freedom Fighter
| Slot | Name |
|---|---|
| Primary Weapon | MP5 or P90 |
| Notes/Attachment | Red Dot |
| Side Arm | M9 |
| Special Grenade | Smoke |
| Perk 1 | Claymore x2 or C-4 x2 |
| Perk 2 | Juggernaut |
| Perk 3 | Extreme Conditioning |
This setup produces high mobility, high speed for long distances, and a high tolerance for pain. All of these things assist you in capturing and controlling more flags than the enemy. The submachine gun will increase your agility. Use the Claymores to surround a flag that your team controls. Place them in concealed areas that are frequently trafficked by other players. You can also set them down on the flags themselves. The same goes for C-4. This will give you an added layer of protection. It’s almost like having another player on your side. The Juggernaut perk will keep you alive a little bit longer than your enemy, and that’s all you need. Stand firm at your captured flags to prevent the enemy from controlling them. Juggernaut will give you that little extra edge to either take a flag or prevent the enemy from taking yours. The third perk, Extreme Conditioning, gets you from flag to flag as quickly as possible. All in all, this is a fairly capable CCS, but feel free to adjust your primary weapon depending on the map.
Okay, you’ve got your briefing and your CCS. Now you only need to control two flags to win. Designate one player to take the flag closest to your initial spawn, while the remainder of your team rushes to either the center flag or the enemy base’s flag. The solo player taking your initial flag should be equipped with Claymores x2 to assist him while he defends that flag. Move a group inside the flag zone as quickly as possible. Watch for grenades and grenade launcher attacks while you’re taking the flag, and comb the area for explosives. Consider the map environment, and think about equipping at least one player with the Bomb Squad perk. This will allow you to quickly scan the area from farther away and with more clarity. Once you have control of the second flag, split your team in half, sending a team back to the first flag you took. You should now have two roughly equal teams defending two flags.
Now that you’re dug in, it won’t be easy to dig you out. Play smart, and try to secure the area by making sure all avenues of approach to each flag are covered. You get two points every five seconds or so, while the enemy team only gets one point. Pick them off as they come in, and call in your airstrikes to rack up even more points and end their suffering even faster.
So there’s your conservative approach. Now let’s talk aggression. At the beginning of the round, designate one player to take the first flag while the rest of the team races for the next one. Once the solo player has captured the initial flag, he should regroup with the rest of the team as quickly as possible. Hopefully the one-man-short mob has taken the second flag by the time Captain Solo regroups with them. If not, he can help. Once you’ve taken the second flag, move in unison to the next flag and continue taking flags as a group. When running this maneuver, some alternative perks to consider are Bomb Squad to detect enemy explosives, UAV Jammer to conceal your positions, and Dead Silence to reduce noise while moving.
Now let’s consider a little bit of both. Everyone goes from flag to flag to decrease the time it takes to control a flag. Then leave two players behind at each flag. You may be able to leave only one player per flag, depending on the number of people on your side. Leave an equal number of people at each flag as defense. Let’s assume it’s 6 vs. 6, and you have two players on each flag. Each flag team should immediately plant their Claymores and scout out some good cover to watch the flag. Roofs, windows, and brush are great places, but don’t set up too far away in case you need to back up your Claymores. A good configuration is for one player to plant his Claymores right on the flag, and the other player to plant his on frequently traveled paths en route to the flag. This will prevent a single explosive like a grenade from detonating all of the Claymores at once. One player should position himself somewhere in the immediate area of the flag. The other player can dig in a bit farther away, to minimize the possibility of one grenade taking out more than one target and to hide your numbers. If the enemy comes in to secure the flag, your player closest to the flag can engage them immediately. The enemy will have no idea that either you’ve drawn a bead on his head or you’re coming up behind him to help out your wingman.
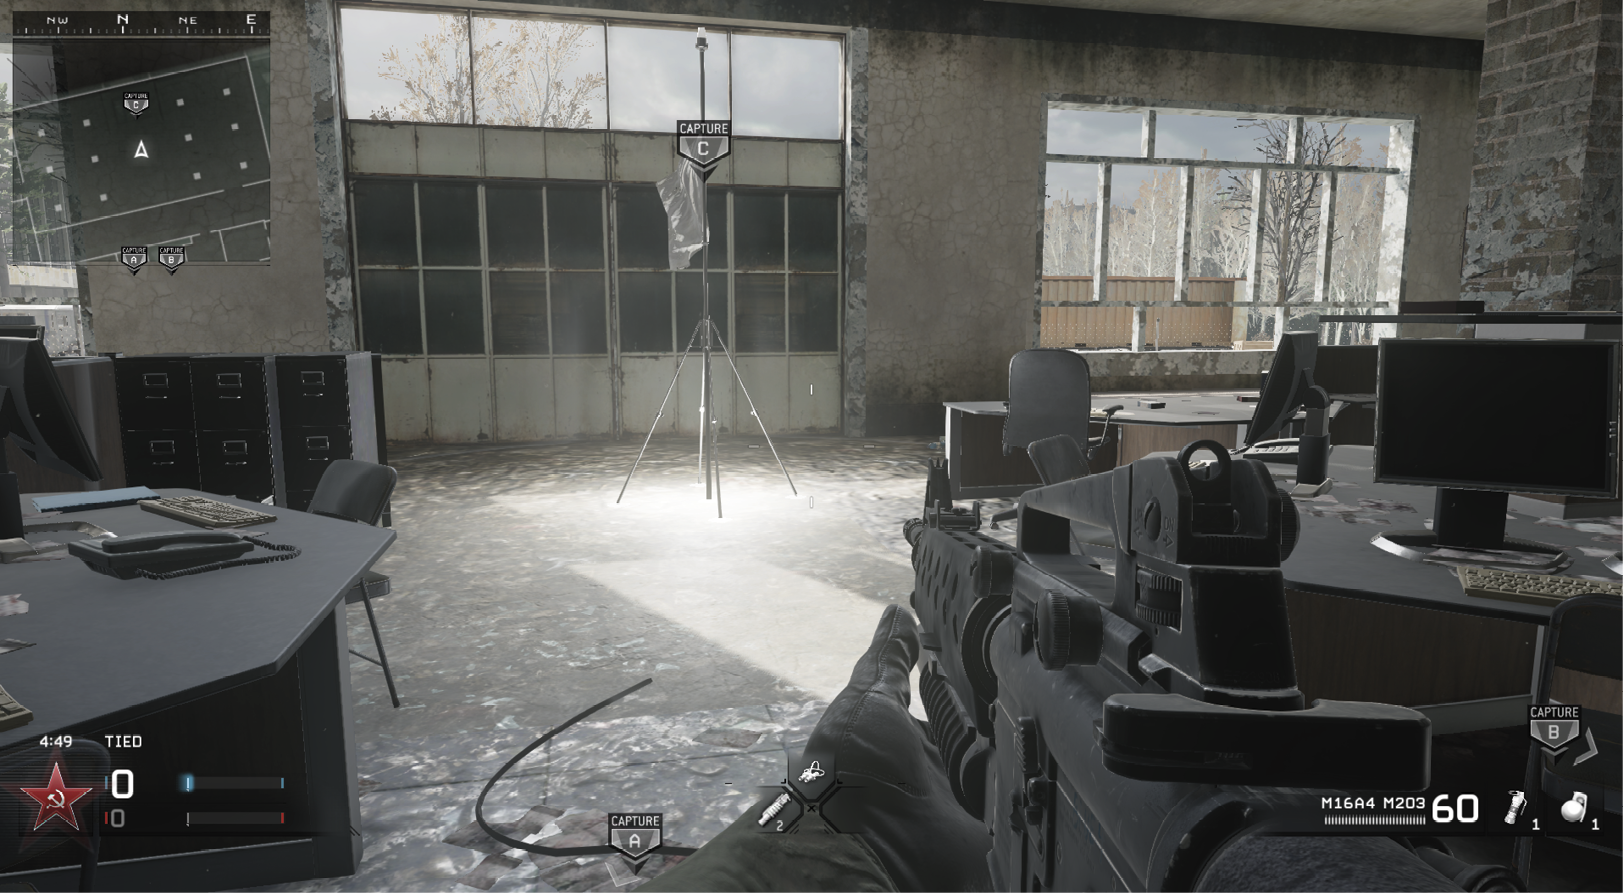
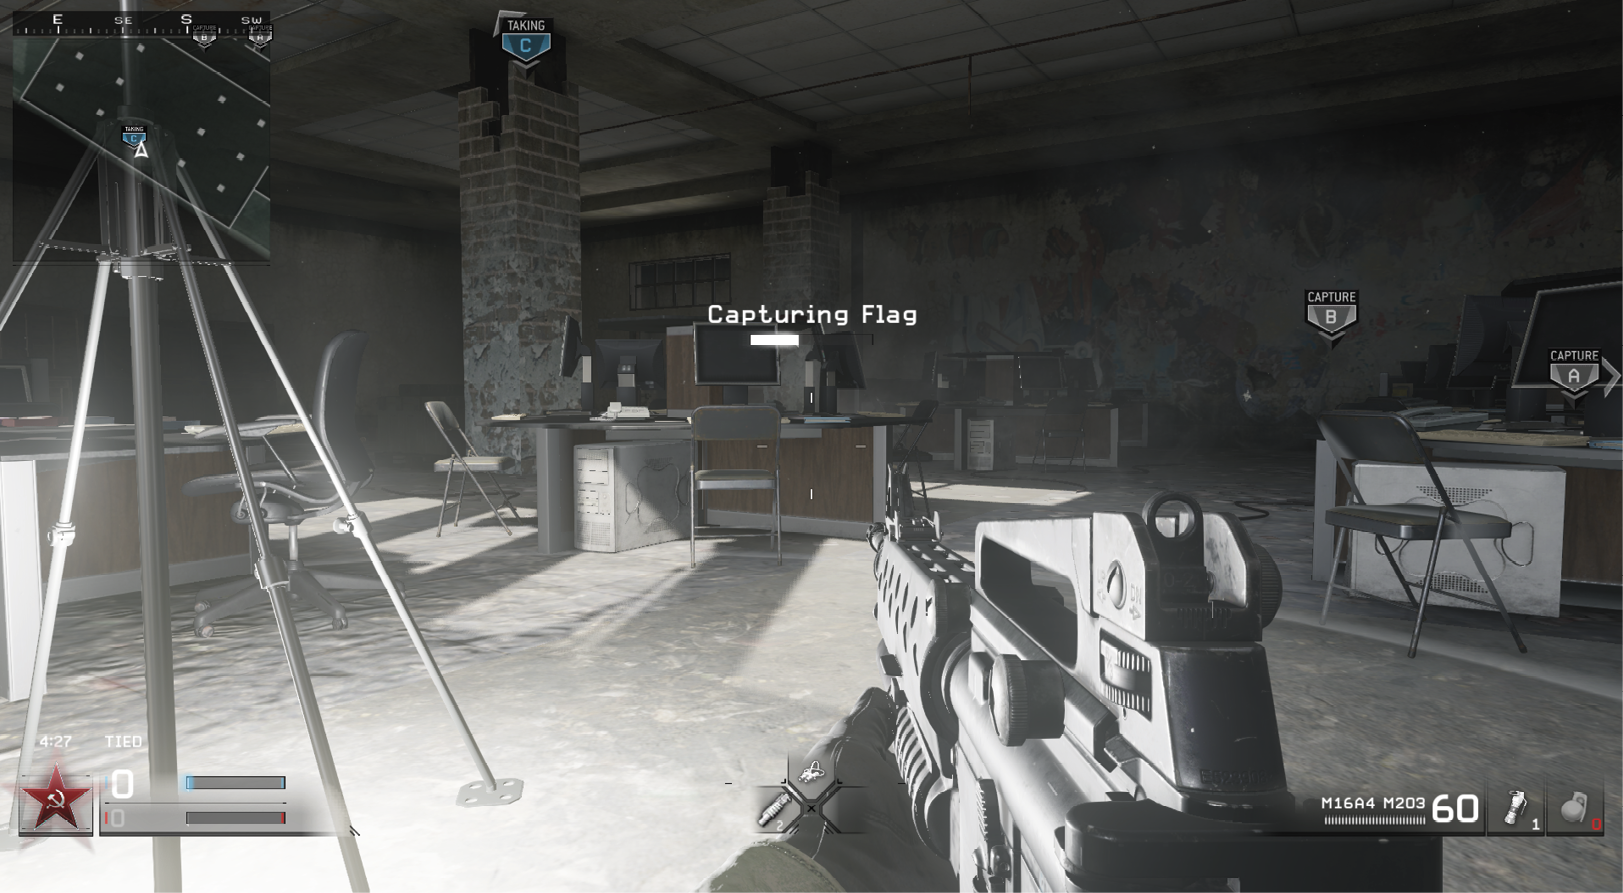
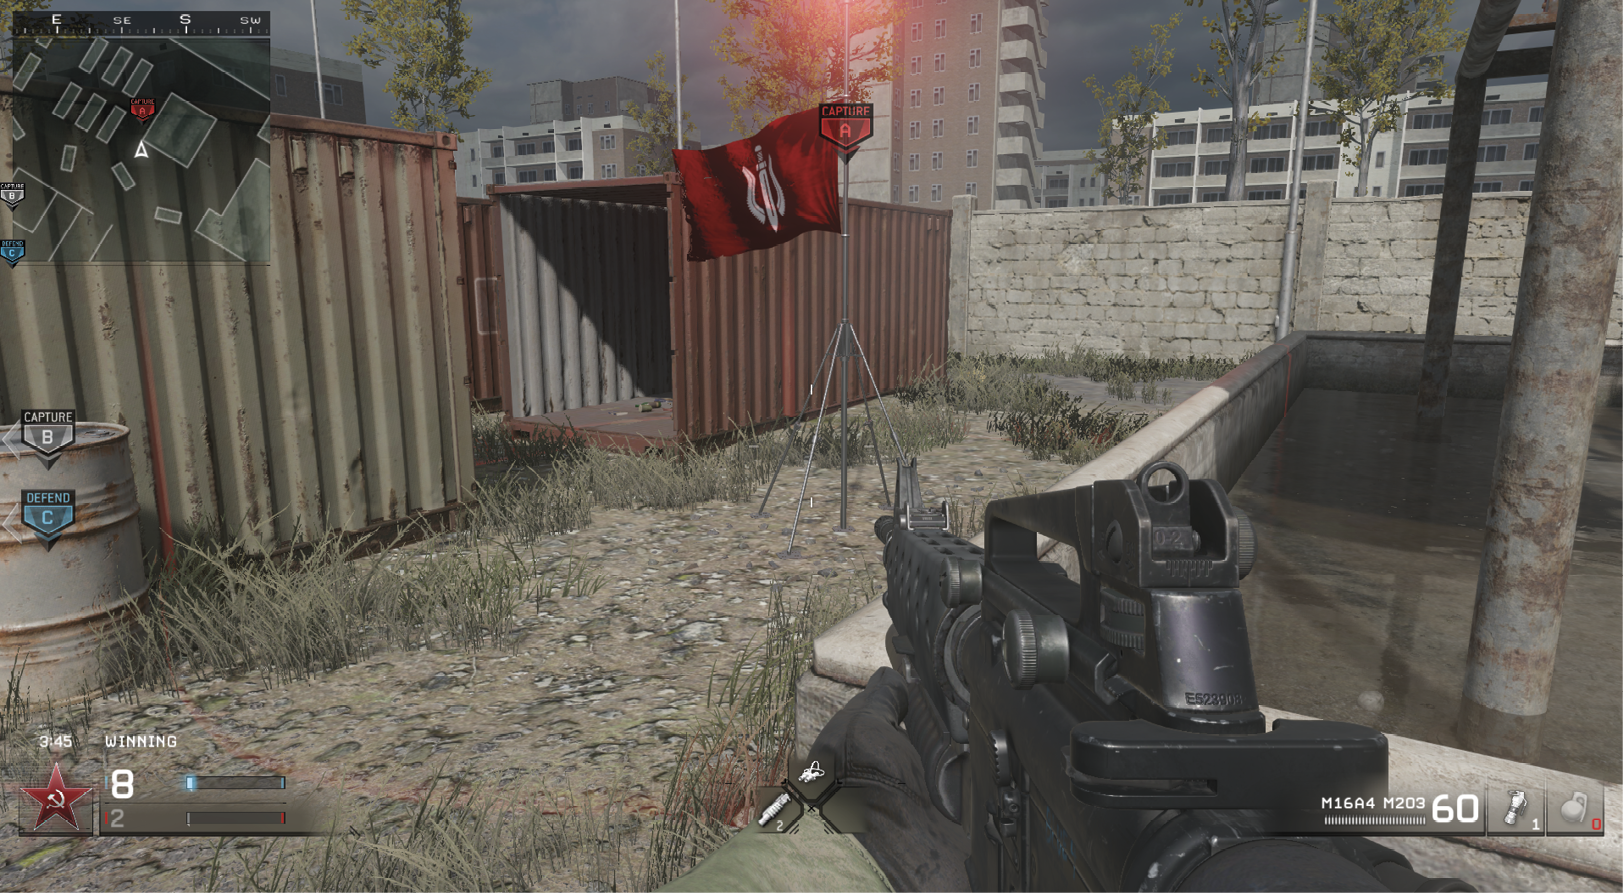
These are viable tactics and will work well if you find yourself on a good team that’s willing to cooperate. Bear in mind there are many ways to skin a cat. Domination maps can be won sometimes by good communication alone. Everyone on your team can be running around bouncing from flag to flag completely at random, but as long as you communicate with each other often and clearly, you can coordinate everything from flag takeovers to ambushes. Let your teammates know that you see all of them at one flag so that you know you’re free to take another. Play to your strengths, and always watch the score during Domination. Killing enemies in Domination scores XP, but not match points. Your team can win only with captures, not kills.
Domination is a lot of fun. Be mindful of your status at all times, and you’ll know what to do.
Sabotage
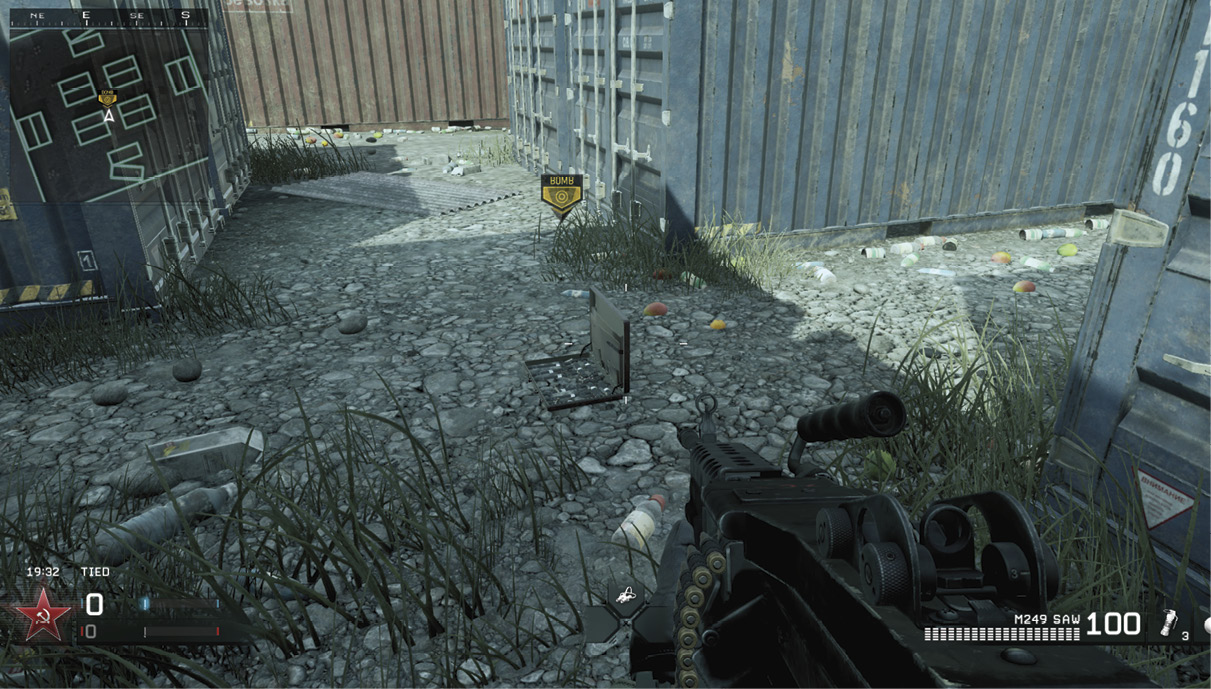
This mode is focused on a single, centrally located bomb that both teams try to acquire and plant at the enemy’s base. There are many options for success in this mode. Most of the time, both teams race to the center to pick up the bomb. Knowing that, you can decide what you want to do with your team when they get there. Here are some suggested CCSs.
Speed Freak
| Slot | Name |
|---|---|
| Primary Weapon | MP5 |
| Notes/Attachment | ACOG |
| Side Arm | M9 |
| Special Grenade | Smoke |
| Perk 1 | Claymore x2 or C-4 x2 |
| Perk 2 | Juggernaut |
| Perk 3 | Extreme Conditioning |
This loadout allows you to run to the bomb and then to the plant spot with the Extreme Conditioning perk and the submachine gun as your primary weapon. Remember that your primary weapon directly affects your mobility. The lighter the weapon, the more mobile you are. Use smoke to mask your approach or confuse the enemy when you’ve planted the bomb. Some bases are inside buildings, so you can use your Claymores to block those entrances.
Cleaner
| Slot | Name |
|---|---|
| Primary Weapon | M4 Carbine |
| Notes/Attachment | Grenade Launcher |
| Side Arm | Desert Eagle |
| Special Grenade | Stun |
| Perk 1 | Disabled |
| Perk 2 | Sonic Boom |
| Perk 3 | Martyrdom |
This loadout is designed for a team member to push a bit farther forward than his teammates, sending out a layer of grenades to clear the way. This player also has Stun grenades to disorient the enemy and keep them from getting to the bomb before you. Sonic Boom increases the damage done by the grenade launcher, and Martyrdom should finish off unsuspecting enemies.
Mount a full-on assault. Send your cleaner out ahead of the pack to lay down a spread of grenades and stuns, while the rest of your team advances as quickly as possible to the bomb. Once you’ve got the bomb, head directly to the plant location. You’ll need to move fast and stay in a group. The more sets of eyes you have, the better. Keep a semi-tight formation as you progress to the plant spot, and watch for enemies along the way.
If you drop a few guys, don’t freak out. Just push on. You need to get to the plant spot as soon as possible. Get in and plant the bomb, and then place Claymores at any entrances to the plant area, as well as directly around the bomb itself. Hopefully the Claymores will deter the enemy long enough for the bomb to go off. If the rest of your team is running with the Speed Freak loadout, they’ll all have smoke too. Pop smoke all around the bomb and in circles around the bomb plant area. This will also deter the enemy long enough for the bomb to detonate.
While you’re waiting, set up your team to protect the package. You don’t want everyone set up right near the bomb, because then the enemy can eliminate everybody with one well-placed grenade. Put one player right on the bomb, while the rest of your team moves outward from the bomb and watches all avenues of approach. The key is having good shooters and good communication. You’ll need to stick together. Fight the urge to just run off and engage a stray enemy. Numbers are your strength here, so use that to your advantage.
Camp your base. Most of the time, both teams rush to grab the bomb first. Use this to your advantage and let them come to you. Set up a full camp and wait. Good ideas for perks here include the UAV Jammer to conceal your team’s positions, Claymores to block off any areas you can’t cover, and Last Stand in case you get picked off and need to fire just a few more rounds at the guy trying to plant the bomb.
Make sure you set up at least one player at each chokepoint en route to your base. Set Claymores anywhere you can’t cover or need additional support, such as right on the bomb plant area. Many players just run right up to plant the bomb without ever checking if explosives have been placed. This is a great backup plan in case someone manages to get by you. You might also set up some snipers on your camp team. They have a little better cover from the ghillie suit, and can set up a bit farther away. There’s nothing worse than that feeling when you’ve almost planted the bomb but someone’s watching you. They continually come to you and try to plant the bomb. Just pick them off, and be patient. Patience wins matches, not Rambo tactics.
An alternative tactic is to send out a Speed Freak to grab the bomb under cover of smoke, and pull back to your fortified camp. The enemy will try to acquire the package and walk right into your trap. Remember that if you’re carrying the bomb and you get shot, the bomb will fall where you’re killed. In addition, if you defuse a bomb, you now have it. This is particularly handy in case they pick up the package. Wait for one of them to grab it and pick him off. Have one of your teammates run up to the bomb without picking it up. Instead, set Claymores and/or C-4 all around it. It’s like a tasty cupcake just sitting there for the taking. Too bad they don’t know it’s an exploding cupcake…
You can also set up a 2-man sniper team. Since both teams will reach the bomb at about the same time, your snipers should immediately set up somewhere near where you spawn, with a clear line of sight to the bomb. While the rest of your team focuses on the advancing enemy team, your snipers can focus on the bomb itself and pull the trigger when an enemy gets too close for comfort. Once your ground team and sniper team have deterred the enemy advance, quickly regroup, grab the bomb, and make for the enemy base. Remember that the enemy will respawn fairly quickly, so make your move as soon as you can.
We’ve covered lots of different ways to succeed at Sabotage, but feel free to pick and choose elements from any of these tactics, or create your own. Keep in mind that if no one plants the bomb, it goes to sudden death mode, where no one respawns. If the bomb still isn’t planted, the team that’s killed off first loses. There’s no score limit in this mode; whoever detonates the bomb wins.
Headquarters
Communication is a must in this mode. At the start of the match a random point on the map is chosen, and both teams try to capture it. Then the capturing team must defend it for a short period of time. The defending team cannot respawn. The enemy team must try to infiltrate and destroy the captured headquarters. If the enemy destroys the headquarters, a new HQ point is chosen at random and both teams have to try to capture it. Likewise, if the capturing team successfully defends the HQ, both teams then compete for control of a new HQ point. While sometimes this mode can turn into a free-for-all, you can play it very tactically.
Here are some suggestions for loadouts on Headquarters matches.
Landlord
| Slot | Name |
|---|---|
| Primary Weapon | M249 SAW |
| Side Arm | Desert Eagle |
| Special Grenade | Smoke |
| Perk 1 | Frag x3 |
| Perk 2 | Sonic Boom |
| Perk 3 | Extreme Conditioning or Deep Impact |
This CCS will work for most of your team. The SAW, combined with the Deep Impact perk, will help you blast into an HQ building safely before entering. The Frag x3 perk lets you play Santa Claus and toss a few presents down the chimney. And the Sonic Boom gives those presents a little extra kick. Depending on the map, you may or may not need to use the Deep Impact perk. If you carry the SAW, you’ll be much slower. The Extreme Conditioning perk might be better, because HQ points are chosen at random and you’ll need to stay mobile.
Streaker
| Slot | Name |
|---|---|
| Primary Weapon | AK74u |
| Side Arm | M9 |
| Special Grenade | Stun |
| Perk 1 | Bandolier |
| Perk 2 | Juggernaut |
| Perk 3 | Extreme Conditioning |
The Streaker CCS helps you stay mobile so you can bounce from HQ to HQ. The submachine gun makes you light on your feet, the Bandolier perk keeps you fully loaded, Juggernaut keeps you alive, and Extreme Conditioning gets you from point A to point B in less time.
Try to mix up who rolls with what setup, and consider making two squads of one Landlord each and the rest Streakers. This will allow each squad to position itself on each side of the map. Here’s where the communication comes into play. Imagine cutting the map in half diagonally, either from northeast to southeast or northwest to southwest (it will depend on the map and where you can move unmolested). Each squad should form up immediately and head to its designated position. Tell your teammates which squad is going where, and when you get to your destinations, tell each other. Hover around the center of your respective positions to avoid being stagnant. One squad should make for the first random HQ that appears and lock it down. Remember that your team won’t be able to respawn while you’re defending, so call in your other squad to create a perimeter around the HQ you’re defending.
Once you’ve successfully defended your HQ, a new one is chosen at random. Split up into your respective squads, move back into position, and determine which squad will be making for the new HQ. At any time, you can combine squads and take an HQ with full force. Remember that the reason for splitting up into two squads is so one squad will be closer to the next random HQ point. Keep bouncing from HQ to HQ in this manner. Try to take as many as you can without the help of the other squad, so they’re free to grab the next one that pops up. Your team gets points for taking HQs, for defending them, and for destroying them.
Since this mode takes careful planning and excellent communication, you may opt for a simpler approach. Split up your team into wingman groups of two and head to the first headquarters. One team should be designated to capture the HQ, while the remaining wingman teams set up a perimeter around the area to ward off the impending attack on your new base. Once you’ve successfully defended your base and a new one is chosen, move toward it. Keep a distance between teammates and wingman teams. You don’t want a single grenade blowing you all to kingdom come.
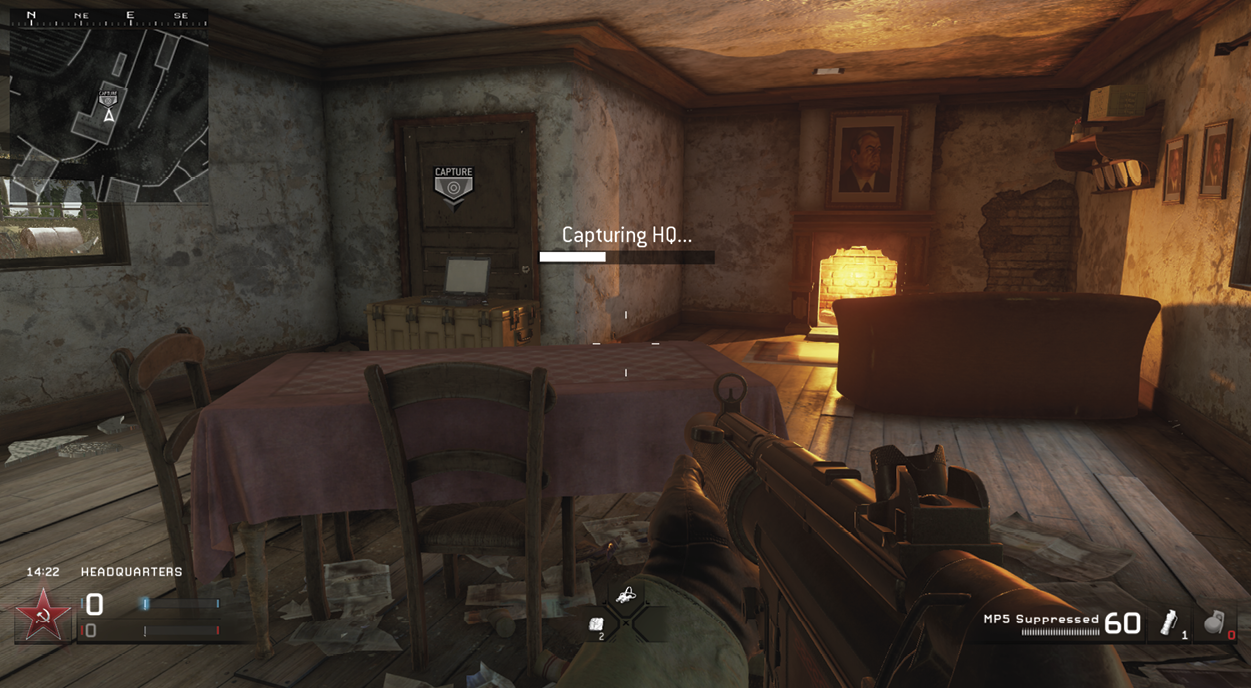
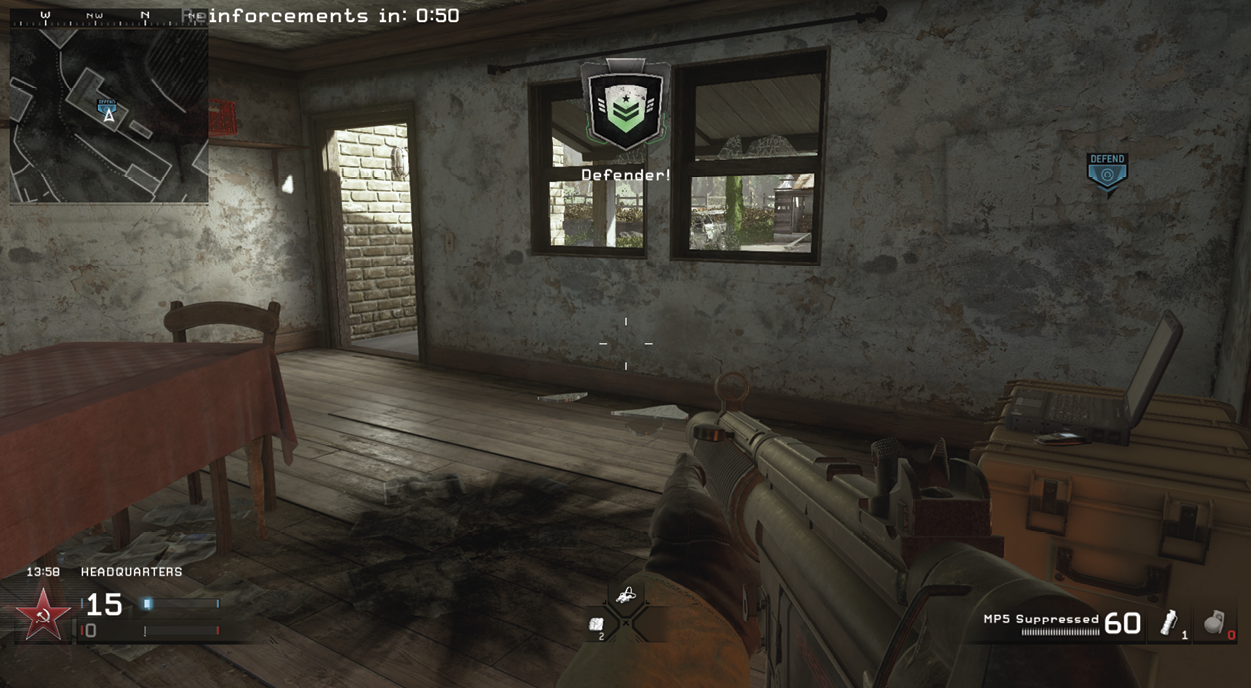
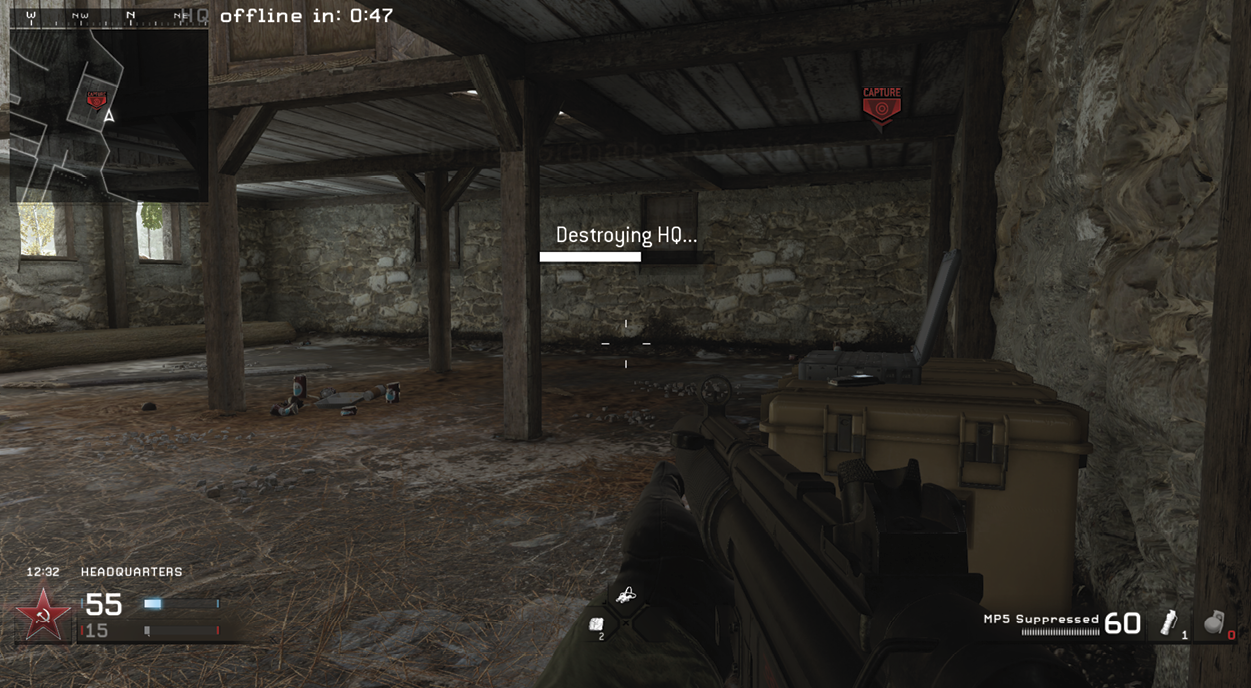
Let’s say the enemy captures the new headquarters before you can get there. Now you’ve got a problem. Hopefully you still have a couple of Landlords at your service. Have them fill the HQ building with frags while everyone else opens fire on it. Make it quick. You won’t have too much time to get in there and destroy it. Once the initial volley of bullets and frags is done, send in a team to destroy the HQ. If they fall, send in the next wingman team. Keep this going until you’ve destroyed the enemy headquarters. Everyone must pay close attention to who’s going in and when. This is a very effective and mobile tactic. Divide up your wingman teams as you see fit, but think of them like drops of water that can come together at any time to form a sea of death.
You’ll have satellite data on all of your battle locations, so you’ll know where the HQs will be located. You can have a sniper or two grab some high ground and keep an eye on one or two possible HQ locations. This will give you some advanced notice on enemy locations to help you time your attacks. Speed is key in this mode. Be sure to stay light on your feet. Communicate clearly and concisely and as often as possible. Just don’t hog the mic with idle chatter. You can talk about your day when you’re dead.
Search & Destroy
Also called S&D, this mode starts off one team with an explosive device that must be planted at one of two locations on your mini-map. One team attacks (team that plants the bomb) and the other defends. The defending team has two plant locations to defend and must consider that during the match. After three rounds, the teams switch sides to give the other team a chance at planting the bomb. The default setting requires a team to score four points in order to win.
You don’t have to plant the package to win a round. You can just kill everyone on the other team because there’s no respawn. Or you can prevent the attacking team from planting the bomb before the time runs out.
One of the most important things to keep in mind is that you don’t respawn. Once you die, you stay dead, so be cautious and accurate. This mode can be extremely tactical and may play out in many different ways. A basic assault kit should do you well, but here are a few suggestions for custom class setups before we get started.
Defending Attacker
| Slot | Name |
|---|---|
| Primary Weapon | G36c |
| Notes/Attachment | Red Dot |
| Side Arm | M1911 |
| Special Grenade | Stun |
| Perk 1 | Claymore x2 |
| Perk 2 | Stopping Power |
| Perk 3 | Deep Impact or Extreme Conditioning |
This CCS is made for defenders who want to go on the offensive. With this setup, you can push farther forward and place Claymores at the entrances to plant spots. Use your assault rifle and Red Dot Sight to pick off incoming enemies with fewer bullets, thanks to your Stopping Power. And if an enemy gets by you and you just can’t get a clear shot at him, use Deep Impact to lead him a little bit and put ‘em down.
Homeland Security
| Slot | Name |
|---|---|
| Primary Weapon | M1014 |
| Side Arm | Desert Eagle |
| Special Grenade | Stun |
| Perk 1 | Claymore x2 |
| Perk 2 | Juggernaut |
| Perk 3 | Martyrdom or Extreme Conditioning |
The Homeland Security setup is ideal for camping one of the two plant locations. Set your Claymores around the plant spot and stay in close proximity. Use your shotgun to turn your enemies into an abstract wall mural, while keeping yourself alive with Juggernaut. If you die, take out the rest of the crew with Martyrdom.
Mobile Assault
| Slot | Name |
|---|---|
| Primary Weapon | P90 |
| Notes/Attachment | Red Dot |
| Side Arm | M9 |
| Special Grenade | Smoke |
| Perk 1 | Frag x3 |
| Perk 2 | Double Tap |
| Perk 3 | Extreme Conditioning |
This setup is more for the bomb carrier and his assault party. The P90 submachine gun keeps you light on your feet. Smoke creates a distraction or masks your approach. Frag x3… well, what are frags for? Double Tap puts more bullets downrange, and Extreme Conditioning gets you where you’re going before the enemy thinks you’ll be there.
Stealth Assault
| Slot | Name |
|---|---|
| Primary Weapon | M14 |
| Notes/Attachment | Silencer |
| Side Arm | M1911 |
| Notes/Attachment | Silencer |
| Special Grenade | Smoke |
| Perk 1 | Bomb Squad |
| Perk 2 | UAV Jammer |
| Perk 3 | Dead Silence |
You’re all but invisible when you run with the Stealth Assault setup. With silencers on both your primary weapon and your side arm, you don’t light up on enemy radar when firing. You have smoke for distractions or cover, the Bomb Squad perk to watch for enemy Claymores or C-4 in your path, and UAV Jammer and Dead Silence so you don’t show up on radar sweeps, and no one hears you coming.
We’ll start with the assault team that has the bomb. Let’s talk about two different types of group-based assaults: the mobile assault and the stealth assault. The mobile assault team should load out with the mobile assault CCS. This gets everybody to the designated plant spot much more quickly than without Extreme Conditioning. Since you’re all carrying submachine guns, you’re much more mobile as well.
Decide beforehand which plant spot you’ll be heading to, and move as quickly as possible toward it. Don’t wait for each other; just go as soon as you spawn. Once everyone gets there, have a couple of players go inside with the bomb carrier to block the entrances (and set Claymores or C-4 if available) while the carrier plants the bomb. By now the rest of the team is either in a firefight outside or has set up camp just outside the plant area.
Once the package has been planted, the plant team should leave at least one player inside to hard-guard the bomb, while the other two head outside to assist in the bomb defense. Know in advance which player will be hard-guarding inside, and if they go down, you can fill in. Always check your satellite data prior to every match, and note the distances between the two teams’ spawns and both plant locations. This will give you a good indication of what you’ll be facing en route.
You’ll undoubtedly encounter resistance on your way to plant the bomb, so lead the way with frags, “walking” them around and back from the plant area. Walking grenades is a great way to make sure you don’t miss someone because you misjudged their exact distance. With Frag x3, you can toss one grenade at 10 yards, one at 15, and one at 20 to make sure everyone within that span eats shrapnel.
The stealth version of this tactic is similar but requires a bit more patience. Everyone should load out with the Stealth Assault CCS and slowly make their way toward one of the plant areas. You want to pick off enough enemies to call in a UAV. Once you’ve got someone with a 3-kill streak, call in your UAV and see where most enemies are. Then take the package with your entire team to the most unguarded base, and plant the bomb. Since your entire team won’t show up on radar due to shooting or scanning, the enemy cann rely only on visuals.
Once you’ve made your way to the unguarded base, pick off any enemies. Plant the bomb and set up camp. Some players might want to grab the Claymore x2 or the C-4 and plant them directly on the bomb to deter enemies, or even delay them long enough to let the bomb detonate. You can also pop smoke on the bomb itself after you plant it, or all around the base’s perimeter so that incoming enemies can’t draw a bead on your position with grenades. Defend the bomb and chalk up a win in your column. This can be a very formidable tactic if performed correctly. If the enemy team can’t light you up on radar, their frustration could be enough to help you win.
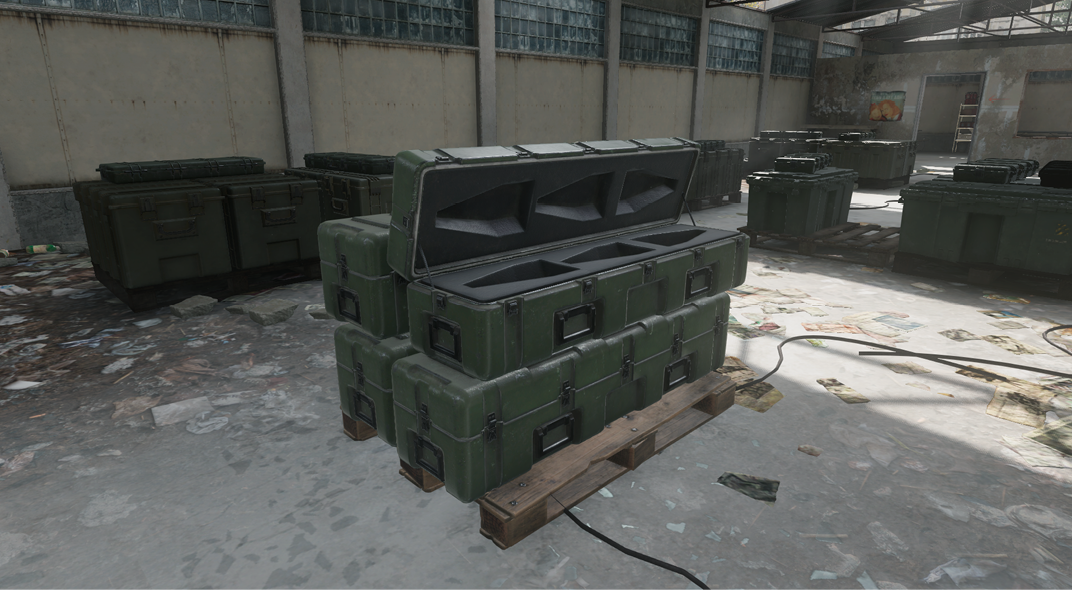
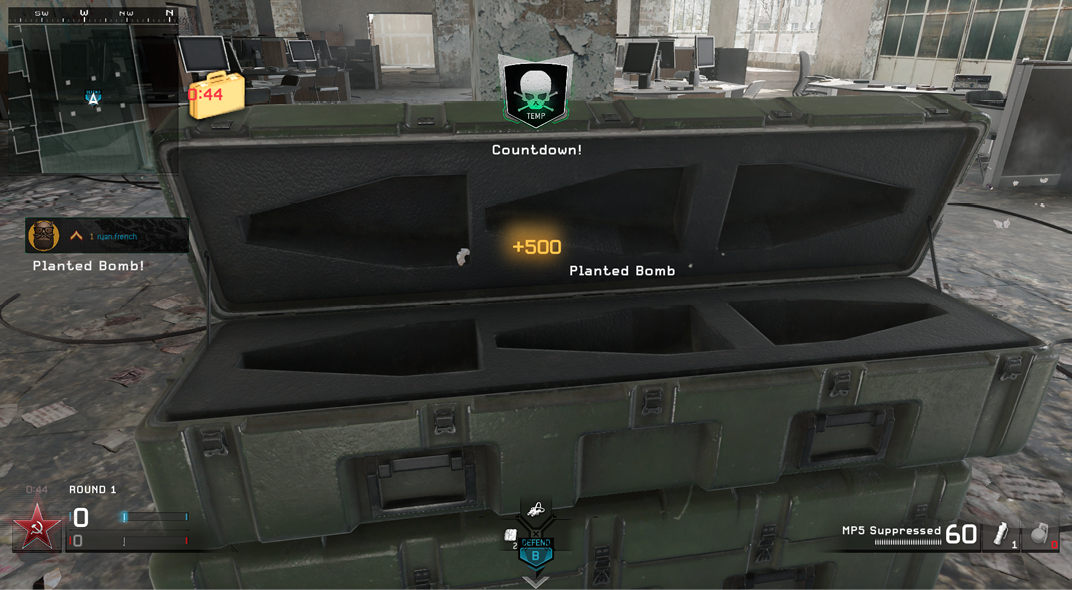
These are just a couple of ways you can work as a team to achieve success. Again, good communication will be key. Don’t double up on calling in UAVs; try to walk them one after the other. Wait until the first player’s UAV runs out, and then call in yours. This method is tough because you need to keep an eye on it, but it can be very efficient. Putting Claymores and C-4 on a planted bomb is a great tactic even for a solo player, but bear in mind that you don’t respawn in Search & Destroy.
Don’t forget about your airstrikes and chopper support. You can use them in a couple of different ways. You can use an airstrike to clear a path to the plant spot, or to help create a perimeter around a planted bomb. Chopper support is best used as a defensive option in this mode. Wait and call in your chopper support once you’ve planted the bomb. The enemy team will never stand a chance.
Oh, hey, enemy team! Here’s how you can stand a chance: When you’re on the defending team, split your resources and use good communication. Split your team into two squads, and try to have a 2:1 ratio of Defending Attackers to Homeland Security in each squad. Initially, your Homeland Security guys should set up Claymores in strategic spots as quickly as possible, either en route to the bomb plant spot via the enemy base, directly around the plant spot, or both. Your Defending Attackers should move up ahead to fend off the incoming attack. Once everyone’s in place at each plant spot, use communication and UAV support to tell each other where the bomb is being taken. Then maneuver one squad behind the attacking team to meet up with your other squad, and sandwich the attacking team. This is a great tactic, especially if you can call in an airstrike to protect one of the plant spots.
This tactic can be altered to use some long-range snipers. Have a couple of players load out with sniper rifles and camp some distance from each plant spot. You can replace one Defending Attacker in each squad with a sniper. The snipers should scope in on the plant spot and wait for the enemy to breach in and start to plant the bomb before firing. Be mindful that you don’t respawn. Snipers should consider running with the Overkill perk instead of Stopping Power or Juggernaut, so they can carry an additional primary weapon and assist in the possible assault of the enemy base.
Add a silencer to both your primary weapons and side arms, and change your perk two to UAV Jammer. This will enable your team to remain hidden from scans and noise violations. Chances are, the enemy team will be looking for who’s where on your team to decide which spot to plant the bomb, so become invisible and pick them off as they walk right up to you. You don’t need to split your team into squads all the time; hover between the two plant spots and be ready to move to one or the other at any given moment. This will double your forces and help you to more easily eliminate the enemy while remaining invisible on radar. On some maps, smoke makes it easier to see when enemies are coming. Have all members of your team pop smoke in a line across the map a bit farther back from the plant area, and wait. The smoke will create a wall of white, so your eyes can focus on any movement.
With the right map, the right combination of weapons, attachments, and perks is lethal. It’s a lot to think about, but it’ll get your team more points than the opposition. Don’t forget; there are 10 levels of Prestige. Public rooms have some other options, such as Team Objective, which rotates between Domination, Headquarters, Sabotage, and Search & Destroy. This is great because it breaks up the monotony of Team Deathmatch rooms. There are plenty of points to be earned in all modes, so don’t worry about not getting as many points in certain ones.
Team Tactical, for instance, consists of smaller matches and rotates through Team Deathmatch, Domination, Headquarters, Sabotage, and Search & Destroy. Team Hardcore gets a little hairy. Featuring only Team Deathmatch and Search & Destroy, it gives you a limited HUD, turns friendly fire on, and increases everyone’s bullet damage. This is about as close to real life as you can get without making the game unplayable. Try it and watch the pace of the game slow down to tactical speed. No one wants to die, so be careful!
Hardcore, Old School, and Cage Match Modes
Hardcore matches are pretty much one-shot kills and no random grenades, because friendly fire is turned on. It takes good communication with your team to win in this mode. You can’t see your buddies on radar, so make sure they’re not standing where you’re throwing grenades.
Then there’s Old School mode. OS consists of Free-for-All and Team Deathmatch, and there are no classes. Everyone starts out the same, and you pick up your weapons and perks throughout the map. Round the corner, and pow, there’s an M4 Carbine! Oh, look, you fell into the Juggernaut perk! There’s nothing like the pace of an Old School match. You can jump higher and have increased health. Oldcore mode? Just like Old School mode, but with the limited HUD from Team Hardcore mode and extra bullet damage. Get ready for some epic knife fights!
The last mode we’ll cover in this section is called Cage Match. Cage Matches are Old School-based, with no classes. All of your weapons and perks are pickups on the map. Throw your recruits in with each other and see what happens. Two men enter, one man leaves!