Call of Duty: Infinite Warfare Guide Call of Duty 4: Modern Warfare Multiplayer Map Tactics
Shipment
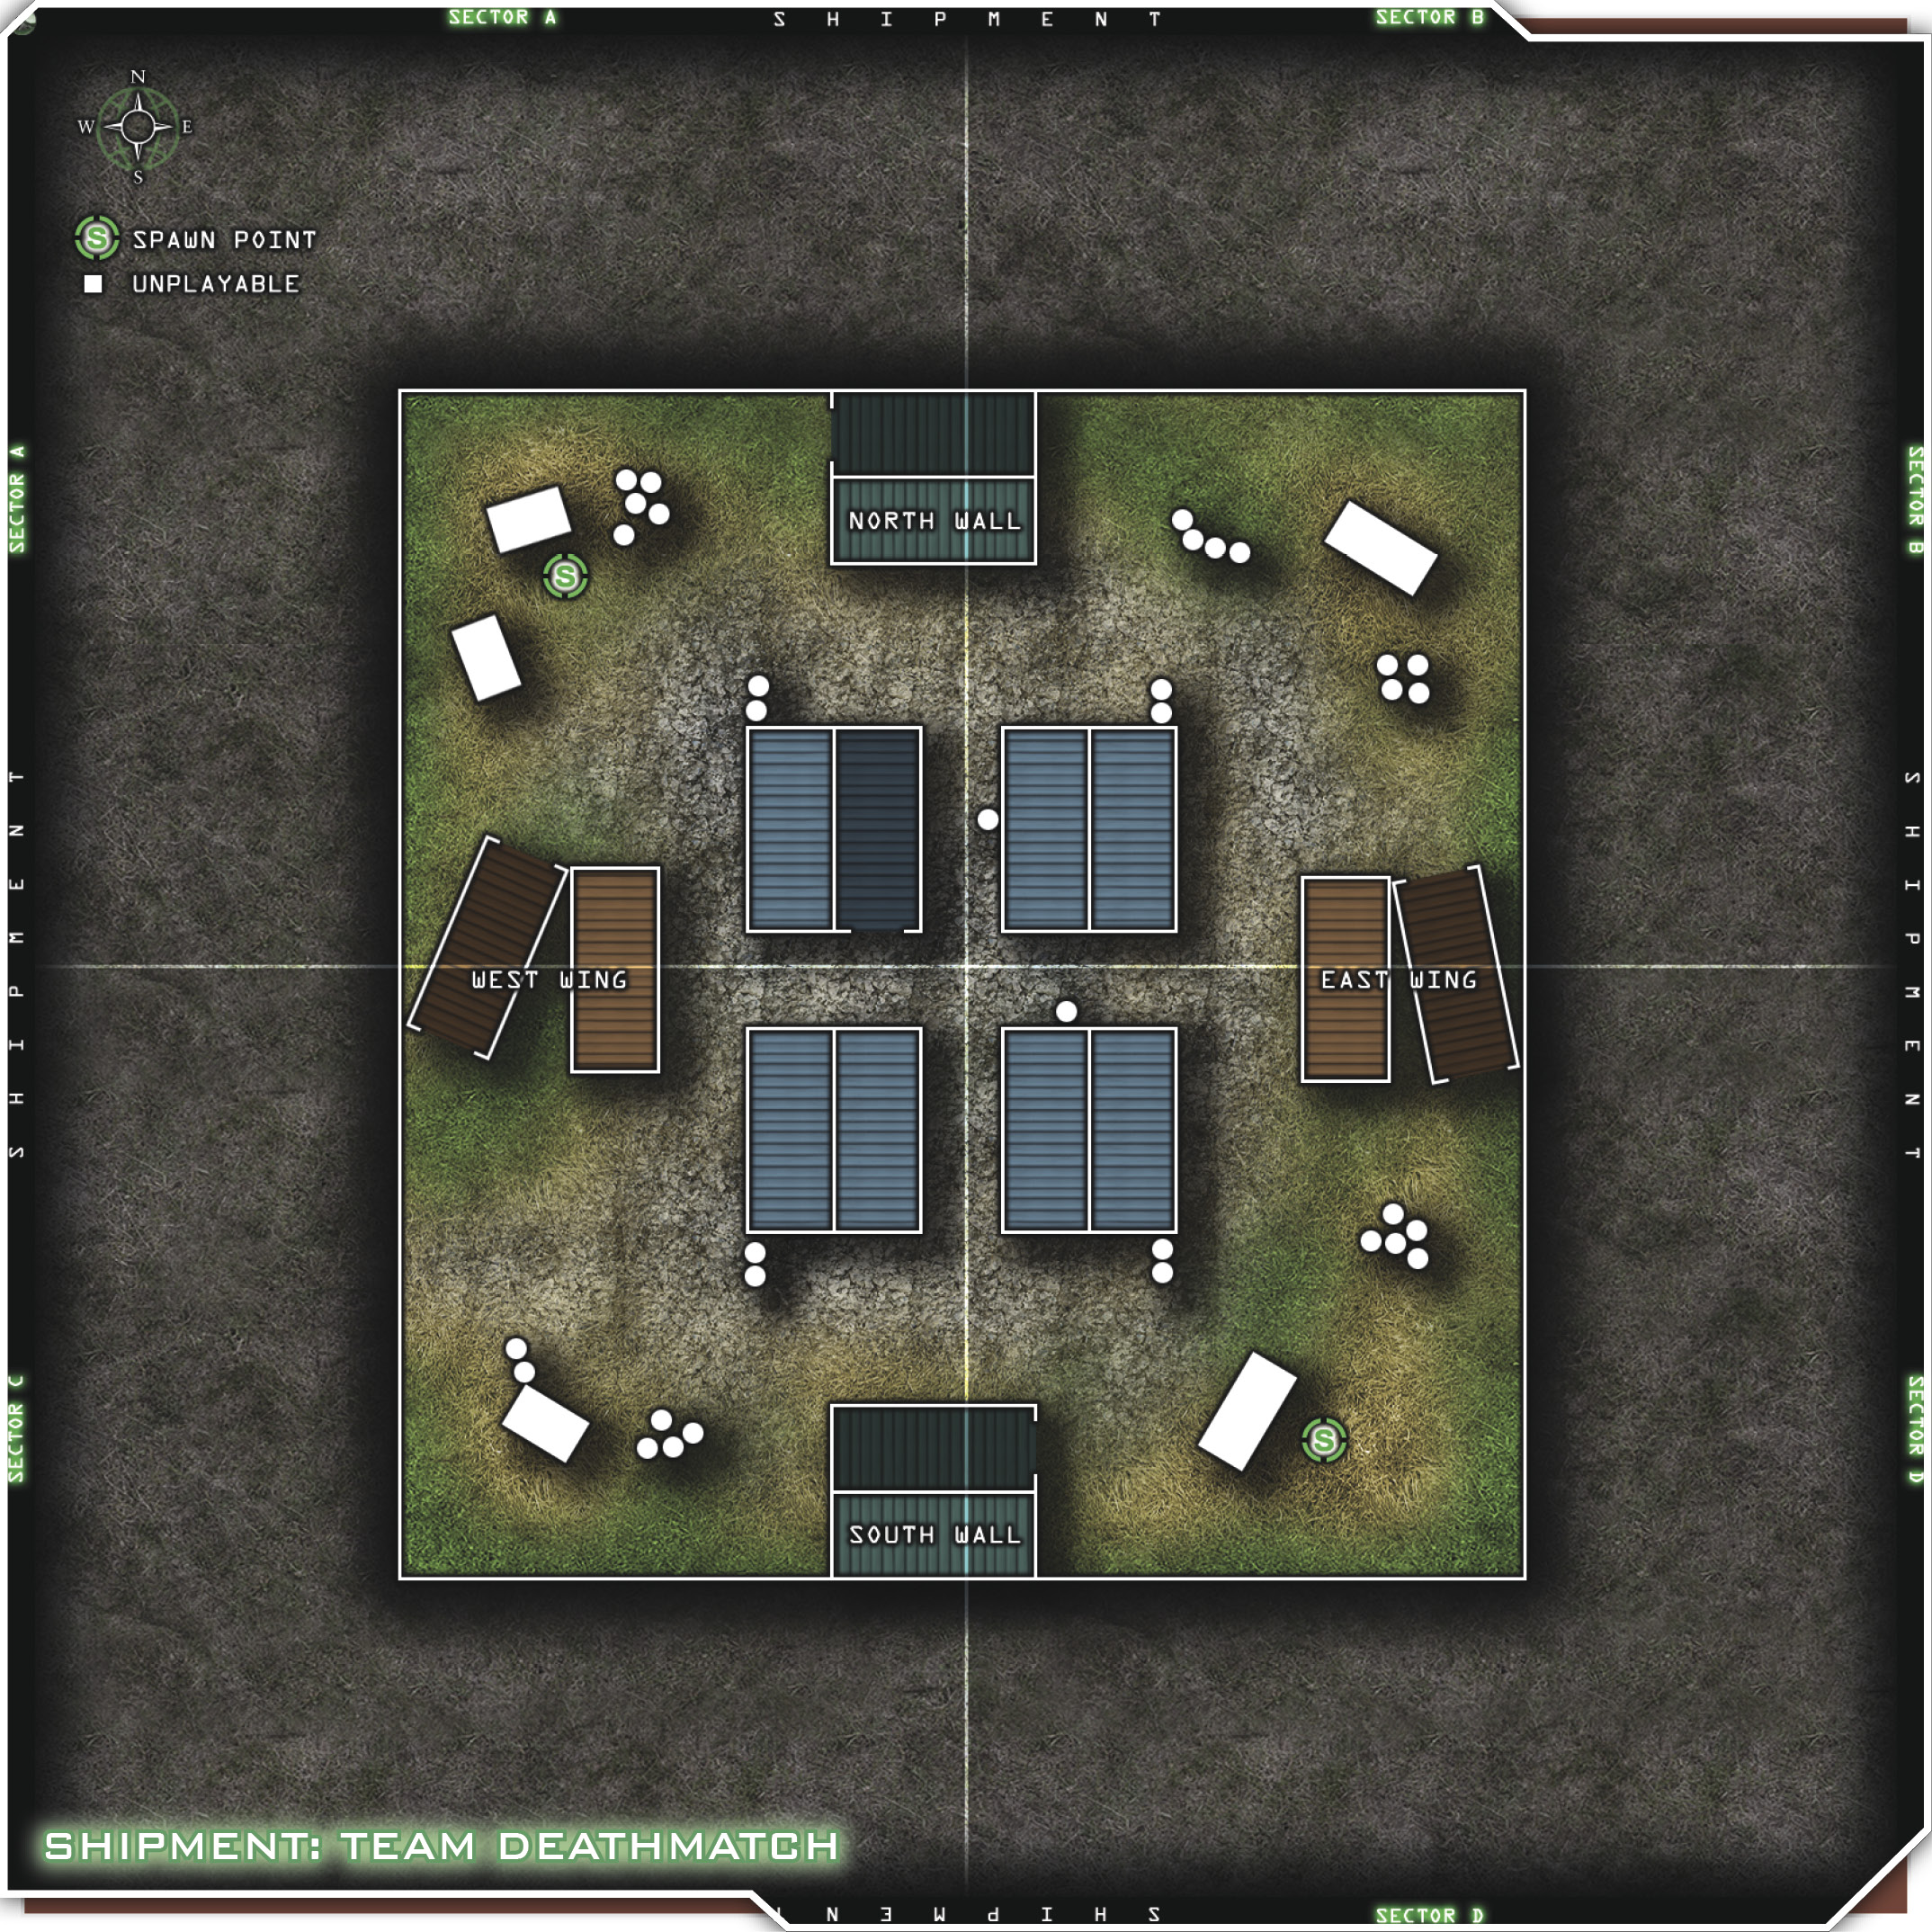
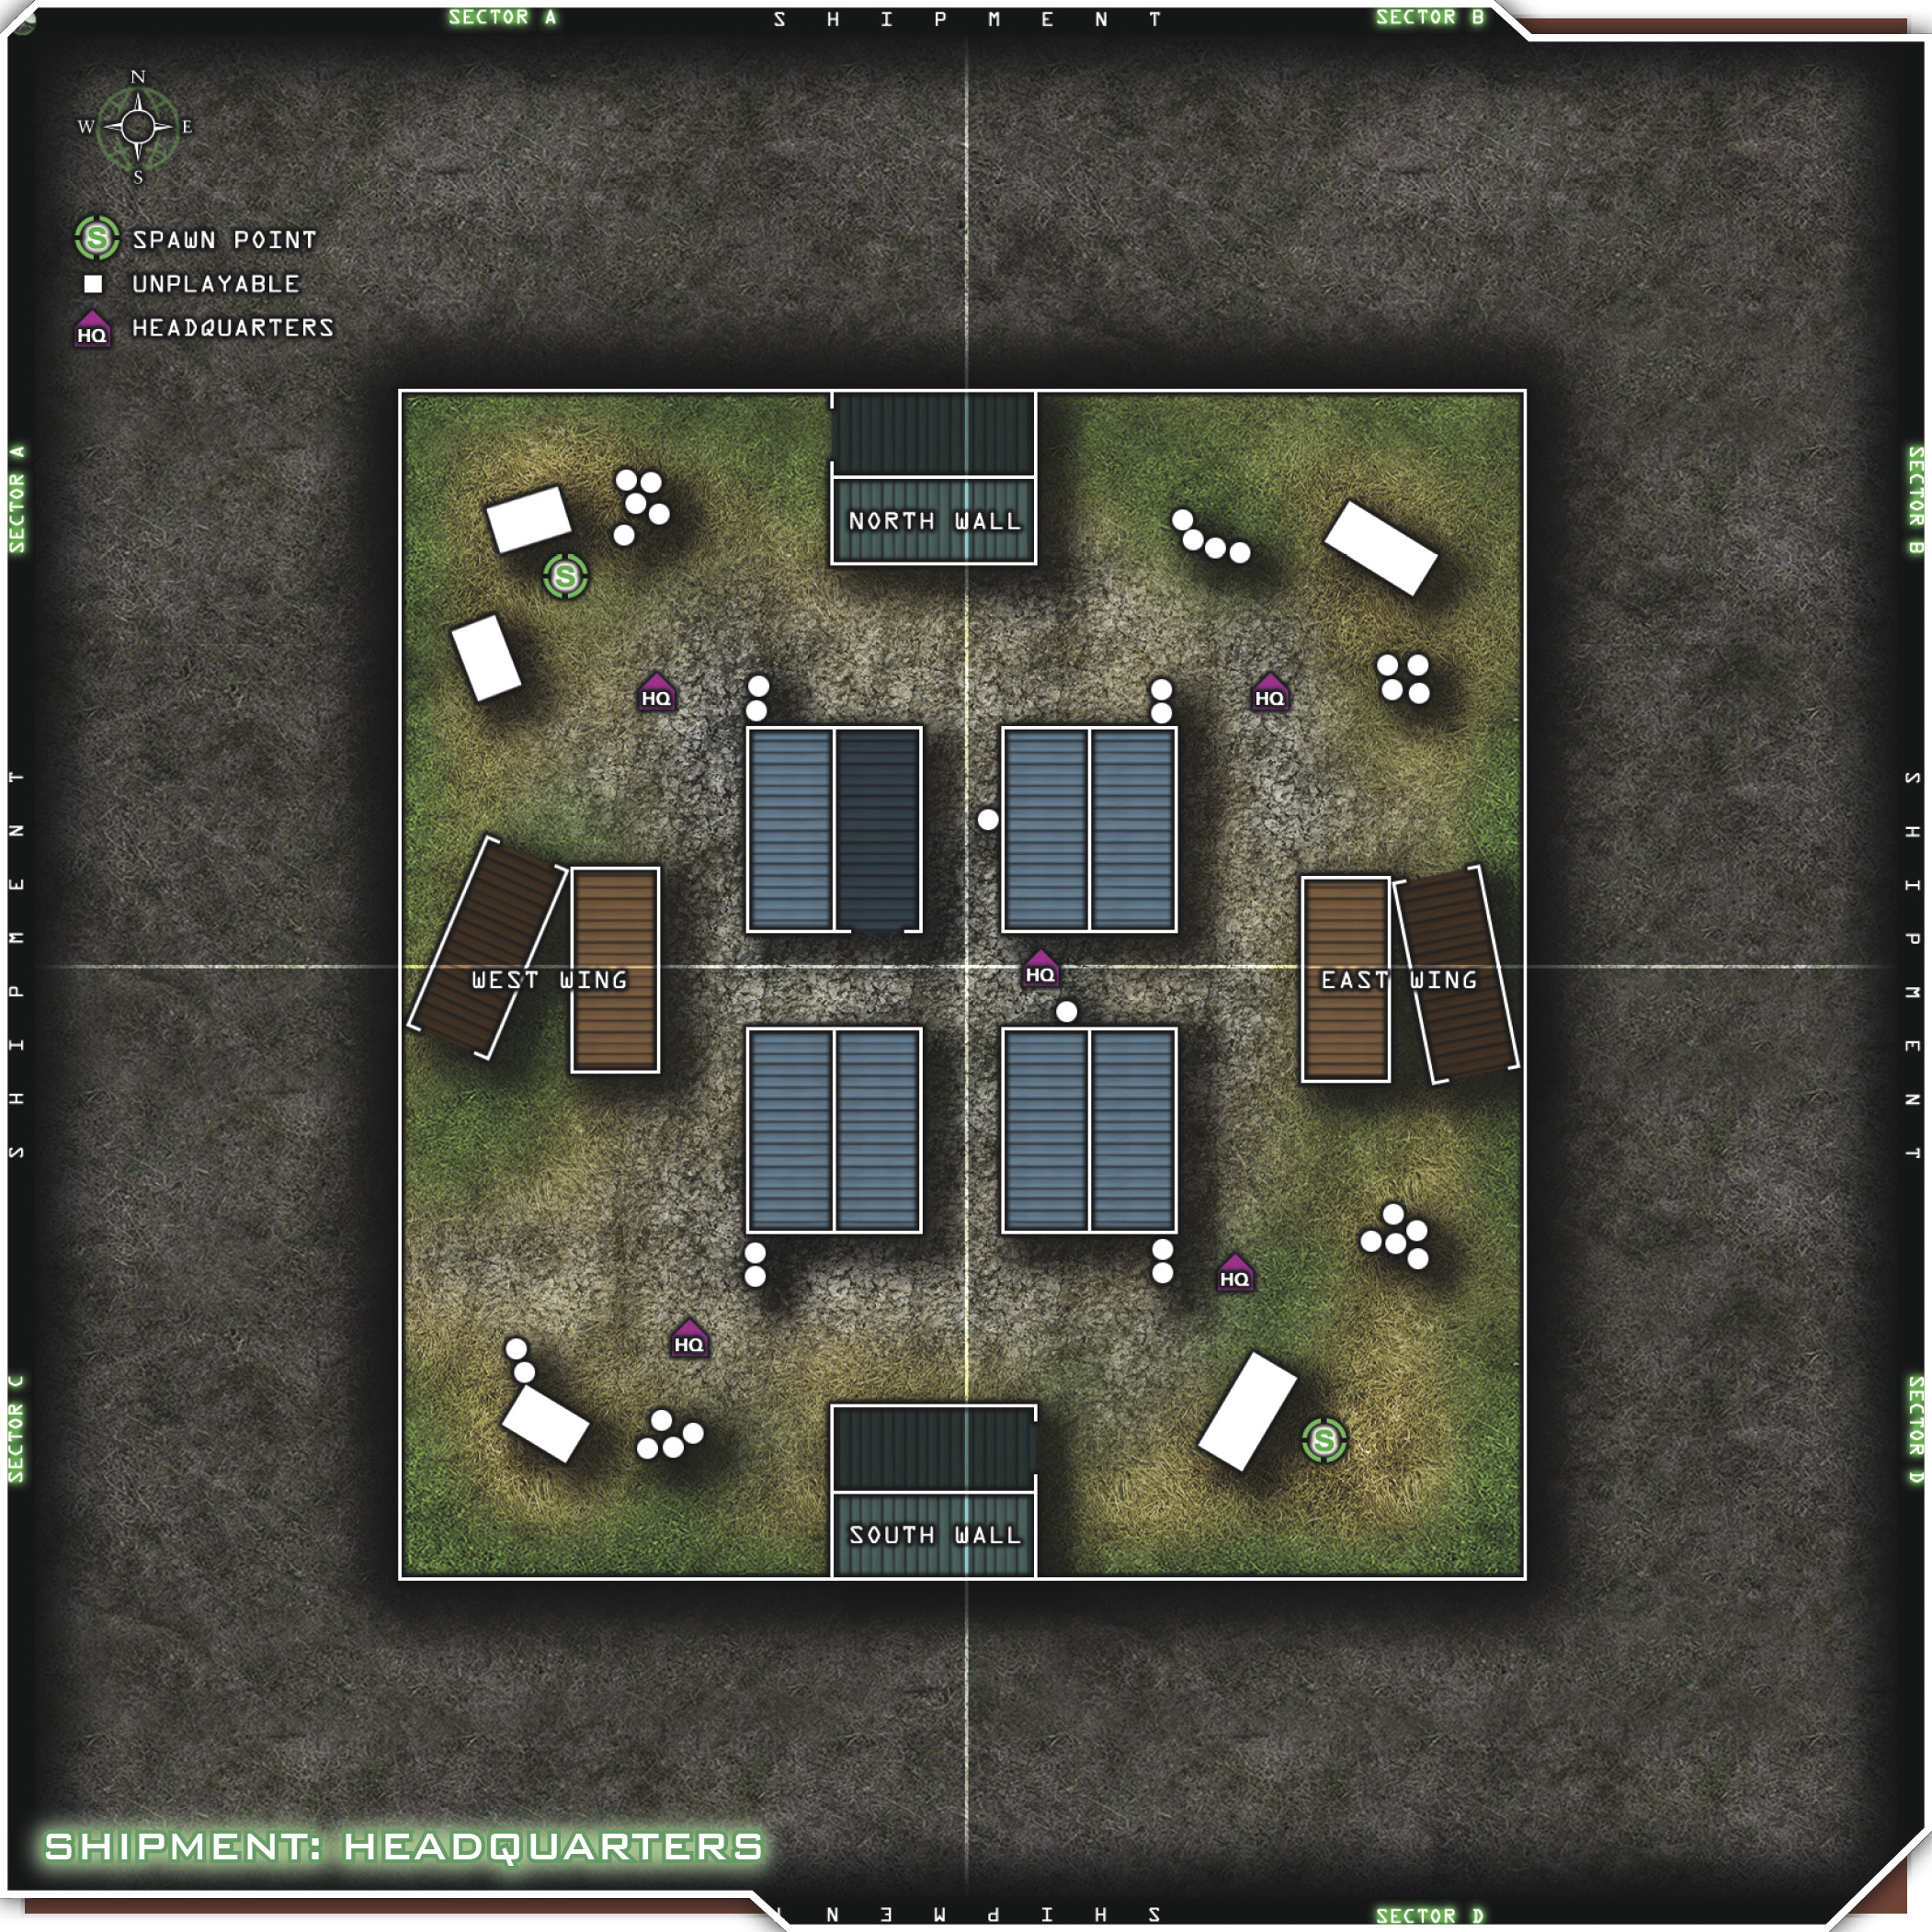
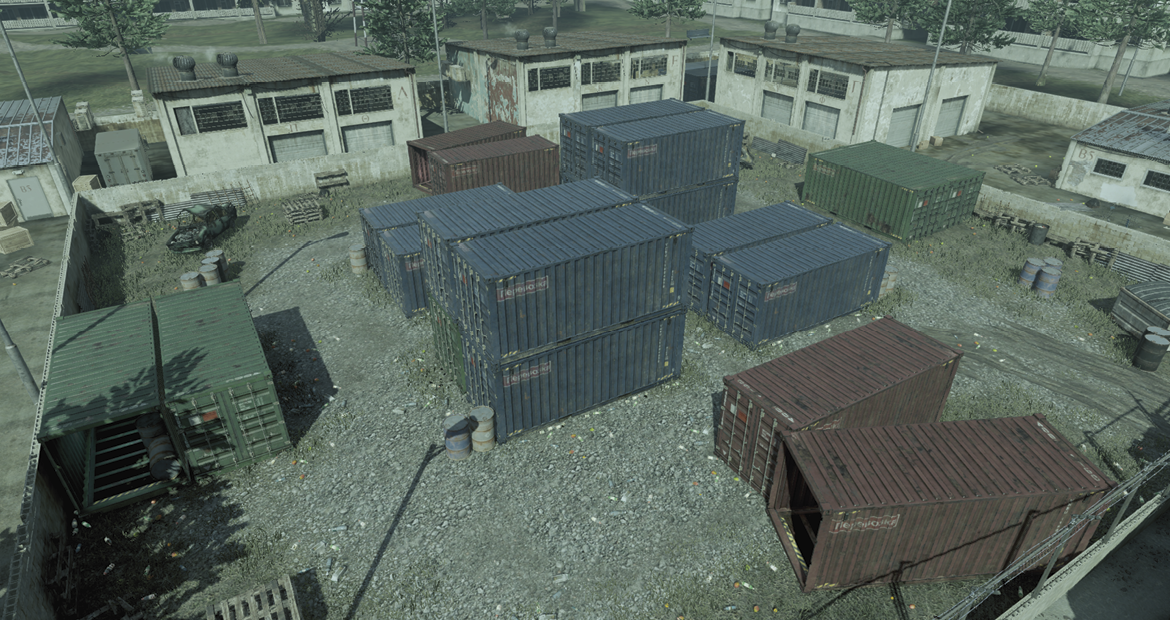
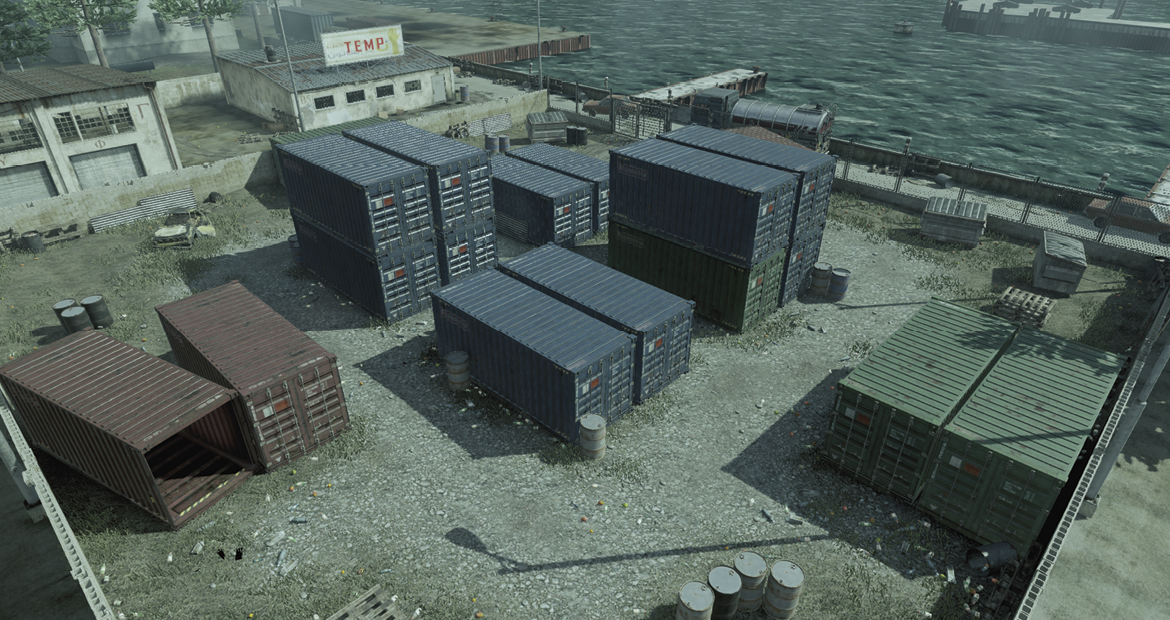
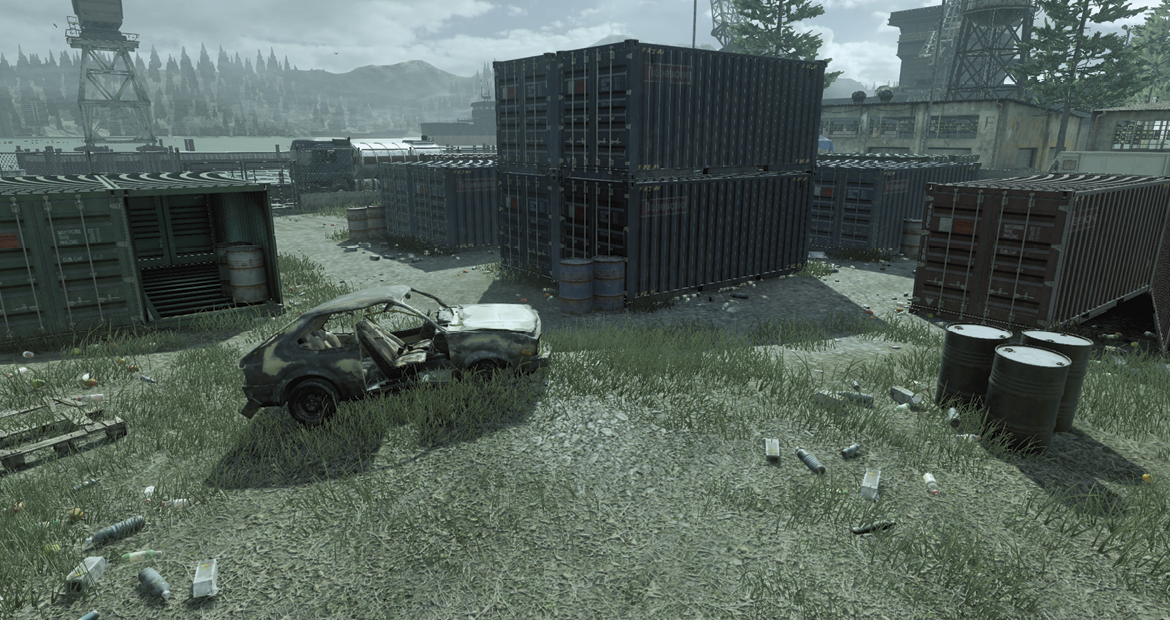
U.S. Forces vs. OpFor. This is a very small, very fun map, no matter how many players are involved. It takes place in the late afternoon in a walled-off cargo container storage drop on the docks. Gravel and short grass provides the footing, while the symmetrically stacked cargo containers provide the cover.
These loadouts offer you a choice of being a mobile shooter or a slower, more heavily armed shooter. The Heavy kit gives you a nice fat LMG and a Desert Eagle, while the three Frags combined with Sonic Boom will create a devastating spread of ordinance. Of course, you’ll need Martyrdom due to the size and pace of the map. If you don’t get the guy who killed you, chances are his buddy will be rounding the corner to see what that clinking sound was.
The Light loadout will probably be the CCS of choice, because you’ll want to be on the move as much as possible. The P90 plus the Double Tap perk is insane. You’ll just have to see it to believe it. Close-range enemies don’t stand a chance. The Bandolier perk will keep you fully loaded. And of course… Martyrdom.
Suggested Loadouts
Heavy
| Slot | Name |
|---|---|
| Primary Weapon | M60E4 |
| Side Arm | Desert Eagle |
| Special Grenade | Stun |
| Perk 1 | Frag x3 |
| Perk 2 | Sonic Boom |
| Perk 3 | Martyrdom |
Light
| Slot | Name |
|---|---|
| Primary Weapon | P90 |
| Side Arm | M9 |
| Special Grenade | Flash |
| Perk 1 | Bandolier |
| Perk 2 | Double Tap |
| Perk 3 | Martyrdom |
Tips & Locations
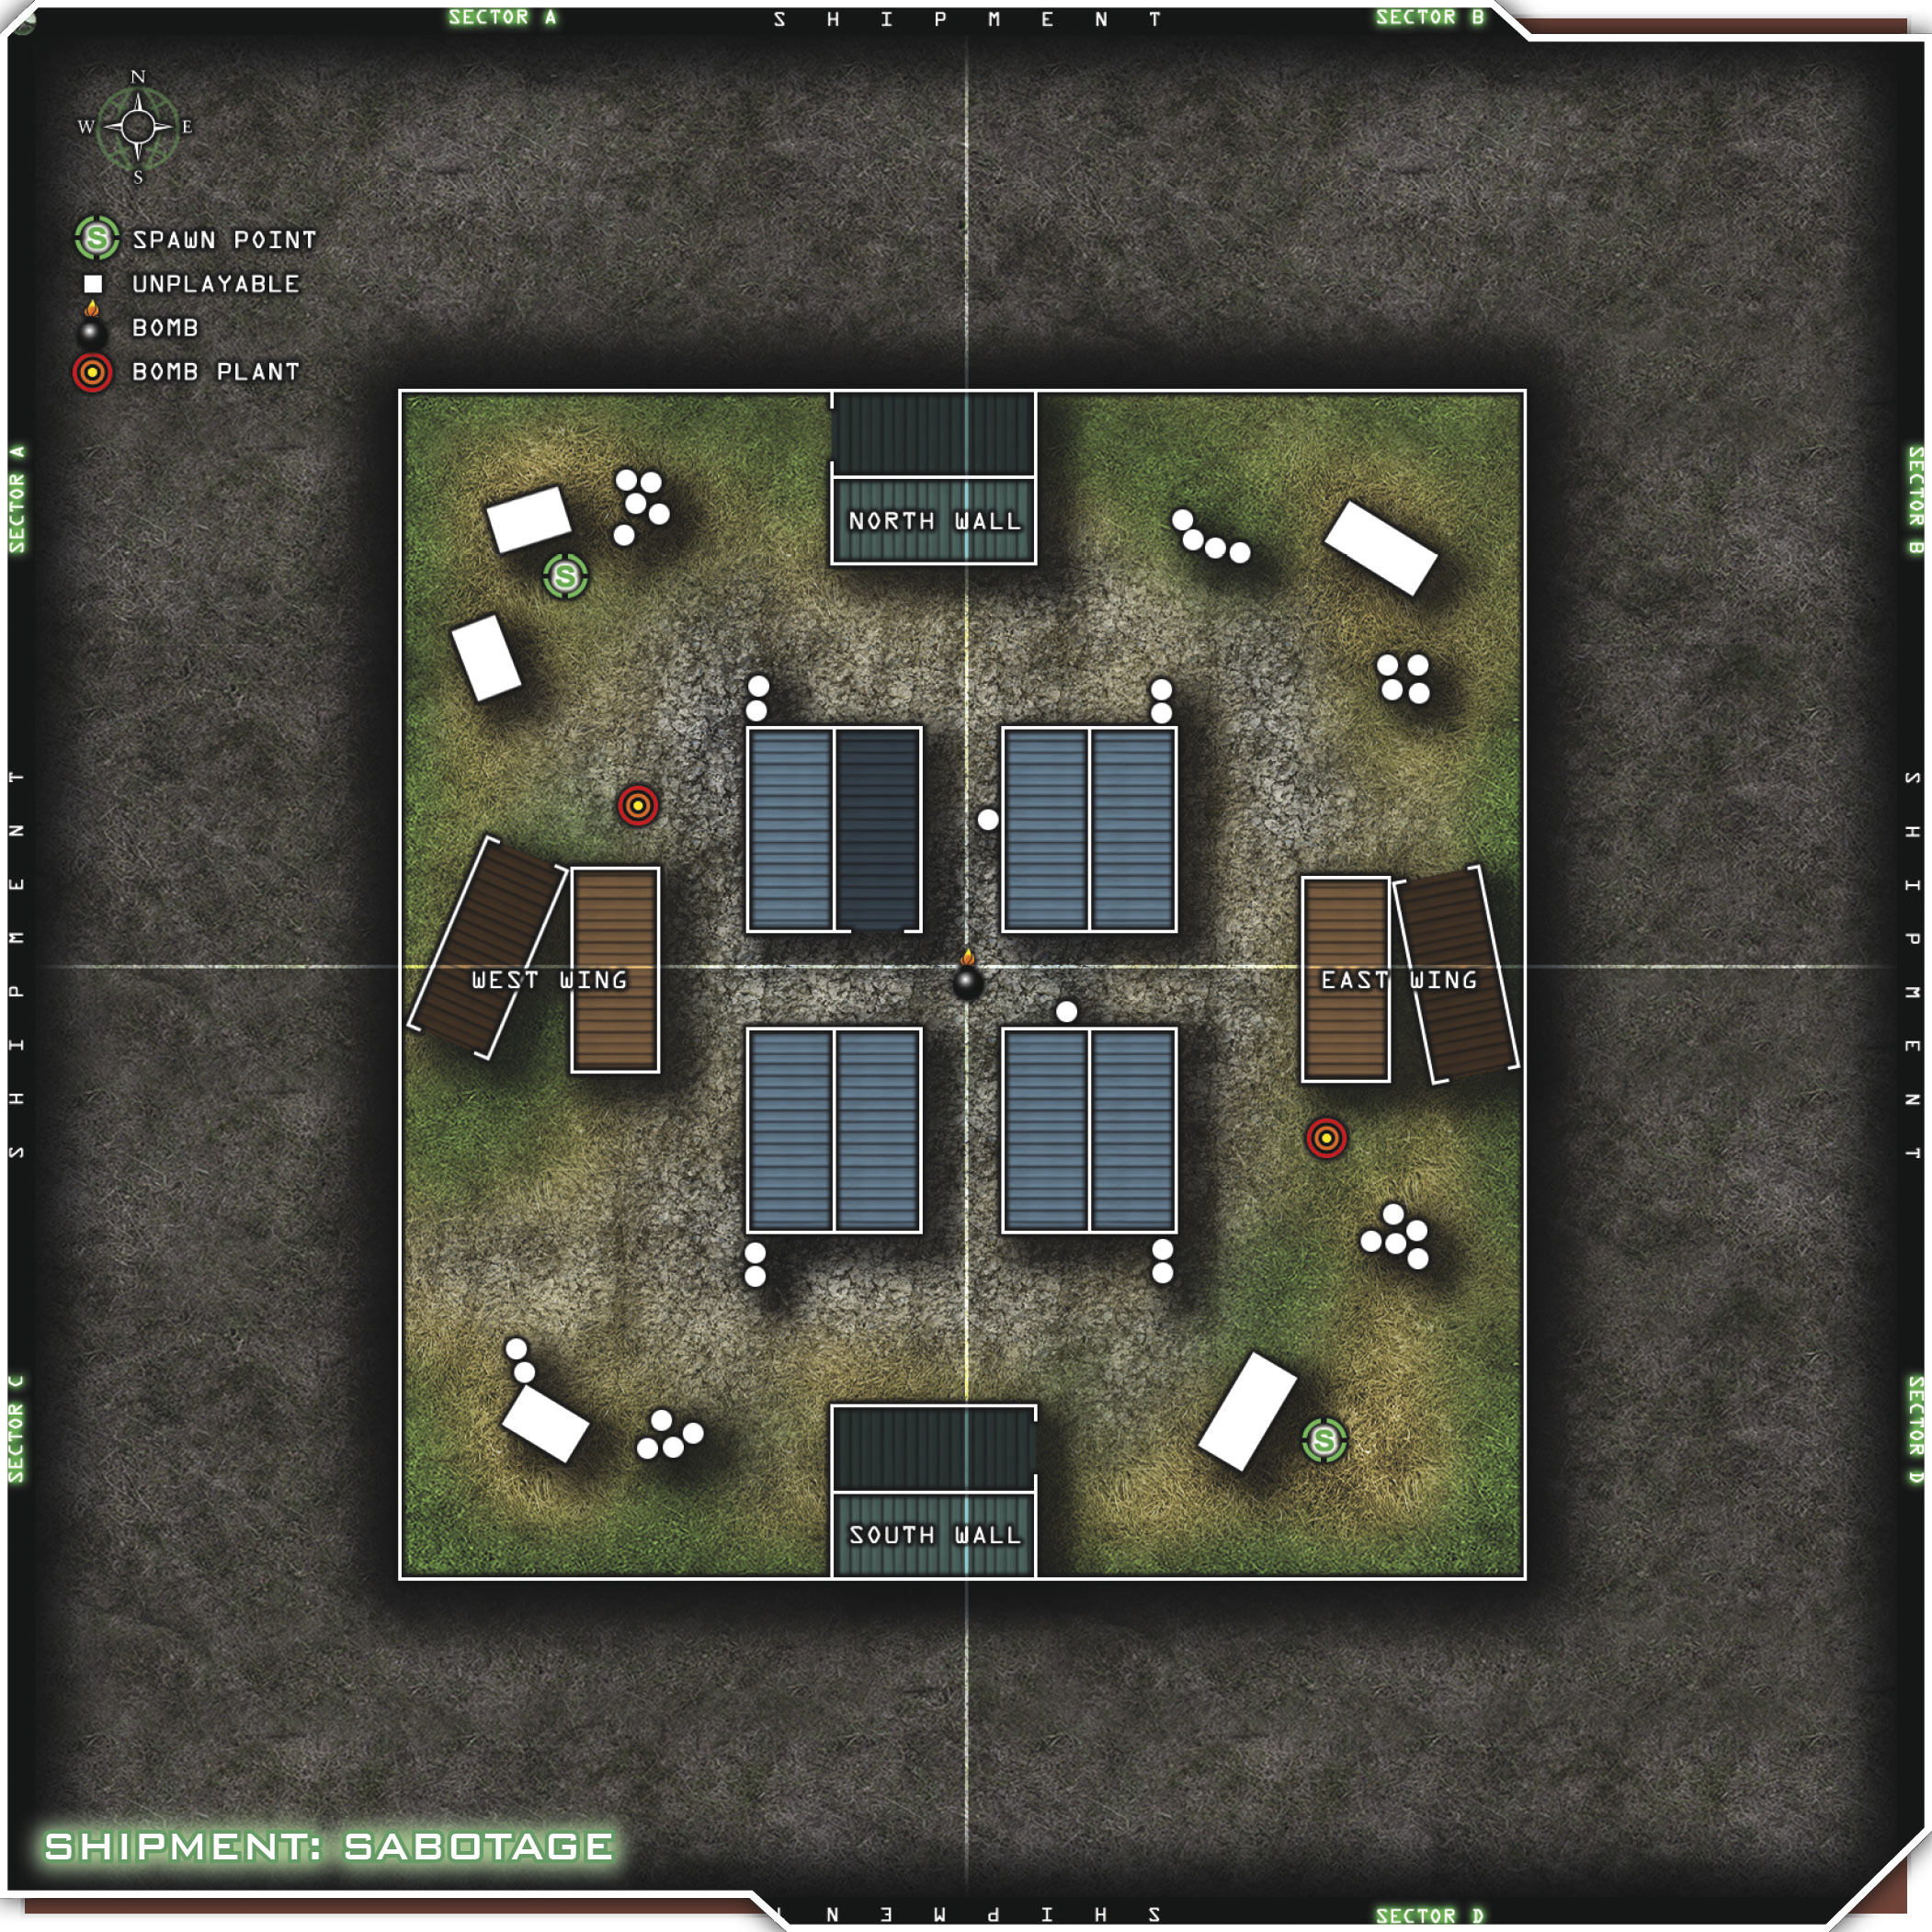
You can get into five containers on this map: the north and south containers, the east and west containers, and the northwestern container out of the four in the center. Use these containers for cover from grenades, RPGs, and lead. Three cargo containers have one entrance only, providing much better cover and a nice hiding spot. They’re the northern, southern, and northwest of the four in the center. Use them to ambush enemies. In Old School mode, you can get on top of these containers as well.
Use grenades. Throw them all in the enemy spawn point. Each team spawns in either the northwest or southeast corner of the map, so lob a few their way at the start of the round. Use the Juggernaut perk to stay alive longer in this fast-paced level. Shotguns, SMGs, Stopping Power, and Double Tap are helpful as well. If you try one of the shotguns, take either Double Tap or Sleight of Hand to increase our firing speed or decrease your reload time.
Keep moving. Circle the map while facing inward to keep your back as covered as possible. Try making a zigzag run through the map from left to right, killing all in your path. Always be ready with your knife. Inevitably you’ll encounter an enemy when rounding a corner. Your knife skills will have to be sharp to get the drop on your opponent. There are also some good barrels, dumpsters, disabled vehicles, and areas where cargo containers meet the wall where you can hide or take cover. Try bouncing from one to the other, and stay mobile.
Team Tactics
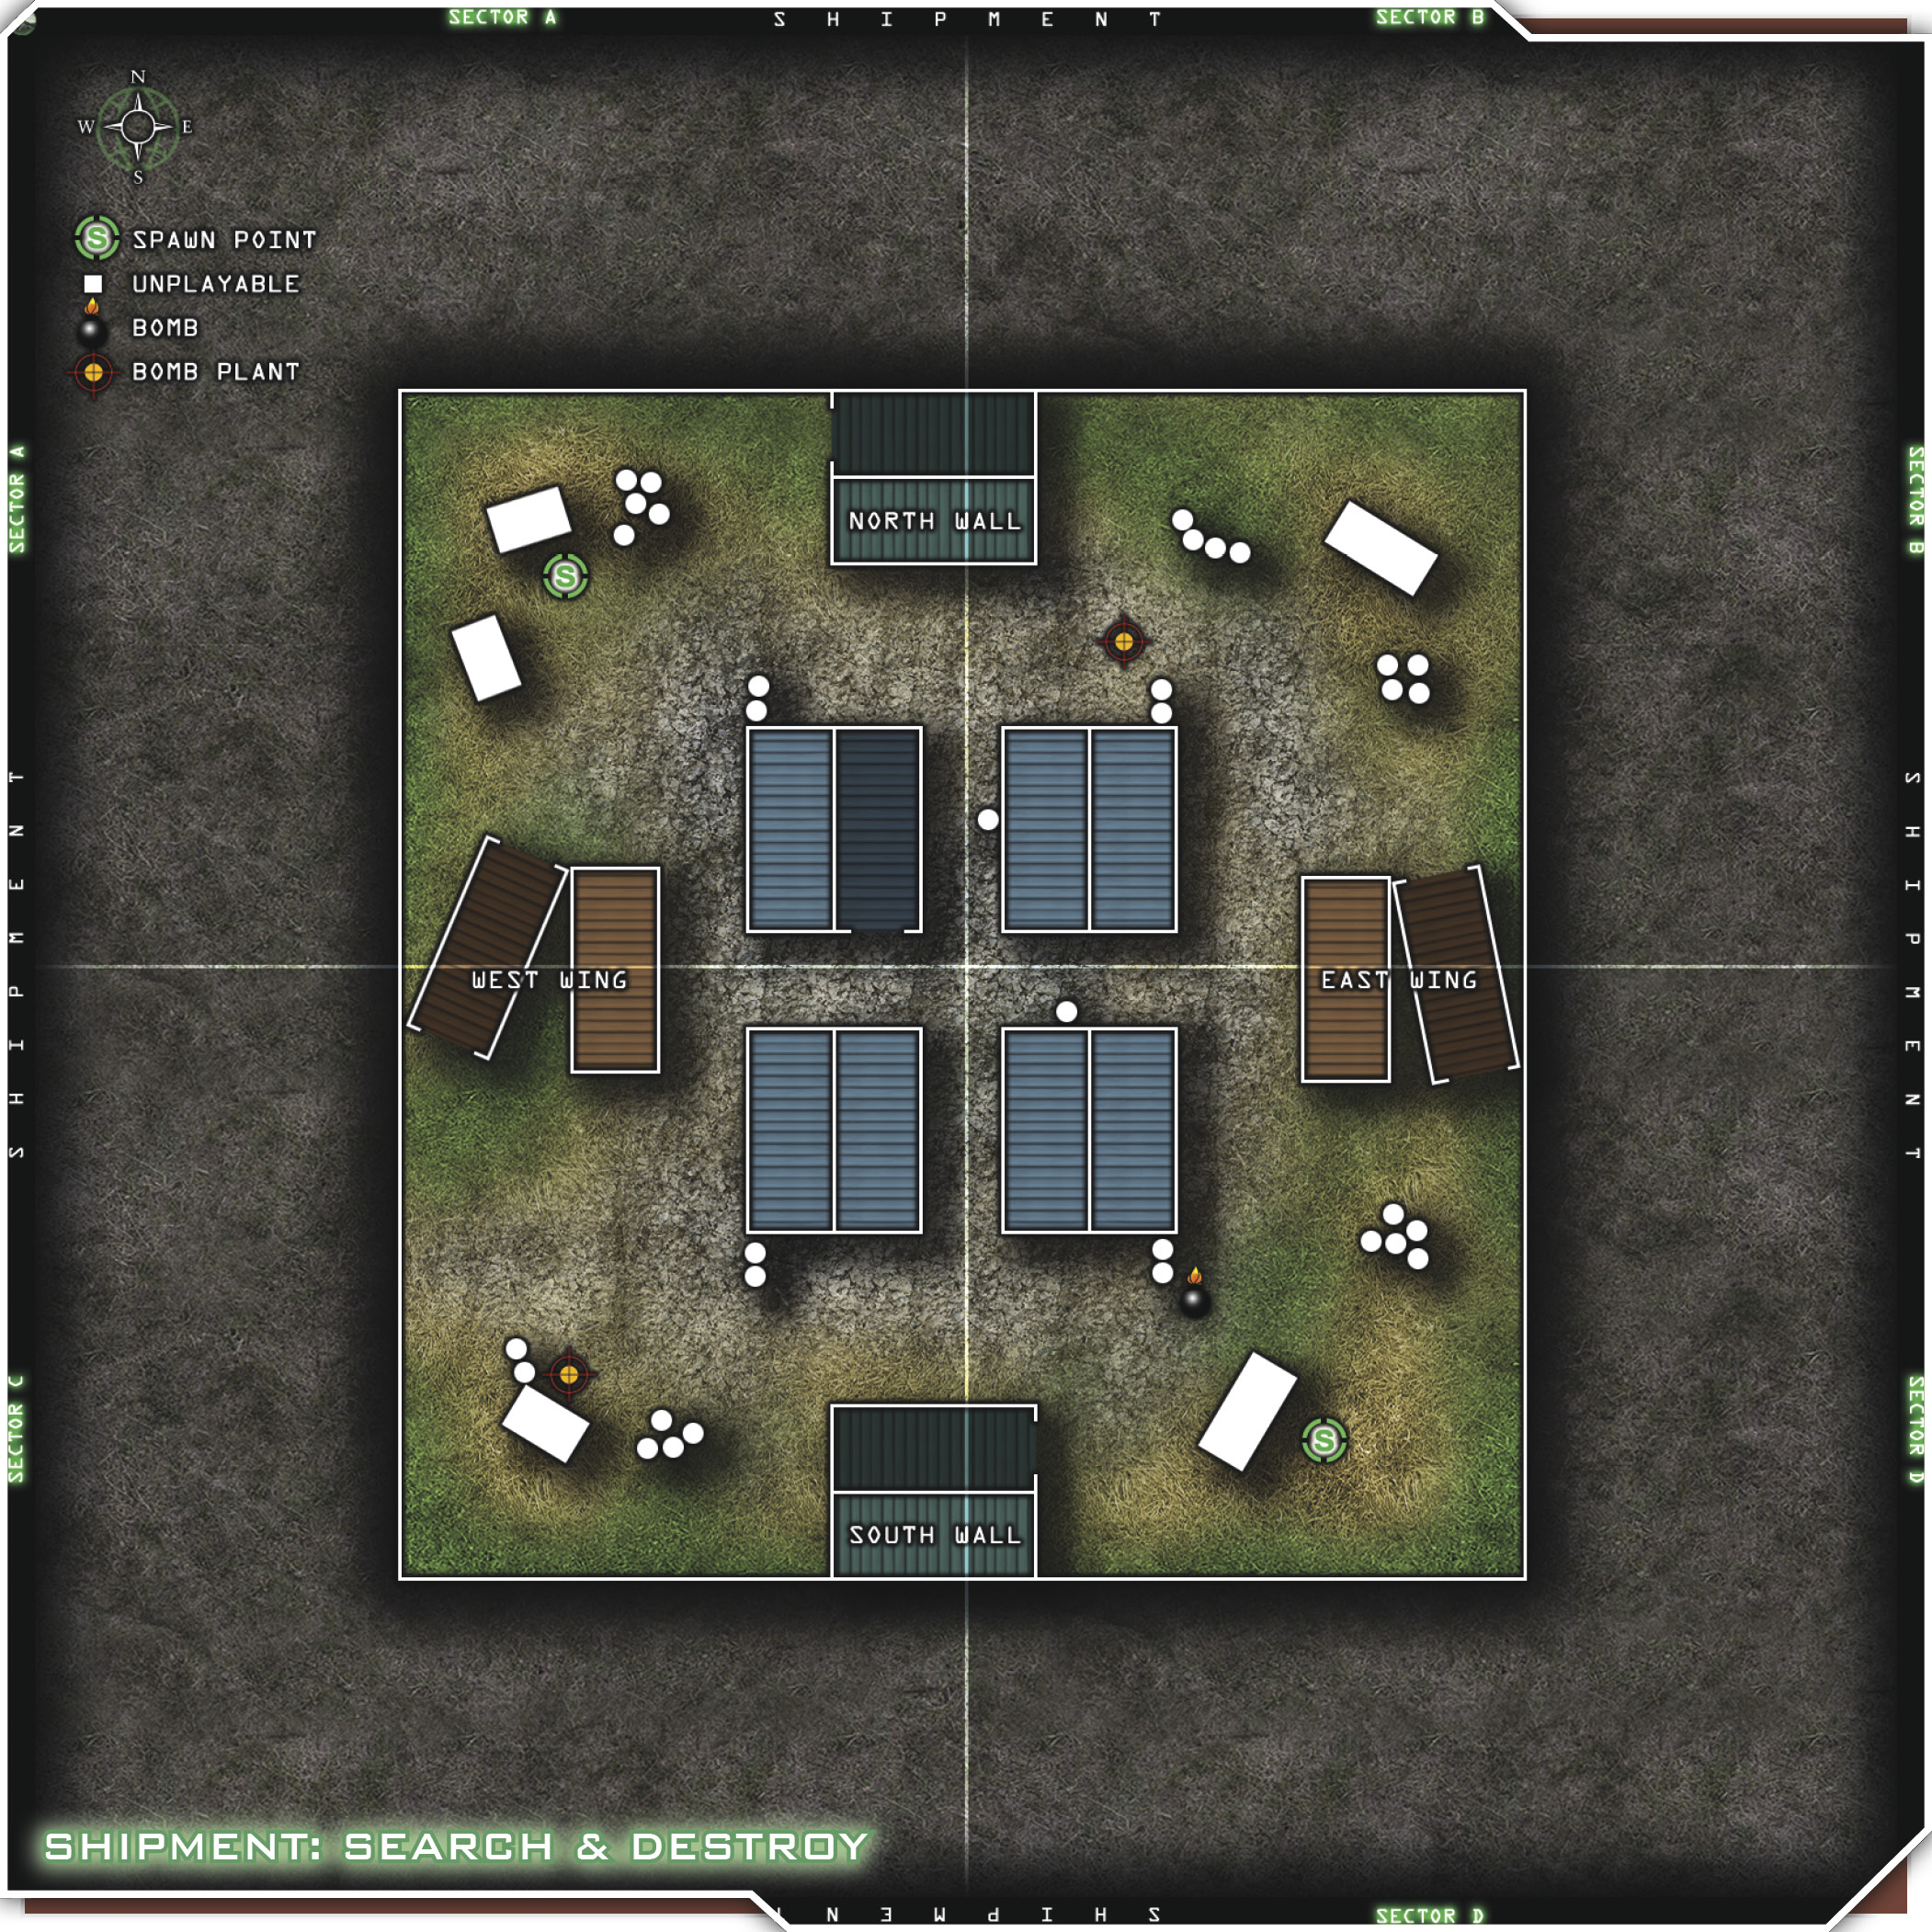
Your options are limited on this map. Starting at the southeast spawn point, have your team hold back instead of rushing. Watch the chokepoints. There are three of them near the barrels and the car. The left chokepoint is between the two red containers and the westernmost blue containers. The center chokepoint is between the two center blue containers, and the right chokepoint is between the red containers on the east side and the easternmost blue containers. Holding back is hard to do and might be useful only at the very beginning volley of spawns, but it’s a good alternative when you’ve been doing the same thing round after round.
This plan is also beneficial for calling in airstrikes or chopper support. Since everyone should be loaded up on frags, you should be able to call in an airstrike fairly soon. There aren’t very many places for enemies to hide on this map. Make sure you inform your team that you’re calling in an airstrike, and then get everyone to cover in one of the cargo containers.
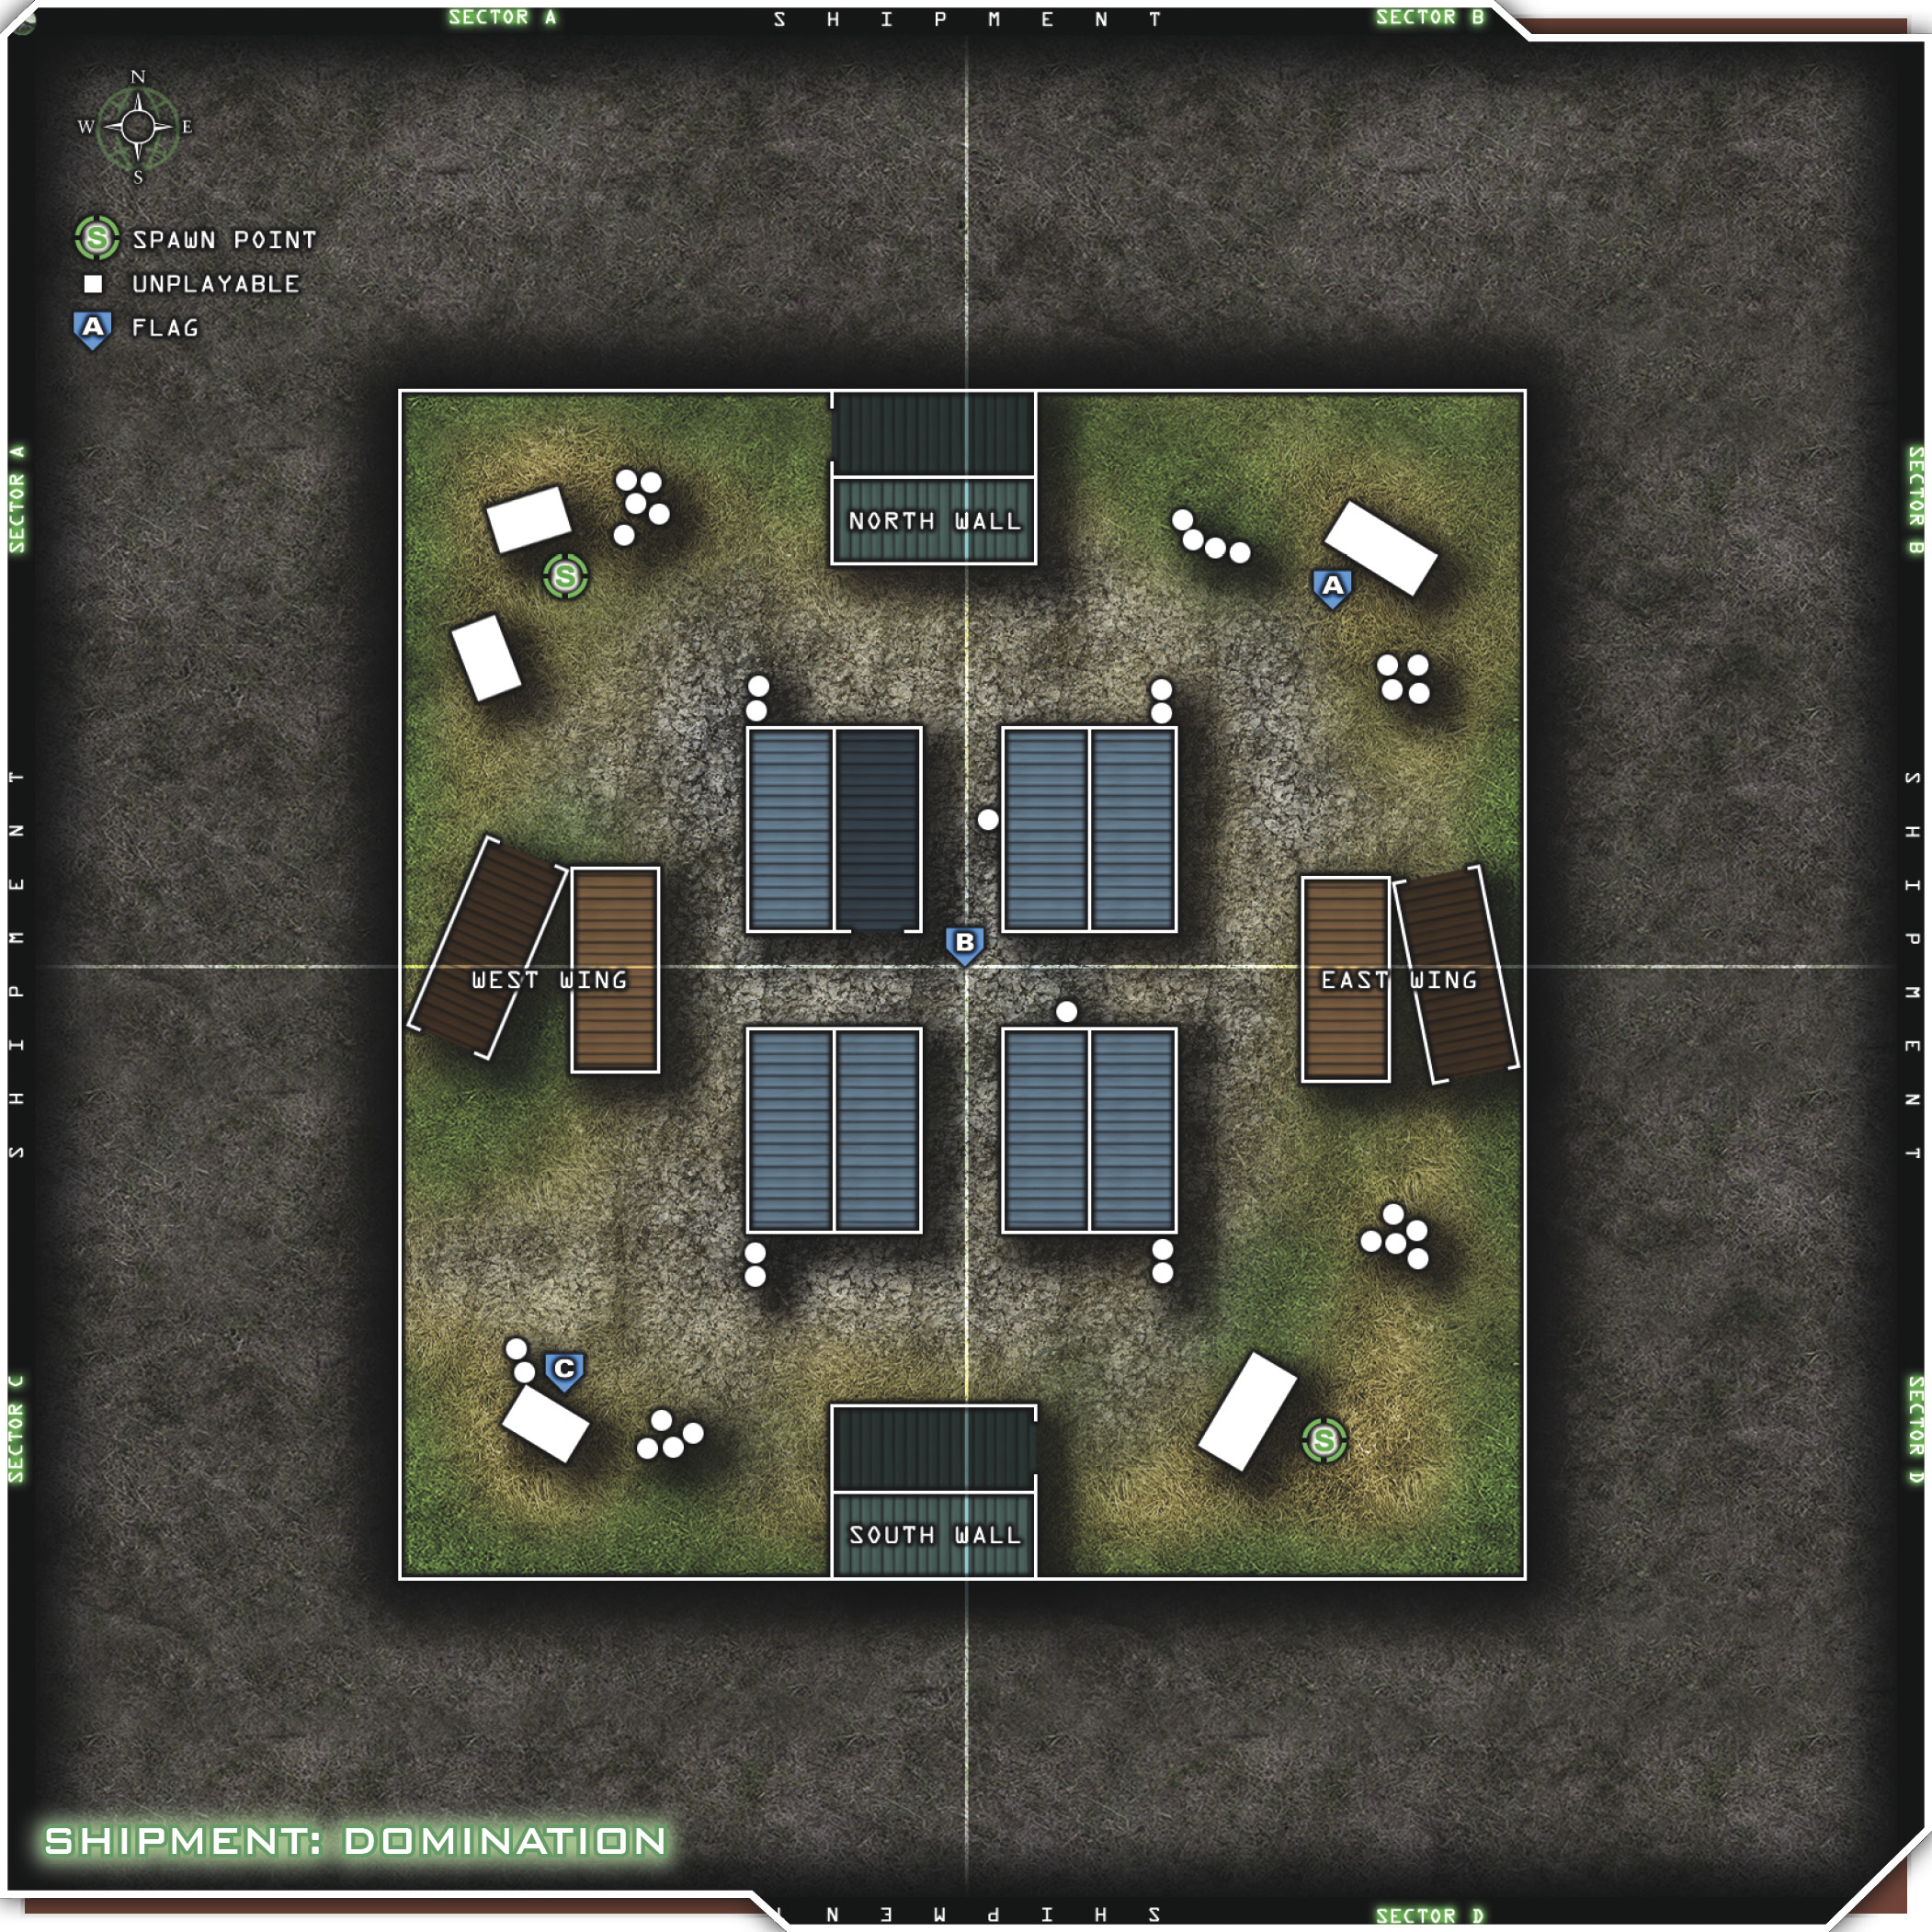
Another changeup is to take your entire team around the map in a clockwise or counter-clockwise motion, keeping your backs to the outer wall. Try to keep good spacing so you don’t all get taken out by grenades. Keep circling, checking all the cargo containers and the cross paths in the center of the blue containers. It won’t be easy, but keeping your team together might overwhelm the random solo players you’ll stumble on.
Try splitting up your team into wingman pairs. Send one team up the west side, one team up the gut, and one team up the east side. Grenade and shoot your way through, and meet up on the other side to clear the north. Head back the way you came and keep running the lanes you’ve been designated. This roving, scanning type of maneuvering will help you cover almost the whole map. You can also send out two wingman teams to run circles while you split up the third team. Position one player in the southwest corner behind the dumpster, and the other player behind the car or the barrels, to create a nice crossfire.