
Call of Duty: Infinite Warfare Guide Call of Duty 4: Modern Warfare Multiplayer Map Tactics
Overgrown
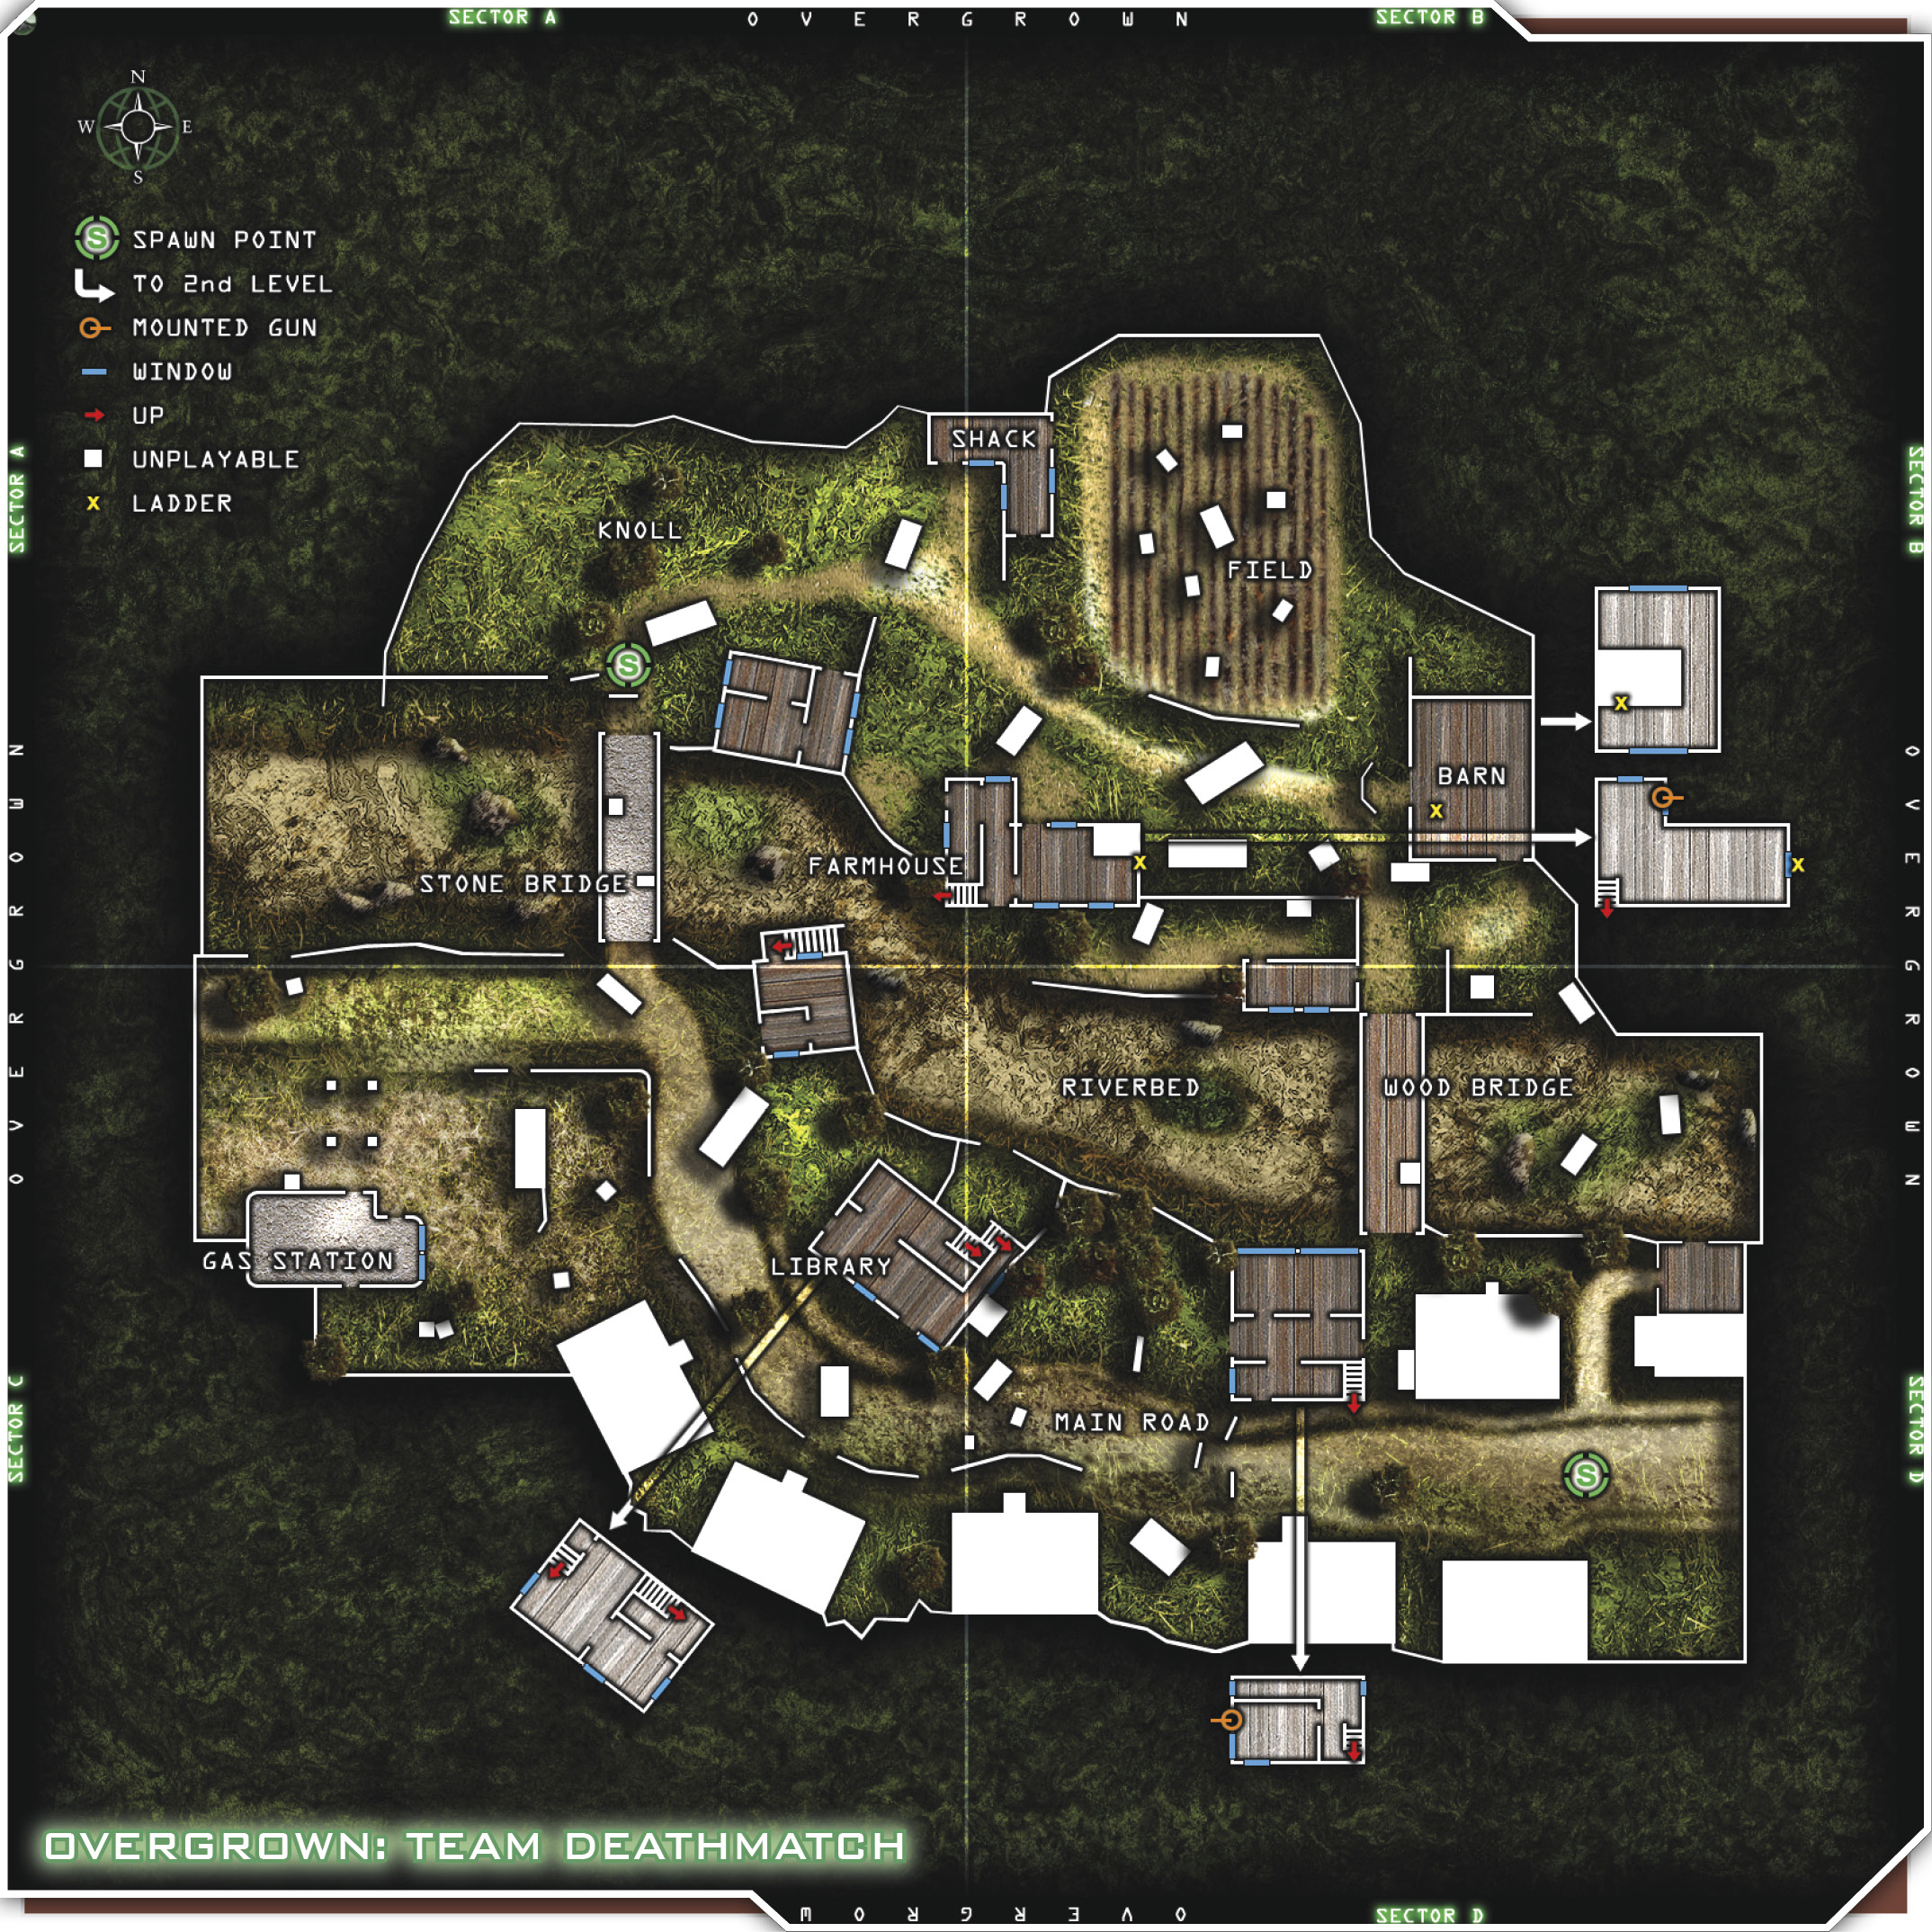
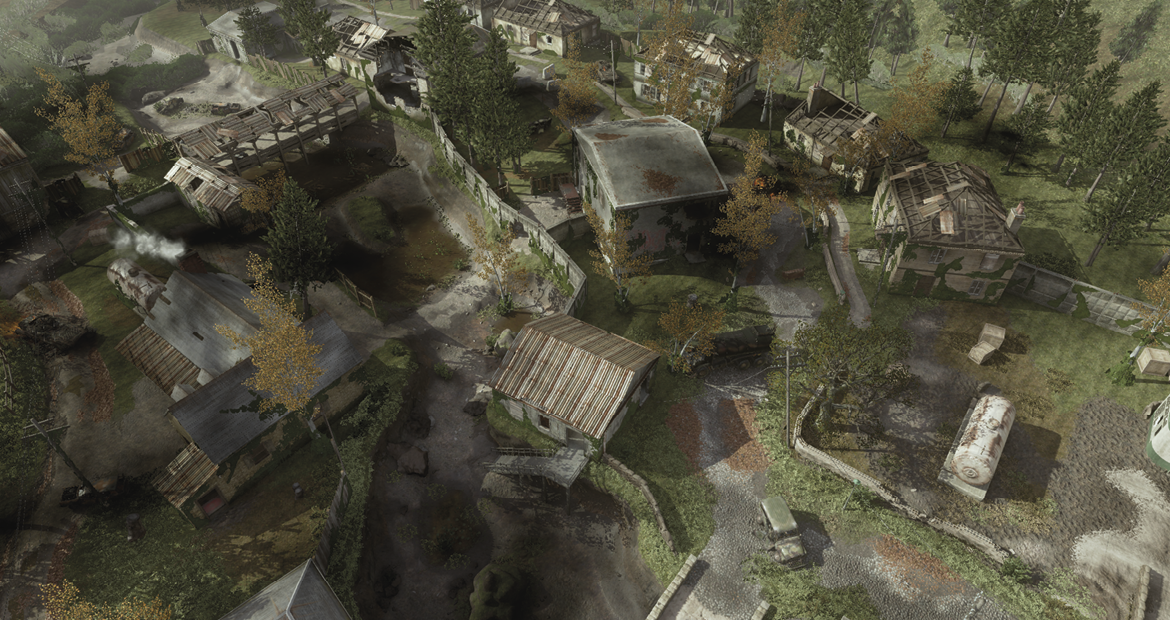
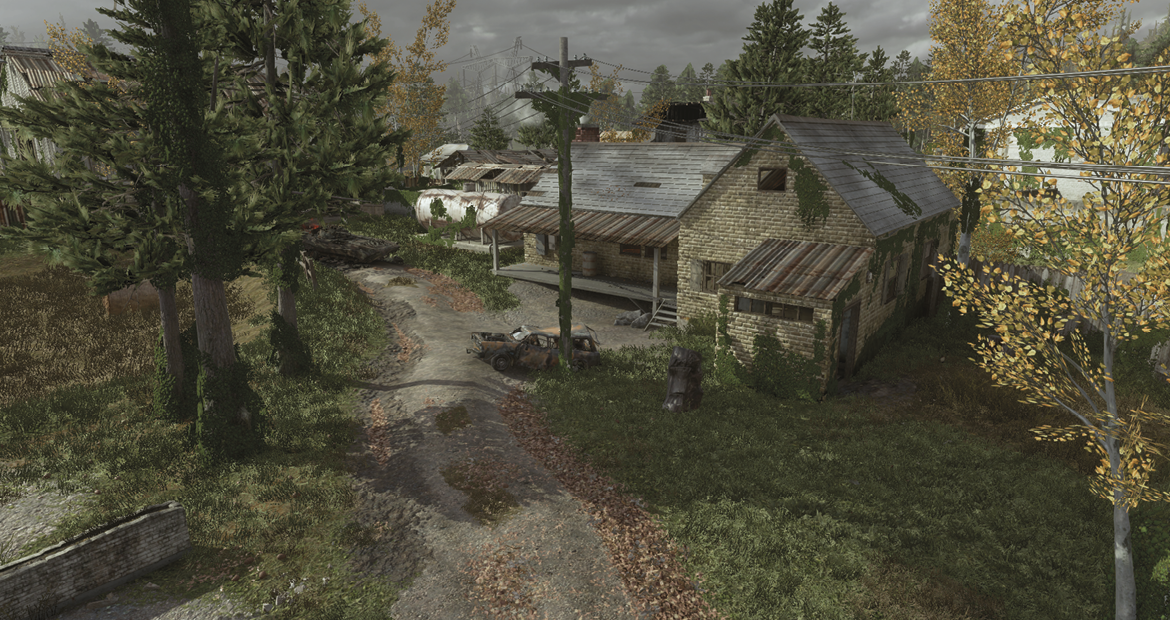
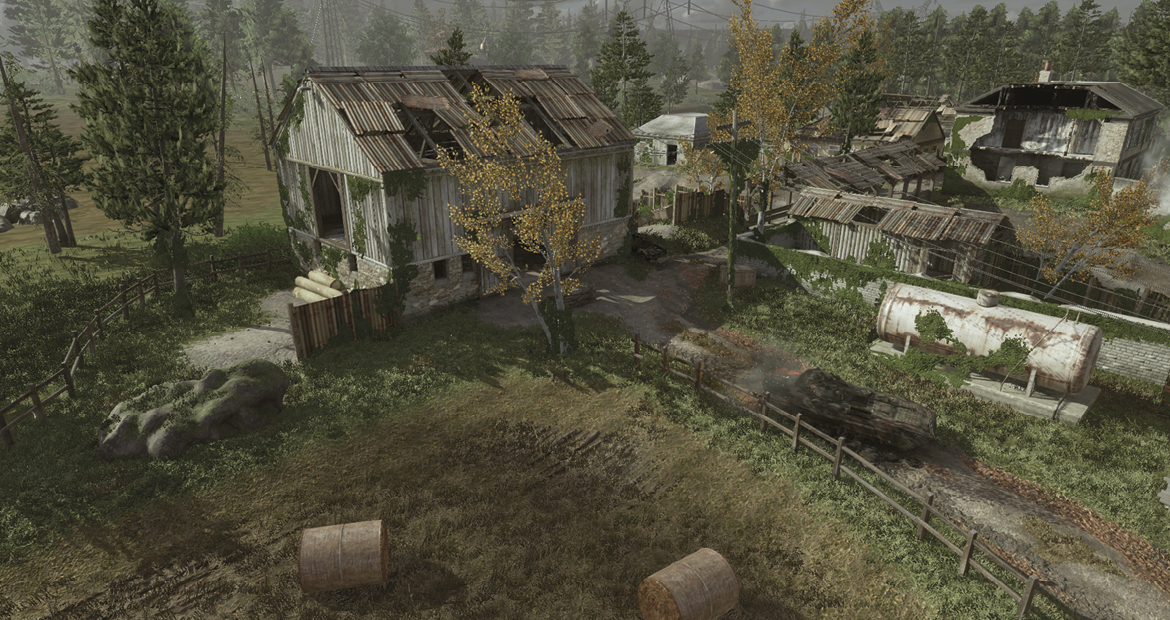
Spec Ops vs. Spetsnaz. This map also takes place on a farm, but the time of day is morning. A dried-up Riverbed separates the farm from the small abandoned town on the south side. Two main bridges connect the two sides of the level, and a Main Road runs down the center of the town on the south side. There are several buildings accessible on both sides of the Riverbed, and lots of vegetation in which to take cover.
While there are many loadouts to choose from and customize, these two are good choices for this map. The Ghost Sniper CCS is brilliant for settling down in the Knoll or the Riverbed. Just plop a couple of Claymores down behind you and get comfortable. Your UAV Jammer will prevent you from being detected on radar sweeps, but when you fire your weapon, you’ll be lit up like a cigar. Try to remain as still as possible after firing so your movement doesn’t give away your position. The enemy will be able to see your approximate location, but not your exact position. You won’t stay lit up forever, so sit still for a bit after each shot. The Sleight of Hand perk will help you jam extra rounds into your SVD at top speed.
Mid-Range Support Rifleman is a great multi-purpose class. You’ve got everything you need to get the job done: a decent zoom on your primary weapon for those across-the-Riverbed firefights, the AK74u with Red Dot for your close-quarters room-clearing and running-and-gunning, smoke to cover your intentions, and of course, three grenades to clear your way and empty out your house. As always, stick to cover and move from building to building via Extreme Conditioning.
Suggested Loadouts
Ghost Sniper
| Slot | Name |
|---|---|
| Primary Weapon | SVD |
| Side Arm | M1911 |
| Notes/Attachment | Silencer |
| Special Grenade | Smoke |
| Perk 1 | Claymore x2 |
| Perk 2 | UAV Jammer or Sleight of Hand |
| Perk 3 | Dead Silence |
Mid-Range Support Rifleman
| Slot | Name |
|---|---|
| Primary Weapon | M14 |
| Notes/Attachment | ACOG Scope |
| secondary Weapon | AK74u |
| Notes/Attachment | Red Dot |
| Side Arm | M1911 |
| Special Grenade | Smoke |
| Perk 1 | Frag x3 |
| Perk 2 | Overkill |
| Perk 3 | Extreme Conditioning |
Tips & Locations
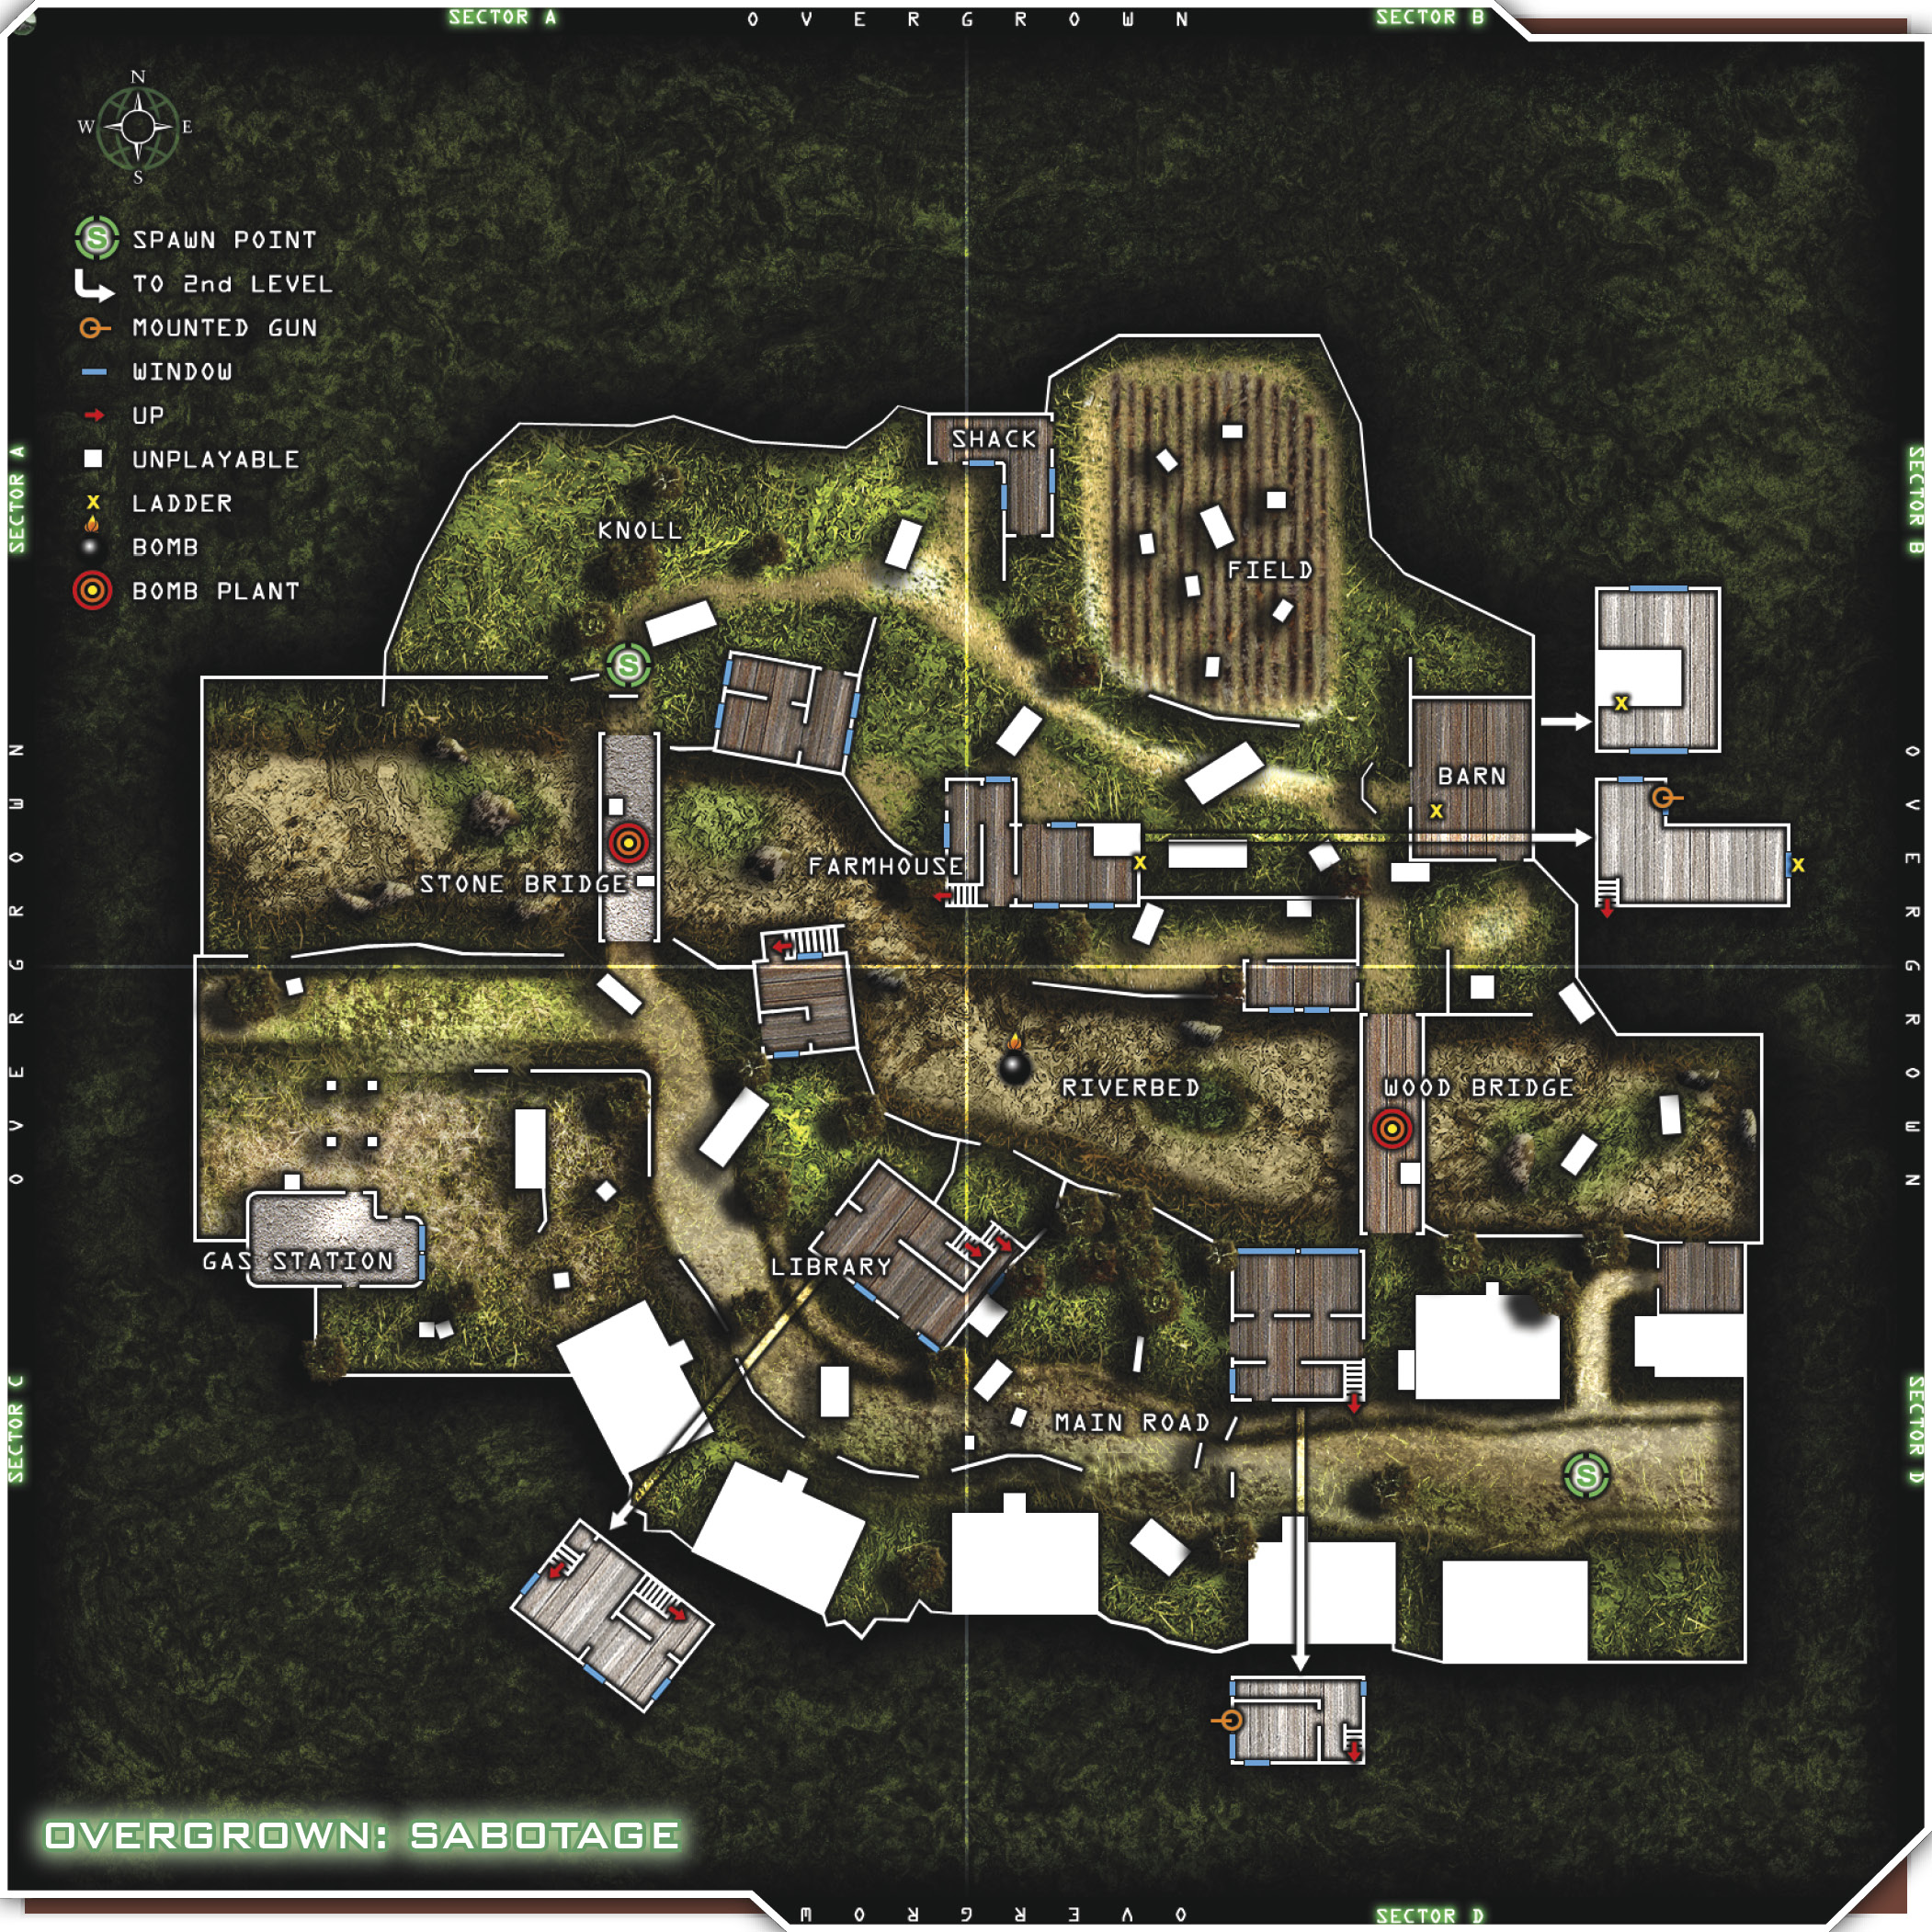
Overgrown has some great spots. Initial meeting places include both of the bridges (Stone and Wood), the Farmhouse, the Barn, the Library, and the Gas Station. Be aware that snipers love the Knoll for sniping. The building on the southwest corner of the Wood Bridge sports a great elevated sniping perch, and the Library between the bridges has some nice vantage points too. The Barn has a second story that’s good for fending off enemies from the Field, the Farmhouse, the Wood Bridge, and the Riverbed. When camping, try placing players in the corners of the lower level, as well as upstairs. You can even get up on top of the Farmhouse by way of the dumpster and wall. Get up on the wall and jump up to the roof. You can navigate the wall to almost anywhere, including the roof of the Wood Bridge.
Snipers love to squat in the Knoll and pick people off at the Barn or the Farmhouse. Always keep an eye on any movement out on the Knoll, because chances are they’re in a ghillie suit. Put a counter-sniper in the Barn to shoot back. Most fighting takes place between the Barn and the Farmhouse and Wood Bridge, or the Gas Station and the Stone bridge. The building just northeast of the Stone bridge offers some great cover to shoot from, while the Gas Station attendants don’t have much. Try popping smoke at your side of the bridge, and make your way into the Riverbed and up the hill to flank them. Keep a watchful eye on the west end of the Riverbed west of the Stone bridge. Snipers love this area as well, and can pick off plenty of enemies trying to move from the Riverbed to the building southeast of the Stone bridge.
Smoke is your friend on this map. Use it to bounce from one side of the Riverbed to the other, to distract the enemy, and to escape being pinned down. You can also smoke players out of an area. If they’re in a room with enemies outside and they can’t see, they’ll clear out. This is a seldom-used but fairly effective technique.
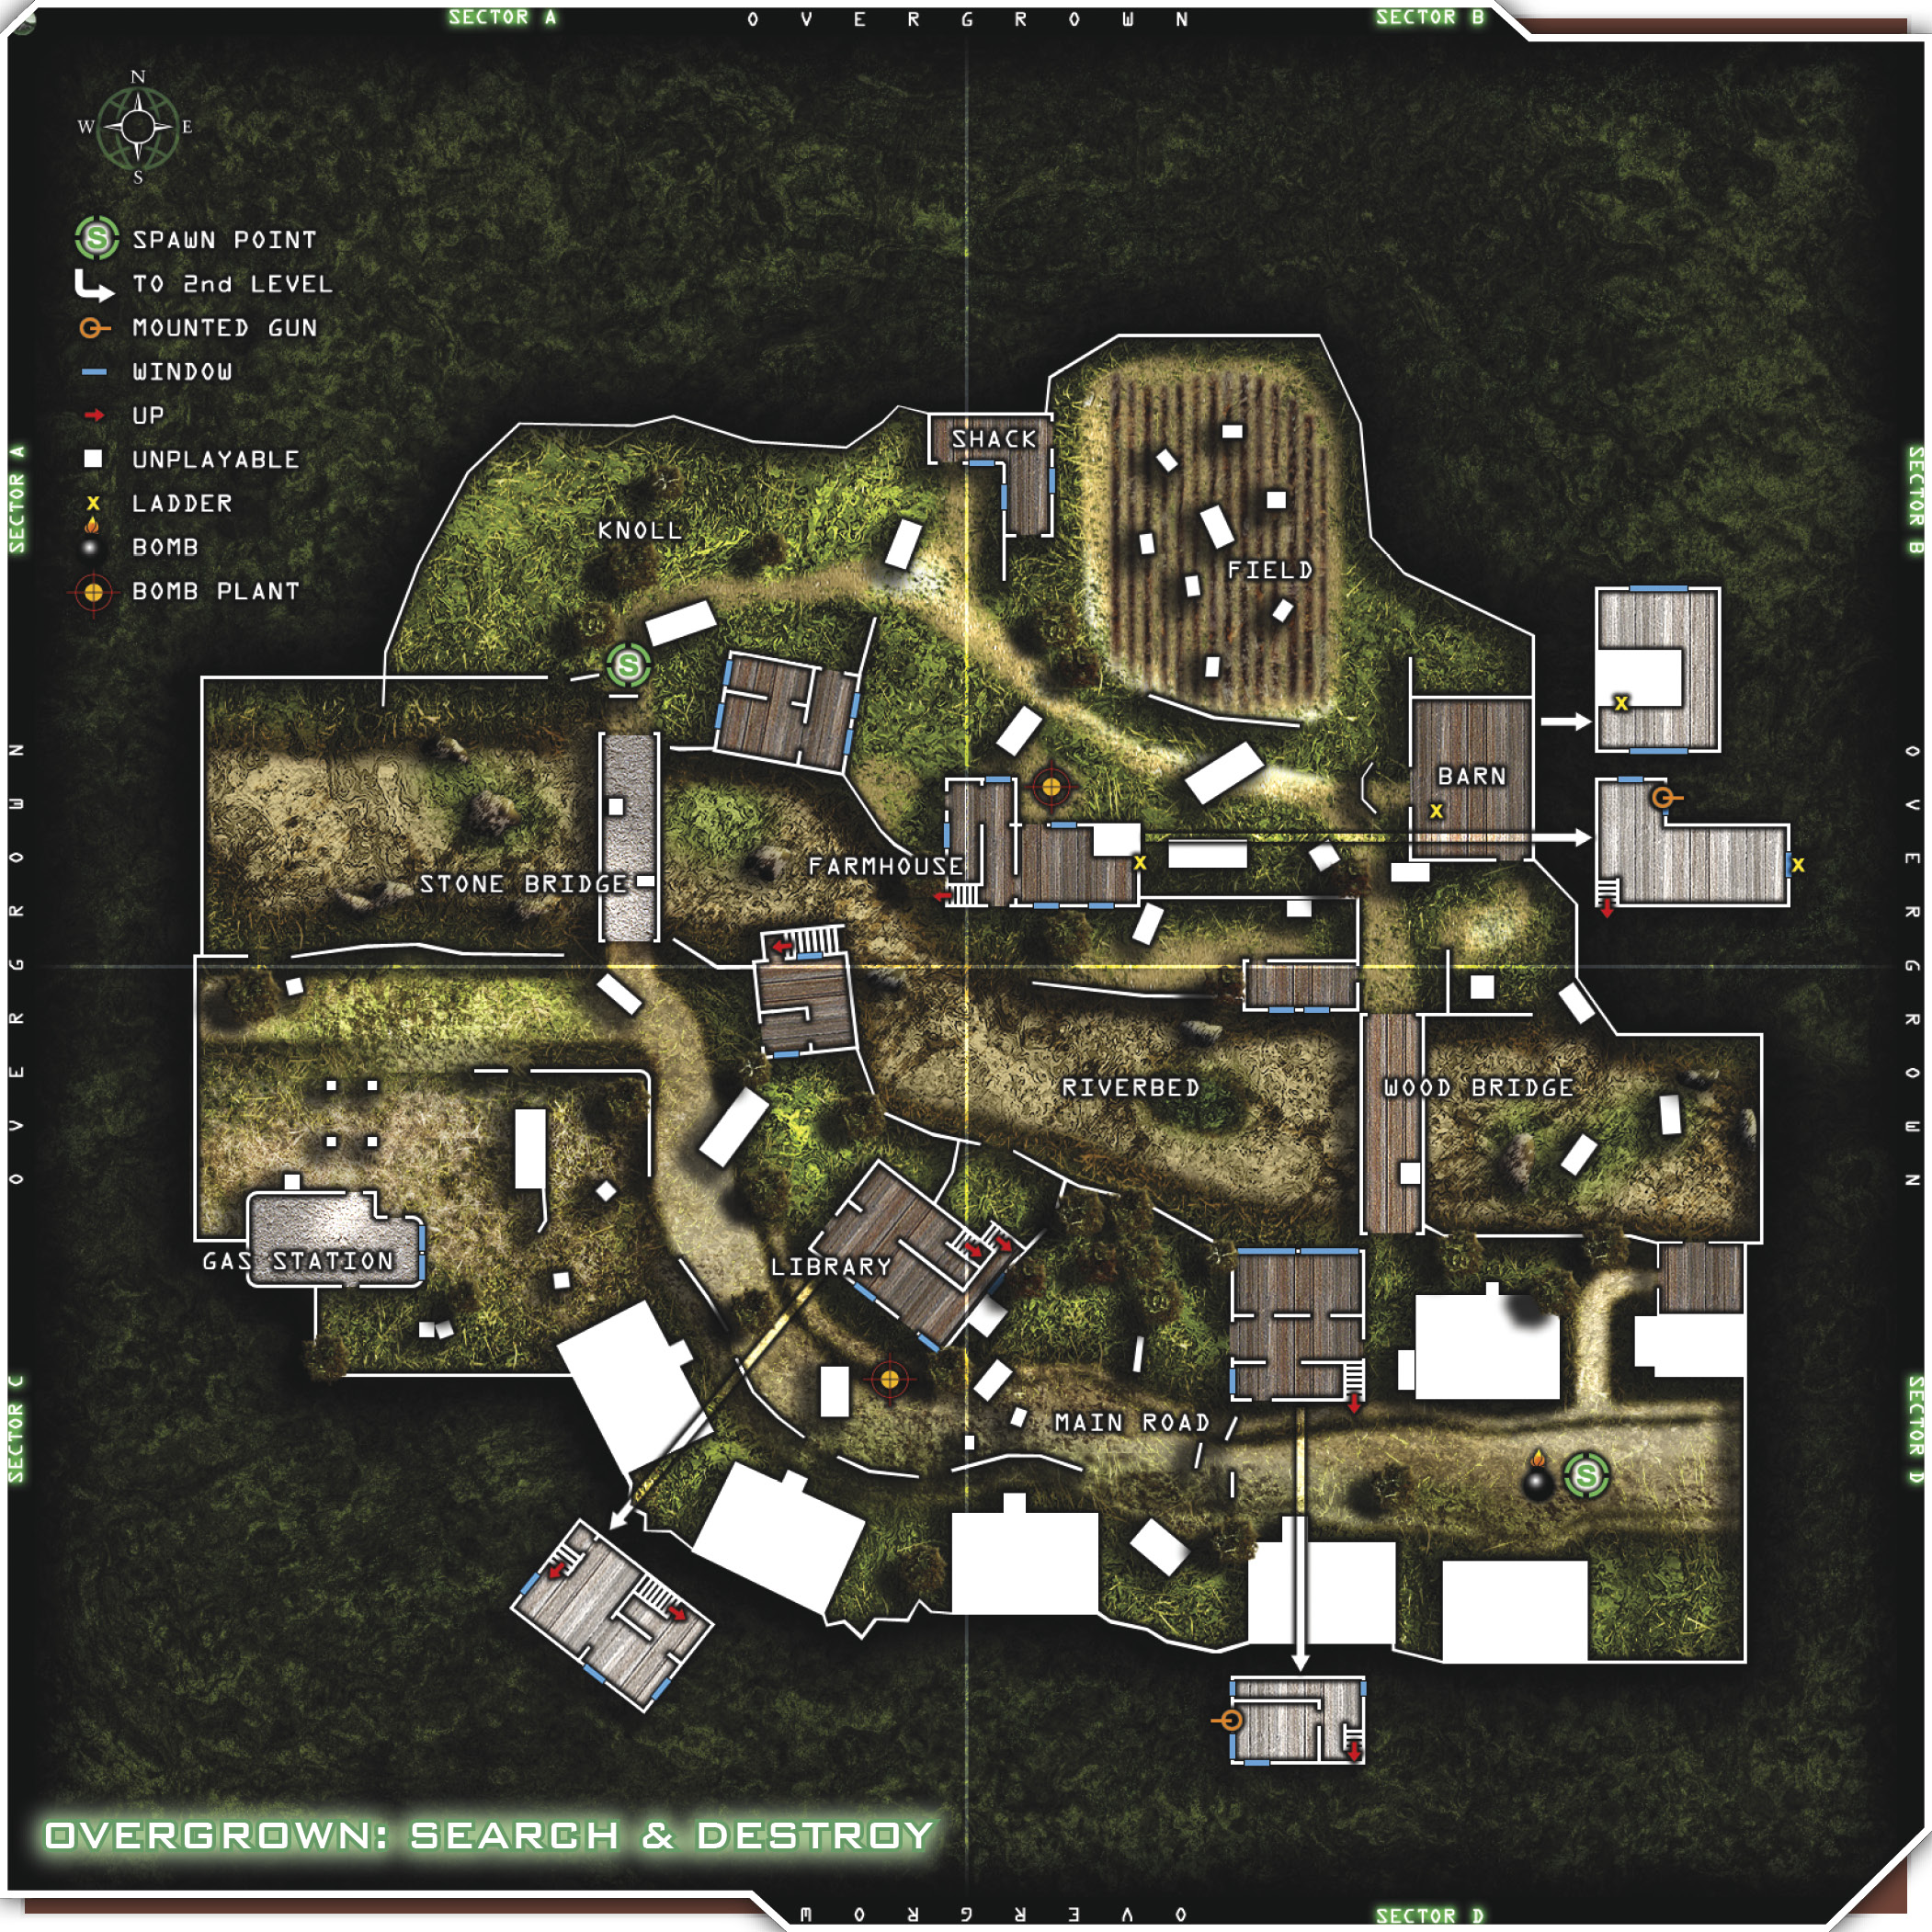
There are so many great places to hide in the Riverbed. but if you’re going to set up in there, be quick about it. Both sides of the town will be watching it for movement, and if the wrong eyes see you, you’ll probably die and reveal your prime spot. The northeast corner of the Riverbed is a great spot to hide behind a rock and pick off any runners with a silenced rifle. The south road doesn’t see too much action unless your team really gets pinned down. Even though it’s tempting to just keep running right at the enemy, make your way around via the Riverbed and come up behind them.
You can access the Riverbed in the following locations: on both sides of the Wood Bridge, the Stone bridge, the south side of the Farmhouse, the north side of the Library, just west of the Stone bridge on the south side, and the stairs from the building just southeast of the Stone bridge. These are all important locations to note when playing Overgrown.
Team Tactics
If you’re starting at the south side of the map on the east side of the street, work on getting to the Barn so you can set up shop. The enemy spawns on the far-west side of the map, on the north side of the Stone Bridge. You should be able to make it to the Barn before they can, but it’s going to be close. Move as a single unit and keep your spacing. Pop smoke at the end of the Wood Bridge and just in front of the Barn’s west side. Then move your entire team as quickly as possible through the Riverbed and into the Barn. You can set up a temporary camp here and pick off a few enemies even as they respawn.
The second level of the Barn offers a good vista of the Knoll and the Farmhouse, which is very close to the enemy spawn point. Try grenade launchers to keep them pinned in. If the Barn is working for you, stick with it for a while. Don’t wear out your welcome, though. Better to leave on your own terms than to be evicted. Decide on a relocation point and use a combination of smoke, frags, and grenade launchers.
Let’s say you want to move into the Farmhouse. It’s a nice place. It’s got an upstairs and a ladder, even a mounted machine gun. Have your whole team smoke the perimeter and the interior too. Wait for the smoke to spread and pelt the Farmhouse with grenades. Everyone should enter through a different entrance. There’s one on every side of the Farmhouse, so just breach in and take it over.
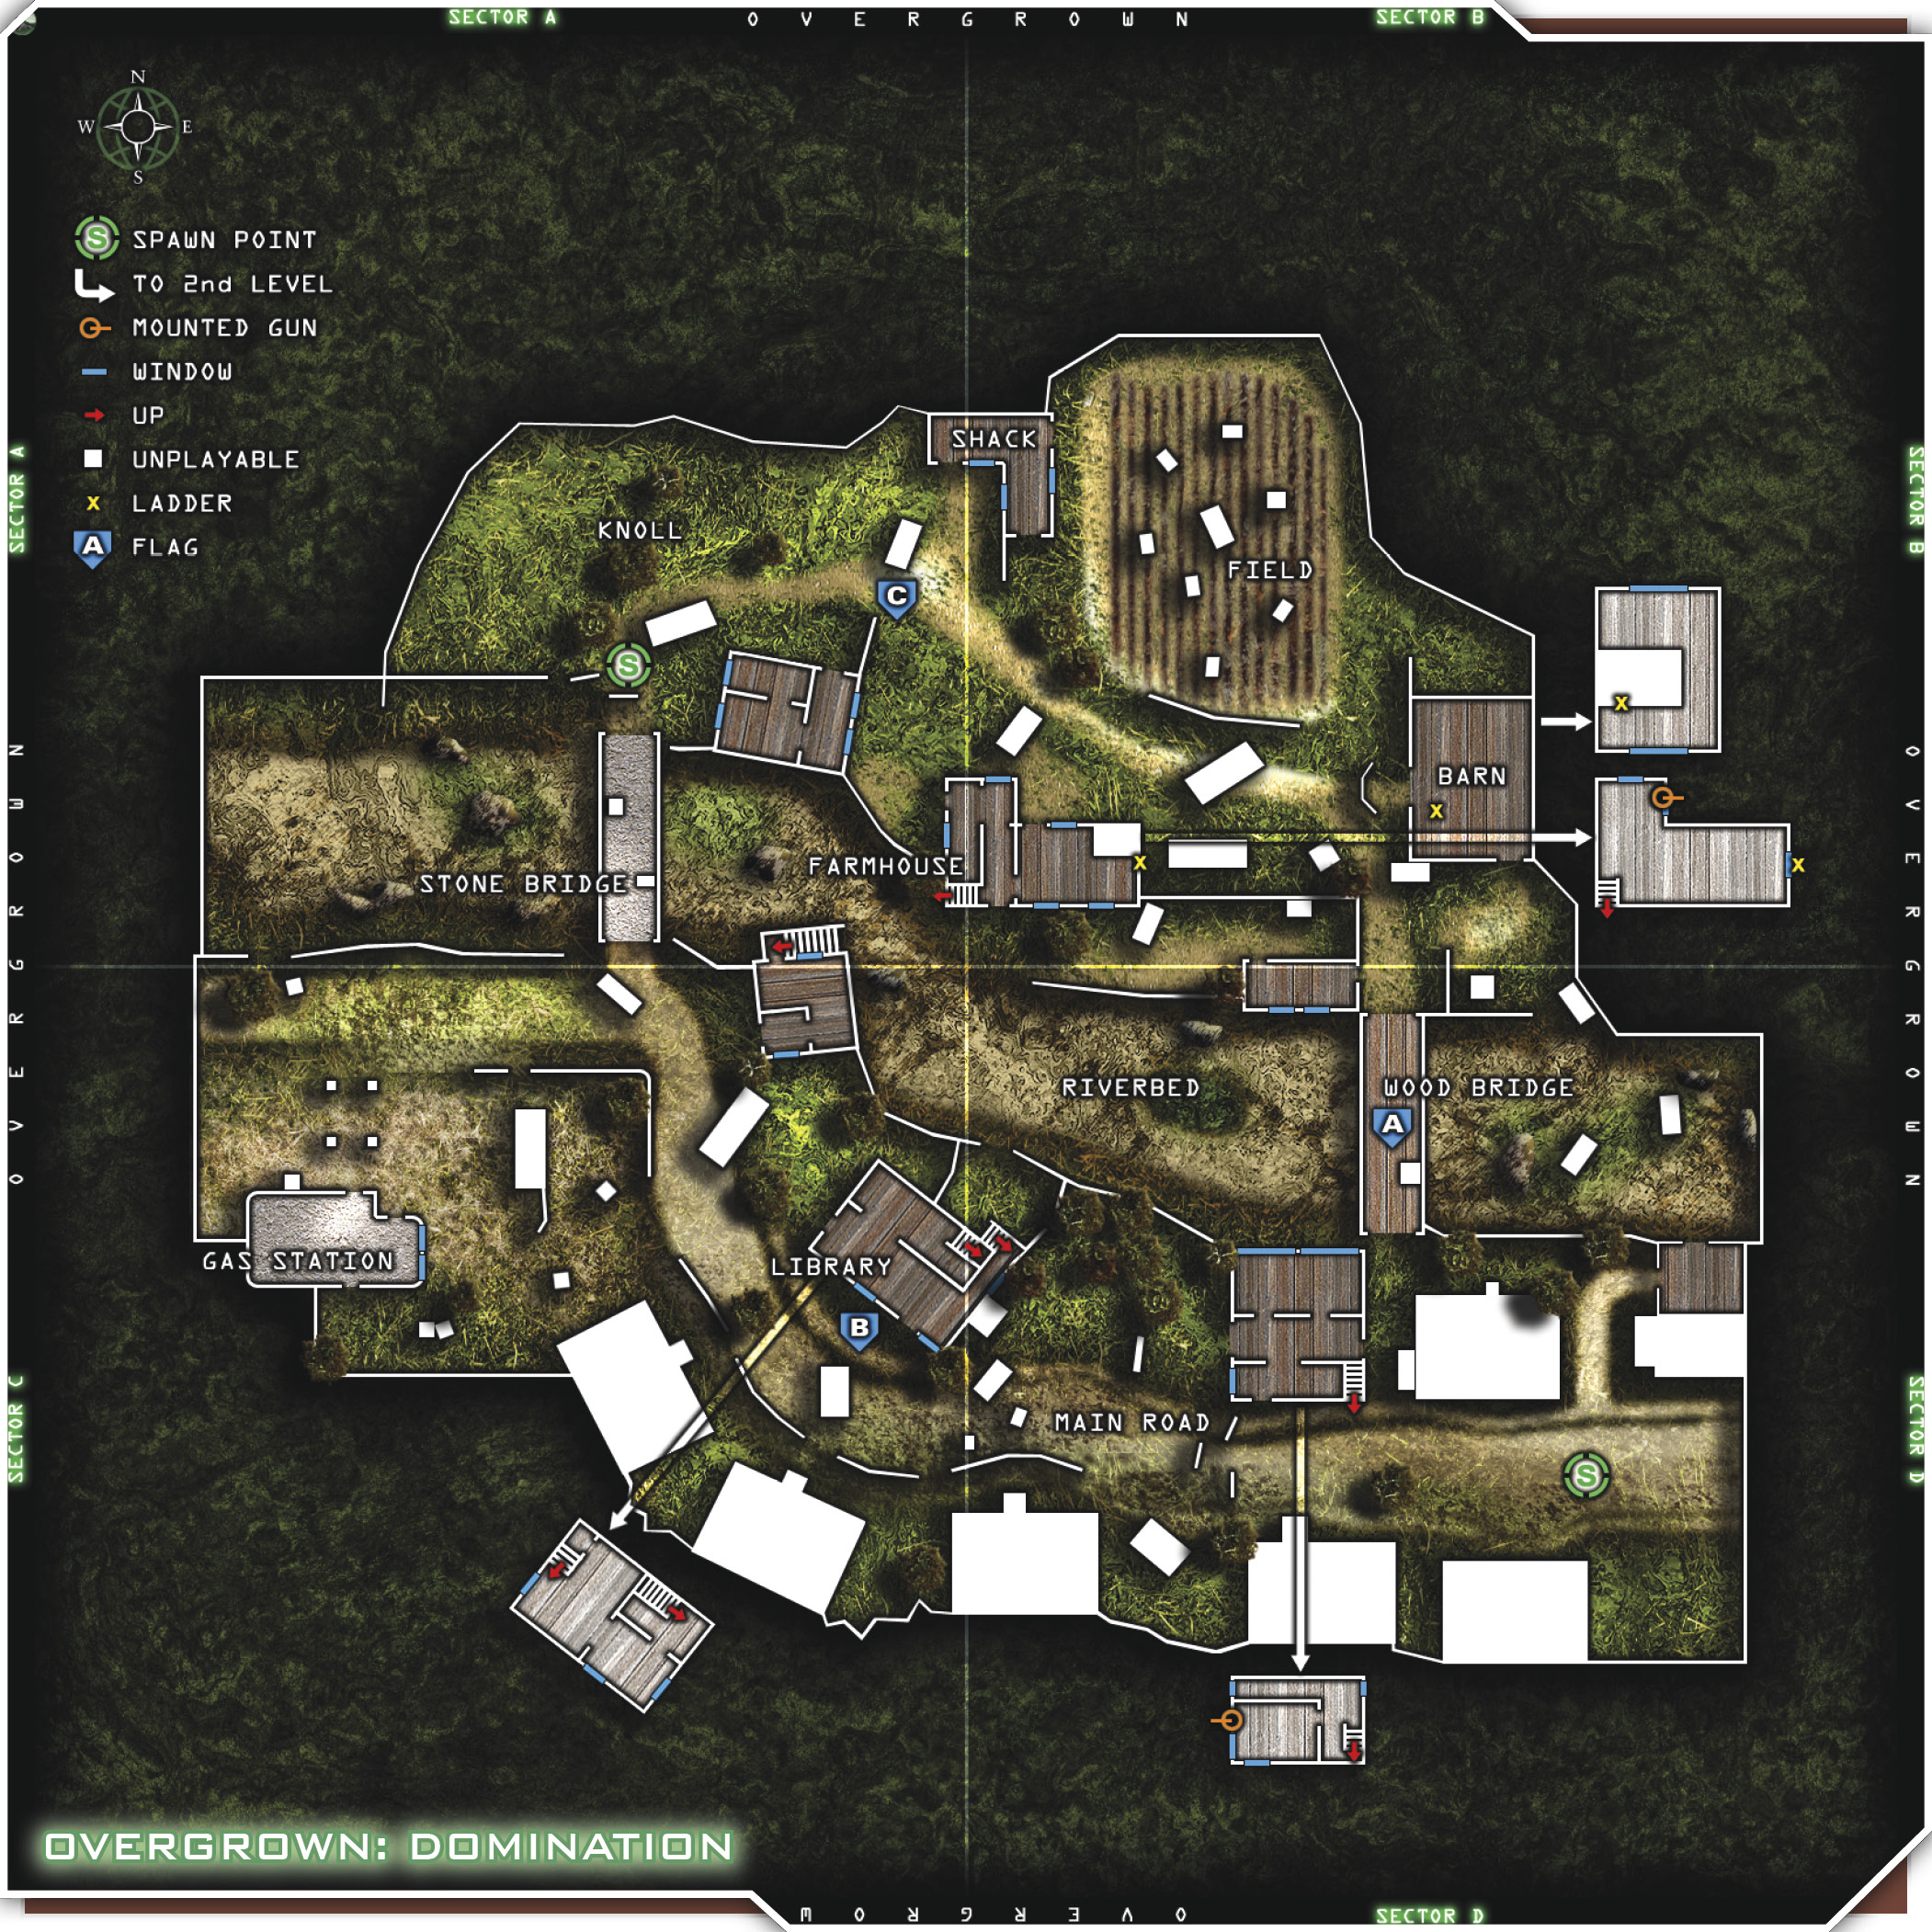
Now that you’ve got control of the Farmhouse, you’re going to be a target. There are so many entrances on the first floor that it will be difficult to defend, but set some Claymores and C-4 to help. Some of your team should be upstairs as well. It might not be a good idea to mess with the mounted machine gun, because it makes you a stationary target. But hey, it’s fun to shoot, right? Defend this place as long as it works for you, and continue to smoke and frag your way from building to building to ensure your entire team gets there in one piece.
If you want to get across the Riverbed to flank the enemy or take up position in a better location, double-smoke each bridge and the center of the Riverbed between the Library and the Farmhouse. Simultaneously smoke all three locations, and take your entire team as a single unit across the Riverbed from the Library to the Farmhouse. Head up the little path and decide if you want to either flank the enemy or commandeer a building. If you want to flank, head east and use the dumpster to get up onto the wall and then onto the roof of the Farmhouse. If you can get a good portion of your team up there to shoot down on the enemies by the north side of the Stone bridge, you’ll be in business. You can keep them pinned down here pretty well. As with all tactics, you’ll have to assess the situation in-game to decide the best plan for the job. The enemy may have moved by the time you get up on top of the Farmhouse. If your plan goes south, have another one ready. Commandeer the Farmhouse or the Barn from there. The choice is yours, but a good battlefield leader has several options at his beck and call at any given time.
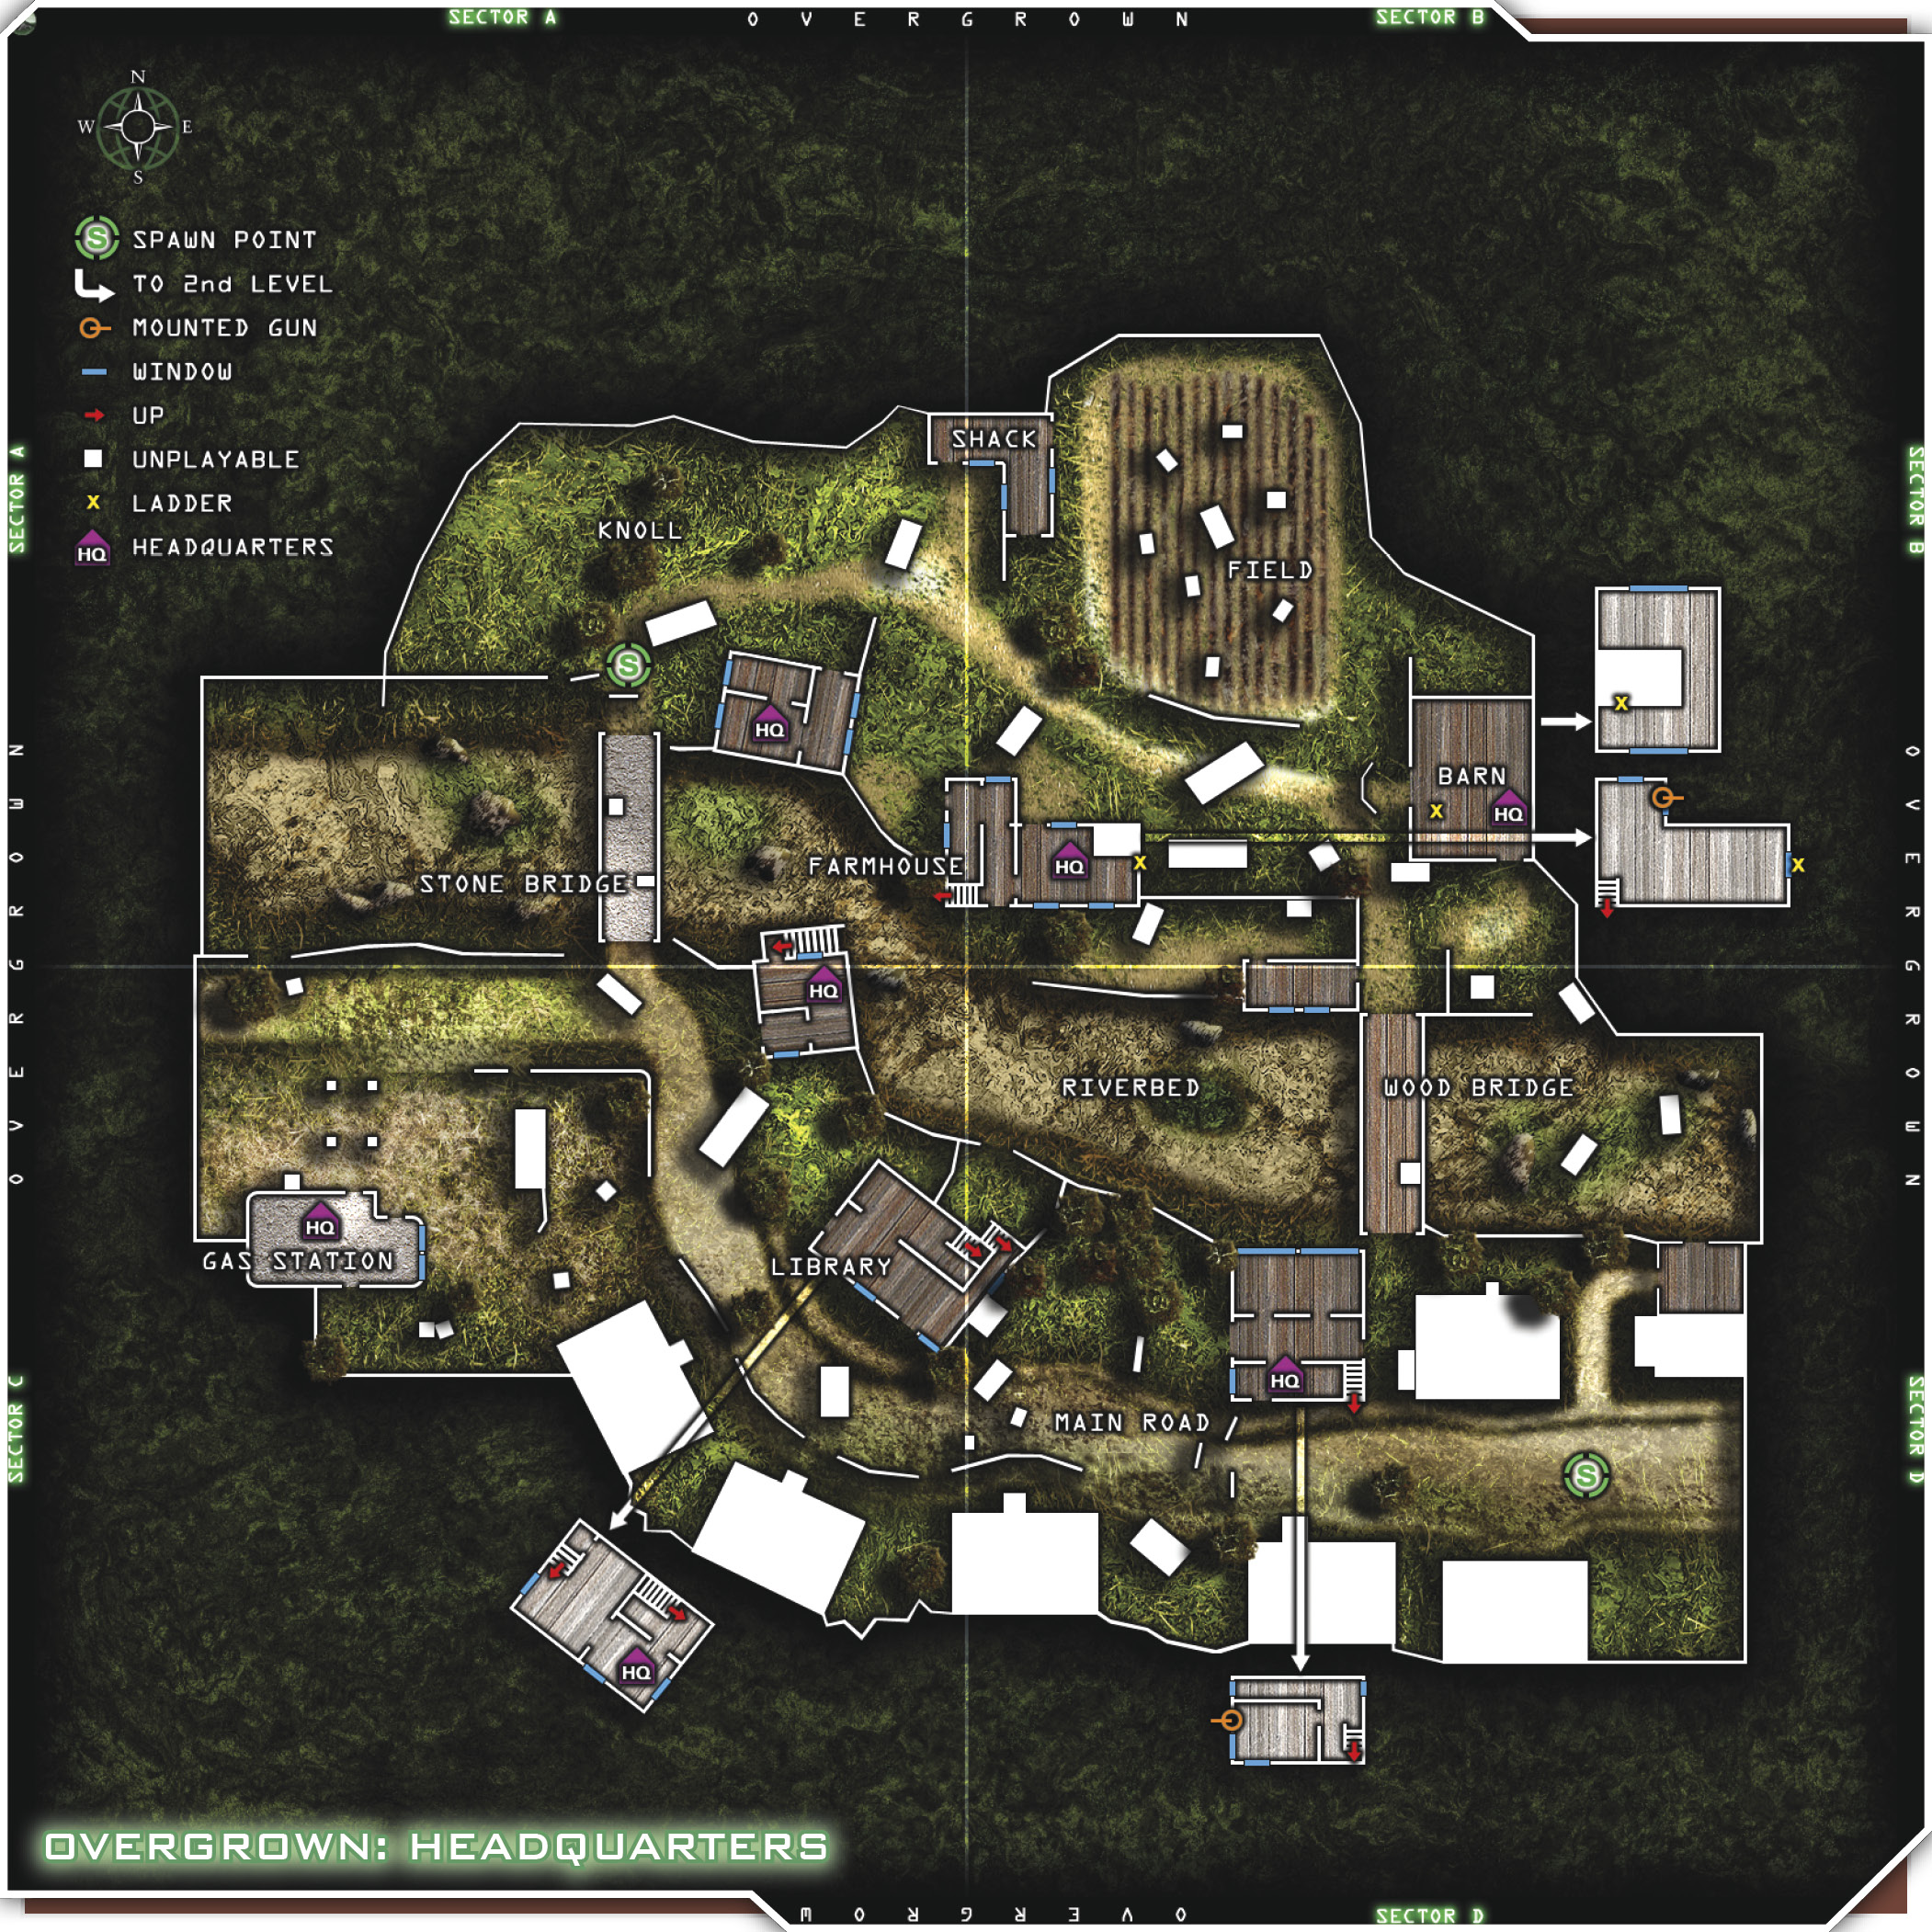
After pulling the old “smoke everything and pick a direction” trick, try less smoke the next time. Smoke the Stone Bridge and the Riverbed, and go through the Riverbed. Next round, smoke the Stone Bridge and run through the Riverbed. Always give the enemy something they’re not expecting. Try to rotate your tactics as often as possible. Camp when they think you’re going to rush, rush when they’re expecting you to camp, etc. If they don’t know what you’re doing, you take them out of their game. Keep them off-balance and keep pressing when you see them wince.