
Call of Duty: Infinite Warfare Guide Single-Player Campaign Walkthrough
Operation Dark Quarry
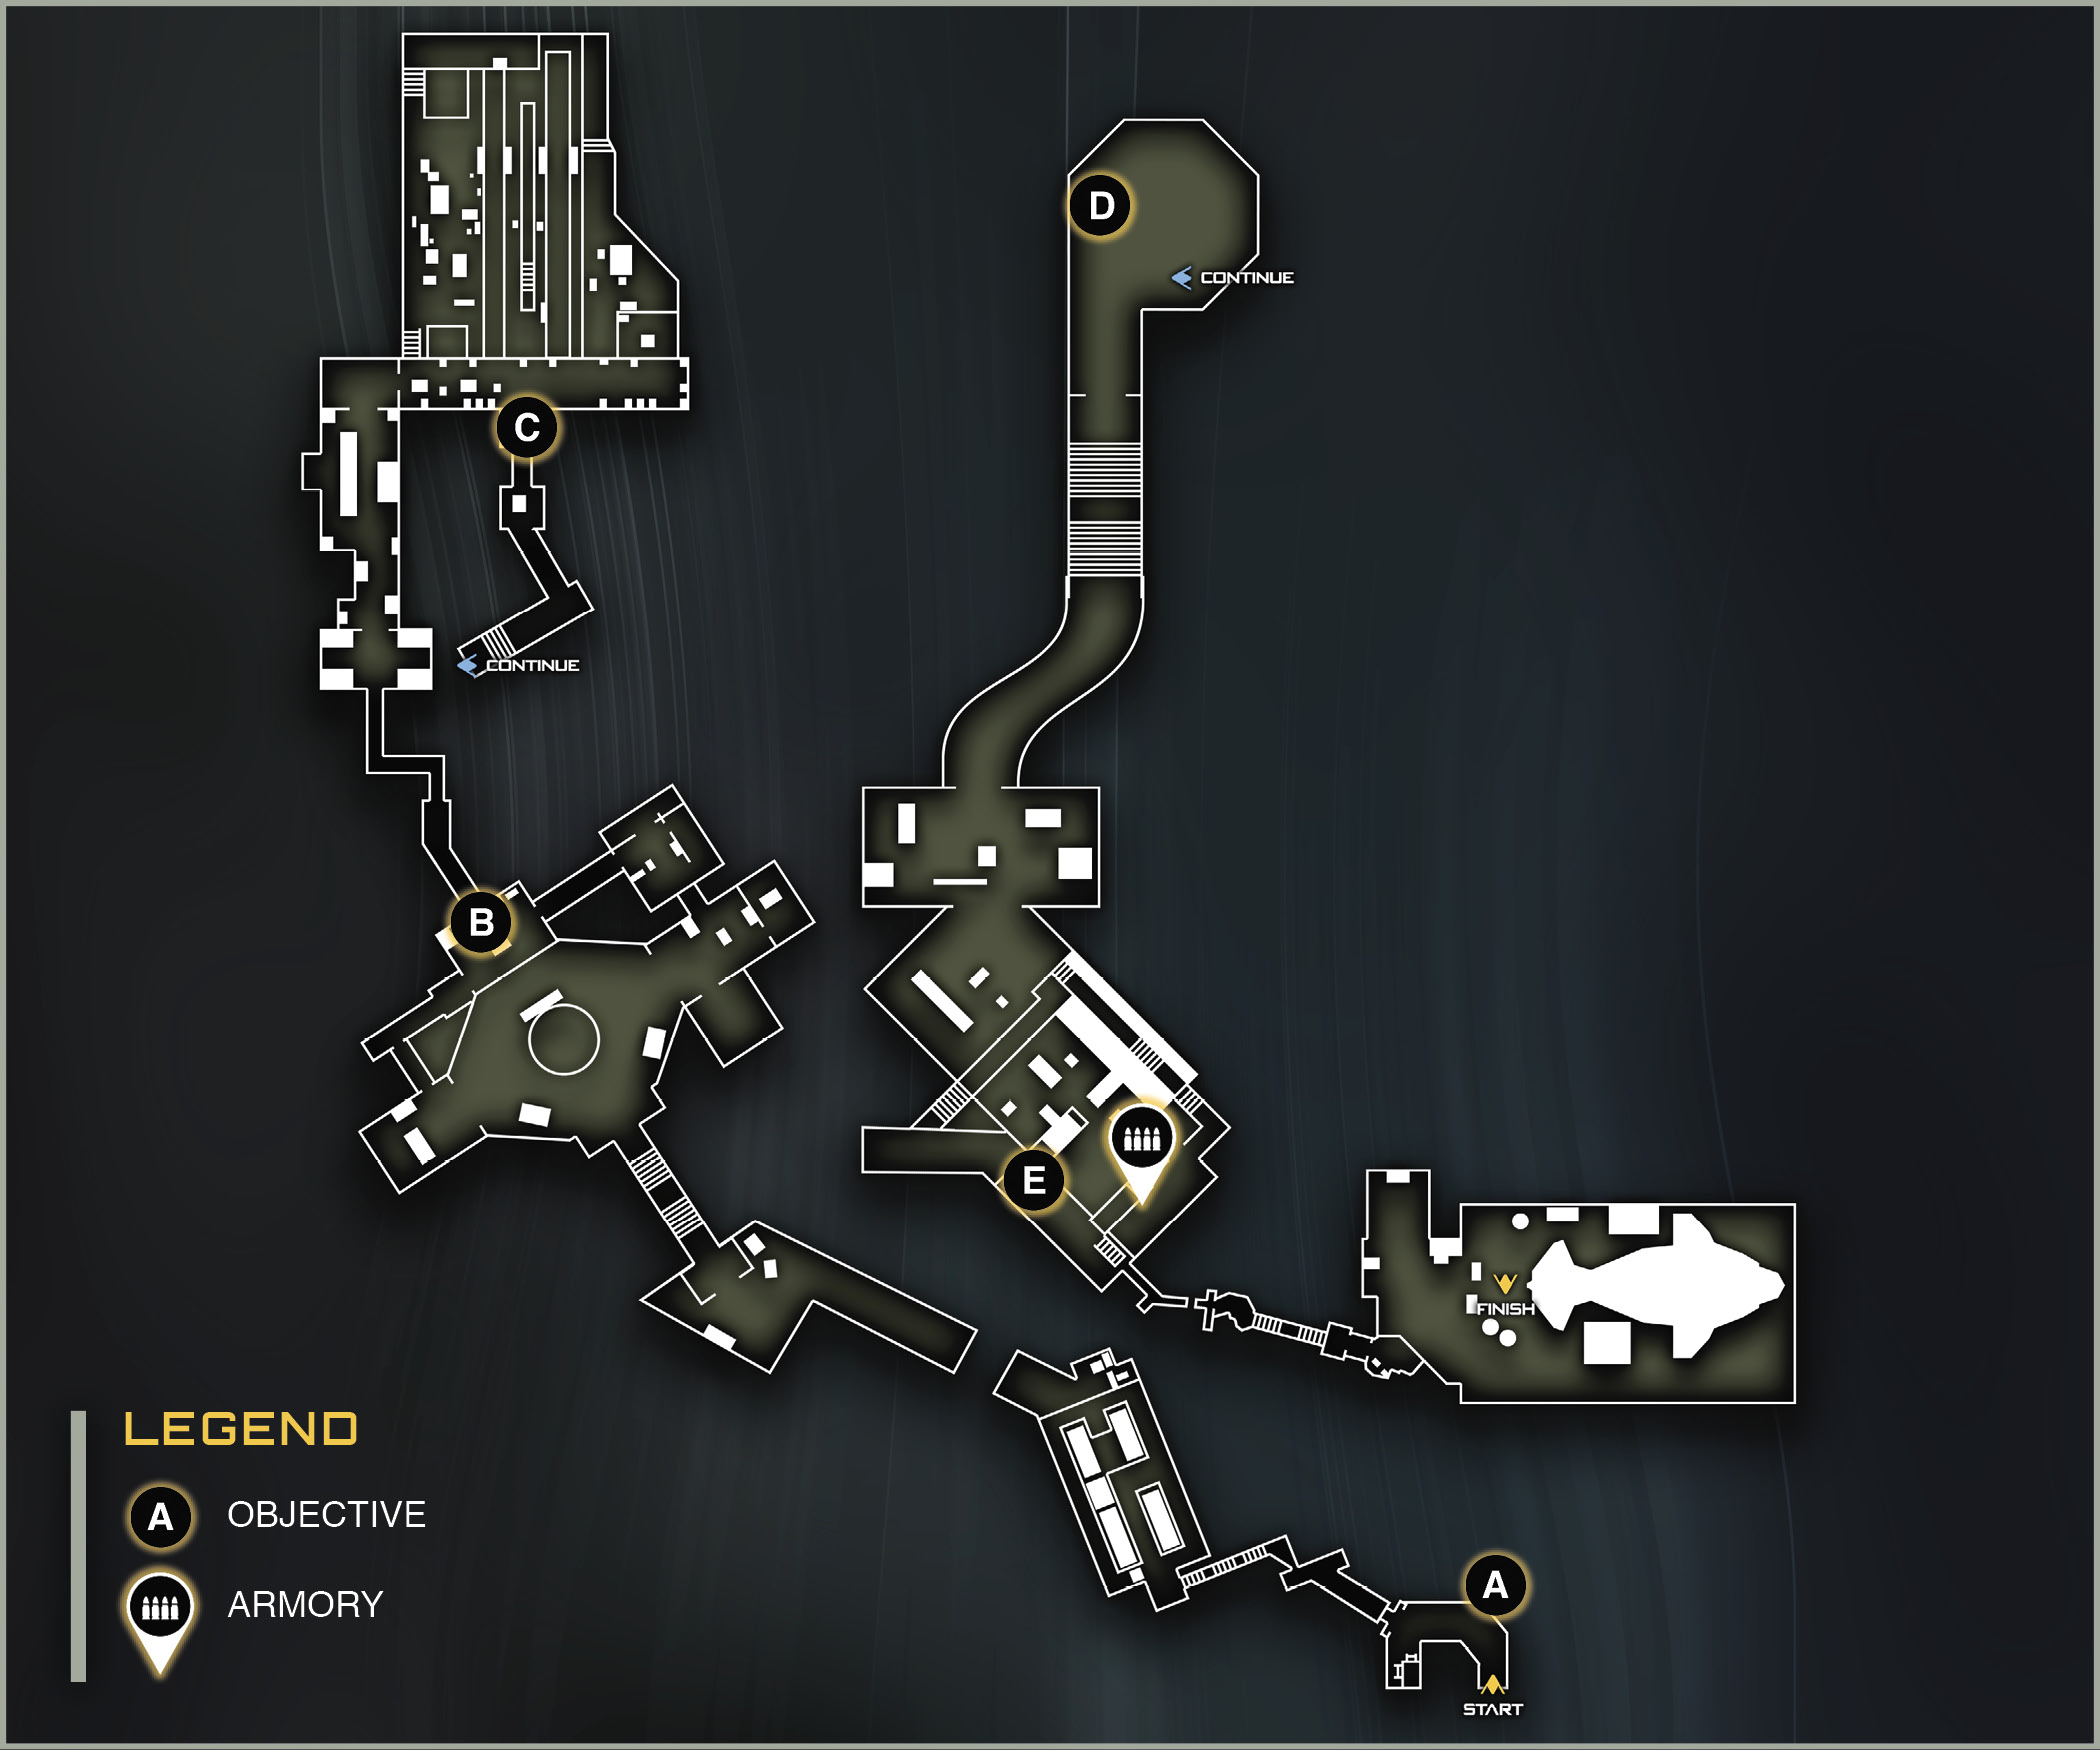
Location: Mercury
Target: UNSA Mining Colony
Mission Summary: Armed recon to assess UNSA mining facility.
Mission Description: The primary UNSA Mercury asteroid mining facility went dark, and we need to find out what happened to the facility, and report back to UNSA command.
Unlockable Perk: Quick Swap
Team:
LT Nora Salter SCAR Ground Support 
SSgt Usef Omar Marines Ground Support 
PFC Brooks Marines Ground Support 
PFC Todd Kashima Marines Ground Support |
After the Retribution arrives at Mercury, you find the asteroid that houses the mining facility is way off course. You need to get down there and stop it before it gets too close to the sun.
GRIFF’S RECOMMENDED LOADOUT:Weaponry
Primary: Type 2 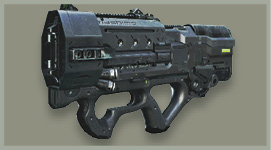
Secondary: Erad Tactical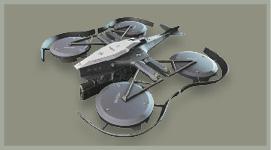
ATAD 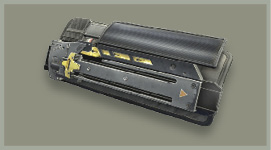
Hacking Device Lethal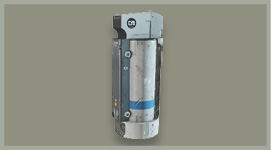
Anti-Gravity Grenade 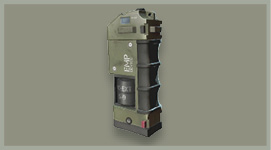
EMP Grenade |
You’re back with Staff Sergeant Omar on this mission, and he’s waiting for you inside the transport in the hangar.
Get your Booster Rig on with the Activate button and head out of the ship.
 OBJECTIVE: Locate the source of the transponder signal.
The asteroid is in a dangerous zone, too close to the sun. Throughout this level, you have to be cautious not to be caught outside when the asteroid is facing the sun. If you get too much exposure, it’s sure death.
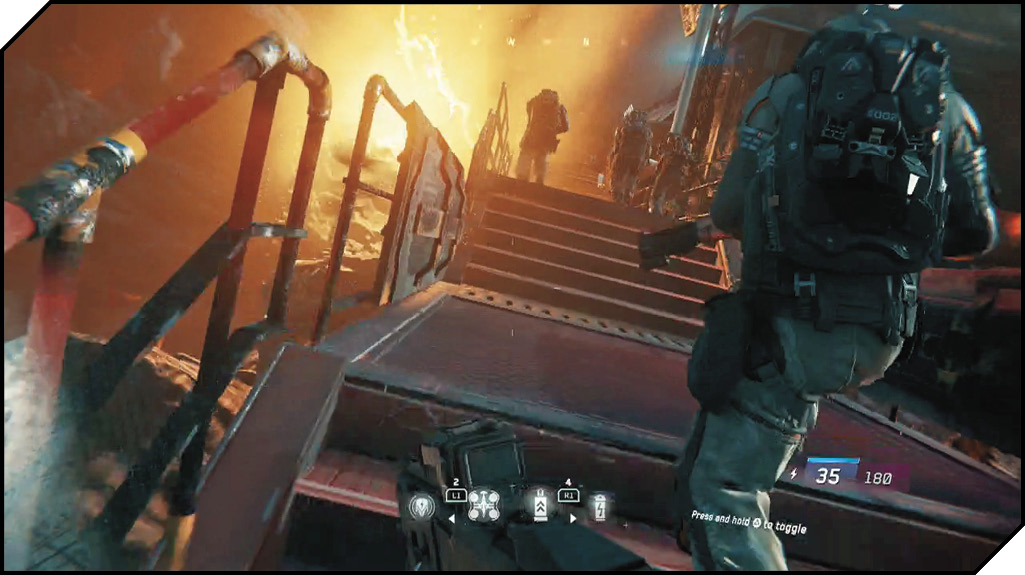
Follow your squad up, but be ready to sprint. As soon as the bay door slides up, sprint out the door and across the ruined mining walkway.
When you make it to the other side, you will be in the safety of the interior shade of the building. At the other end of the structure, Salter finds the source of the distress beacon.
 OBJECTIVE: Look for survivors.
Wait for your team to give the go and sprint out the door. You fall on the jump no matter how you take it. Recover by continuing your sprint across to the open door.
The inside door is clear. Peek or kick the door open, and follow your squad down the corridor.
The corridor leads into living quarters. It’s time to do some exploring!
There are no enemies in this area, so it’s definitely worth taking a moment to have a talk with Kashima in the armory before moving on.
You can find the exit to the area at the back near a downed electrical line and some more dead civilians. (See Objective B on the map.)
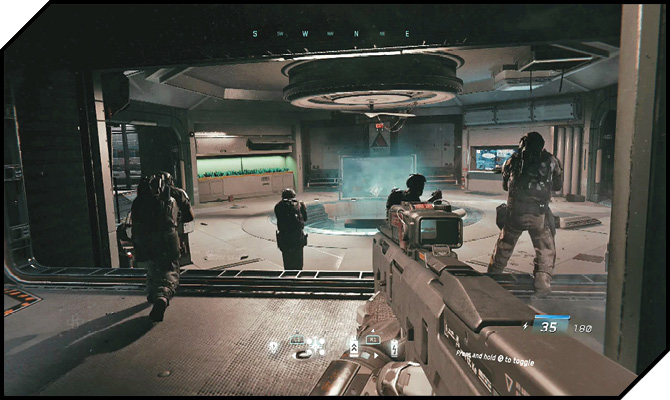
In the short hall, grab the knife out of the robot and peek through the hatch. There’s nothing here. Let Salt take the lead, but follow her closely.
When one of the worker drones grabs Salt, shoot it.
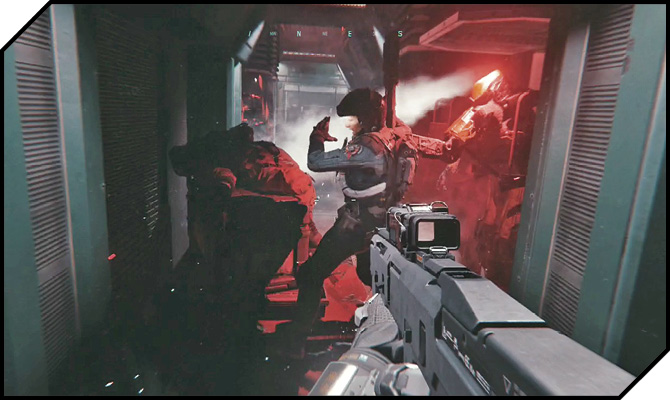
Before helping Salt open the hatch, ready your short-range weapon. As soon as you’re through the door, toss an Anti-Gravity or EMP Grenade at the robot group to ensure they can’t charge your position in full force. Use your weapon to mop up any survivors.
As your squad proceeds down the hallway, more drones attack. Hang back and pick them off from afar. You will want to save your Lethal weaponry for later battles.
 OBJECTIVE: Reach the command center.
The door behind the bots leads back outside. Watch out for a few drones guarding the entrance. When they are dead, wait for your squad to tell you it’s OK to cross the exposed area, and sprint across to the other side.
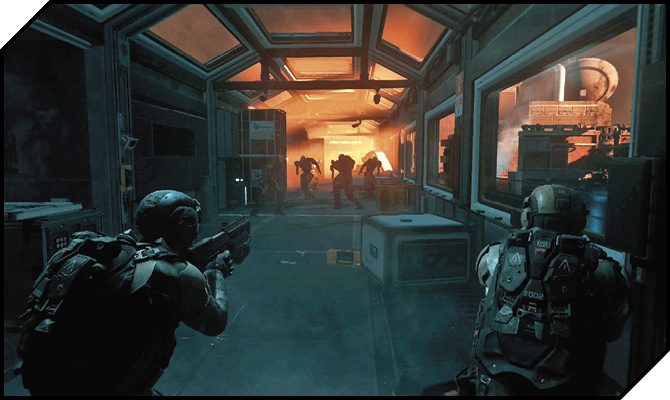
You now need to hack your way into the control room. Before initiating the remote hack, explore the area. There are a lot of goodies here to make your defense during the Remote Hack easier. Nearby boxes contain Anti-Grav Grenades. There are also ammo crates and a KBAR-32 on a dead soldier.
The real prize here, though, is the F-SpAr Torch that is sitting atop a crate on the back wall. You can’t refill this weapon, so use it only when you are overwhelmed.
Initiate the Proximity Hack on the door, and get ready for a big fight. Immediately deploy two drones to help in your defense. Stick to your primary weapon until they get close. Then switch to your short-range weapon, or, if desperate, the F-SpAr.
You can also use your Anti-Gravs at choke points to hold off large groups of enemies for extended periods of time.
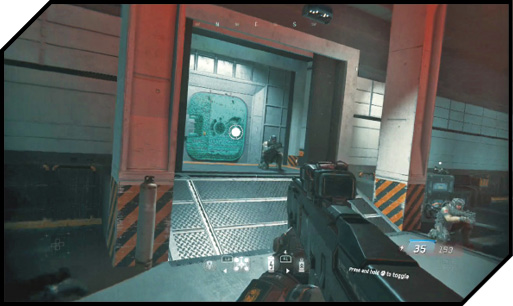
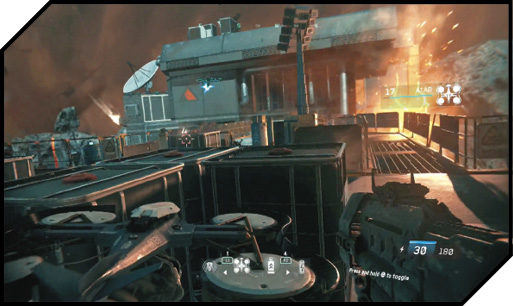
The enemies come in waves, depending on the sun’s position. When the sun is up, the enemies power up and attack in huge waves. Drones attack from both sides of the area, so stay in the doorway or use crates for cover.
Keep an eye on your Remote Hack bar, because as soon it’s finished you need to Activate the door to escape the area.
 OBJECTIVE: Reach the colonists in the mines.
Brooks and Kashima have had enough of robots. As soon as you have the door hacked open, they charge down a corridor. Sprint closely behind them.
The path leads to a control room and the first sign of survivors. Follow Omar out the room exit and Activate to open the hatch.
This is another peek door, but there are robots on the other side. Toss a grenade inside, and then kick the door to dismantle the bots.
The door leads to a huge room filled with hidden robots. Look for the crate of Hacking Charges to the left of the room’s entrance. These will be vital to your survival here.
When the initial group spawns, wait for a sniper to appear on the catwalk above. Hack the sniper, then jump down and self-destruct in a group of robots.
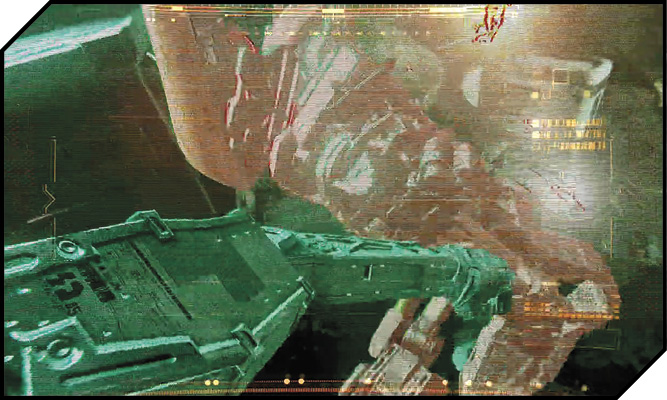
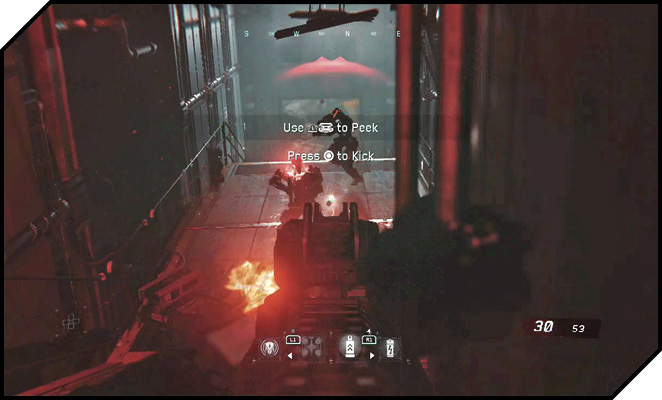
If you hang back, the robots keep spawning, so instead, charge up the stairs on your left. Have a Hacking Charge ready. As soon as robots run to attack you, hack one, and then turn him back on his mechanical compatriots. Continue this process until you’ve cleared out several of them. The robots will ignore you as long as you have hacked one of their number.
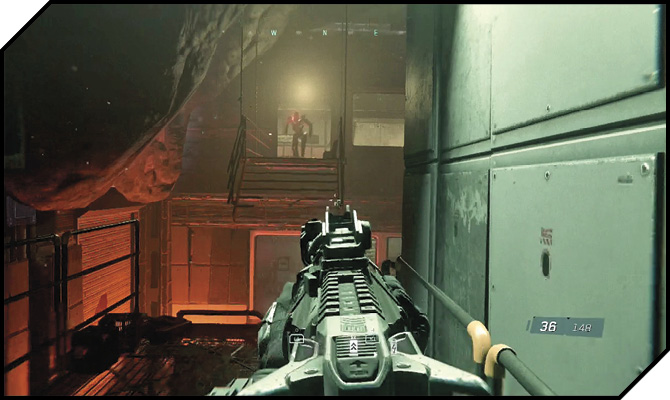
At the top of the stairs, hack the robot that charges across the gap. Use him to kill any surviving drones. When clear, boost jump over the catwalk gap and into the room on the other side. This leads through to another section of the mine and another busted catwalk. Keep an eye on Omar; he leads the way through.
Help Brooks with the door, and you’ll find the civilians you’ve been trying to rescue.
 OBJECTIVE: Evacuate the civilians.
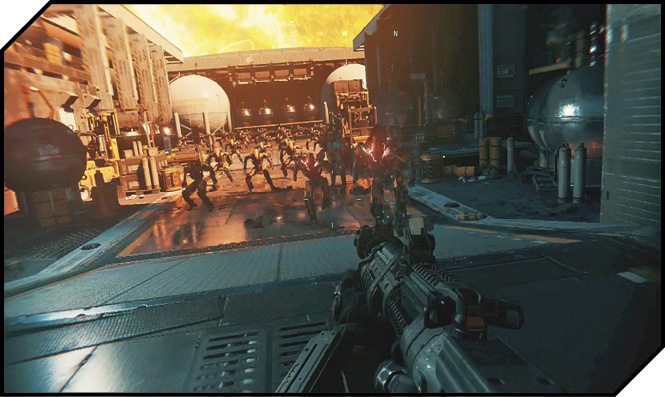
It doesn’t take long to formulate a plan. Unfortunately, an entire squad of drones stands between you and your escape. Rows of rogue robots will begin to activate when you step back outside. Use whatever Tactical and Lethal ordnance you have left to hold them back. Anti-Gravs, EMP, and Hacking Charges all work great against these enemies.
Keep an eye at the back of the area for your transport to arrive. As soon as it does, sprint for the back door to complete the level.