
Call of Duty: Infinite Warfare Guide Multiplayer Equipment
Tactical
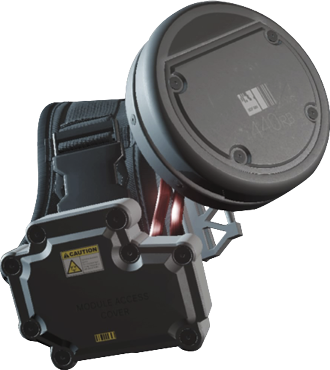
Personal Radar
Activated sensor array that tracks enemy location by .heat signature.
A powerful informational device, the Personal Radar gives you a one-shot personal scanner that pops up on your HUD.
The Personal Radar highlights enemy targets on a small display that shows rough distance and direction. You get three different range bands, and a fairly reliable directional indicator.
With practice and map knowledge, you can use this tool to quickly hunt nearby enemies, or protect yourself from an ambush.
Powerful on both aggressive and defensive builds, the Personal Radar is a useful piece of kit, and something you should be very aware of when fighting in enemy territory. Even if you’re packing stealth perks and a suppressor, you may still be visible to an enemy using this gear.
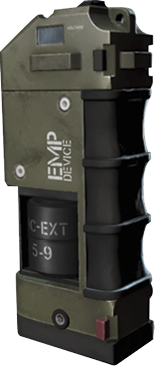
Jammer Grenade
Jams enemy minimap, movement, and aiming systems. Effective against equipment.
While the description is accurate, the Jammer Grenade also acts as a powerful stun grenade, stopping enemies in their tracks while also disrupting their HUD and minimap.
Jammers can of course be used to destroy enemy equipment, and they are quite effective when paired with the Engineer perk, giving you an easy read on enemy equipment locations so you know where to use your Jammers.
Against enemy players, Jammers work quite well for any aggressive build, and can be useful for sieging an objective as well. Enemies who don’t have the Tac Resist perk have a hard time fighting back when hit by Jammers.
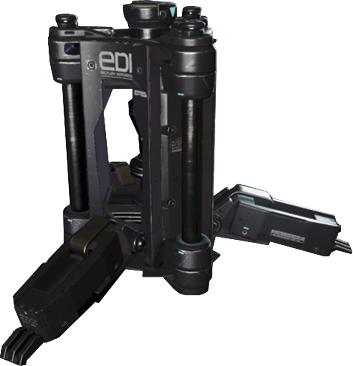
Dome Shield
Deployable electromagnetic dome that blocks projectiles.
A very useful piece of defensive equipment, the Dome Shield creates a defensive energy bubble that blocks incoming .enemy shots.
The shield is not invulnerable, and can’t stand up to sustained enemy fire, but it can buy you a precious few seconds, especially against a single shooter.
Dome Shields are extremely useful in objective modes or when you’re defending any chokepoints or interior areas, where the shield can totally block shots while active.
Keep in mind that you can’t shoot through the shield either.
The Dome Shield can be destroyed more quickly by any weapon using the FMJ or Ram Servo attachments.
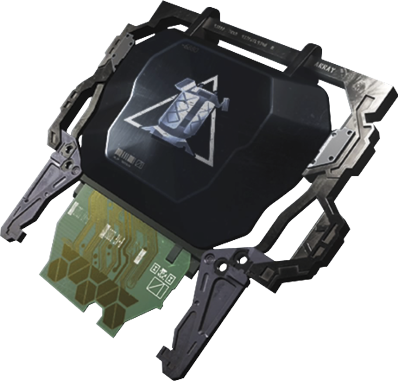
Trophy System
Deployable autonomous defense system that destroys up to two incoming explosives.
An extremely useful piece of defensive gear in objective modes, the Trophy System destroys any two incoming projectiles.
This includes all forms of grenades, and can affect some Rig supers or even scorestreaks if they make use of projectile weapons.
The Trophy is not a foolproof tool, however. Nearby explosions can still be fatal, and a dedicated bombardment by an enemy team can quickly overwhelm a lone Trophy.
That warning aside, Trophies and Smoke Grenades are still useful objective-capturing tools.
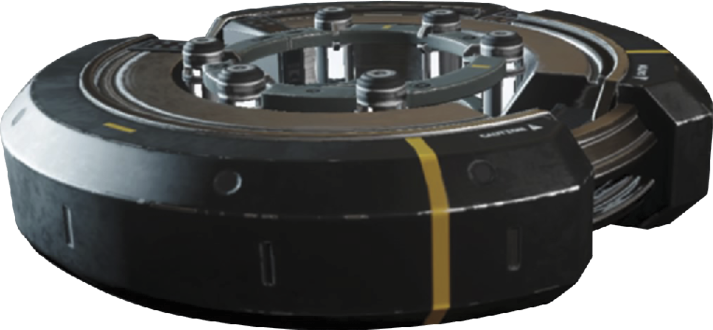
Cryo Mine
Magnetic mine that releases a super-coolant cloud, hindering movement systems.
Cryo Mines are automated defensive proximity mines that detonate and slow enemies who get near them.
You can stick the mines to any surface, and the detonation removes the ability for your enemy to use their Rig thrusters to jump, as well as slowing them considerably.
You can make use of carefully placed Cryo Mines to guard your back, block off narrow approaches, provide early warning, or aid in the defense of an objective.
Tac Resist users can almost ignore the slowing effect from this mine, so don’t rely on them to protect you completely, even if they are well placed.
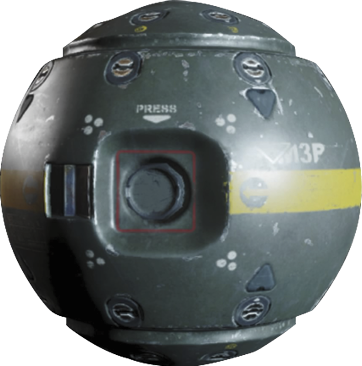
Smoke Grenade
Creates a smoke screen that blocks vision and automated targeting systems.
Smoke Grenades are extremely useful in objective modes, covering lines of sight and protecting you from hostile eyes while you’re moving through open ground.
They are especially critical in objective modes for securing objectives that have limited (or no) cover.
On top of their basic effect of blocking enemy sight lines, Smoke Grenades also provide protection against hostile automated AI targeting.
Enemy Sentries, Wardens, Vultures, and even the mighty C8 on autopilot won’t target you inside smoke. The smoke screen essentially acts as a localized form of the Blind Eye perk.
You can also pair Smoke Grenades with the Trojan or Thermal sights, giving you the ability to pick out enemies through the haze.
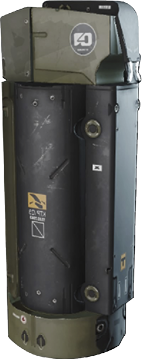
Blackout Grenade
Stuns enemies, causing vision and hearing loss.
- Stuns enemies, causing vision and hearing loss.
The Blackout Grenade is sort of the inverse of a flashbang. Instead of blinding with white light, the Blackout Grenade causes vision loss with darkness.
Getting hit with a Blackout Grenade is extremely disorienting. You may wish to experiment with this and the Jammer Grenade in a private match so you can see just how potent the disorientation and stunning effects are firsthand.
Blackout Grenades are excellent for assaulting entrenched enemy positions, and they can be very powerful in objective modes to aid in securing or assaulting an objective in unfavorable terrain.
The Tac Resist perk almost completely removes the blinding effects of this grenade.
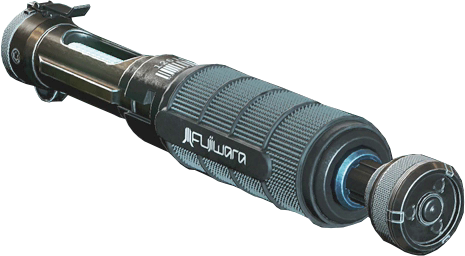
Nano Shot
Activated combat stimulant that super-charges .health regeneration.
- Stuns enemies, causing vision and hearing loss.
An unusual piece of tactical gear, the Nano Shot isn’t a weapon. Instead, it’s a personal medical stimulant that can be used to kick-start your health regeneration.
Activation of the shot is fast, and the healing effect is powerful. If you are damaged almost to the point of death, you can be back in the fight nearly instantly.
Keep in mind that as fast as the shot is, it won’t save you in active combat, but it can be useful for playing cover games with enemies. Step out, fire, take a hit, step back, heal, and then return fire.
In general, re-engaging an enemy who has a bead on you when you are back behind cover is a bad idea, but using the shot and then exiting cover from a different direction (or taking to the air) can give you the win, as you emerge undamaged and you know the likely position of your opponent.
Making effective use of the shot is difficult, so if you plan to use it, take two and force yourself to use them constantly over several matches (even take the Resupply Rig trait). Doing so will give you a good feel for when the time is right to use the shot, and give you the instinct to perform the cover dance and heal without thinking about it.