Left 4 Dead 2 Guide Walkthrough The Parish
Urban Flight
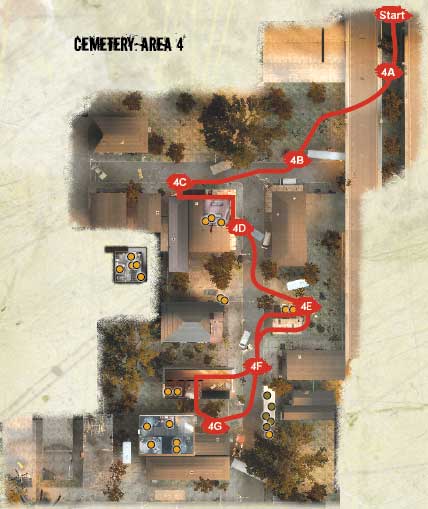
Knee-Deep in the Undead: Cemetery Overview
Farther into the city, the zombie apocalypse has been going on for days, and the urban streets are filled with the ravenous undead. After a couple of altercations under the freeway, you emerge and seek a way around a bus that is blocking your path.
You then weave through different houses, watching out for ambushes in the homes’ dark recesses, before reaching a sewer hole that leads directly into an impound car lot. Try to sneak out to a ladder leading up to the freeway, which is promptly bombed by military jets.
This forces you to take in some additional sights, such as the Cemetery of Saint Roche (an apt historical figure, given his role during the bubonic plague 700 years ago). But you’re not here for history lessons—get to the Safe Room inside the Double Gallery house after your tour of tombs is over.
+ The urban streets are an elongated maze, but the building interiors offer decent protection (as you know where attacks will arrive from), which allows you to heal.
+ Although many impounded cars are alarmed, if you sheath your weapons (so you don’t shoot any vehicles) and sprint out in a straight line, you can avoid combat completely.
+ The maze is tricky to navigate unless you use the obelisk in the middle of the maze as a landmark and the position of the sun.
- Certain sections of this map (4D, 5A, 5D, and 6B) have one-way drops. Your team must descend at the same time or else stragglers face death at the claws of Special Infected.
- Special Infected love to knock you into cars inside the impound lot, and the resulting Horde can easily overwhelm you. Flee as fast as you can.
- The path of the cemetery changes each time you play, which forces you to attempt a different route each time. Don’t get lost!
Under the Concrete Overpass
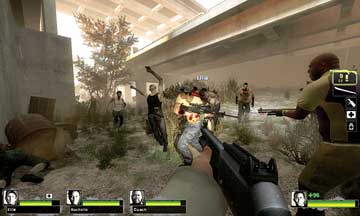
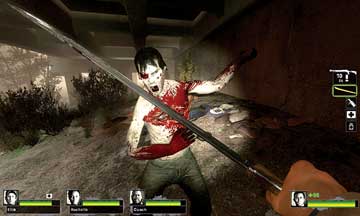
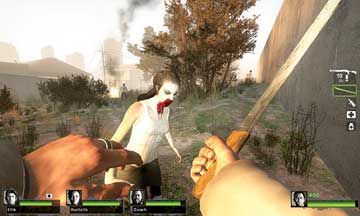
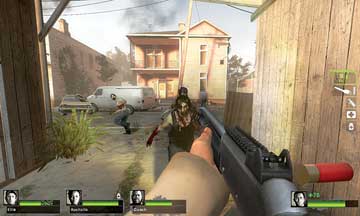
Once the healing and planning are complete, open the Safe Room exit door and step out under the massive concrete overpass, but concentrate on the grassy earth in front of you (picture 1). Edge forward after killing the initial waves of foes, then check the sleeping bags and refuse for items as you slice or blast additional enemies (picture 2).
Start
Clusters of refuse sometimes have items sitting near them, so check each pile of trash you see, as well as the concrete pillars for possible ambushes.
4A
Terror at the Tow-Away Zone
The grassy ground ends at a wall ahead of you, so look to the right for a campfire (picture 1) and head out from under the massive freeway structure and onto a small hillock. Switch your weapons from Melee to something with a bit of range.
You can spread out as you check the immediate area, watching for possible Infected incursions from the freeway above. These can be dealt with using a projectile. Move forward toward the mesh barriers and pray that something massive and lumbering doesn’t appear.
4B
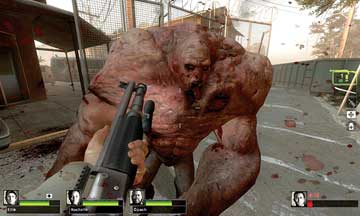
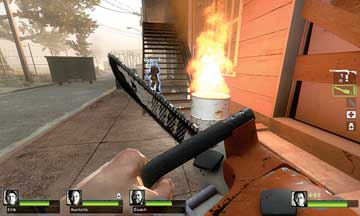
If a Special enemy does rear its ugly, pustule-filled head (picture 2), you are encouraged to back away and use the large grassy space to strafe and take down the freak. Inspect the ground near the barrier; there’s a sealed store to the left, but an open one on the right under some steps and a balcony. Head inside to secure items and then move to the flaming barrel at the bottom of the steps (picture 3) and ascend.
4C
A Fair Amount of Fuss at the Blue Bus
4D
Climb the stairs, and quickly dive into the top floor of the building whose downstairs you just checked out. Up here are more items and possibly some Infected to take down, which is better than being ambushed by them from behind.
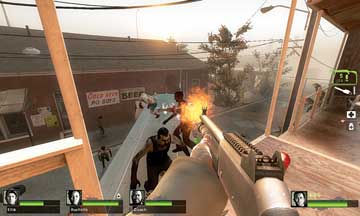
Have one or two of your team waiting inside, but looking outside to take down intruders. Exit and move around the balcony to the gap in the railing, so that you’re about to step onto a bus with a blue roof (as shown).
This location can be extremely problematic as Special Infected love to try to split up the team as you blast foes, step onto the bus roof, and move down to the road on the right. The problem lies with the bus itself: Once you drop down, you can’t retrace your steps. With this in mind, everyone should blast enemies from the balcony first.
There are good views here, and one of you can check behind for rear attacks. Now everyone, in unison, must drop onto the bus roof and then off to the right to land on the ground, so that there are no stragglers for the Special Infected to target.
There Goes the Neighborhood
Move along the middle of the road, making sure your team is periodically checking left, right, behind, and above your usual eye level for incoming foes. At the fence that cut across the road, you’re forced to the left into an overgrown backyard with a double garage.
4E
Head through either garage (picture 1) to rejoin the road, checking for items and blasting at foes as you go. Pass the pink flamingo house, then the white van, and optionally check the trailer ahead and slightly left for items, including a possible Propane Tank by the trailer hitch.
4F
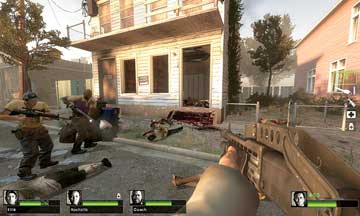
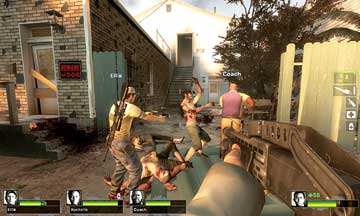
A jack-knifed big rig blocks the way and forces you right, either into the remains of a historic duplex (picture 2) where items can be found among the burned-out stud walls, or into another unkept garden with a pink flamingo, a “Beware of Dog” sign, and steps leading up into the top floor of a white wooden house (picture 3).
4G
The house interior has two ambush spots as you walk in (on either side of the entrance doorway), so have one teammate rush in ahead, while the others check left and right in unison. Your lead teammate (ideally armed with a Melee Weapon) should then pass the kitchenette on the right and check the rear rooms to locate the hole in the back of the master bedroom, which provides a way forward (picture 4).