
Left 4 Dead 2 Guide Walkthrough The Parish
Slaughter in the Quarter
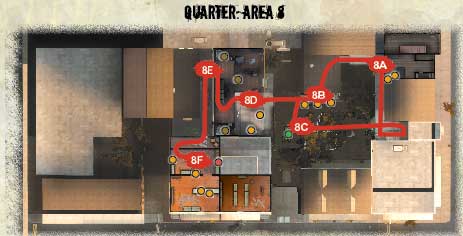
Death Trap Tractor
Before stepping onto the balcony (8A), be sure you’ve reloaded your weaponry and have a full complement of projectiles and health for this death trap. The exterior courtyard, surrounded by buildings in various states of disrepair, has no current exits.
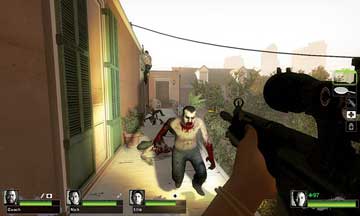
8A
The building with the skeletal roof on the opposite side is where you need to be, but the gap across is too long to jump. Fortunately (and this term is used loosely), there’s a green tractor on the ground (picture 2) with a carnival float attached to it.
If one of you can start the tractor, it can trundle across the courtyard, stopping where the float can be used as a stepping stone. There’s only one drawback—the noise the tractor makes alerts the Horde!
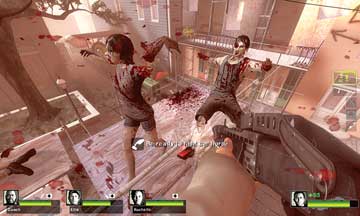
8B
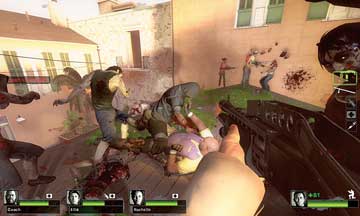
After some hurried planning, elect a person to go on “point,” ideally someone with Adrenaline. This teammate should drop down, either via the low roof house extension (8B), or the stairs to the left. Inject Adrenaline if there are already too many enemies to fight through, and use a Melee Weapon to clear the path to the tractor (picture 3).
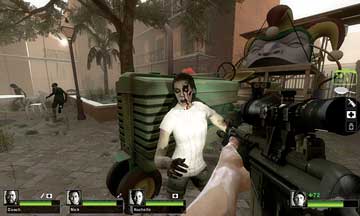
8C
Flick the switch on the left side of the tractor, and then retreat across the courtyard (picture 4) to the stairs (picture 5). You definitely do not want to be on the ground as the Horde arrives. Backpedal to the stairs and back to the balcony.
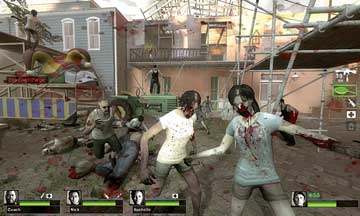
While the “point person” attempts this plan, the rest of the team should stand on the balcony or low extension and provide covering fire. But also watch for foes heading in from the building you came from (7G), the rooftops, the stairs, and clambering over the balcony railings.
When the Horde arrives, continue to battle on the upper areas of the courtyard, optionally moving to the low house extension (picture 6) that offers better strafing. Have a teammate guard each side to minimize the Horde overwhelming you, and watch intently for Special Infected.
Projectiles are another way to maximize success potential; make sure you lob in a couple of Pipe Bombs (picture 7), Bile Bomb, and (to a lesser extent) Molotovs during this altercation. If a teammate falls or is dragged to the ground below, they should run and take a defensive position on the stairs on the same side as the balcony before ascending back to the team.
When the float finally moves into position, step off the extension roof, onto the wooden scaffolding, and dash across to the skeletal building (picture 8).
Escape!
8D
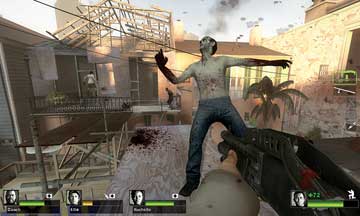
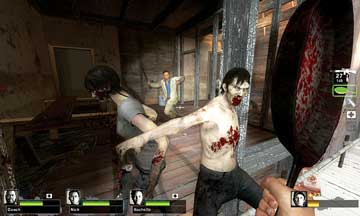
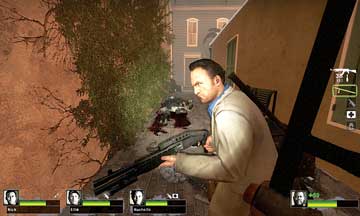
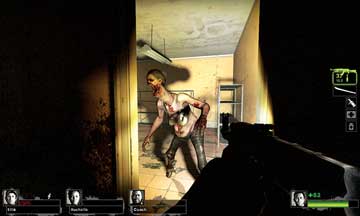
Dart across the planks over the float and into the half-ruined row house. Employ a Melee Weapon to deal with the remains of the Horde (picture 1). Expect a wave of additional foes to waylay you from the inside of this building (picture 2) as you provide covering fire for the teammates still milling about in the courtyard.
8D
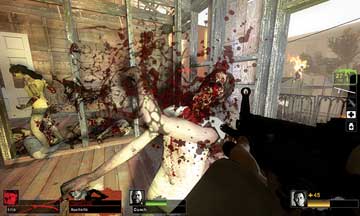
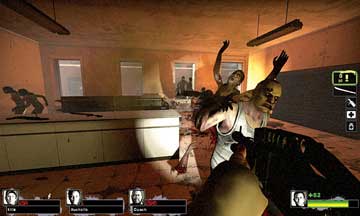
Use a mixture of threats and foul language to coax them across and into the building, then search the interior rooms while watching for enemy ambushes (especially the Special Infected). Descend the stairs (picture 3) and step outside into a long, narrow alleyway (picture 4).
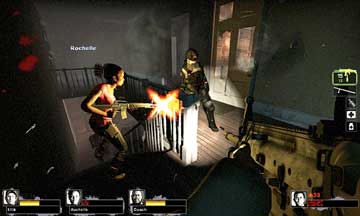
If there are no Chargers present, run down the alley into the doorway at the far end. Watch out for an ambush on your right, or from above.
Everything Must Go!
Move into a narrow corridor at the back of a ransacked store, move to a second doorway (picture 1) and deal with any threats, hideous or Common. Then step into this area and checking the First Aid Station and shelves for items.
Only do this if the coast is clear; there’s likely to be frothing freaks running at you from the main store (picture 2), so be sure a couple of your team stands guard here and a third keeps an eye on the doorway you just passed through. Beware of an ambush.
8F