
Left 4 Dead 2 Guide DLC The Passing
Campaign: The Riverfront
Alley Oops: The Riverfront Overview
Beginning at the parked Blue 22, bring your buddies with you as you progress across a sunken area of gardens close to the river’s edge. You are desperately searching for a building entrance. There are two interlocked storefronts you can choose from, which lead to a narrow structure and small bar, and then out into a long, narrow back street.
Fight your way along the street, up and around to a tenement building, ascending so you’re on the deck above the street itself, and then cross into a park, where an undead bride isn’t happy about the zombie apocalypse overshadowing her special day. Flee the scene to a final side street and safety.
+ Utilize the Golf Club to learn the special “decapitation” effect its attack has if you swing at the correct time.
+ There are buildings to flee into, and from which to attack foes, to minimize ambushes. The Safe Room is easy to flee to if necessary.
+ There are Foot Lockers, and you should grab the limitless items (one at a time), optionally returning there to fill your inventory.
- Don’t be fooled into chasing the Fallen Survivor unless you have backup; he can lead you into an ambush or a Horde attack.
- The multilayered streets leading up to the balconies, decks, and tenement apartments are extremely dangerous. Don’t fall, split up, or suffer at the fists of a Tank!
- The Park involves interactions with a Witch Bride, who is extremely dangerous. Prepare properly with a game plan for combat with this dangerous foe.
Start and 1A: A Bridge Too Far
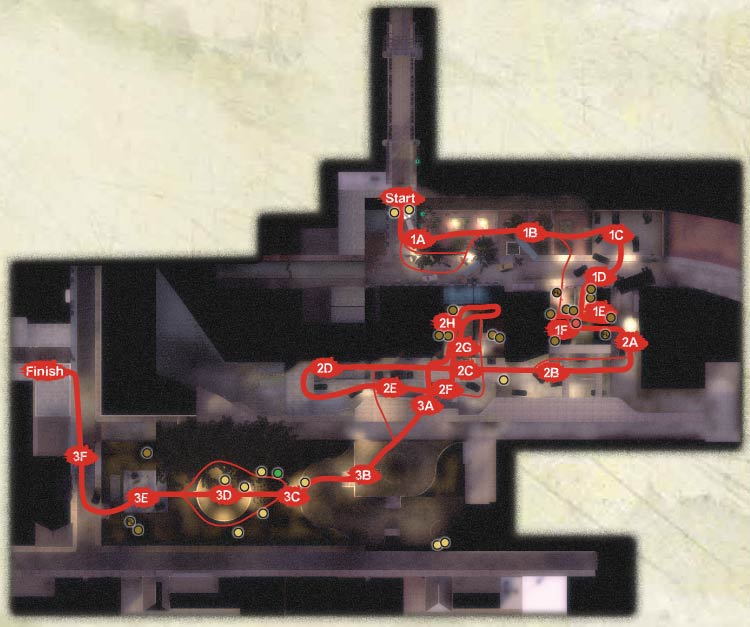
START
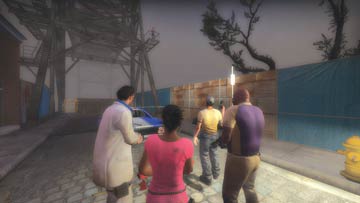
Another human has been spotted—one who isn’t drooling from the mouth and sporting open sores. This is a revelation to the Survivors; there are other holdouts like them! The Blue 22 race car that you stole from the Mall has been great, but it can’t cross the river, and despite some sweet-talking, Zoey or Francis can’t lower the crossing of the bridge; the generator is out.
Begin by gathering a First Aid Kit and your preferred Secondary Weapon from the rear of the parked race car. Of particular note is the Magnum Pistol (usually resting atop the trunk lid) and the Golf Club (a new Melee Weapon).
1A
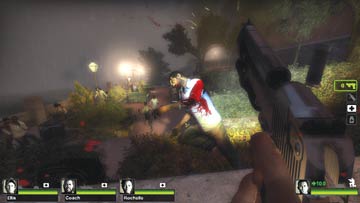
When you’re happy with your items, begin a competent clearing of the initial, raised riverside road and ceremonial gardens. There are a number of plans to try and all of them result in excellent killing potential.
First, anyone with a Golf Club might wish to charge across the cobbled street to the corner and coax in foes before thwacking them in their exploding heads (an easy way to complete the “Fore!” Achievement). You’re relatively safe up on the L-shaped road that’s blocked by the bridge and a coach, and teammates can guard you as you rampage.
However, at some point, you’ll want to drop down at the corner near the lamppost to the riverside ceremonial gardens. Note the paths on the map; you can descend by dropping down from the hedges near the parked van, or around the corner, or use the tops of the perimeter garden hedges as an additional height advantage over your rotting enemies.
Have some of your team stand on the hedge or road at opposite ends, creating crossfire opportunities. Dashing down into the gardens isn’t wise, as you lose your height advantage, so stay on the tops of the hedges and have the marksman in your group pick up the Magnum and methodically pop the heads of the foes as far as you can see.
1B, 1C and 1D: Moaning in the Ceremonial Gardens
1B
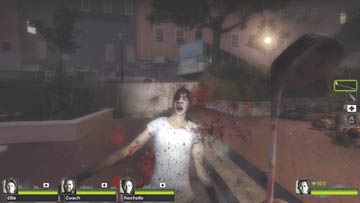
When the initial packs of lurking folk have been defeated, drop onto the herringbone-patterned brick ground of the ceremonial gardens. A small series of stone planters with a perimeter stone wall on one side and hedge along the other force your team into a stretch of narrow terrain.
Expect your first Special Infected attacks at this point. Minimize their potency by staying on higher ground for example; a Charger can’t hit you if you’re off the brick ground, jumping from planter to planter.
1C
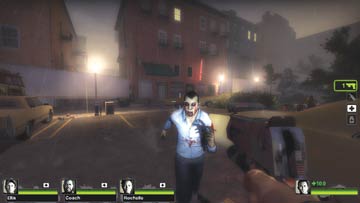
Have a couple of your team take to the Infected with Melee Weapons, while the others back them up with gunfire. Expect a continuous supply of foes as you force your way through the gardens.
Keep pressing forward so you aren’t stuck in this location for longer than you need to be. Staying on the planters, hedges, or the exterior wall by the water forces Infected to climb up to reach you (allowing you more time to drop them), but at the expense of your mobility.
When you reach the stepped garden terraces, remember your choice of exits: the steps ahead of you, or the edge of the sidewalk to your right, by the street lamp.
Due to the continuous attacks from the surrounding area, moving into a building is your overall plan as you emerge from the gardens. However, no matter whether you took the steps up to the parking lot (1C), or you’ve moved past this dead end, around the parked big rig container truck to the street (1D), there are still enemies to face.
Watch for Special Infected on the rooftops of the nearby buildings or larger vehicles, as they can pull you into corners that are difficult to reach. Work close together, pushing forward toward the two storefronts at ground level and work your way into the building.
1D
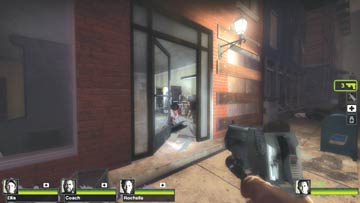
While you’re heading toward either of the storefront locations, you can waylay a zombie Horde by leaping atop any of the parked cars. Having two teammates atop the cars, each facing in a different direction, allows them to slaughter a large number of foes while others provide backup.
Enter the building under a long, red, neon arrow marked “Souvenirs,” by opening the front door, or by leaping through the glass window. Either leads to a small convenience store. Or, you can step through the other doorway into a narrow Internet cafe.
1E and 1F: What’s In Store
1E
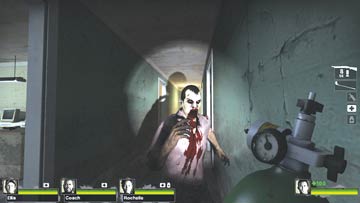
Crashing through into the stores allows you to keep the far interior doors inside the stores closed for a moment. Turn to defeat any remaining foes chasing you into the building, then gather a primary weapon. If the current store doesn’t have a weapon selection, check the other shop counter.
Grab everything you can and verbally confirm with your teammates that you’ve cleaned the area of helpful items before proceeding through into the connecting interior corridor behind both stores. Remember that the doors can be closed, and you can retreat back into here if you’re overwhelmed in the next area.
The corridor may have some undesirables hanging around, so tear them apart before checking the rest of the ground level. There are two restrooms along the right wall, the first of which has a First Aid Station to open up.
There’s usually a Propane or Oxygen Tank lying on the ground in the corridor, and another after you open the door to the stairs. Your first M60 may also be here, which helps greatly in the combat to come. Remember you aren’t being judged on how quickly you leave this building; it is better to plan an attack carefully.
First, be aware that there may be a Tank at the top of the stairs, so have a scout check once you’ve prepped the area and set traps using Propane or Oxygen Tanks. Place them halfway up the stairs or at the entrance, and have the rest of your team retreat.
If you’re all advancing, remember that Special Infected like to ambush stragglers from behind, so appoint someone to watch your tails. Should the Tank or other Special Infected be seen on the upper floor, back up so your entire team can fight it, and detonate the explosive Propane or Oxygen Tanks as the foe descends to reach you.
1F
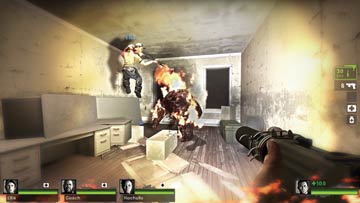
At the top of the stairs is another corridor, usually with a Special Infected waiting to strike. Use the side rooms directly above the storefronts to sidestep into for cover. The first is a small storage room, but the second (with the brick walls) is a larger office.
Inside, you may find your first Foot Locker; be sure every teammate grabs an item if they need one, but watch for cunning enemy attacks from the adjacent open window. This is also an escape point if you’re being overwhelmed inside the building. Finally, this room may have a Grenade Launcher or M60 in the far-left corner, but this appears randomly.
At the far end of the corridor is a doorway on your left, which leads into a small speakeasy. Leap the counter or through the opening in the bar itself, and head straight for the exit sign; the only way out of here.
This leads to a small, darkened exit area with a tiny, dark alcove on your right. If the Foot Locker didn’t appear previously, it will be in this small area, so gear up before you leave. Be prepared for a Special Infected assault as you tumble onto the outside balcony.