
Left 4 Dead 2 Guide Walkthrough Dark Carnival
Highway & Off-Ramp
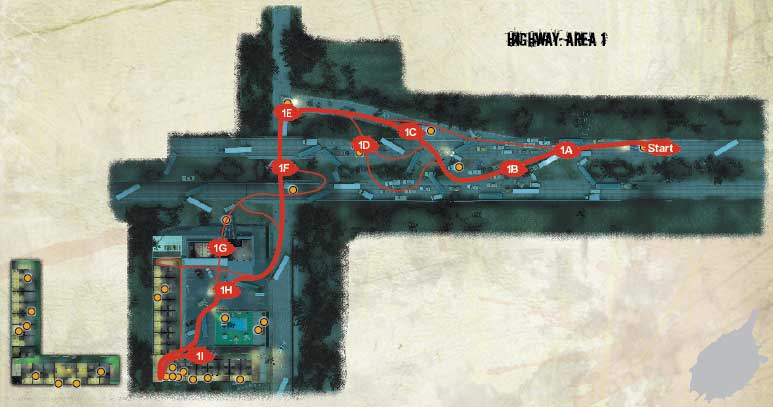
To the Danger Zone: Highway Overview
Facing a blocked Interstate, your team bundles out of the Blue 22, and clambers over the parked cars before letting rip through the marooned drivers who are now turned into frothing Infected.
The action intensifies as your team navigates under the interstate bridges, to a motel, where a cunning route through the upper rooms becomes necessary to escape a savaging.
With fairground lights blinking in the distance, descend into a ravine, and up the other side to the parking lot outside the Whispering Oaks Fairground, a once-popular attraction now overrun with the virus-ridden and wretched.
+ The highway and motel areas offer numerous high places to stand on; this is a sniper’s dream.
+ The ravine is tricky to navigate, but this is eased with a Pipe Bomb, an escaping wade, and a prompt riverbank ascent.
+ The fairground entrance may have clusters of Infected, but the Safe Room is out in the open, which makes it easy to run to and defend.
- With the parked vehicles, bridge, motel, and ravine, there are countless ambush points, so keep watch in all directions.
- The lack of visibility makes picking out Witches extra difficult. If it drools, kill it. If it cries, leave it alone with the lights off.
- Watch out for cars at the motel and fairground. They may be alarmed, which is exactly what you’ll be when you’re overrun by a Horde.
Congestion on the Highway
Start
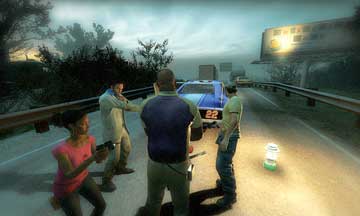
Even the Blue 22 isn’t able to navigate around the stalled traffic ahead of you on Interstate 16 West, which forces your team out of the vehicle. Opening the trunk to access a variety of First Aid Kits and other items.
Grab everything you can and move along the highway road, passing the billboard for the nearby Whispering Oaks Fairground. Initially, the vehicles don’t allow your team to spread out, so stay together and leap on the roof of the car between the truck and bus.
1A
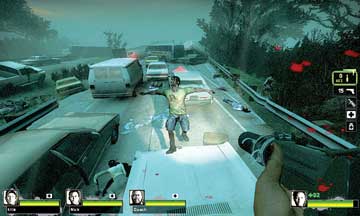
Use the number of parked cars (including a pickup truck and a van) as “stepping stones” to stand on; this prevents any prowling Infected from easily and quickly reaching you.
As long as your teammates are checking the bushes on the right and vehicles to your left, you can effectively clear this initial highway of foes.
Mayhem in the Median
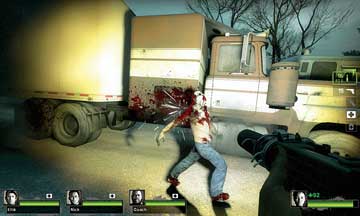
With the Infected taken down in the immediate area, figure out your favored path to the off-ramp (Location 1C).
You can hop over more vehicles and move straight toward the off-ramp (the optional path on the guide map), or drop down and head into the grassy median (1B), passing over corpse piles and abandoned vehicles.
Don’t lose focus; there are likely to be foes lurking in corners and between vehicles that you can easily miss until they charge in from behind. Beware of Special Infected bounding over container trucks, too.
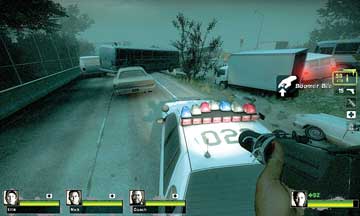
1B
Move as a team across the median, checking the area for any additional items as well as cutting down charging foes. Pass the Sheriff’s squad car before heading back toward the off-ramp, moving between a van and coach. Check the back of the van for items as you move toward the off-ramp.
My Way, Not the Highway
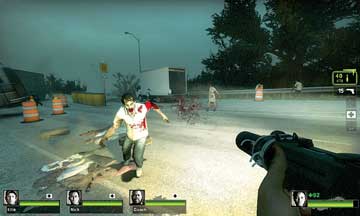
1C
Scramble toward the off-ramp, but be prepared for enemy ambushes. The higher vehicles (such as the coach liner) offer protection for the more wily Infected.
Step onto the right side of the highway, cutting down foes where they shamble, and look for the 35 mph sign; head to the right of that and down the off-ramp when you wish to continue.
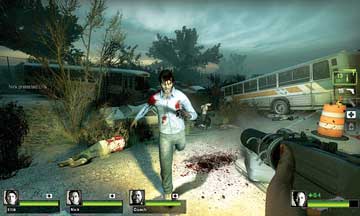
There are a couple of longer routes that allow you to access the off-ramp, but these involve weaving between the coach liners ahead of you at the start of the bridge and moving through the vehicles.
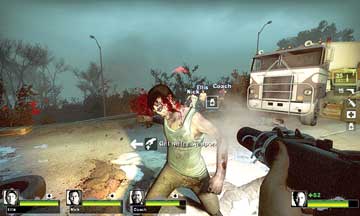
1D
Expect attacks and mass Infected charges as you go; be sure your team is checking in all directions. Additional Items (and corpse piles) can be found at a small campfire area with sleeping bags and barricades of luggage if you choose a more lengthy route off the Interstate.
The Military’s Land Stand
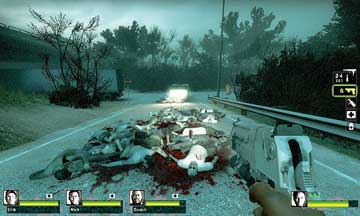
1E
No matter whether you head down the off-ramp or grass-verge from the bridge, you end your Interstate excursion by running past numerous corpse piles of dead Infected as you reach a military vehicle.
The massacre was most likely inflicted from this point, as there are often items to the side of the vehicle.
Chaos under the Bridges
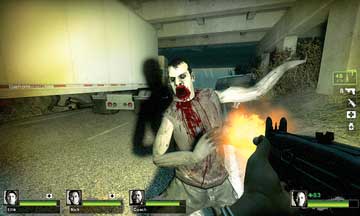
This is where the action takes a turn for the terrifying, as you’re forced under two bridges and you’re at the bottom of a steep bank on either side, allowing enemies to easily attack you from all angles.
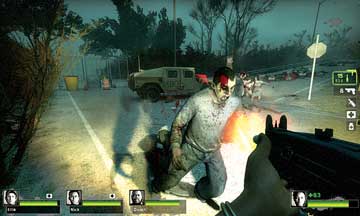
Expect a forceful attempt by Special Infected at this point; you may be attacked from the highway bridges above you, as well as the thickets or dark concrete supports under the bridges.
Stay relatively close as you move under the first bridge; splitting up is just asking for a straggler to be pounced on. Make sure one of your team checks behind you for masses of Infected heading down the off-ramp, and don’t venture too far toward the motel if you’re fighting more than a few Infected.
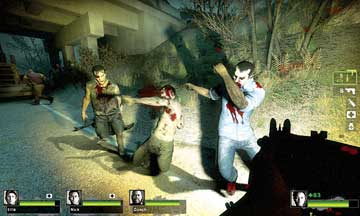
1F
Move between the two bridges where you’re likely to be attacked on both sides, but especially the grassy hill to your left.
From this point, you can choose to approach the motel from two different areas: the roof or the ground. (Ideally all the team should head in the same direction, but you can also split into two pairs.)
Motel Massacre: Up on the Roof
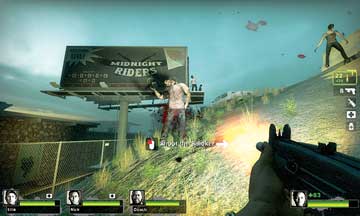
For a more stealthy approach to foe disposal, make sure all of your team are in agreement and then move to the Midnight Riders billboard that overlooks the motel.
This is achieved either by heading up the grassy hill at Location 1F and then moving across the second highway bridge before hopping on a car roof and onto the billboard sign.
Or, you can move under the second bridge and climb the grassy bank on your right to reach this area.
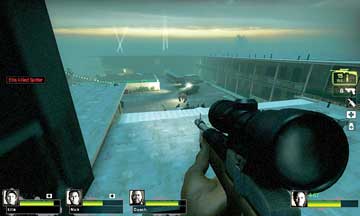
Once you’re up on the billboard with your entire team, you can usually locate a Hunting Rifle and begin some long-range takedowns of the lumbering foes in the motel’s parking lot.
With one of your team checking to see you aren’t being outflanked by foes on the grass below, continue culling Infected until no more targets present themselves.
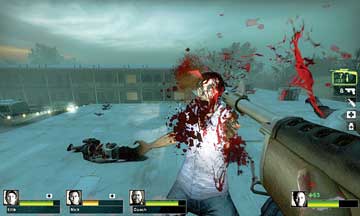
Next, drop down to the motel office roof (1G). Although you can head down to the ground if you wish, the motel roof offers continuous and excellent vantage points, and masses of foes can be knocked down or blasted if they try to climb to your position.
You can hold out here for quite a while; the only enemies to fear are Special Infected. A Charger can knock you off this roof with a real wallop, for example.
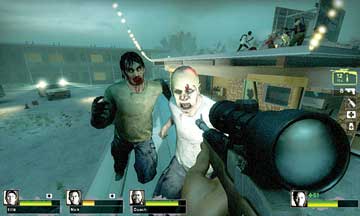
At some point, you’ll need to drop down to the motel ground, but if foes are plentiful you can stagger this by having two of your team land on the parked coach liner.
If you stand back-to-back, you’ll cut down anything attempting to clamber up at you! This route is precarious, but it can be safer if you prefer ranged combat.
Motel Massacre: Down on the Ground
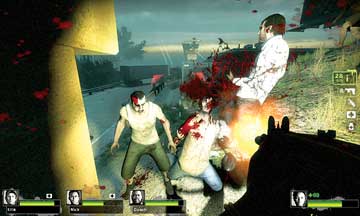
A more measured approach that allows easier circle-strafing and potential dodging around foes is to stay on the ground, cross under the bridge, and enter the motel at the jack-knifed truck.
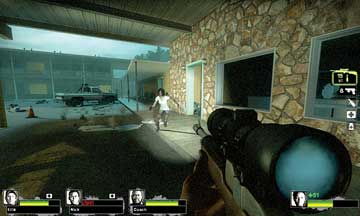
1H
This takes you into the parking lot (1H), which is filled with foes that haven’t seen you yet. Take this opportunity to decapitate as many as you can before they charge.
The fighting should progress to one of three locations; you can hole up inside the motel office, which offers protection and ways to funnel Infected into the room so you can waylay them as well as Melee them (but be sure to guard the doors and windows so you aren’t overwhelmed).
There are also two motel rooms adjoining the office (where the pickup and car are parked) that offer similar protection. Both locations have items to scavenge.
Otherwise, fight foes in the parking lot, or swimming pool; the low walls and vehicles offer protection and hiding places for both you and your Special Infected foes!
Housecleaning
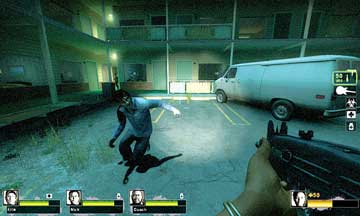
When there’s a lull in the bloodshed, a quick inspection of the motel grounds reveals a mesh fence along the far wall of the swimming pool that is preventing your progress (but not the Infected from climbing over or spitting through it).
As you never wish to remain in one place for long, you need to follow the escape route, which involves maneuvering along the balconies of the two-story motel.
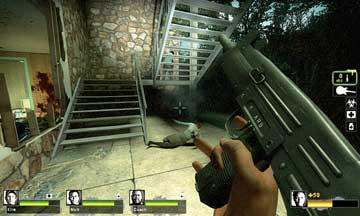
There are two stairwells. The first is adjacent to the office building and ground-level rooms, to the right of the parked military vehicle. The other is accessed via the parking lot.
Move between the buildings in the far corner and head up this set of steps, as it is preferable to move to the upper balcony location (1I) via the parking lot, rather than the narrow balconies in front of the motel rooms.
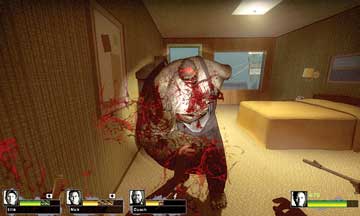
1I
Move along the narrow landing balcony to Location 1I, a gap in the floor that forces you to scramble right, into a motel room.
Work as a team; one teammate goes through the window, the other opens the door. Two others following behind, providing covering fire and checking the balcony and outside for signs of more Infected.
Once you’re all inside the room, fight any foes as you step left through the gap in the stud wall to a second room.
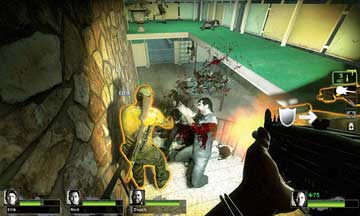
This room has a boarded-up door and a window you can gaze out of, but this is still over the balcony gap. Instead of staying here, move into the second room’s bathroom.
Pass through into a third room’s bathroom and head through this room and out of the window to the continuation of the balcony.
Don’t be surprised if you’re swarmed at this point. This could be a good time to switch to a Melee Weapon; move around the remaining balcony to a third (and previously inaccessible) stairwell (picture 4) while watching for troublesome foes as you descend and flee the motel for good.