
Left 4 Dead 2 Guide Walkthrough Swamp Fever
Plank Country
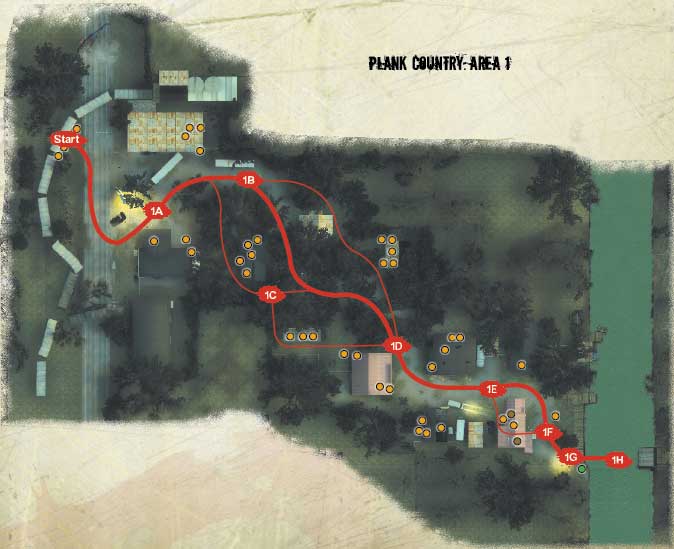
Backwoods Massacre: Plank Country Overview
Beginning inside a railroad carriage, investigate the backwoods near Wilson’s Last Gas Station, and trek through infested woodland, passing or entering a number of shacks until you reach a small ramshackle hamlet known as Earl’s Gator Village (Area 1).
After calling a motorized ferry, cross the murky river to an alligator sanctuary deeper into the marshland, which rapidly becomes soggier the farther into it you venture. Maneuver along a few raised catwalks (Area 2) and down to a thicket of trees and planks that offer a rudimentary pathway (Area 3) toward a Safe Room under a railroad track, with rusting carriages above it.
+ This is relatively flat and easy to navigate through, assuming elementary competency is maintained.
+ There are many advantageous line-of-sight opportunities for sniping, assuming you’re holed up somewhere safe.
+ Although optimal routes are presented on the guide map, you can freely explore.
- The marsh water slows you considerably, making you extremely vulnerable to attacks. Stay on raised areas or dry ground.
- The deep water of the river between areas 1 and 2 is lethal; cross it using the ferry and don’t fall in!
- These backwoods are dark and offer numerous ambush points; staying close together is more important here than usual.
Wilson's Last Gas to Earl's Gator Village
Railway Carriage Cover
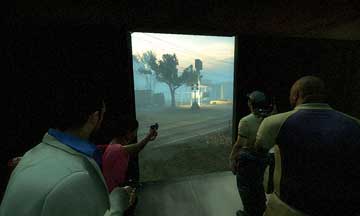
It appears Nick had a slight altercation with the helicopter pilot, and you had to ditch your airborne ride.
Start
Now that you’re holed up outside Wilson’s Last Gas somewhere in the backwoods, choose your preferred ranged weapon and definitely take a First Aid Kit before you drop down from the derailed carriage. Drop down, and move toward the gas station.
Wilson’s Forecourt
1A
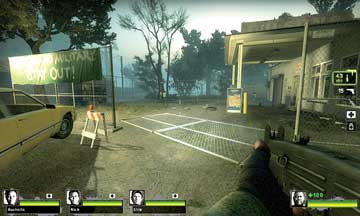
Head over the collapsed section of mesh fencing, into the gas station forecourt. With random Infection incursions, it is wise to properly secure this zone of buildings as you pass through to location 1B or 1C.
While some of your team checks the overhang and the far end of the building near the Propane Tank for foes and items, others should guard the only exit—the gap in the fence near the parked container truck.
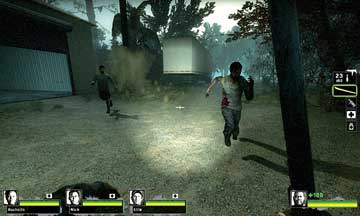
Advance when all of your team are present, and send one teammate into the warehouse room between the two truck containers (picture 2) for Belt Items while the others remain vigilant. From this point, your forest trek can branch into two or more routes:
On the Beaten Track
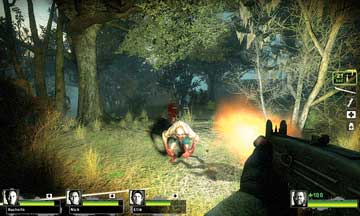
1B
Follow the main trail from point 1B to 1D for the most direct route through the woods, the one that allows you to more easily stay together as a group. Have your most aggressive player on point, venturing forward to rake the bodies of anything closing in on you, while the other three members provide backup and check for attacks from the sides or rear.
There are a couple of scattered buildings to optionally check, but only if you need items. Push forward to the outskirts of Earl’s Gator Village.
Off the Beaten Track
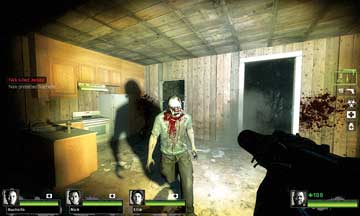
1C
Choose a less defined, more dangerous secondary route (of which Location 1C is only one example) by hopping over the low, wooden fencing after exiting Wilson’s Gas. There are thickets to navigate around, and stationary (as well as shambling) Infected to repel.
Attempt to make a methodical shack-to-shack search of all the buildings prior to reaching Location 1D; the guide map shows possible item locations. Use good communication to vocalize the order of the buildings you’re entering.
Earl’s Gator Village Outskirts
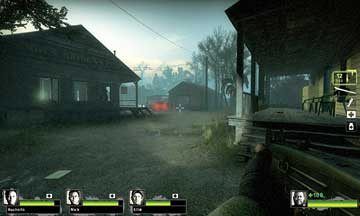
The hamlet of Earl’s Gator Village consists of only five buildings, and Location 1D is between the first two: a general store (on the right of this picture) and a cafe (on the left). While advancing to Location 1E in the middle of the dirt thoroughfare, it is important to keep close together.
Secure each building one at a time, so you aren’t split up if Special Infected make an appearance. Make a note of any items you may need during the battle against the Horde, once you reach point 1G.
Village Thoroughfare
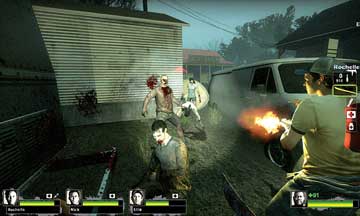
1E
If you aren’t being swarmed by the living dead right now, you soon will be, so take this opportunity as you pass the garage to mop up the more docile corpses near the parked white van.
Your team’s plan is twofold: have a couple of snipers check the alleys, corners, and rooftops for any lurking foes, while the others tag anything easily spotted and make a sweep for useful items, such as Fuel Cans and Propane Tanks.
Carnage at Gator Wharf
Earl’s Gator Village ends at the river’s edge, and it seems Earl has already repelled a few zombie-types, judging by the strung-up Charger near the picnic table with items to gather.
As your team prowls the shack, wharf shed, and two-story bait shop overlooking the wharf, you should properly prepare for a Horde attack prior to reaching Location 1G and calling the ferry.
Your positions need additional defenses, so check the garage near Location 1E, the alleys, and the village itself for explosive Fuel Cans and Propane Tanks. Place them on the thoroughfare and on the wooden fences close to the ferry machinery.
Activating the machinery at Location 1G causes a loud, continuous chugging noise as the ferry platform is slowly winched across the water. This attracts the Horde, and they swarm in soon afterward.
Ensure that your team is ready for this intrusion (have a full complement of Belt and Backpack Items)! Position teammates in the grassy area at the base of the bait shop (picture 1), on the lower roof section above the ice machine (also shown in picture 1), or with a teammate checking the upper bait shop interior for incoming foes.
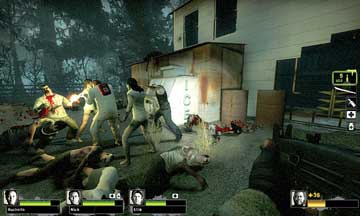
1F
When the Horde streams in, repel them with your weapons of choice, but also explode any Propane Tanks or Fuel Cans to cause maximum damage to the enemy. Have one of your team utilize a Belt Item such as Bile Bomb or a Pipe Bomb (picture 2, thrown from Location 1G) to further weaken the Horde, and prepare for a protracted battle.
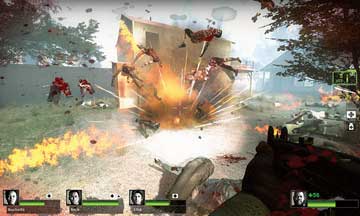
1G
Stay away from the wharf, as you don’t want to fall (or get pushed) into the river. Check the picnic table for additional items.
Mechanical Winch Ferry
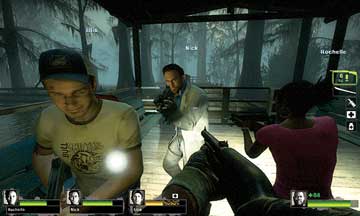
1H
If the Infected Hordes are continuous and the situation is becoming dire, listen for the ferry and, when it arrives, have your entire team board the ferry platform as soon as possible. While the rest of your team guard the platform entrance, one of you needs to flick the ferry switch, which will start the ferry slowly winching across the river, away from the village.
During this time, vocalize the preferred routes you’re planning to take throughout Area 2.