
Left 4 Dead 2 Guide Walkthrough Dead Center
CEDA Quarantine & Overpass
The Road to Ruin: Streets Overview
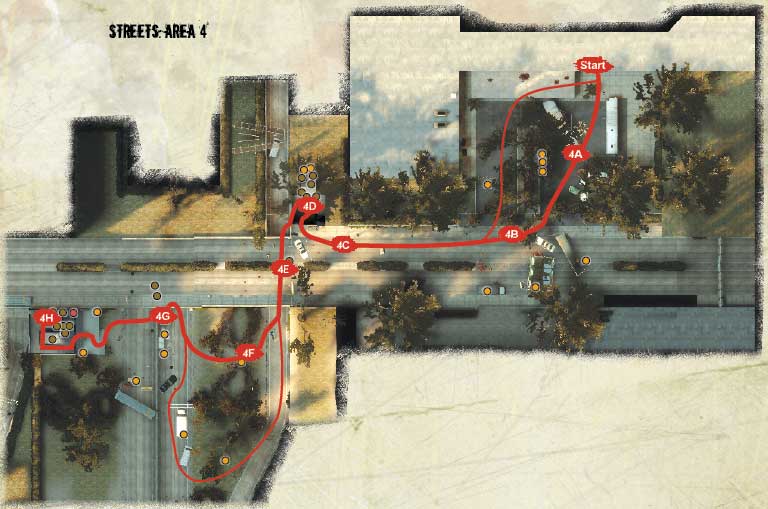
You haven’t quite escaped the Vannah Hotel yet. Still to traverse are an entrance area where CEDA attempted a quarantine, and then a sprint down the road adjacent to the hotel en route to a maintenance stairwell that allows access to an alleyway, and a portion of Interstate (Area 4). Head into a second maintenance building and begin a drop down to another road, which wends up to a long walkway bridge that ends with a joyous stumble upon a Gun Store crammed with the latest in weaponry (Area 5). If only you could take it all. With your path blocked by a tanker, you need to request passage from the gun nut on the roof, who’s happy to use his rocket launcher, but only after you’ve delivered a sugary treat to his hidey-hole (Area 6). Then it’s simply a matter of crossing the corpse piles in the mall parking lot. Still, it’s a lovely day….
+ You have additional space in many areas to strafe around enemies; fan out and check all direction, as you progress.
+ You’re never far away from a new Belt Item; use them instead of hoarding them, or risk being overrun.
+ There are locations (4G, 5A, and 6A) that cannot be returned to once you cross them. Grab what you can before continuing.
- The Special Infected can climb and lurk above you in areas you can’t reach. Look up often, and look out!
- Without careful planning, your cola collecting and other tasks can become impossible. Choose who does what!
- Expect at least one Tank during this operation. Learn what it takes to drop it using the tactics presented earlier in this guide.
CEDA Quarantine and Overpass
Your First Safe Room
Start
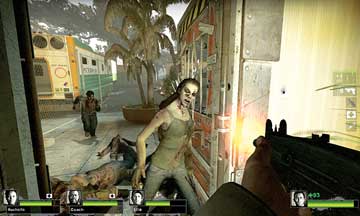
Your entire team should be completely tooled up for the battles to come, and from this point on, you should never be seeking out a Primary Weapon: The table and counter inside this Safe Room contains enough ordnance for your entire team.
Figure out who favors short- and long-range combat and arm everyone appropriately. Heal up if you have a First Aid Kit already, then grab another; there are four in here. Next, stand at the exit door and attract the Infected’s attention in the courtyard outside.
Mow down foes that spot you through the door bars, or open the door for easier cross-fire opportunities. When there’s a lull, reload and step outside.
Vannah Hotel Entrance
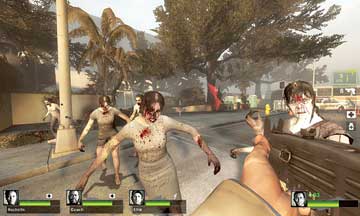
When your team is ready, bolt out of the door into the Vannah courtyard, which was set up as a treatment center by CEDA. It now houses only the lolloping undead. Cut down the foes tearing through the police barricades.
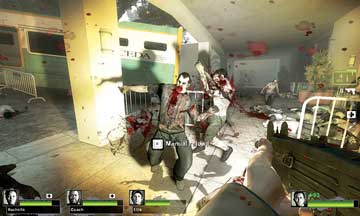
Then stay on the left side and weave through the coaches so that you’re only attacked from ahead and the right. Move to the top of the sloping ground with your team checking different directions to ensure that you’re not outflanked.
4A
CEDA Evac Overpass
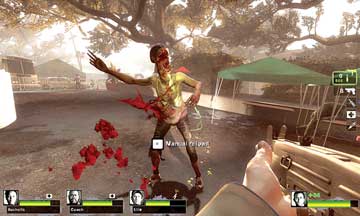
Quickly check the CEDA tents and the back of the truck for items (which randomly appear) before heading down the overpass toward Location 4C.
4B
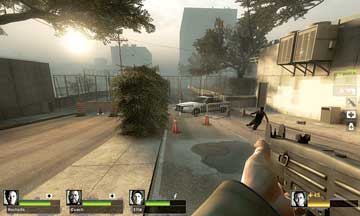
A cop car and blockade will force you to enter the door near the two air-conditioning units clamped to the wall and move into Location 4D. However, en route there are plenty of opportunities to receive a mass of Infected.
Avoid being overwhelmed by checking the walls on either side of the overpass you’re on for incoming foes. If a mass attack occurs, this is one of the first times where you have a wide area to maneuver in.
4C
Its width allows you to strafe around foes, backpedal, stand on the cop cars to waylay the Infected, or hop into the back of the white truck so foes can only attack you from one direction. Learn these simple tactics and apply them throughout your campaigns.
Maintenance Stairwell
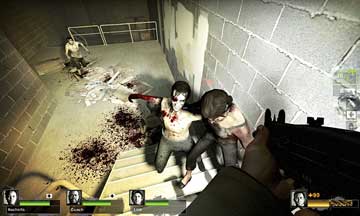
Although it may seem like a tight squeeze, there are tactical benefits to quickly accessing the maintenance stairwell near the cop car: you know your exits and can easily defend this area... but not indefinitely! Have one of your team checking behind you while the others clear the interior stairs of any foes.
4D
Closing the door behind you waylays any foes, too. Inspect the entire interior, as there’s likely to be a couple of items (including Melee Weapons) to grab.
When there’s only the four of you left, take a second or two to heal up, then take up a defensive posture at the lower exit door. Once you open it, the alleyway beyond could either be empty or filled with foes and a Special Infected.
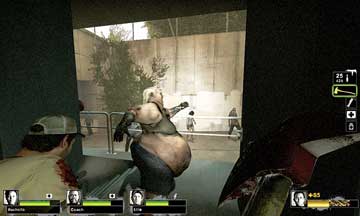
If the latter occurs, stay indoors, lob Bile Bombs, Pipe Bombs or Molotovs to soften up your foes, and use the doorway as protection. Scramble out into the alley when most of the foes have been dispersed or dispatched.
Under the Overpass
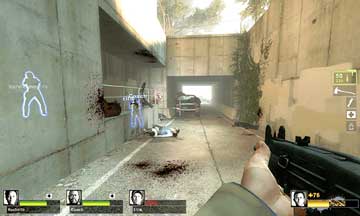
4E
Step into the alley running under the overpass and ignore the van uphill. Turn your attention to any lurking Special Infected (especially Smokers) above you, and then dash into the tunnel with the pickup truck.
Scramble aboard if you need another obstacle for the Infected to climb on before they can reach you. From here, you can move toward the parked car and vegetation at the far end of the tunnel.
Grassy Verge U-Turn
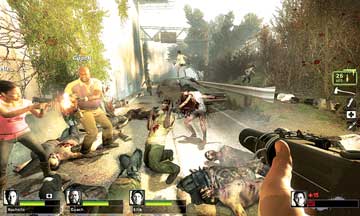
4F
Expect heavy resistance as you step out of the tunnel, move past a parked car, and maneuver over the grassy verge with hedge thickets where Special Infected love to ambush you.
As long as you’re familiar with the layout of the verge and the fact you should be making your way to a refuse container (4G) as quickly as possible, you should be able to navigate through the undergrowth fairly easily.
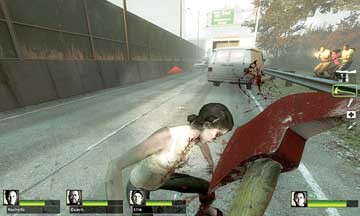
You can elongate your search to the far end of the verge, and then cross to the white truck: Both of these areas have additional items to grab and the truck can be boarded and used as a “last stand” defensive location if the need arises.
Rampage at the Refuse Container
Pass the cop car, running along Interstate 16 until you reach the tunnel. Don’t waste time rummaging around on the ground (unless you spot an item).
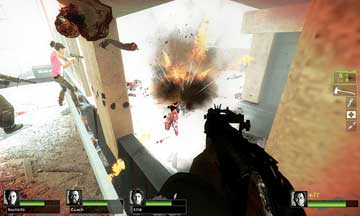
4G
Immediately climb the yellow ladder attached to the refuse container two Survivors at a time (with the others guarding behind you).
Stand atop the container and rain down death on the Infected on the left side of the Interstate. With one teammate checking for foes storming you from behind, have the others spread out along the container and bombard the enemy with fire.
When most of the threats are abated, simply drop down and run across to the concrete maintenance building.
Concrete Maintenance Building
4H
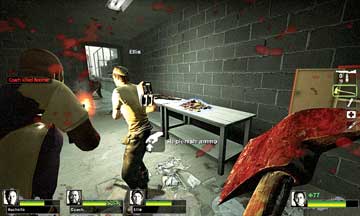
This building is dark and usually filled with Infected that haven’t seen you yet; make sure at least half your team cut through these foes with Melee Weapons as you move to the Weapons Cache atop the stairs.
Don’t get preoccupied by grabbing the latest in weaponry; there’s an open doorway on your left where the Infected can storm in from, including Special Infected like the Boomer.
Deal with these threats before they scramble inside this building. Take it in turns to guard this door and the stairs you came from, while the others tool up for Area 5.