Left 4 Dead 2 Guide Walkthrough The Parish
Bienville District
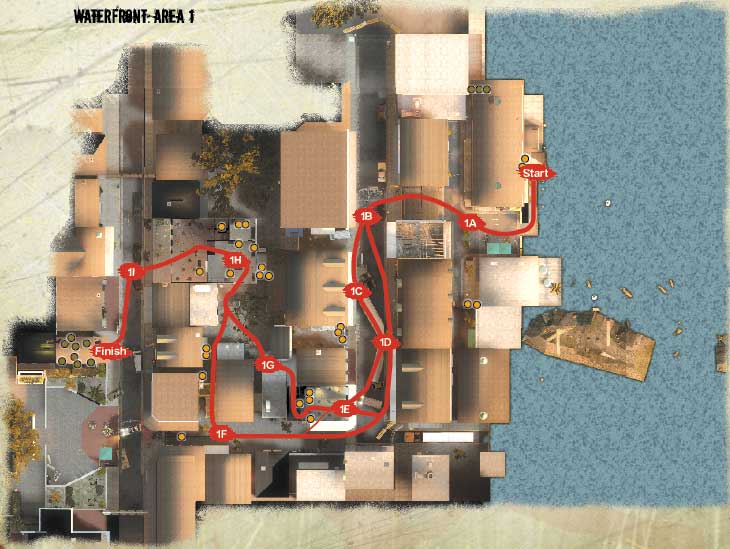
Bienvenue à Bienville : Waterfront Overview
Welcome to the Bienville District! This historical section of the city has seen better days, but still holds a feeling of grandeur. After disembarking from Virgil’s boat, you take a trip through an evacuation wharf, and into a main historic street now jammed with jack-knifed trucks and the walking undead.
Head into a bar to spill some more zombie claret, then gain entrance into an interior courtyard that leads into the kitchens of a once-swanky, now-ruined cafe. After a final fracas with the Infected, you must seek out the voodoo store where your Safe Room is, all the while staying away from those alarmed cars.
+ This section of The Parish is relatively compact, which means you can try out different tactics without too many problems and then use them on later stages.
+ You have the leisure of attacking and learning how to kill the Riot Guard Uncommon Infected. Melee Strike to spin, then finish him!
+ If you know the route to take, this particular stage can be completed easily and quickly. Be sure to check whether the back of the bar is open, though!
- Beware of alarmed cars because when the alarms sound, a Horde is alerted. Special Infected try to nudge you into these vehicles!
- There are places such as upper balconies and rooftops where you can’t tread, but Special Infected can, so look all around you for safety.
- This section of town is extremely compact, which makes ambushes by Special Infected easily achieved. Stay together and take any/all one-way leaps at the same time.
Evacuation Wharf
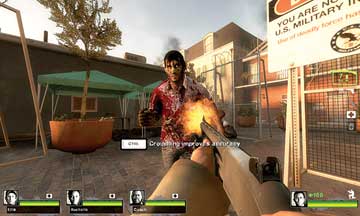
You say your good-byes to Virgil (picture 1) and should grab whatever armaments and items you want from the wooden table. Be sure everyone gets a First Aid Kit. Then whoever is armed with the weapon designed to cause damage from the closest range should take the lead, moving up the wharf ramp and through an open section of razor-wire fencing used during a past evacuation.
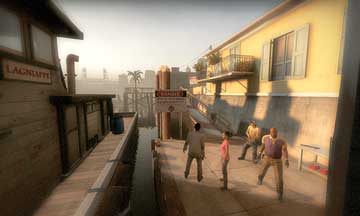
Start
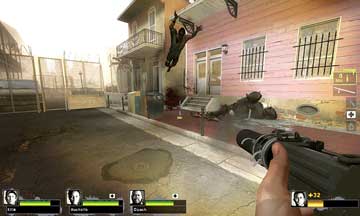
Move through the fencing, testing out your offensive capabilities on anything that charges your way (picture 2). Step between the plant pots, and check the alleyway left and right of you. You may run into a Riot Guard at this point, as well as a Special Infected or two.
1A
Check both ends of the alleyway out (mainly for items) and then head through the doorway under the sign marked “Waterfront Market,” to the right of the building with the roof on fire.
Battle on Bienville
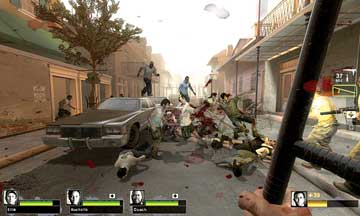
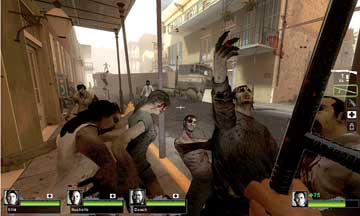
Step into the historic street and inspect the architecture only after you deal with masses of foes that are mainly attacking you on the street itself. You may elect to batter them using a Melee Weapon (picture 1). Note that swarms of Common Infected are a regular occurrence, especially if you hit, stand, or brush up against a car with an alarm.
1B
Expect swarms from over nearby walls and dropping down from rooftops. Also a problem are Special Infected: Smokers on balconies, or Chargers pushing along the left side of the street are two examples to watch for.
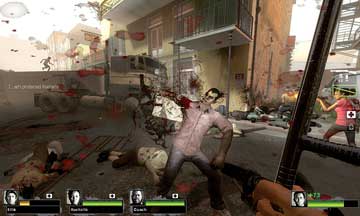
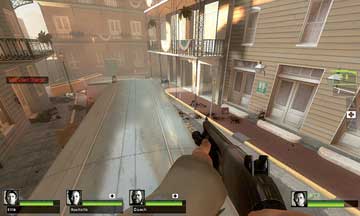
Battle your way down the street, until you reach the jack-knifed big rig (picture 2). The path splits here, and you can pair up and each pair takes a route, or choose one path to travel together. Step to the right of the big rig cabin, and head up a ramp to a balcony, where you can snipe heads of Infected at the corner bar (Location 1E).
1C
From here you can drop down, or step onto the overturned container and bus to gain a consistent height advantage (the Infected take longer to climb to you, which is goo if there are a lot to kill). Or, you can run along the left side of the street, watching for a swarm of foes or Special Infected due to the narrow gap.
1D
Last Orders
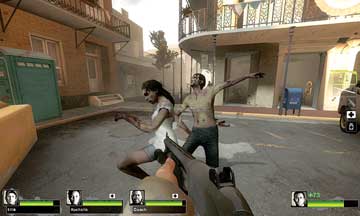
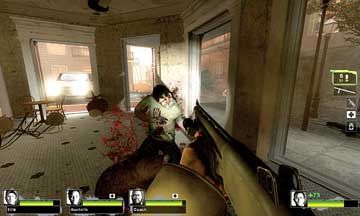
Maneuver to the end of the first street and make a stand at the corner bar, dropping foes outside (picture 1) as long as Special Infected aren’t incoming. Quickly push your way into the bar itself, ensuring that you deal with threats all around you (picture 2).
1E
Use the interior to hold out against swarms as the foes are funneled through the broken windows and doorways. Then inspect the premises. You have a choice of routes now, depending on the Director.
On the Fence
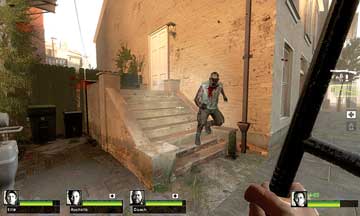
If the bar door is blocked, move around the corner and into the next street, and then head toward the razor-wire fencing at the far end. You can see the park entrance (Area 2) through the fence, but can’t reach it yet. Instead, concentrate on finding the stone steps on the right; they leading up and over a fence, into the cobblestone courtyard.
1F
Cobblestone Courtyard
This courtyard with scattered refuse and a single tree is accessed from two directions: via the rear entrance to the corner bar and through a narrow alley (from 1E), or via a grassy alley after you hop over the fence (from 1F). The corner bar storage room has items to pick up, which can be accessed no matter which route you had to take.
1G
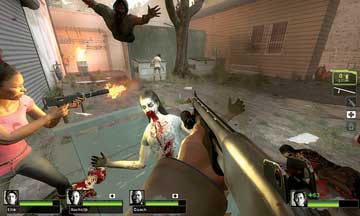
However, concentrate on the foes in the courtyard itself. There may be a Witch wandering about, as well as Special Infected (such as the leaping Hunter, shown). Move along the left wall to the flaming barrel and enter the doorway to the restaurant kitchens (1H). Before you enter, you can optionally check the white truck container for items around the corner beyond the doorway.
Carnage in the Kitchens
Expect combat as you enter a darkened kitchen area with a storage room you can easily get pinned in, so when you step inside, fan out so that all of your teammates can attack the foes inside.
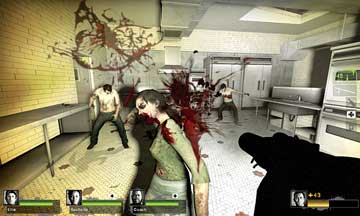
1H
Scour the kitchen area for items before stepping through the doorway into the cafe that is set back off another street you haven’t accessed yet. Choose any of the gaps (broken windows or doorways) as you exit the cafe.
Do You Do Voodoo?
Step out into the street, which becomes a whole lot more dangerous if any of the vehicles are alarmed. First, though, check right (picture 1) and drop any waiting foes near the blue house by the barricade. The only way is left, heading down the street.
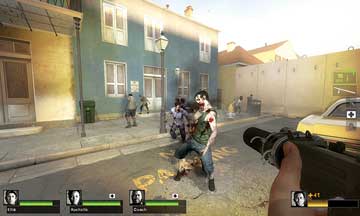
1I
If you knock into an alarmed car, expect foes to stream down the rooftops. A vicious (albeit entertaining) firefight erupts (picture 2). When the Horde has been culled, continue down the street until you reach the razor-wire fence (picture 3) while watching out for Special Infected ambushes. The tall and narrow voodoo store on your right is your Safe Room. Pile in and shut the door.