
Left 4 Dead 2 Guide Walkthrough Swamp Fever
Shanty Town Bridge and Outskirts
Roaming in the Gloaming
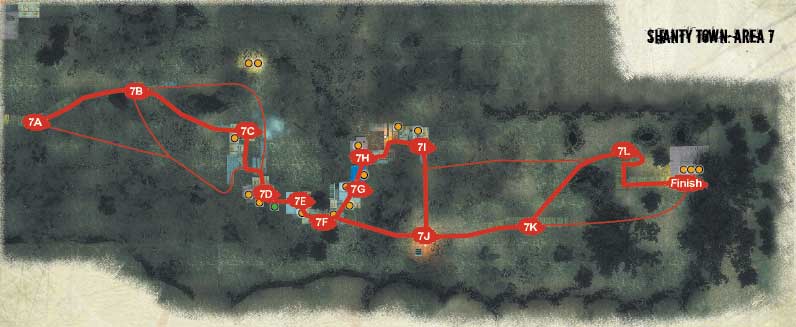
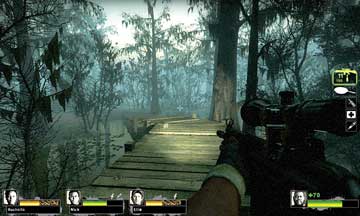
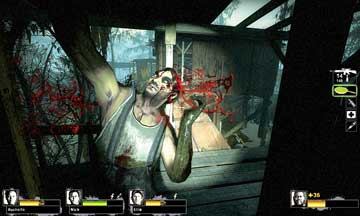
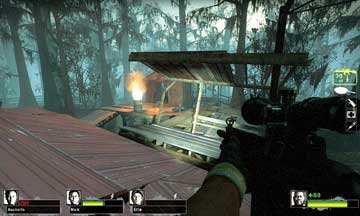
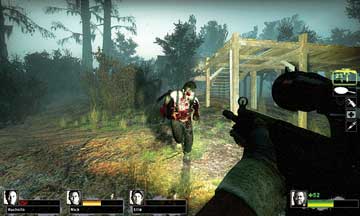
Step out of the fertilizer shack and onto a rickety platform (picture 1) that leads into a section of extremely dense forest and brush. You may elect to wait for a moment and tag the heads of any wandering foes you spot in the distance.
7A
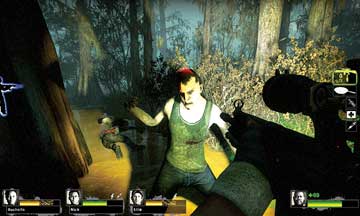
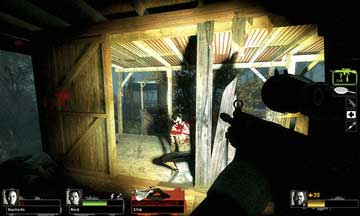
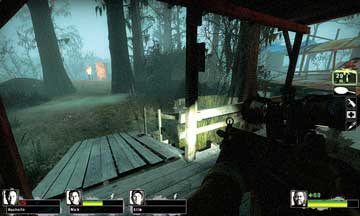
Then you’ll maneuver around the trees and foliage, searching for the secondary outskirts settlement buildings (Location 7C). As you trek through the woods, ideally through slightly dryer ground than is shown in picture 2, expect zombified resistance.
7B
The confusingly dense forest can cause havoc if Special Infected attack. Your best bet is to race for the relative safety of the building at Location 7C (which everyone should be able to find) as soon as possible.
Bridge Access
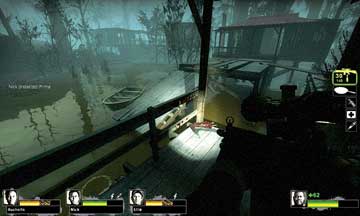
Reach the first raised structure via either of the ramped entrances, or ignore the first building (Location 7C) entirely and enter via the ramp near the moored rowboat. Move directly up onto the exterior platform attached to the second building (Location 7D).
7C
Inspect both of these buildings closely, culling the remnants of an Infected force that loll about in these parts. Both buildings may have a smattering of items, including explosive Tanks or Fuel Cans, which can be handy.
Move across and into the second building (picture 2), and wait for your team to appear behind you. The mechanical winch you’ve spotted lowers a rudimentary plank bridge, but the noise attracts the baying Infected Horde. With this in mind, have your team fully tooled-up with gear before the backwoods are coated in zombie blood.
7D
Middle Shacks: Horde Attack!
There’s no getting around the appearance of an Infected Horde as soon as the bridge begins to lower. Prevent untimely deaths and general incompetence by knowing your role, and where it’s safe to stand.
7E
First, it isn’t usually safe to stand anywhere, as the Infected can tear through these poorly constructed buildings, so stay moving. Second, you can actually run up the bridge as it descends and then jump onto the roof of the building opposite (7E). From the roof, you can lay waste to the enemies with impunity.
However, the rest of your team, or everyone if you’re not quick enough, needs to cross the bridge, with each one battling in the narrow interiors by dealing with Infected coming from different directions. Immediately check the interior for handy items and then move through to the exterior balcony and exit onto a large deck (picture 2).
7F
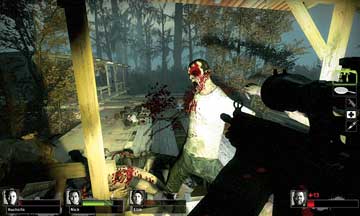
As the Horde must be culled, holing up here is a good option; one of you should rake enemies charging the deck, while others cover the route behind you. From the deck itself, you can drop down and flee toward the light of the barrel (Location 7J), or continue through the stilt buildings.
Outer Shacks: Culling Complete!
The exterior deck at Location 7F leads to a very dilapidated shack to head through (picture 1), then out to the roof of a single-story shack (picture 2), and then across a plank onto the final, two-story hut with a ramped exit (picture 3).
7G
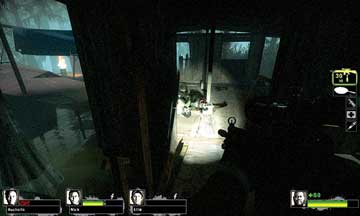
Depending on your Horde-handling skills, you may have additional enemies or simply stragglers to fend off. Don’t sprint away from the Horde, as subsequent locations are also filled with foes, and you risk being overrun.
7H
Instead, methodically move and cut down remaining Infected, and check the raised and ground level of all three outer shacks for additional objects before moving down onto the forest floor. Be extremely careful so that no Special Infected kidnaps one of your team and drags them back to the initial side of the bridge; you’ll need to remember the layout of the shacks to retrace your steps.
7I
Barrel Outhouse and Bridge
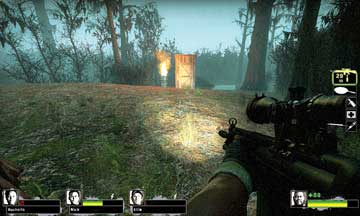
You’re almost at the Safe Room, so it’s imperative you continue to work as a team and not make any mistakes. Although you can avoid these two locations (7J and 7K) by attempting an Adrenaline-fueled sprint to Location 7L, a methodical trek to reconvene at the outhouse lit by the barrel (picture 1) is a safer choice.
7J
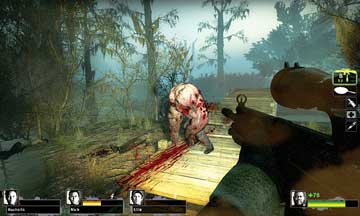
Drop any incoming Infected from the bridge, before heading toward the structure itself (picture 2), which may have a sizable Special Infected to fend off. If this is the case, split up and concentrate all fire on the foe.
The wide expanse of swamp allows you to cut down any powerful enemy in seconds if you’re working as a team. Snipe the heads of any wandering foes as you cross to the hilly area on the opposite side.
7K
Deck and Safe Room
With the wooden bridge navigated, there’s now a small hill to climb. A recommended route is to stay to the left, which allows easy ascent up the only set of steps to the deck that the Safe Room is attached to.
Spread out to catch any charging Infected in the cross fire, then quickly dash across the deck and wait at the door to the Safe Room while providing covering fire for the rest of your team.
7L
You can also try jumping up at the door entrance, too, if you’re adept enough. Saving stragglers who are being dragged off the deck by enemies can be a real annoyance, so try a mass flee into the Safe Room for best results.