
Left 4 Dead 2 Guide Walkthrough Dark Carnival
Tunnel of Love
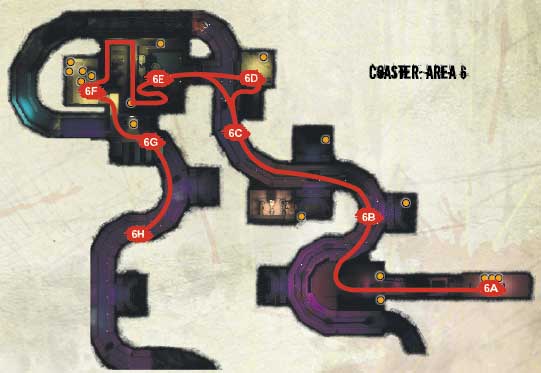
A Wild Ride: Coaster Overview
You have two wild rides to trek through on foot, the first of which are the darkened winding passages of the Tunnel of Love, which is considerably less romantic now that it is filled with the shambling undead. Wend your way into the swan maintenance room (of Love), up and into storage and air-conditioning rooms, and rain down death before you drop into a second tunnel to finish the ride (Area 6). Step out into the open, carve your way over a mesh fence, and start the coaster ride, which, alas, attracts Infected from miles around. They aren’t letting up, so you need to cover the rickety tracks to switch off the ride (Area 7) before fleeing to the Safe Room with the appalling green carpet.
+ The tunnel structure enables you to focus on foes behind and in front, with side ambushes only from alcoves.
+ You can rain death from the hole in the floor, but this is a one-way descent, too, so watch out your last teammate isn’t grabbed!
+ The coaster requires a sprint across its layout as fast as possible to turn the ride off again; only then does the Horde let up.
- It is usually from the tunnel alcoves that lurking foes appear, as well as the air-conditioning ducts. Be ever vigilant!
- The coaster area has a constant stream of Infected that never let up when the ride is activated. If you stay put, you face death!
- The coaster can be a death trap if you don’t move throughout the ride as a team, and use the covered section as a place to recover.
Corridor of Carnage
Start
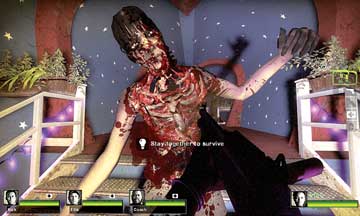
Grab everything you can from the Safe Room and then peer through the bars of the exit door, checking to make sure the coast is clear. Then step into the initial corridor, ready to strike foes—even those surprising you at close range - before they can strike.
6A
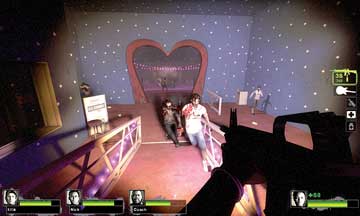
Move to the end of the corridor, which opens up into the tunnel, but beware of Common and Special Infected ambushes from the sides as you head down the ramp. There also are side areas to check for items.
Trouble in the Tunnels
6B
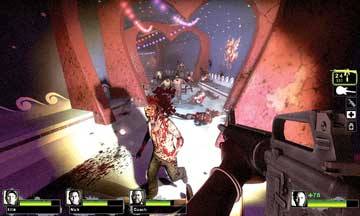
Step out into the curved tunnels and ignore the swan cars; they are deactivated. While one of your team rakes the dead end section of tunnel to your left, and another checks the cubbyhole ahead for items and lurking Special Infected, the others should hold this position from the enemies charging you from Location 6B.
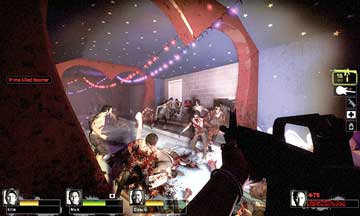
Reconvene and push your way along the tunnels, passing two alcoves and weaving around corners (expect Special Infected incursions in both).
6C
Continue to battle, using a Belt Item if you need to, until you reach a junction to the maintenance room. Kill the swarms crashing through the ductwork before you push on.
Swan Maintenance Room (of Love)
6D
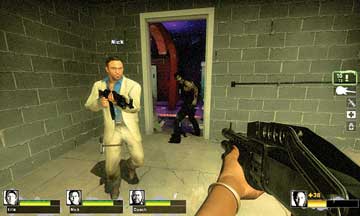
Location 6D is a small storage room you can access from an adjacent boiler room, too, and it is worth heading in to check for possible items, or if your team needs to take a temporary breather and heal or load up.
While one of you checks the exit door, ready yourself for a sprint across into the swan maintenance room. You may wish to clear the dead end to your right of foes, but if you’re keeping moving, this isn’t necessary.
6E
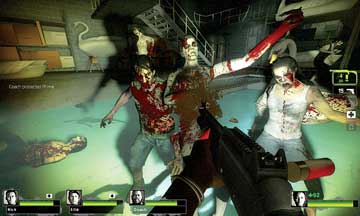
Once in the swan maintenance room, check the far-left corner for a handy item, and then immediately climb the stairs with the last teammate backpedaling to bring down anything chasing you.
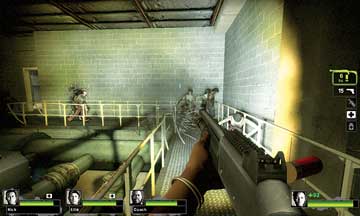
Move around the catwalk to the exit door, taking down foes with ease as long as you have enough teammates on the catwalk who can aim.
Death Down Below
6F
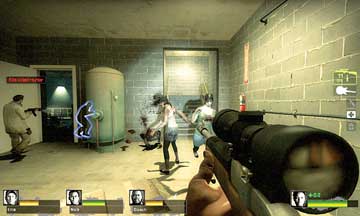
Run into the small, well-lit storage room and close the door behind you. Grab the weaponry you need while some of your team keep a look-out for foes coming down the small set of steps.
From here, move into an air-conditioning room, clear the area of minor foes, and check the location (6G) for any useful items. At the far end of the room is a hole in the floor. This leads to the continuation of the Tunnel of Love.
6G
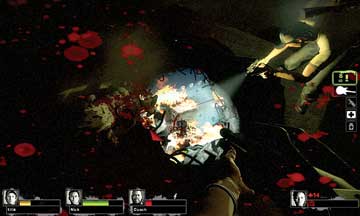
Don’t simply drop down and get swarmed by foes. While one of your team checks behind you, the rest should peer down through the hole and drop in a Fuel Can, Propane Tank, Pipe Bomb, or Molotov to thoroughly cleanse the area of enemies.
Next, each of you should drop down when the coast is clear (the first two should immediately face opposite directions so they can stop foes running in behind and in front).
A Makeshift Exit
6H
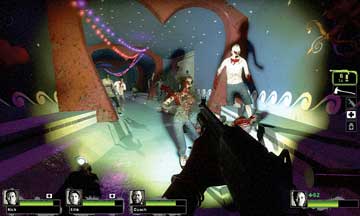
Expect nothing less than a full-scale Infected fracas as you wade through the last curved path of the tunnel.
As you near the exit (7A), which is a hole in the right-side wall, you can optionally check the dead end ahead of you and also ensure that nothing is lurking in the last alcove on your left.