Left 4 Dead 2 Guide Walkthrough The Parish
One-Way Street and Jazz Club
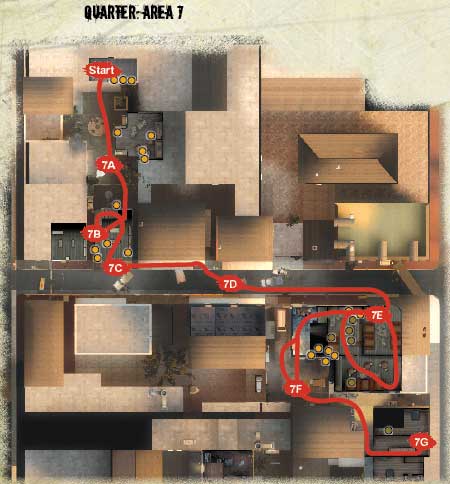
Claustrophobic Culling: Quarter Overview
The rear of the double-gallery house opens up into a once-beautiful courtyard, which is now filled with pitiful Infected. So begins a compact and condensed killing spree among the narrow alleys and interior rooms of the city’s historic quarter.
Step out onto a balcony overlooking a one-way street, and dash down it the wrong way into a Jazz Club where the hip cats have been replaced by slobbering fiends. Escape out the back into an alley that leads to an apartment and ascend to another balcony.
This overlooks a courtyard where a tractor and its carnival platform are parked. Once the route is reestablished, you must descend back down to street level, find Gator’s Speakeasy, and take a bite out of the Infected. After yet another alley run, force your way through a store and out into the open under the freeway to the biggest landmark and your key to freedom: the bridge.
+ A competent team should have a method of clearing house interiors with minimal problems. Check the front, left, and right areas for foes instantly.
+ Constantly switch position as you reach locations throughout each area: the person on point turns around and offers covering fire as the rest of the team catches up.
+ The threat of Infected incursions is less once a building interior has been cleared. Position teammates at exits to cover friends wanting to heal.
- Three sections of this map (7c, 7F, and 9D) have one-way drops. Descend at the same time or stragglers face death at the claws of Special Infected.
- The narrow alleys and numerous dark interiors favor strikes from Special Infected, so watch out when passing every open window and when stepping into every unexplored room.
- The tractor courtyard can be incredibly difficult because you must wait one minute for the tractor to move—and that’s after you’ve battled to switch it on!
No Quarter in the Courtyard
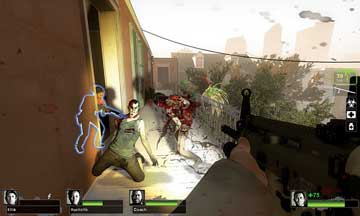
Fill up on supplies and weaponry (you’re likely to need close-range firearms rather than hunting rifles, although anything that pops heads is considered advantageous), and open the Safe Room door (picture 1).
Start
Step back and mow down any charging foes, then step out and have each teammate check a different direction (ahead, left, right, and behind) as you move into this once-tranquil courtyard.
There’s a storage room to your left, which one of you can quickly check. After that you all need to push on, between the sections of white fence toward the pink house. You can stand on either side of the entrance, then coax foes out into a hail of cross fire (watch for foes dropping down from above, though), or boldly step into the house.
7A
Painting the Pink House Red
7B
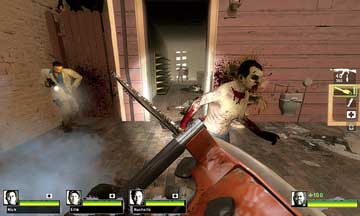
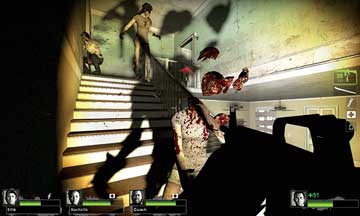
Move into the pink house, which has an empty (and boarded-up) storefront on the ground floor. Cull anything that isn’t your team and while one of you guards the stairs (helping friends with attacks from behind), the other three should race to the top, cutting through foes on the stairs and along the way to the upper office with Melee or close-assault weapons as they go. Check both floors for items before stepping outside.
Wrong Way Down the One-Way Street
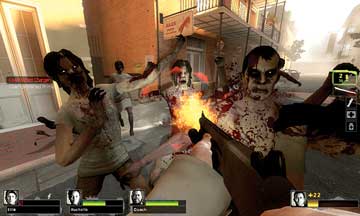
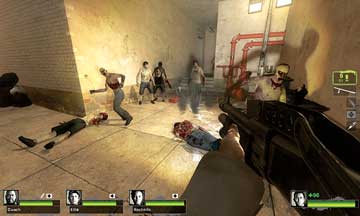
One of your team is likely to be carrying a longer-ranged weapon, and the occasion to use it is as you step out and look left, down a long, historic street with excellent sniping opportunities. With all of your team on the balcony, you are susceptible to Special Infected attacks, so move along the balcony, dropping Common Infected (picture 1) as you go.
7C
Drop down onto the white van and then to the ground. Have one teammate make sure the other three are on the ground before dropping from the van, as a prone Survivor on the balcony (or in the pink building) is usually impossible to rescue.
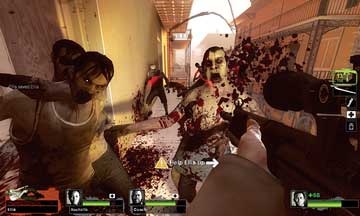
Edge your way down the long, narrow street. Expect a small mass of frothing undead (picture 2) to close in on the way, so prepare for this and for Special Infected attacks, such as that of a Charger, or even a Tank.
7D
This street has three interior locations to check: a small store just below and to the side of the balcony you first stepped on, a store on the right before the cluster of cars, and a “police on duty” garage on the left. Inspect these while others guard the entrances. Then head onward, watching for foes that drop in from rooftops and windows and dash in from alleyways.
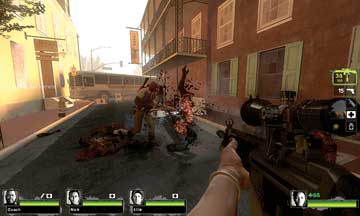
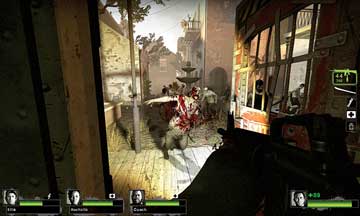
Advance toward a bus that blocks your path (picture 3). Have a Melee Weapon specialist (in this case, Coach) in the lead and back him up with teammates either side and behind. Watch for rear attacks as you edge toward the Jazz Club.
Going Clubbing
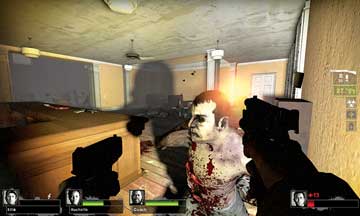
Step into the Jazz Club’s interior and clear the sitting area of foes; beware of possible Special Infected (including the ever-hideouswitch) as you do the shooting or slicing. Then step into the bar area (picture 1) where Infected roam.
7E
A variety of items can be obtained from the bar itself. Push through into the performance area and clear the zombies by the piano. The stage allows one of you to give covering fire to the others in the bar, as you can aim at foes on the balcony above and prevent Smokers from pulling up your friends and choking them, and other attacks from above.
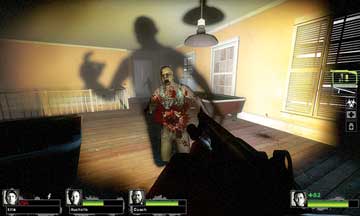
When the stage is cleared, move through the tables and up the stairs to the pool room balcony above (picture 2).
7E
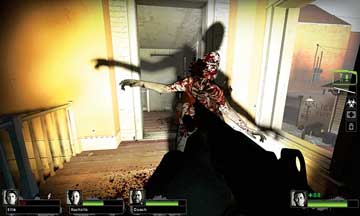
Expect additional attacks here. Those teammates with ranged weapons can use the tables to dodge around while blasting heads. Move across toward the storage room while watching very carefully for signs of a Smoker on the rooftop back in the one-way street. The open window (picture 3) is a nasty ambush spot, so have someone sidestepping and shooting to prevent this.
Check the storage balcony for items, watching out for foes climbing up and into this narrow ledge. Then be sure to drop down all at once.
Alley Oops
7F
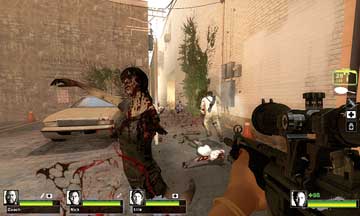
The storage room leads out into an alleyway where you can plan a variety of methods of foe disposal, for example, covering a lead team member at the start of the alley (picture 1) while they run to the covered entrance on the right (picture 2), and using explosive items usually found at the storage room to set any group of Infected on fire (picture 2).
Use the items you have, such as Propane Tanks and Fuel Cans, in this manner throughout your Parish excursion. Enter the covered entrance and locate the door on your left at the end of the alcove.
Staircase Climb
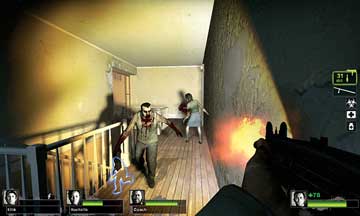
You must reach the third floor of this tall dwelling, and this means navigating two staircases and landings. Step through the doorway from the alleyway as a team, and perform adept covering maneuvers as you ascend: Have the lead teammate use a Shotgun or Melee Weapon and head up the steps for close-quarters slaughtering, while two additional teammates check the landing up and to the left and bring down foes they can see in the shadows. The final teammate checks for missed foes and ambushes from behind.
7G
On each landing, check the adjacent rooms (two team members can check, two should guard) for Items and lurking Special Infected, and then you must ascend to the next landing (picture 1) until you reach the top floor.
After looking over the chambers, move through the wall into the adjacent building’s bedroom. It has storage closets to find items in and a doorway that lead out into an open courtyard balcony (picture 2).