
Left 4 Dead 2 Guide Walkthrough Swamp Fever
Plantation Mansion
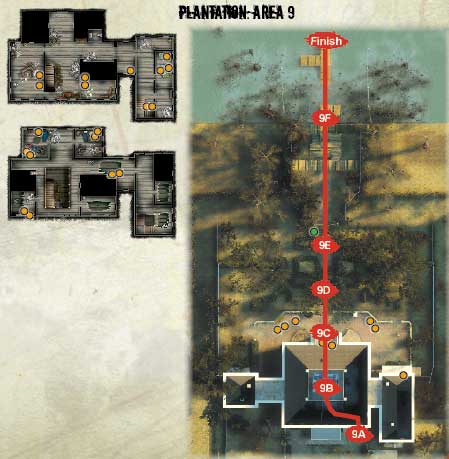
Mansion Interior Exploration
Enter the upstairs chamber with the teddy bears along the wall and a drop down to the floor below. This is the only way onward, so descend, but first rake any enemies from the safety of upstairs (picture 1). You don’t want to be savaged or vomited upon by a Spitter in this enclosed area.
As you exit this ground-floor room, you can simply turn right, ignore the once-grand staircase, and sprint for the main door leading onto the lower balcony (Location 9C). This is the quickest route outside.
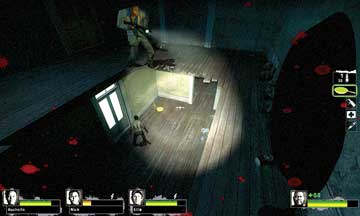
9A
A much better idea is to thoroughly ransack the mansion, taking out Infected that might otherwise attack you during the finale combat, but also collecting a wealth of randomly appearing items from most rooms. Remember, there are two floors and two wings of the house to search through, as well as two staircases and an entire upper balcony that provide excellent sniping spots.
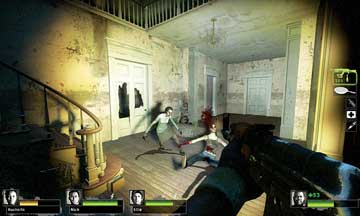
9B
Utilize the guide map to plot a tidy room-by-room search with one teammate opening the door, the second entering the room and securing it, while others guard the rear and check for ambushes from behind.
Mansion Balcony Exploration
Before attempting to flee, it is wise to learn the mansion’s more defensible areas; the balconies facing the rear gardens are just such a location. The balconies are just above the ground as well as on the floor above, and the upper balcony (picture 1) is reached by heading up either interior staircase.
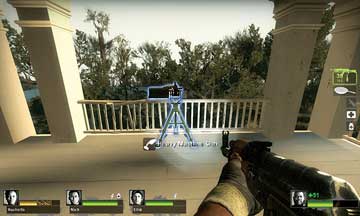
9C
The balconies have both tactical advantages and disadvantages, but there’s also a Heavy Machine Gun Turret (AKA Minigun) on the central upper balcony. This can ease combat if utilized properly.
Mansion Gardens Investigation
Now slightly overgrown and featuring scattered Infected lolling about, the rear gardens can be a confusing place. Learn the layout of the hedges from the guide map, and then check out the gardens. Near the chemical toilet kiosk, on either side of the stone forecourt, is a table, which usually has some helpful items (including First Aid Kits).
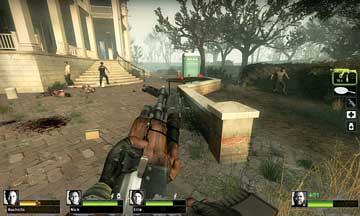
9D
As soon as your team checks in, move through the gardens, launching into any foes that are an immediate threat (don’t waste time searching for foes as you’ll have plenty to cull shortly!). Then access the radio near the locked rear gates.
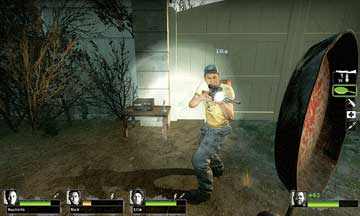
9E
You make contact with Virgil. Access the radio a second time and Virgil agrees to rescue you! Now it’s time to sit back, sip a Mint Julep, and wait for your boat to come in...
Finale: A Vigil for Virgil
Hold the Mint Julep, and prepare for hideous and mass confrontations with countless Infected as the Horde appears with increased savagery! Your plan is to simply wait for help to arrive; Virgil detonates the gates adjacent to the radio when he’s ready for you to come aboard, and that only occurs after you fight a mass of Infected, various Special Infected, and two waves of Tanks.
They appear over the perimeter walls of the gardens, as well as drop down from the mansion’s roof. As tactical planning is the key to your survival, there are plans you can try to minimize your chances of being overwhelmed.
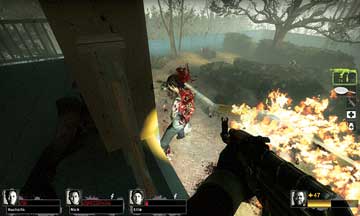
For example, you can split into two teams of two; the initial pair can man the upper balcony, with one person cutting down hordes using the Heavy Machine Gun while the other guards the turret from encroaching foes from each side (picture 1).
Meanwhile, the other two should move to the radio, and then back up toward the mansion forecourt, as it’s a little easier to strafe around charging foes without hedges impeding your movements.
The low walls are helpful, too, as they can halt a foe’s full-tilt charge, allowing you extra seconds to cut down enemies. If the balcony-based duo is doing their job, they can cut down most Infected while the others move onto the lower balcony.
Using all of your inventory is vitally important. Create a blanket of fire with a Molotov or meet a cluster of easily decimated Infected using Bile or the Pipe Bomb. Make sure you tell your teammates when you’re about to throw a projectile (so only one is used at a time), and usually aim for the middle of the gardens where you’ll attract the most enemies.
Similarly, it’s definitely time to administer as many chemical enhancements as possible. Injecting Adrenaline (picture 2) not only helps you avoid the Tank, but can help you cut through foes with a melee weapon if you’re low on your main weapon’s ammunition.
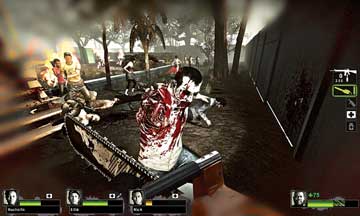
However, there’s a fine line between focused savagery and reckless bloodlust; don’t wander into the gardens away from your team and get pounced on by a Hunter!
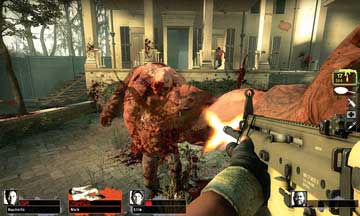
The arrival of Tanks (one or two at a time, in one or two waves with more Infected between the waves, depending on the difficulty level) becomes a real problem, as one strike from a Tank (picture 3) can really sting, knocking you off your feet.
Your friends may be too preoccupied to help. Therefore, it’s good for all to focus on a single Tank as soon as it hops over the fence. Set fire to it, blast it with your hardest-hitting weapons (such as the Grenade Launcher, Assault Rifles and Auto-Shotguns), waylay it by covering it in Bile, and strafe to avoid its concrete projectile.
Boat Escape
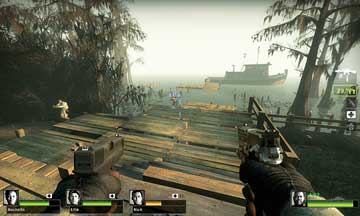
After the second wave of Tanks has finally been defeated, which should take place close to the radio so you can flee the area instead of wading through yet more foes, the white gates are ripped apart. You’re able to escape the gardens, fleeing down a long jetty and across the water, to the waiting boat.
9F
Use Adrenaline if you want to sprint to the boat as quickly as possible. Stand on the boat itself, then cover your remaining teammates so they can run instead of slowly retreating; those Infected Hordes aren’t slowing!