
Left 4 Dead 2 Guide Walkthrough Dead Center
Maul Near Liberty Mall
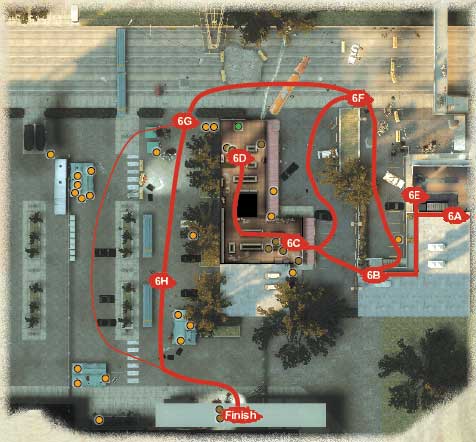
Paging Mr. Whitaker
The reinforced door at the rear of the gun store won’t open. However, the intercom to the right of the door is accessible. It allows you to converse with the shop’s owner, who’s holed up on the roof with more ammunition and weaponry than a small army.
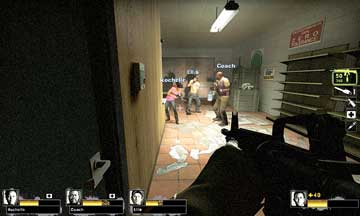
6A
In his haste, however, he’s forgotten to grab some sugary cola to keep him up and peaking. It falls to your team to locate the sustenance. Deliver the colas (located in the Save 4 Less store) to Whitaker (via the hatch on the door at Location 6E).
In return he’ll clear your route into Liberty Mall (near 6F). It’s time to plan this shopping excursion properly!
Just for the Taste of It: Part 1
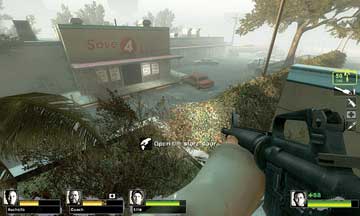
6B
Positioning your team and electing the cola retriever is of paramount initial importance. Everyone should exit the gun store, while the person charged with delivering the cola making a mental note of location 6E.
To quicken progress, the entire team should then move along the boarded-up apartment balcony to the location shown in the picture. This shortcut allows you to reach the door to the Save 4 Less store instantly.
Just for the Taste of It: Part 2
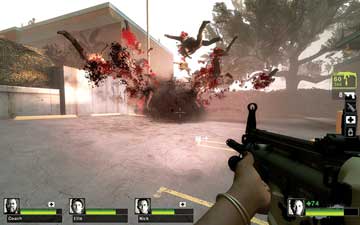
6C
However, as soon as the door opens, a store alarm sounds. This alerts the Infected Horde, and dozens of charging Common Infected storm the premises. This can prove to be a hideous problem if you haven’t positioned your team properly:
One or two of your team should stay at Location 6B, perhaps standing and strafing along the hedge between the upper and lower parking lots.
This height advantage can prove critical, and allows you to siphon off some of the horde from the rest of the team. Just try not to get overwhelmed!
Two or three of your team should open the store door, raising the alarm. One or two of the team should remain at the entrance, as this is the primary location to which the swarm of Infected runs.
You can hold this area relatively easy, with cross fire from your friend on the hedge. A Pipe Bomb (as shown) is an incredibly helpful asset, as is any other Belt Item.
Just for the Taste of It: Part 3
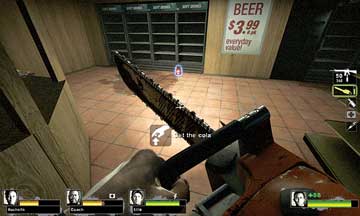
6D
While your teammates fend off the Infected outside, preventing them from reaching the store interior, one of the team should move quickly through Save 4 Less and grab the cola from the far end of the store (6D).
Warning! You cannot use weapons of any kind when you’re carrying the cola, but you can push Infected away with the cola. If your friends are doing their jobs, you should be able to return to Location 6C, drop the cola, and finish off the Horde.
Just for the Taste of It: Part 4
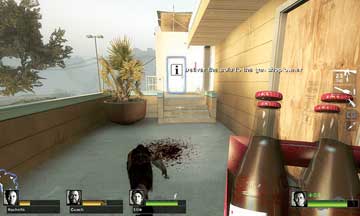
6E
When the Horde is all but dispersed, the cola carrier should run toward Location 6B, not via Location 6F (around both parking lots, which wastes time), but to the wall below Location 6B.
There the teammate should throw the cola to the teammate who was strafing along the hedge, or who has already retreated to this point.
Once the cola is caught, bring it around the balcony to the hatch door (as shown). Operation “thirst quencher” is a complete success!
Whitaker’s Tanker Takedown
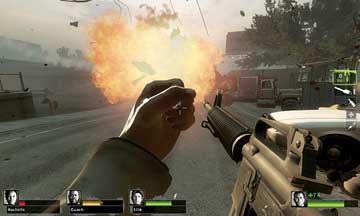
6F
Yeehaw! Whitaker lives up to his part of the bargain. He launches a rocket at the parked gasoline tanker that’s blocking the route into the parking lot of Liberty Mall.
While the teammate who delivered the cola runs along the hedgerow to rejoin the team, the rest of you should heal up, and watch the detonation. Don’t get too complacent, though; expect more rushing Infected at any time!
Prowling the Parking Lot
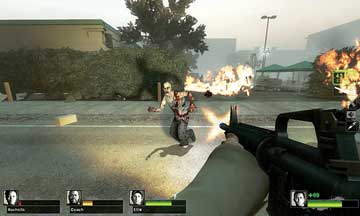
6G
Step over the smoking rubble that was once the mall wall near the tanker remains. Move to the gap in the hedge, which is your entrance to the Liberty Mall parking lot.
There is likely to be a gaggle of Infected near some tents. Tag them as a team, or for a mass defeat, lob in a Molotov (or other Belt Item) so you whittle down foes quickly and effectively. Then step through, past the sign, and move toward the CEDA tents.
Final Stand at the CEDA Evac
The remainder of your trek to Liberty Mall is fraught with danger, as Special Infected try a last-ditch effort to waylay you, and you usually have a host of Common Infected to fend off, too.
Certain situations call for different measures. For example, it is usually a sound plan for a couple of your team to clear out a CEDA tent before blasting or swiping away at the entrance, creating excellent cross-fire opportunities.
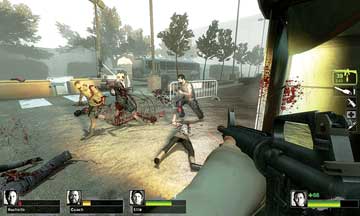
However, further along the parking lot, stay away from the parked cars because brushing up against one (and definitely shooting or standing on it) starts the car’s alarm and triggers a Horde attack.
Of course, if the alarm is raised, you can stand on the cars so the Infected take extra moments to reach you.
Expect Special Infected, such as the Charger, to attempt to cripple one or more of your team.
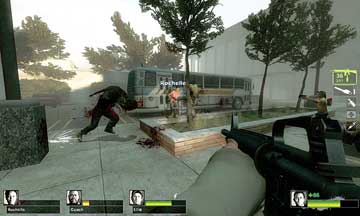
6H
Checking all directions as you gradually push forward is a sound plan, or simply race toward the mall, bolting into the Safe Room and blasting from the entrance until all your team are through the door and inside.
The Safe Room is easy to spot. It’s the entrance between the two piles of corpses. Welcome to Liberty Mall!