
Left 4 Dead 2 Guide Walkthrough Dark Carnival
The Barns
.jpg)
Seeking the Stadium: Barns Overview
Named after the petting zoo located in three large connecting outbuildings, the barns are now home to a large collection of rotting animal corpses. But before you visit them, you must navigate a food court with barker huts and burger vans en route to your second encounter with Moustachio.
After testing your might, test your mettle in the bumper cars (beware of Tank s!), and wind your way to a raised area with more carnival sheds to check out (Area 8), including the third and final Moustachio encounter.
Then weave through and over the roof sections of the barn, dash to the switch at the turnstile (Area 9), and gate-crash the stadium itself. Bring a shot of Adrenaline and something sharp you can swing wildly, too.
+ Taking a shot of Adrenaline solves the first Moustachio game and allows you to sprint easily through Area 8.
+ Try launching a grenade in the final Moustachio game and dive into the barn because it’s easier to keep secure.
+ The turnstile and stadium entrance requires hacking, chopping, stabbing, and harsh language. But sprinting and Adrenaline make it better.
- The Tank is fearsome at the best of times, but when he uses bumper cars as projectiles, it’s time to back away—quickly.
- The barn’s interior areas are safer, but the roof is not, so keep away from the edges to avoid being pushed back down to the ground.
- The turnstile switch takes a while to activate, so don’t get hemmed in by the Horde that arrives. Stay mobile.
Slaughter under the Sign of the Oak
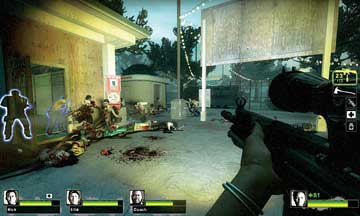
Start
When you’re tooled up and ready to go, break open the barred door and have a couple of your team members stay behind in cover, coaxing any Infected milling about under the large Screaming Oak sign.
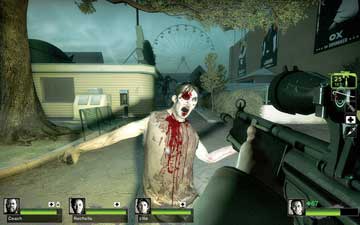
Meanwhile, two others can move into the area, and create cross-fire opportunities, cutting down foes as you move around the left corner and into a long, straight pathway with a grass verge (picture 2). Note that you can climb the Meat Burger trailer on your left if you need a vantage point. Or, if that way is blocked, head directly into the barker huts, and ignore Area 8B.
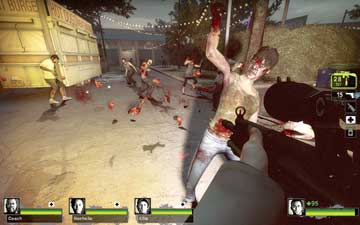
8A
Panic at the Picnic Tables
The pathway along the grass verge is relatively linear, and you can’t access the cluster of barker huts (near 8C) until you move into a covered picnic area at the far end of the path. Expect ambushes from all Infected types as you clear the area of foes and check the vicinity for items.
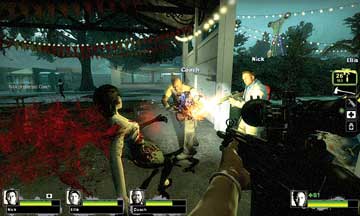
8B
Welcome to Crash City
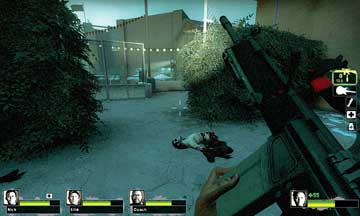
There’s little to search for on either side of the bumper car ride, which you should run to next, although the barker huts can be a good place to get ambushed by Special Infected. However, it is more likely that your foes are waiting as you hop over the green barrier and enter the bumper cars structure itself (picture 1).
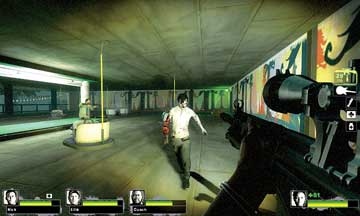
8D
If a Tank appears during this time (and pray that it doesn’t), flee the area immediately, even if that means retreating: The Tank can smash bumper cars about, and if one collides with you, expect massive crushing damage!
Head through the exit diagonally left of the entrance, through a small storage room, and outside to the rear of the building. Beware of Infected dropping down from the bumper car building roof, as well as lurking horrors in the shadows to your right. Move forward to the gap in the hedge (picture 2), which offers a view of the Safe Room and stadium!
8E
Battles Before the Barn
The stadium is sealed and the fence is too high to climb (especially for Coach), so wander along the elevated area into yet another food court with a scattering of structures, all of which are closed due to the zombie apocalypse.
8F
Prepare to fire on foes, including Special Infected that dart out from behind these buildings, as you make your way past the third Moustachio carnival game toward the barn’s entrance (Location 9A).