Left 4 Dead 2 Guide DLC The Passing
Survival Maps
Map DLC1A. [The Passing] Riverfront
1
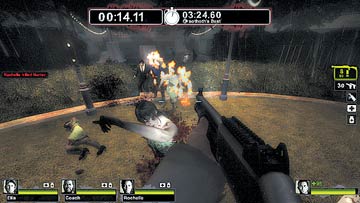
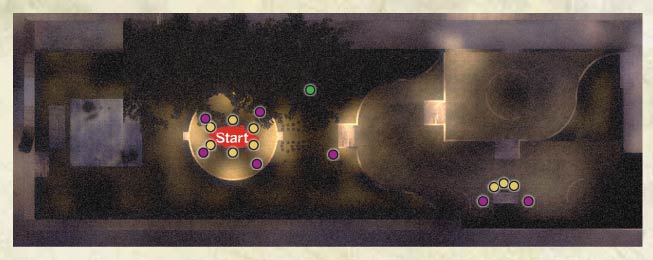
The wedding gardens is the location for fending off an incessant Infected attack. The entrances to the gardens have been sealed, meaning only the stepped area, gazebo, and stage are accessible to the humans. And with limited lateral movements, you must try to utilize as much of the environment as possible, venturing away from the gazebo when you can.
2
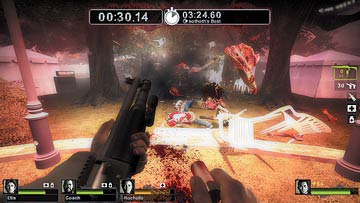
The gazebo (1) is the place to make much of your stand, although it’s in the middle of the map, so you must agree as a team in which direction you want to flee so you aren’t split up. Chargers are a particular problem in the narrow spaces, so throw out the canisters in all directions and fire on them to add a flaming or explosive layer of protection (2).
3
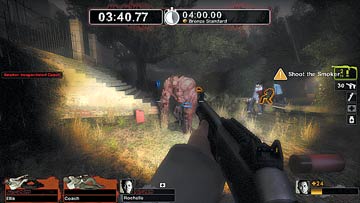
Over by the lower stepped area (3), you can hop on the hedges and run along the tops of them, which enables you to last a little longer before you’re swarmed.
4
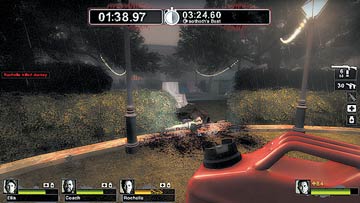
The stage area (4) is wider, providing a little more room. But don’t get trapped and swamped in either of the tents! This
is a good place to lure larger foes to, before others at the gazebo move forward to finish it off.
Map DLC1B. [The Passing] Underground
1
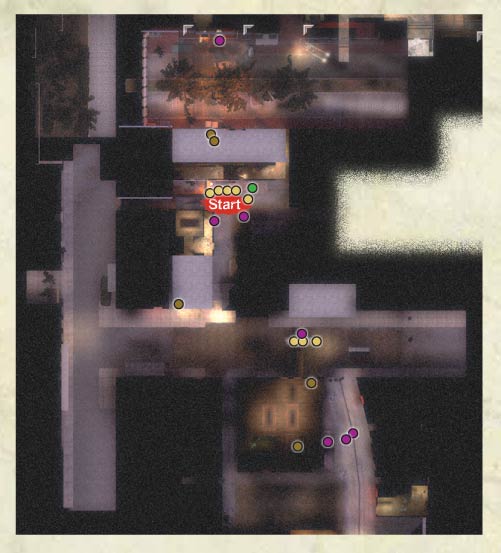
The small, sunken cafe, tenement apartments, plank, half-finished warehouse, and Jazz Club courtyard make up the scene for this game of Survival. This larger area offers many more places to hole up and keep that timer ticking. Unlike the other game modes, there’s an opening in the alleyways that leads to and from the main courtyard.
2
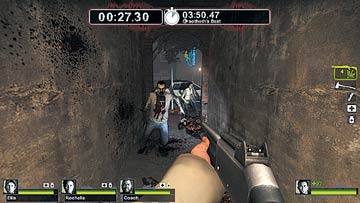
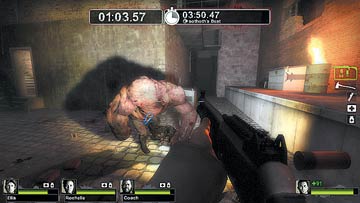
The main alleyway (1), which is the least-protected part of the level, holds most of your ammunition and items, so grab a full complement of everything before the radio is activated. Then move (as a team) to one of two locations: down the open alley and into the Jazz Club courtyard (2), or into the cafe and tenement building (3).
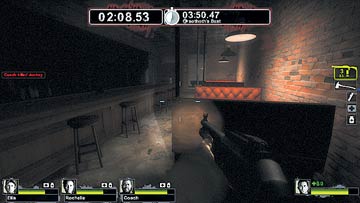
3
The courtyard offers a wide area, and some Fuel Cans, where you can maneuver around foes much more easily. Whereas the tenement building offers smaller and narrower rooms to fire out from, which is great against everything but a Tank.
4
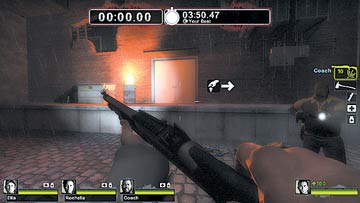
The warehouse (4), accessed from the courtyard or the plank, is a great location because you can escape back into the courtyard and use the corridors and staircase to dodge around foes.
Map DLC1C. [The Passing] Port
1
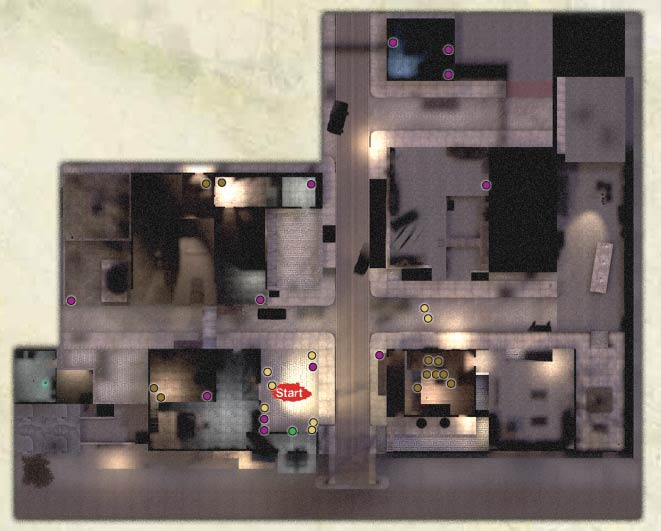
A segment of the Port locale is the scene for your final Survival challenge. The northwestern section of the map is blocked off, forcing you into the warehouses, small bar, open sloping street and general store, and the connecting roads in between. The tactics you tried during Scavenge and Campaign modes help you here, too, in your desperate scramble for survival.
2
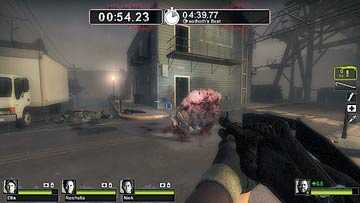
Keep moving, or you’ll surely die at the hands of a Tank, which should be attacked in the main, central location (1), away from the cars it can use to crush you. Be sure you inspect the bar for additional (and better) weapons, and step up onto the vehicles to gain a little height and protection from the Hordes.
3
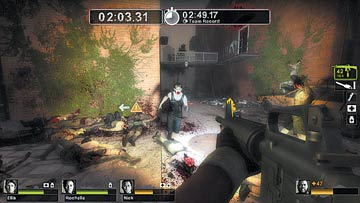
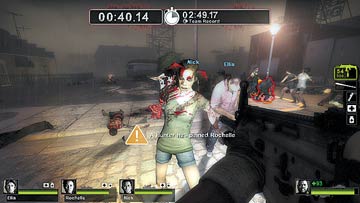
A clockwise movement works well here: into the warehouses (2), across to the general store (3), and then up the concrete steps and into the upper pool room of the bar (4). Try variations on this route, and never split up!