
Left 4 Dead 2 Guide DLC The Passing
Scavenge Maps
Map DLC1A. [The Passing] Riverfront
1
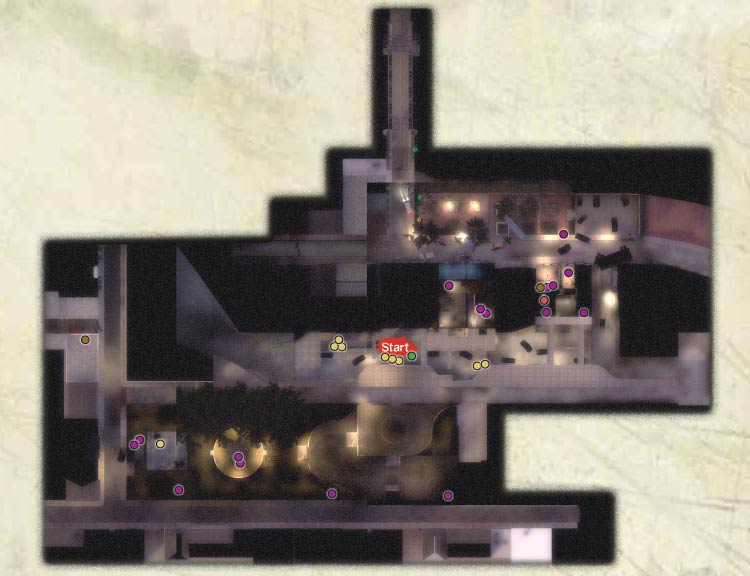
The entire expanse of Riverfront is accessible, with the generator positioned on the upper alleyway before the deck bridges of the tenement apartments. With the knowledge you gained from reading through the Walkthrough, you should be able to plan your Fuel Can gathering accordingly. The main problems for the humans are the numerous hiding places and narrow routes.
+ Splitting into pairs can be an excellent plan, as the gardens and the alley/riverfront areas are both far from each other, meaning the Infected can’t easily mount a full-scale attack on your team. Note the additional access to the riverfront from the alleyway (1).
2
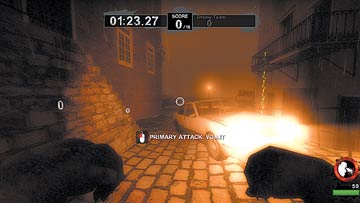
+ Defending your generator (2) from pesky Spitter goo and other unmentionable oozings is key. Standing atop the hedges and in the apartments and providing cover is most helpful. The narrow, vertical level makes spotting foes more challenging.
+ The flat and relatively maneuverable landscape of the gardens is a great place to begin your Fuel Can wrangling. Throwing Fuel Cans in a chain to each other is another plan, or from the lower cobble streets to the upper areas.
3
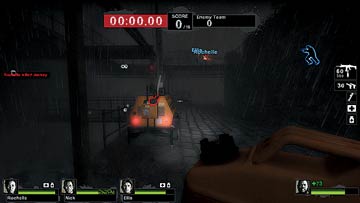
- The Riverfront has additional open windows above the main streets (3) where Special Infected can easily wait and pounce. For this reason, only come here when you need to and bring friends who can offer covering fire.
4
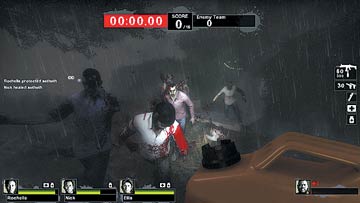
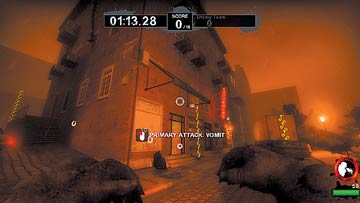
- The entrances, stairs, and doorways scattered throughout the environment (4) are locations where the humans must tread, and the Special Infected must target. Spreading spittle, grabbing and choking foes, positioning Hunters, Jockeys, or Chargers in areas where you can predict human movement is the key to success!
- The advantage of height is always key to a successful repelling of the humans, and the lack of access to the generator is key to your success. Hiding behind hedges and grabbing the enemy from behind never gets old.
Map DLC1B. [The Passing] Underground
1
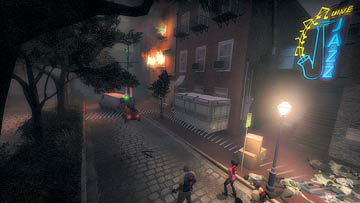
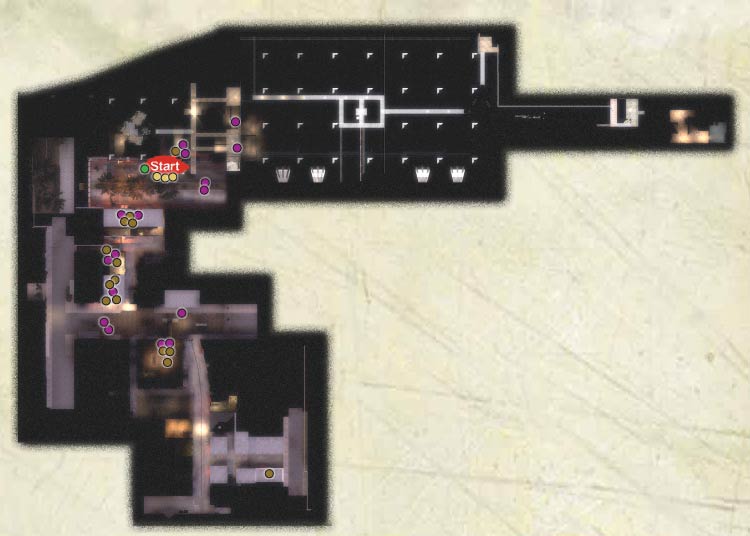
Offering up the entire Underground area as a scavenger’s playground forces the humans to figure out which location they want to visit first: the beginning of the tour under the Jazz Club, or the alleyway, warehouse, tenement buildings, construction site, and back to the Pool Hall. Any other locations are too far away to contain Fuel Cans and should be ignored.
+ You begin your refilling escapades in the courtyard near the Jazz Club (1). This provides a good deal of open area, and you’re not generally overlooked by troublesome Spitters (except at the balcony of the club and the warehouse windows).
2
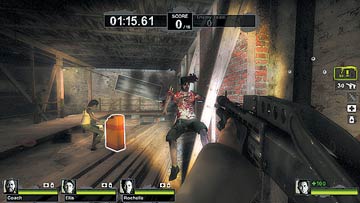
+ Steam into the Jazz Club for some easy Fuel Can pickups (2), but venture no farther than the start of the long corridor, as there aren’t any more cans down here. Don’t risk running too far from the generator. Although a good plan is to
go for the farther cans first before the Infected have time to plan a concentrated attack.
+ The vertical nature of this map, especially when you’re scaling the tenement blocks, allows you to dodge up and down as well as strafing around. For example, throw a Fuel Can down from the warehouse or Pool Hall to a waiting friend to quicken the return journey. Use the extra ladders at the Pool Hall, too!
3
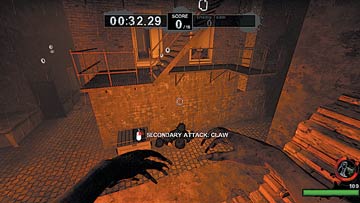
- The humans can easily get bogged down (literally so at the construction area near the Pool Hall), so play on these fears and drag your foes farther from the generator at all costs. There are dozens of places to hide, from the “give blood” bus shelter in the courtyard to the fire escape (3) and construction site pipes.
4
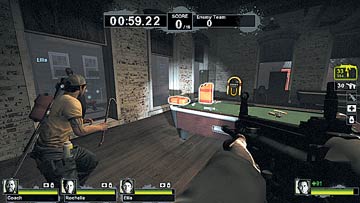
- The Pool Hall (4) is the farthest the humans venture, so provide multiple attacks here. The humans usually return via the alleyway, so hiding in the tenement block or warehouse is excellent because you can change your routes to intercept them if you’re higher up.
- The warehouse between the courtyard and the alleyway (and plank to the tenement block), is perhaps the best place to lurk. You can access it more easily than the humans by climbing the walls both outside and in, and you can attack or help your brethren out relatively quickly, no matter where they are attacking the humans.
Map DLC1C. [The Passing] Port
1
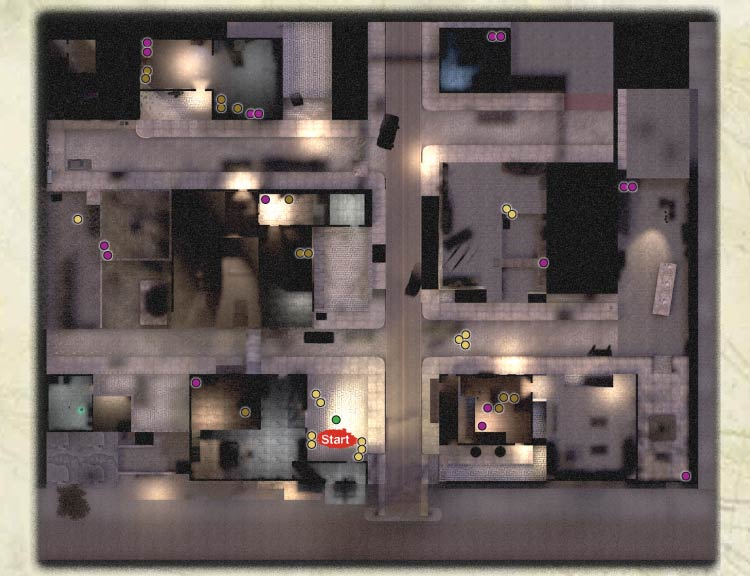
This is the most familiar of the three new Scavenge locales, seeing as you’re working in the exact same area as you do during the Campaign mode. For this reason, all of the tactical knowledge contained in the Walkthrough is of paramount importance here, too. Learn all of it and the additional plans listed next.
+ The generator is in a wide, open area (1), which allows you to see the enemy coming. There’s always the same additional weapons in the nearby bar, too, as well as in the back of the nearby white van.
2
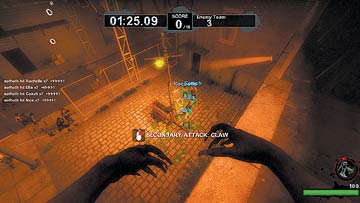
+ Vary the routes you take, sticking together to avoid a haphazard Infected response, and always take both Fuel Cans at a particular location. Teammates provide cover and additional carrying responsibilities.
+ The streets are well-trafficked and wide enough for you to dodge many of the enemies as you struggle back to the generator. You can watch and cover your friends over much of the environment, which is handy.
- The rooftops of the buildings (2), especially the top of the shipping warehouse, are great for lurking Spitters and Smokers. The fence across from the generator by the sloping warehouse entrance and the nearby building interiors are excellent places for Hunters and Jockeys.
3
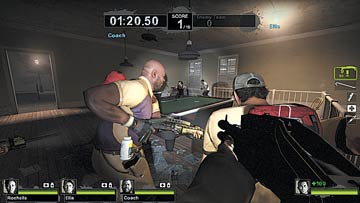
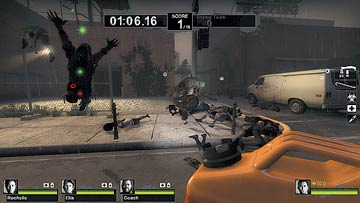
- Mounting a full-scale attack on the enemy in a single, well-trafficked location is an excellent way to minimize the humans’ Fuel Can grabbing. In this example (3), multiple foes are lurking in the bar, creating havoc at the doorways and on the stairs.
- Shoving cars into foes can incapacitate more than one of them. Charging from Bill’s resting place is another fine plan. Using the bar building entrances and the elevator to lurk before bombarding the generator area is another great activity.