
Left 4 Dead 2 Guide Walkthrough Dead Center
Mall: Kappel’s and Middle Mezzanine
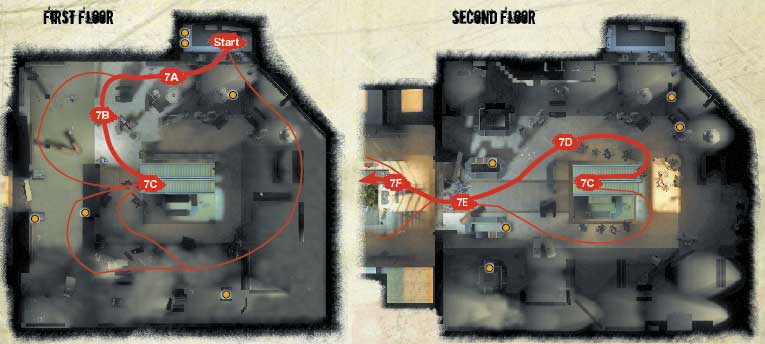
Chop ’Til You Drop: Mall Overview
Liberty Mall was a fine place to shop, but it is now a horrific place to die, which may occur if you don’t plan in advance and know exactly what threats you face, and what tasks to complete.
The layout of the mall is initially confusing, but once you realize you’re heading through two floors of Kappel’s Fashions (Area 7), then descending into Floor 1 before heading back up to the second floor for an escape through a maintenance corridor (Area 8), you begin to understand that moving vertically is as important as horizontally.
The final section (Area 9) begins in either a toy store or a service tunnel (depending on the A.I. Director) and pits you against the Horde as you attempt to shut off an alarm, after which a final frantic rush between floors to a half-finished Safe Room concludes your chopping spree.
+ More than other stages, a methodical approach in the mall helps you survive and thrive; keep moving, but not too quickly.
+ Scattered items are more numerous than you think and the balconies offer excellent Belt Item combat opportunities.
+ Look for visual cues, such as toppled planters, mall posters, and signs so you know where you are.
- The layout of this mall is confusing: There are many dark corners, and shuttered gates you can’t access.
- If you move too far ahead or behind your team, expect a savaging. “Stay together and live” is a mantra to repeat.
- Special Infected love to leap or lasso you from above, and falling two floors means certain death.
Kappel’s Fashions
Start
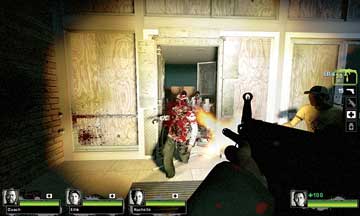
Your Safe Room is a connecting room to the menswear department of Kappel’s Fashions, but there’s no time to browse. You’ll usually have Infected battering the exit door.
Clean them away from the bars before opening, and (depending on the number of foes) you can watch them tumble into the Safe Room and then slay them from different angles, or tag them with quick bursts to the head as you step out of the Safe Room and turn right.
7A
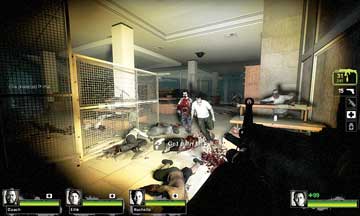
Move along to the right, with one of your team checking the darkness behind you while others concentrate on foes ahead and to the left of you.
The Action Escalates
7B
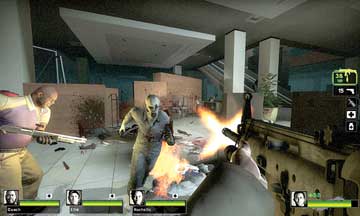
Move around this department store floor, staying reasonably close together, as the darkness and scattered shelving, pillars, and walls provide a wealth of enemy ambush points.
It is important to push through this scenery toward the large, low display table in front of the escalator. Ignore the dark cubbyholes and corners unless you’re desperate to check for items, and instead remain at the base of the escalators in the event of a mass attack because there’s more room to maneuver.
7C
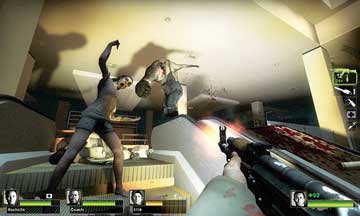
Climb the escalator to the second floor of Kappel’s Fashions, but be aware that you’re particularly prone to enemy (and specifically, Special Infected) attacks due to the narrow steps you’re ascending.
Avoid becoming hemmed in by heading up both sides of the escalator and the middle sloping section, too, so you can avoid as many attacks as possible.
Head up the escalator as a group, as you should expect considerable resistance on the next floor, where it’ll take more than one or two Survivors to defeat the frenzied undead.
Checking Out of Kappel’s
7D
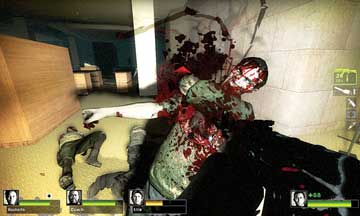
The relentless mayhem continues on the second floor of Kappel’s, so stake out a specific portion of the department store, clear it of the shambling Infected, and then move on to a subsequent section of the store.
There are dark areas on each side of the escalator where you may find more waiting foes who attack you from behind if you don’t deal with them now.
7E
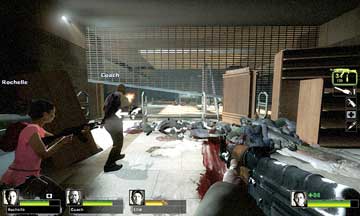
Your plan is to slowly walk to the half-open security gate where a mass of bodies is lying, some of which you may have just killed.
With one team member checking behind you (as Infected are still likely to ascend the escalator you just used), move to this gate and clear the mall floor beyond.
This gate offers reasonably good protection as Infected have limited maneuverability through the gaps.
Free-for-All in the Mall
7F
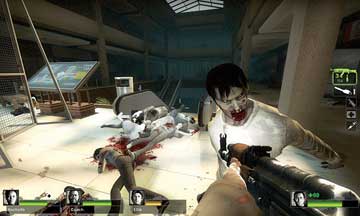
The mall mezzanine has balconies on each side and a central escalator. When you reach the top (7F), descend as quickly as possible so you can spread out when you reach Floor 1 (Location 8A) below.
The area beyond the escalators is blocked, meaning you only need to spend additional time in this mezzanine if you’re searching for items.
If you have masses of Infected attacking you along both balconies, cut off one of their routes with a Molotov, then concentrate on the other area where foes are swarming. As soon as it’s safe, move down either escalator to Floor 1.