
Left 4 Dead 2 Guide Walkthrough The Parish
Mayhem on the Mean Streets
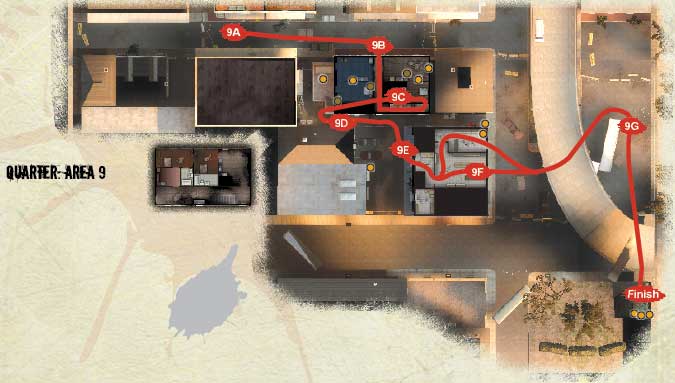
Further Bombardment
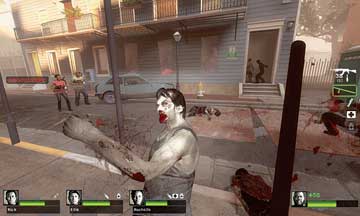
Step out into the street, and optionally watch as the military’s aerial bombardment of the city continues. Then begin a period of zombie bombardment (picture 1), defeating a mass of foes alerted by the explosion.
9A
The same tactics you used in the previous, one-way street apply here. Offer a lead Melee Weapon-wielder some ranged support while checking the balconies, rooftops, and behind you for signs of Special Infected and ambushes.
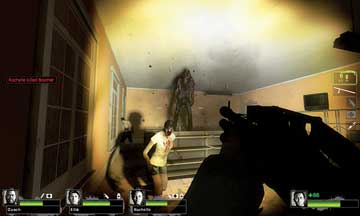
This street has many boarded-up dwellings, but the store adjacent to (right of) the one you emerged from has an interior you can check for both items and Special Infected (picture 2), but have a friend guard the doorway from attacks on the street.
9B
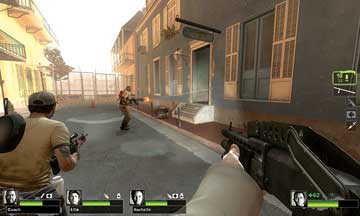
When any Chargers have been dodged, move down the street to the only available exit: the entrance to a large blue building with a sign over the front door that reads “Gator’s Speakeasy” (picture 3).
Gator’s Speakeasy
Move into the two-floor speakeasy, and conduct room-to-room searches using tactics already familiar to you (one player storms in followed by two more checking the left and right sides, with a fourth guarding the rear). Quickly clear the ground floor of both the Infected and items.
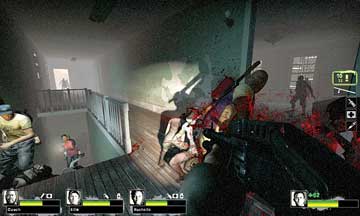
9C
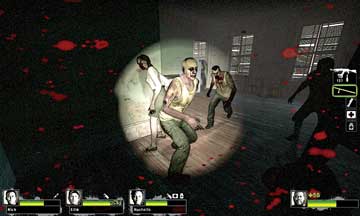
9D
Then scale the stairs (picture 1) and either rush out of the building via the long landing, or check the upstairs apartment rooms (picture 2), where more items and Infected are found. When the Speakeasy is cleared, or when you wish to leave, step onto the roof of a ground-floor extension, and drop down. Be certain all team members are safe because this is a one-way drop. Check the alleyway for items before heading off (picture 3).
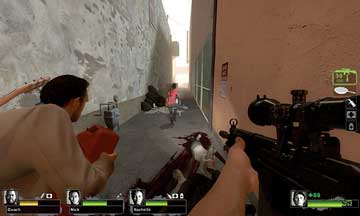
Shop Soiled
There’s an opening leading to a small parking area behind a store (picture 1), which shouldn’t present too much of a problem. The red brick building on the left has two entrances: The far one leads to a storage room with items, but the left allows you to wind through a back room and into a ruined general store, which offers windows out into a large expanse of tarmac and the main bridge.
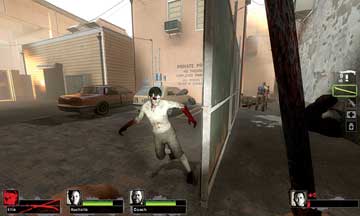
9E
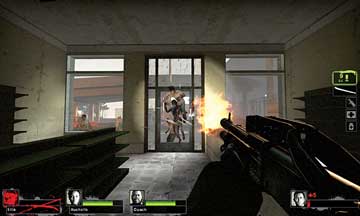
Push through the store, watch for foes on the left and ahead of you as you go in, and cut down anything trying to claw its way in (picture 2).
9F
Take It to the Bridge
Head out into the street, optionally coating the area to your left with a Molotov (or blast a Fuel Can you may have carried here) if there are a number of Infected milling around (picture 1). This can help you sprint under the freeway and around a couple of truck containers.
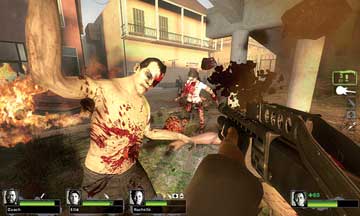
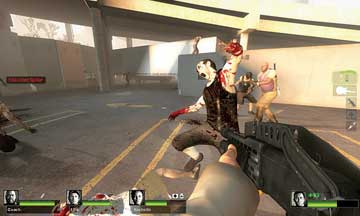
Move around the tipped-over container so that you’re facing the bridge structure and sprint forward, cutting down a final gaggle of ghouls on the way (picture 2). Have a couple of your team wait at Location 9G to ensure that all of your team can run into the Safe Room at the base of the bridge.
9G