
Left 4 Dead 2 Guide Walkthrough Dead Center
Security and Safe Rooms
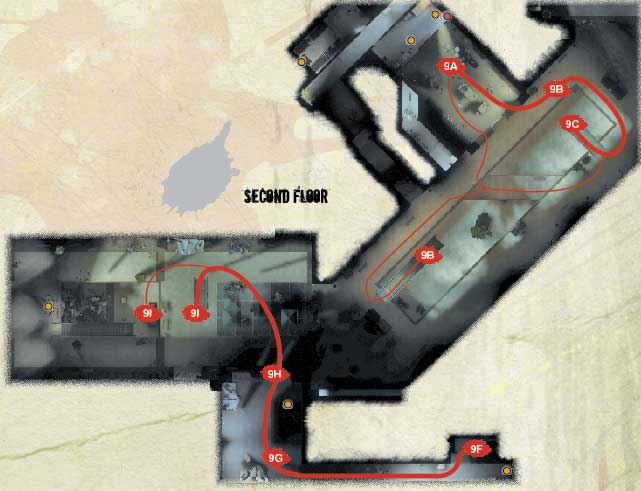
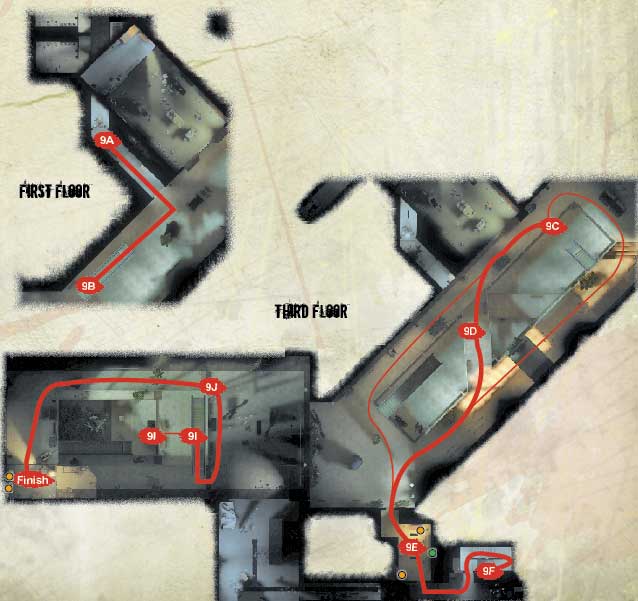
Window Pain or Tunnel Trouble
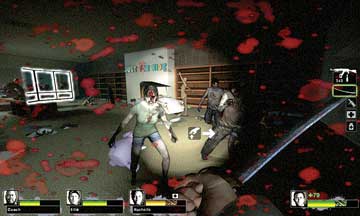
9A *Second Floor
Time to take a (albeit shallow) breather: You should have grabbed the Health and items, loaded up your weapons, and slaughtered any Infected inside either the Just for Kidz store, or the Service Tunnel (depending on which floor you appeared on). There are two methods of ascension:
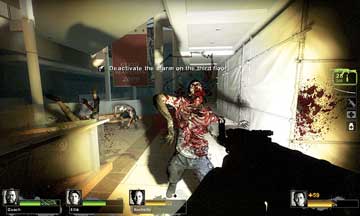
9B *Second Floor
Tunnels (First Floor) : Quickly exit the service tunnel, and before the Infected swarm (now the alarm is sounding), be sure your teammates are backing you up.
Turn right, moving quickly to the escalator (1F 9B) you can see. This leads up to the Second Floor; usually it is better to spin 180 degrees around and step left onto a long balcony.
Dash forwards to the diagonal bridge and cross it to the second escalator (9C). The alternate paths now merge.
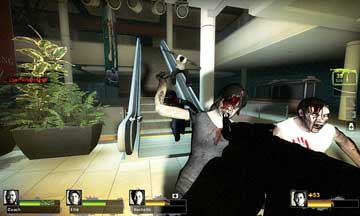
9C
Just For Kidz (Second Floor): If you’ve been cunning, you’ll have sliced and diced any Infected inside the store so you didn’t damage the store’s windows, as that is when the alarm sounds.
When there’s no more foes to face, heal up, and move so your entire team is at the window, and only then smash it, giving you the most time before this section of Mall mezzanine is swarming with Infected.
Although the icon showing you where the alarm is located is to your right, the escalator is on your left. Cut down any Infected (2F 9B) and move around the glass balcony to the escalator (9C) and ascend it without delay.
Don’t Be Alarmed
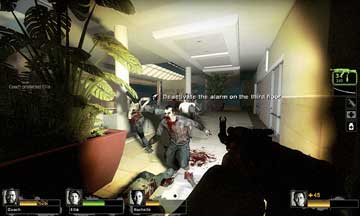
9D
By now, you should have shot yourself with Adrenaline, making the sprint all the more speedy. Once on the third floor at the top of the escalator, turn left.
Immediately run along the mezzanine and across towards the bridge; you’re likely to be slicing or shooting through a mass of Infected. Where are your team?!
They should be providing supporting fire, while the second runner takes the other route around from 9C to 9E (as shown on the guide map) if the situation becomes problematic. Solve these problems by having a teammate throw a Pipe Bomb or Bile Bomb up onto the third floor to preoccupy the Horde.
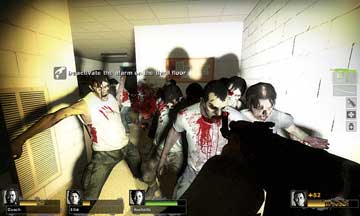
9E
Sprint along the mezzanine past the Liberty Mall sign and planter, and look for the open door between the two planters.
The security room isn’t likely to be empty (picture 4), but a rampage with a Katana or Cricket Bat, a Pipe Bomb, or self-sacrifice are all possible plans to try. Head to the alarm switch on the left wall and press it.
This stops the Horde, but you’re still likely to receive further Infected from the exit door; prepare yourself for that, too!
Stairway to Hell
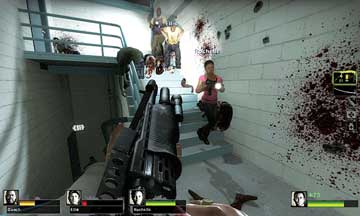
9F
Backup should have arrived, and if you’re planning for every contingency, a second teammate should have backed you up all the way to the switch.
Close the door behind you, then check the room for items, grabbing what you need. Step out through the exit doorway, turning left and moving toward the stairway leading down. Just because you’ve switched off the alarm, don’t expect any less of a threat; a Spitter can cause havoc at this juncture.
Close the exit door behind you so you aren’t swarmed from behind. Cut down foes as you descend the steps.
Floor 2 Fracas
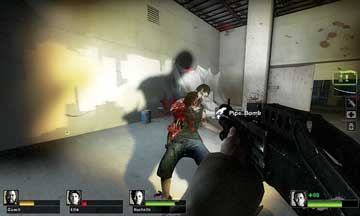
9G
Exit into a long corridor, checking for enemies in both directions before heading right, down to an unfinished remodelled store, complete with items and slobbering entities to rip apart.
Methodically drop foes as you work your way to the mall entrance ahead, where another rush of foes is expected.
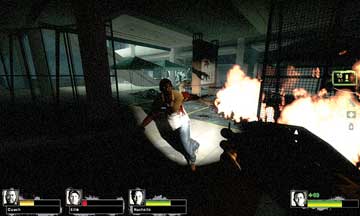
9H
Lay down a blanket of fire with a Molotov, or use another Belt Item if you wish, then spread out slightly as you move between the tents and into a mezzanine you haven’t visited yet.
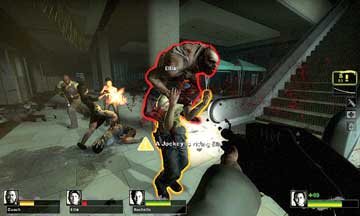
9I
Now that you’re in a mezzanine, you need to be extremely careful of foes dropping in unannounced. The optimal path is to ignore the second floor section entirely, and bound up the escalator (9I) at once.
However, you can investigate the lower floor of this area, using the escalator or the ladder on the hydraulic lift (also Location 9I) to escape the Infected in the gloomy ground floor.
Floor 3 Finish
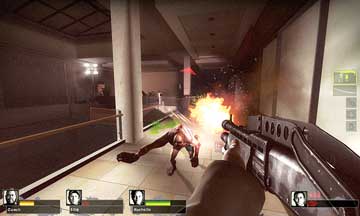
9J
Make a 180-degree left turn at the top of the escalator, as the Safe Room is under construction and the only route is around the balcony.
This can be extremely precarious if you’re attacked by a Jockey. Expect heavy Special Infected resistance, as this is the last opportunity they have to strike your team and any stragglers.
As there are three floors of mezzanine to navigate, simply sprinting to the Safe Room isn’t advised; instead, make sure you help every teammate to safety; move only as quickly as your slowest friend.