Left 4 Dead 2 Guide Walkthrough Hard Rain
To the Safe Room on Second Street
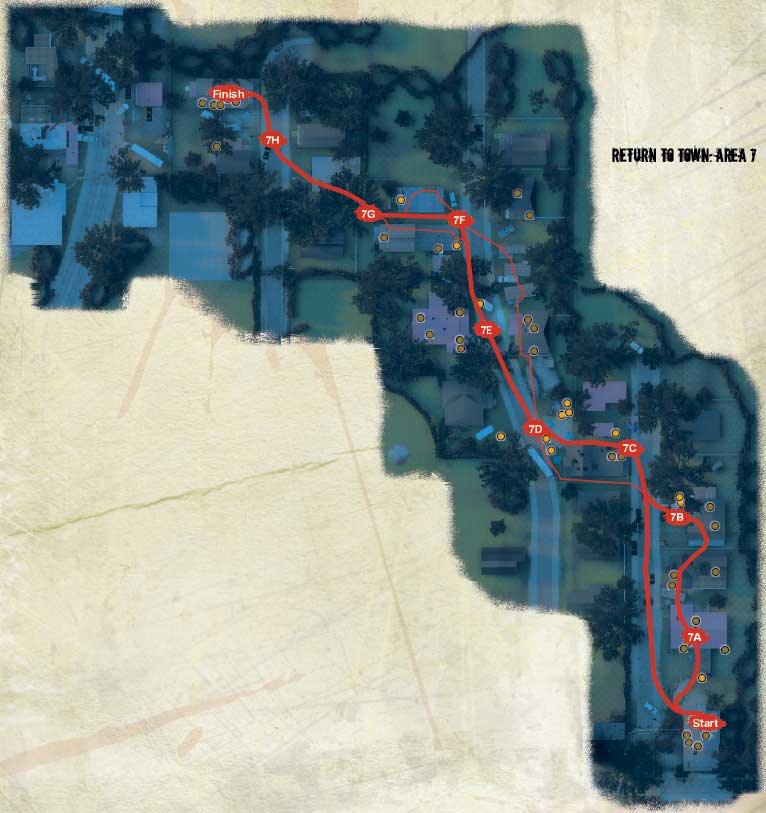
Return to Town Overview
A new Safe Room has opened up at the far end of Second Street, which is the only structure that’s different compared to your first visit through these streets. Of course, the weather is as horrific as the attacks the Infected are poised to inflict on you, so having a route plan is even more important this time around.
Whether you’re hopping from rooftop to rooftop, or injecting Adrenaline and sprinting up the streets, you need to navigate up Fourth Street, across to the garage sale, past the ambulance, down the alley to the playground, and then find the newly unlocked Safe Room—all without becoming separated or savaged.
+ Although important in previous stages, looking for floodlights and porch lights gives you visual clues to the correct places to head to.
+ Use landmarks, such as the water tower and ambulance, as visual clues, too. If you know how close you are to the Safe Room because you’re near the playground, it helps you know whether to plan a rush or to stay and fight.
+ The houses are helpful in many ways: head to the roof for partial safety, head inside for items you left earlier, and leap from house to house to avoid the water.
- There’s even more risk of being pulled from rooftops if you don’t stick together as a team. Always watch where your colleagues are and react quickly if they are waylaid.
- The bushes, houses, trees, and vehicles are possible hiding places for the Special Infected; pay attention and look to the sides and behind you constantly.
- If you’re making a dash to the Safe Room, be sure that all of your team can make it. There’s nothing worse than venturing back out to rescue a straggler and being overwhelmed!
Fourth Street Retreat
Before you leave the Safe Room, make sure two matters are attended to: first, you’re fully healed, you’ve grabbed another First Aid Kit, you have Adrenaline, everyone else has done the same; and second, you’ve fully discussed just how important fleeing in a swift but calm manner is to team morale. Ready? Then open that gate and use the elevated position to tag the motley crew assembled below.
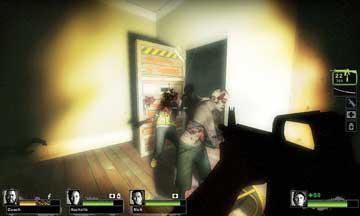
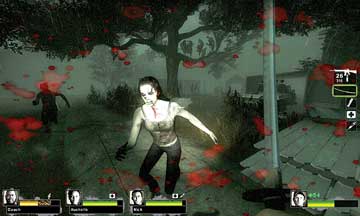
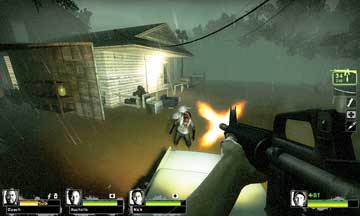
Sometimes a Common Infected swarm comes (picture 1), and you can elect to flee, or retreat up the steps and cut them down as they try to bound up the steps.
Start
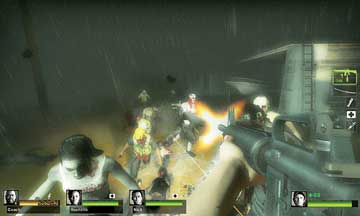
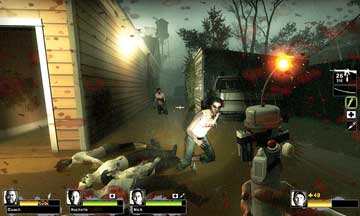
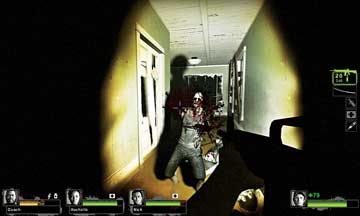
When the coast is clear, or you decide the time is right to make a dash for it, you can run up the flooded street, optionally using Adrenaline. However, a slightly safer option is to ascend the ladder leaning on the garage with the speed boat in it, and go up onto the first house roof (picture 2).
7A
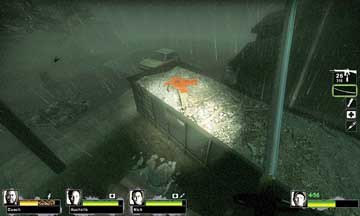
Visibility is appalling, but you can hop to the roof of the next house via a refuse container filled with dirt. The second house can be searched, too, if more items are needed.
Finding the Alley on Fourth Street
Move from the second house to the third (via the roof if you wish). Head up onto the roof for safety if you’re becoming surrounded on the ground, or dive inside to avoid a storm (but watch for Special Infected inside).
Ransack the place for items, then head across the backyard with the white pickup truck half-submerged in water (picture 1). If you took the street to reach this point (7B), be sure you’re hopping from car to car (if they aren’t alarmed), and stay out of the water as often as possible, running on the sidewalk that is still visible.
7B
Although it seems difficult to spot exactly where to go, you must remember that light guides your way. Move to Location 7C and you’ll spot a house with wooden siding, illuminated in the rain, near a couple of vehicles (one is inside a rickety garage). Between the two buildings is the alleyway (picture 2).
7C
A water tower (not accessible) is a landmark in the distance. Head down the alleyway, between the house and the fence on the left, or through the house itself if you require some items you may have left earlier.
A Wade through Third Street
Whether you exit via the house or alleyway, you appear back where the garage sale was being held (picture 1), near the tree house and large rubble pile. This road is more of a river, so this is the perfect time to use Adrenaline.
7D
If this isn’t feasible, beware of Infected grabbing at you from the darkness, and wade up the street. Or leap onto the rubble pile, then to the porch of the building, and then to the open trailer adjacent to the ambulance (picture 2).
7E
From here, you can see the large oak tree and a half-flooded car on the road/river. You can use this car as an “island” (as long as the alarm doesn’t sound) and repel enemies from this location.
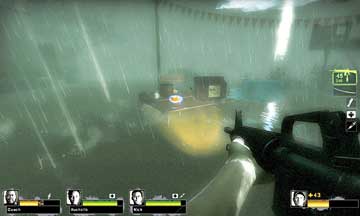
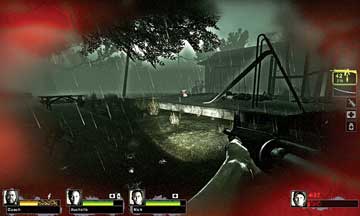
Some or all of your team can also climb up onto the open trailer and jump across the trailer roofs to reach Location 7F, where you can see the light of the white wooden house (picture 3) with the skeletal shell of a second building to the right of it. The narrow alleyway leading to the playground is here.
7F
Storming through Second Street
Now you’re at the alleyway with the white, wooden two-story building on your left, and the shell of a building to your right. Choose a route that leads you past the alleyway to the fallen picket fence and kiddie playground. Heading through the wooden house (picture 1) keeps you slightly less soggy, but expect Special Infected attacks.
7G
You’re almost at the Safe Room, so use the remainder of your Adrenaline (which is best taken at around Location 7E) if you’ve been running through here and pushing foes aside. Speed past the playground (picture 2) and onto Second Street (picture 3).
7H
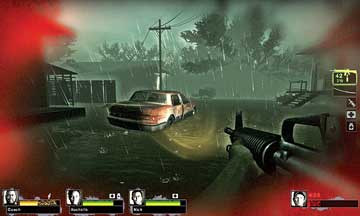
At the parked car, look up the road and locate the building on the left side of the street with the light on. This previously sealed location is your Safe Room next to the white trailer and pickup you scrambled over on your way through here before.
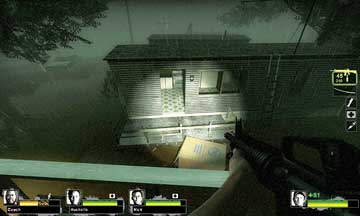
There’s no ladder this time, so you can’t scale the trailer. Move to the Safe Room instead. Scuttle inside, but be sure to guard the door. Don’t let the Infected in due to a lack of preplanning (picture 4)!