
Left 4 Dead 2 Guide Walkthrough Hard Rain
Burger Tank
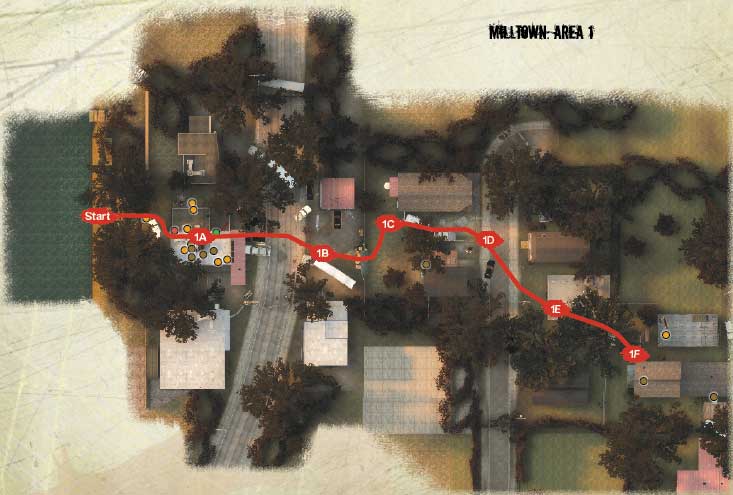
Four Streets of Fury: Milltown Overview
Virgil needs some diesel for his riverboat, a problem which forces you onto dry land (dry for the moment) and through a milltown that was depressed before the Infected Apocalypse. After you establish a plan to signal Virgil by s witch ing on the Burger Tank sign on the roof of the eatery when you’ve found the fuel, you read the signs indicating that fuel is available two miles away.
Your team sets off across four parallel streets, scrambling across backyards, over cars, and noting the various houses that have items inside them. You will cross to a playground on Second Street and pass an ambulance and garage sale on Third Street. The rain begins to pitter-patter while you are on the roof of the last dwelling before the old sugar mill—a yellow-walled Safe Room.
+ The trek to the Safe Room is roughly linear, meaning that methodical advancement and noting landmarks can prevent you from losing your way.
+ The many houses along the way have copious items inside; check the guide map for possible locations.
+ You’ll return to Burger Tank via exactly the same route, so remember the way and check for accessible rooftops while the weather holds.
- Beware of Special Infected lurking in bushes, behind trees and vehicles, and inside the homes you can investigate.
- It’s very easy to become split from your team as you secure each location, so stay close and head into houses together.
- The Uncommon Infected Road Crew ignores Pipe Bombs, which makes them less effective weapons. Also watch out for Infected that follow you everywhere, even onto rooftops.
Signal at me when ya git the gas!
It’s as Virgil pulls away that your team realizes you’ve left the “gun bag” on board the Lagniappe, which means you need to scramble for armaments other than your basic pistols. Check the area in front of the parked jeep and either side of the Burger Tank eatery that you’re standing in front of. There are alleys you can shoot through, but it makes more sense to enter the premises.
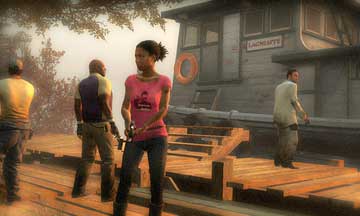
Start
Spilling Some Special Sauce
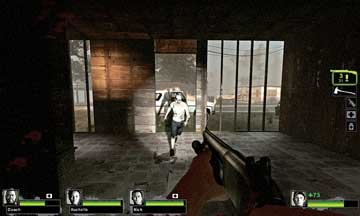
Step through the back entrance, ideally brandishing a Melee Weapon if you’re wanting to bathe in Infected offal (picture 1), and hack your way into the Burger Tank premises. The place isn’t particularly defensible, with open windows and doors to the sides, front, and back, and a hole in the ceiling.
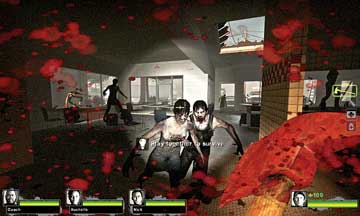
But there are two ladders leading up to the roof, and these routes offer a little more protection. One is leaning up against the overhang outside the front of the eatery, and the other is bolted to a wall in the kitchens.
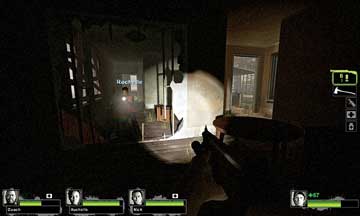
Additional items of worth are on the roof, such as Propane Tanks, but the main cache is around the cash registers (picture 2), on the counter pass-through, and the patrons’ tables—there are a large number of First Aid Kits, weapons, items, and ammunition.
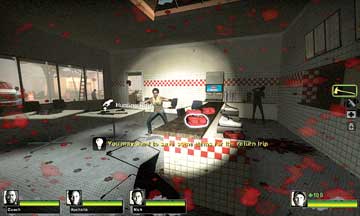
1A
Do not waste any of this; in fact, you are encouraged to leave as much of it as possible so you can grab it during the finale, when you return here with the diesel fuel.
The Two-Mile Trek Begins
Exit the Burger Tank premises, and take up a defensive position as a team. Check the nearby Tip in this guide for advice on defensive movements as a team. Your task between this point and the end of Area 2 is to search the premises of any buildings you wish, and (obviously) continue toward the Safe Room.
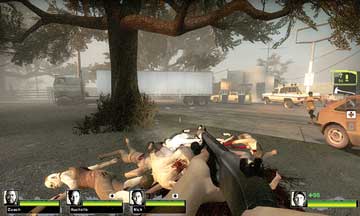
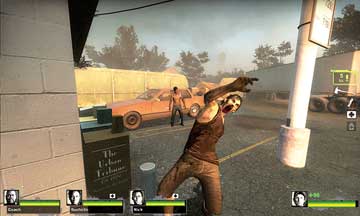
A clockwise inspection of the street reveals a corpse pile near the oak tree (picture 1), a boarded-up building, and a gas station empty of fuel across the street. Remove any threats nearby (picture 2). The only available fuel is at Ducatel Diesel, two miles away. Unfortunately, this road is blocked in both directions.
1B
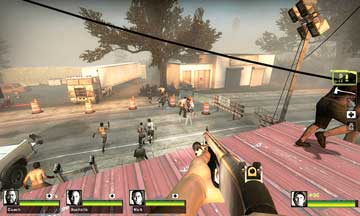
Although not imperative, you can spend a little time learning the layout of the Burger Tank’s roof (picture 3). It offers an excellent view and is somewhat defensible, although any mass Infected marauders can be repelled with a Pipe Bomb (picture 3).
When you’re ready to move, head across the gas station forecourt, watching for any attackers near the marked container big rig (also picture 2), and scale the wooden board. Make sure you all drop down at once, so you’re all in the same section of town. (Although you can climb back over the fence to rescue any stragglers.)
Back Lawn Massacre
Drop down onto the unkempt grass behind two boarded-up houses. Neither house offers access to the second street beyond and the bushes are too thick to struggle through, so check the side areas for items and then climb the ladder propped up against the white trailer.
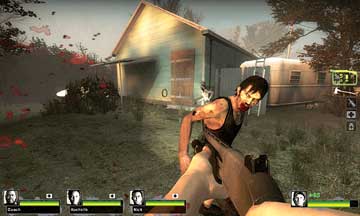
1C
The first teammate up onto the trailer roof should stand atop it as the rest move up and over, and make sure no attacks from behind occur.
Slaughter on Second Street
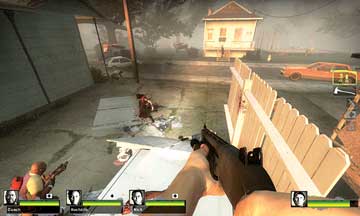
Drop down from the pickup truck and fan out onto the street beyond. One of you may wish to stand on the truck and offer long-range sniping cover (picture 1; watch out for rear attacks) while the others investigate this area, nicknamed “Second Street.”
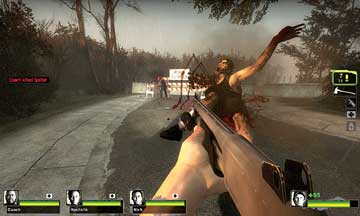
Begin with a clockwise search, passing a boarded-up building on your left (see the Note) that leads to a swift and brutal Infected takedown (picture 2) at the barricade.
1D
Across from the pickup is a white shotgun-style house for rent (shown on picture 1); it is boarded up, as are the other two homes in this area. However, the lean-to garage on the other side of the tall fence adjacent to the pickup usually has a prize to find.
1E
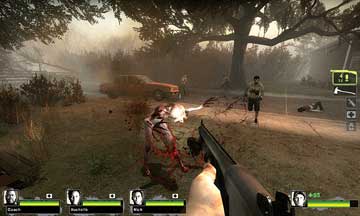
Next to the white house is a small kids’ play area (1E): This is where you should move to as swiftly as possible. While you’re checking the street for foes, don’t mistake a wandering Witch (picture 3) for a Common Infected, or you’ll be badly wounded and your team, swarmed.
If a battle begins, there’s some protection to be had by attacking from the house balcony or the kiddie climbing frame.
Under Construction
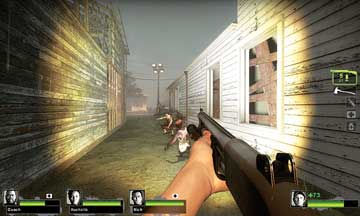
The passage between the kiddie playground and the third street (Location 2A) is over the fallen picket fence and along a narrow alleyway (picture 1), where you can expect a possibility of Special Infected ambushes, as well as the masses dropping down, heading through doorways, or charging from the floodlights at the end of the alley.
1F
Your main task is to get to Area 2, but you can survey the two buildings on either side of the alleyway, too:
The building on the left is in a bad state and can be entered via a doorway near Location 1F, or any of the open wall sections or the front of the building.
Expect a few lurking forms on the ground floor (picture 2), and use the staircase to reach the skeletal second floor, which offers good sniping views of Locations 2A and 2B. You can drop down to the alleyway, the grassy area, or the parked vehicle or continue to snipe from this high position.
The building on the right is in ruins, but it still has most of its chambers intact. Offering access (via door or window) to and from Location 1F and 2A, and with a side entrance to the attached lean-to, this building is two floors of hallways (picture 3) and bedrooms.
This is the first building interior to fully explore. Grab what you need, or (in the case of Adrenaline) make a mental note of its location for later. If you’re going in, go in strong enough to repel any Special Infected that may be lurking inside. There’s a balcony on the second floor, too, but it only overlooks the playground.