
Left 4 Dead 2 Guide Walkthrough Dead Center
Vannah Hotel Floor 8
Checking Out - Hotel Overview
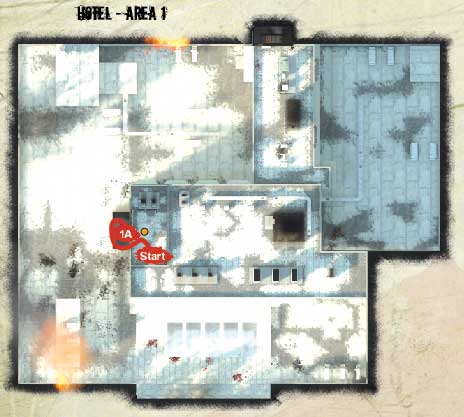
Against the backdrop of a city in the midst of an all-out apocalypse, your rescue from the roof is doomed, meaning you need to escape the Vannah Hotel on foot. Grab weapons and head down to the eighth floor, working your way through the corridors crammed with frothing Infected (Area 1).
Battle your way to the other stairwell and descend to the seventh floor (Area 2), where the fire is more severe, and the threats more numerous. Waste no time entering the elevator to the lobby (Area 3), where you can battle your way through fire-filled chambers, across a reception area where flaming bodies fall out of the sky, and seek refuge in your first Safe Room.
+ Careful positioning and backing your teammates up allow you to control the flow of the Infected coming toward you.
+ Mix your Melee Weapon- and Pistol-wielding teammates and keep to one side of a corridor so you don’t step into the aim of others.
+ Although it may be initially bewildering, once the optimal route is learned, you can quickly sprint through this hotel with ease.
- Lingering on the ledges (even with balconies), in front of windows, or by the fire is a terrible idea.
- Limited maneuvering means strafing and dodging become far less easy; watch for Infected charging you.
- Hotel doors are open so foes can ambush you, or closed so fire can burst out if you open the door—so don’t!
Hotel Floor 8 - “Oh, they ain’t comin’ back!”
Coach is right; those helicopters aren’t coming back to save you and you need to find you’re own way out of this town.
You stand perched on a hotel rooftop. The first plan is to exit this building, which is going to be trickier than you might think.
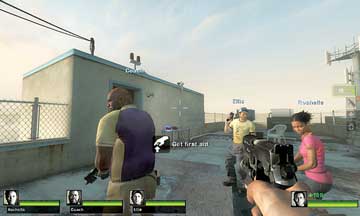
Fortunately, you can move over to the table where a modicum of equipment lies ready for you to pick up on a first-come, first-served basis. If you want a Melee Weapon, get there quick!
Entrance Wounds
1A
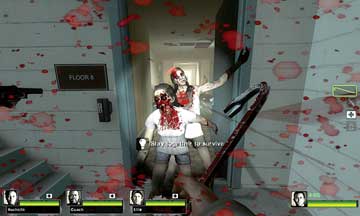
When all of your team are ready (and not before), head off the roof and down two flights of stairs to the door marked “Floor 8.” Verbally announce the intention to open the door (so you have a Melee-wielding pal at the door with others on the steps with weapons).
Step into the main corridor, attract the attention of these shambling deviants, and then step back so everyone can get a shot or swipe as the initial wave heads through the door.
Room 800
Step into the corridor with a Melee-weapon wielding teammate in the middle, and Pistol-packing friends offering covering fire from behind.
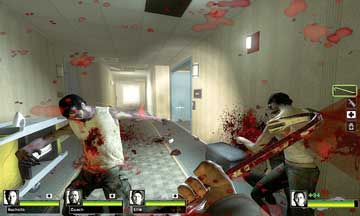
1B
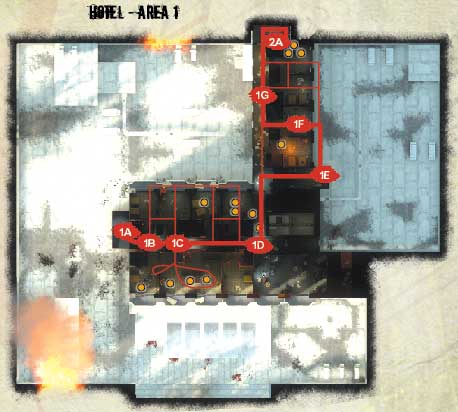
Threats come from the corridor ahead, as well as from Room 800 on your left. Worry about your left flank being overrun by the Infected. Rampaging through the hotel rooms, instead of heading directly down the corridor to Location 1D, is another option.
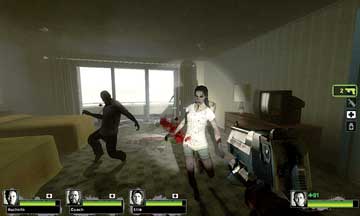
At this point, make a decision whether to check the conference room on your right (near Location 1C), or attempt a room-to-room bloodbath.
Suite A—Conference Room Chaos
You have a number of pathway options to choose from as you situate yourself in the main corridor. The next main location is the corner of the main L-shaped thoroughfare between the rooms (Location 1D). You can reach there by means of the hotel rooms and ledges, or by heading down this corridor.
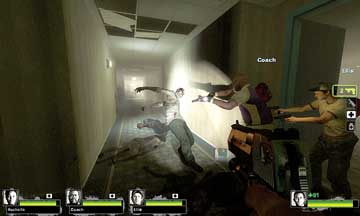
1C
However, at the corridor section with a door marked “Suite A”, you can step into a conference room, remove any zombified threats you see, and pick up a few key items.
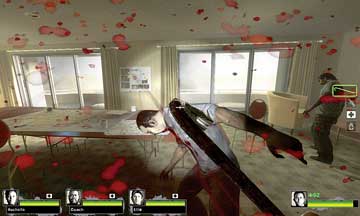
Not only that, but this is the largest room on this level, with a table you can move behind for defense if the Infected mount a mass charge.
A cursory inspection of the room reveals this to be a CEDA command center of some type. The maps and data indicate the viral threat isn’t completely contained. Check the board with information on the “ Boomer ,” and then figure out your best route to Location1D.
The optimal path is straight down that central corridor. However, there’s another option.
Room-by-Room Rampage
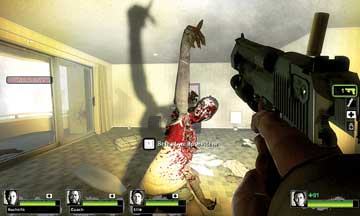
You can advance farther through this floor by conducting a room-by-room search of the four hotel chambers on the left side of the main corridor, as well as checking out one of the side chambers off Suite A.
The rooms on the left are in pairs, with an interior door that links them. This means you have numerous entrances and exits, including the windows you can break or jump through that lead to the narrow exterior balconies.
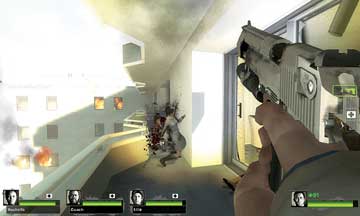
You can dart between rooms, but always ensure that your team is backing you up. They should be close enough to provide covering fire, but far enough away so that you aren’t cramped or hemmed in.
Cornered
1D
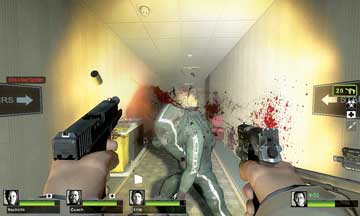
Follow the “Exit” sign illuminated on the ceiling and reach the corner of the main corridor (1D). Turn to view the subsequent corridor marked with “Stairs” signs. In the distance, a fire is raging. That can’t be good.
The sprinklers aren’t working, but the Infected certainly are; batter any that charge your location, and use the (inactive) elevator bank as cover if you need to heal.
Ledge Walk
1E
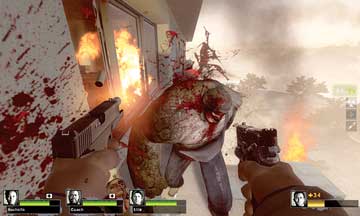
Head toward the fire in the main corridor and then make a right at the vending machines. Go into the storage room marked “Housekeeping.”
Although you can sprint through the fire, the damage you take usually isn’t worth the time you save. Instead, cull foes in the housekeeping room, then smash open the window and drop down onto the precarious ledge.
Unlike the balconies outside the previous hotel rooms, here the drop is sheer; it only takes a Charger to wallop you into a death plummet. Avoid this by hugging the left interior wall and windows and avoiding the room that’s on fire; it’s the first one you pass. Check to make sure there’s no Special Infected first.
Fleeing Floor 8
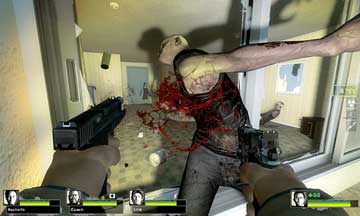
1F
Gingerly move along the ledge, tagging any charging Infected from a distance. Then check the second room (the first room that isn’t on fire), before smashing the window, jumping inside, and moving up against the wall so you’re not pushed out and off the ledge.
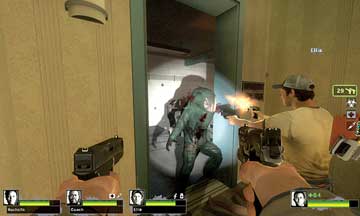
1G
Rake the assembled Infected in this chamber before moving directly through the door opposite and back into the main corridor, neatly avoiding the fire.
Race along past the remaining rooms, which you can optionally ransack (with teammates backing you up and providing covering fire), and then open the door marked “Stairs Access”. Deal with any Infected threats before descending.