
Left 4 Dead 2 Guide Walkthrough Swamp Fever
Rudimentary Pathways
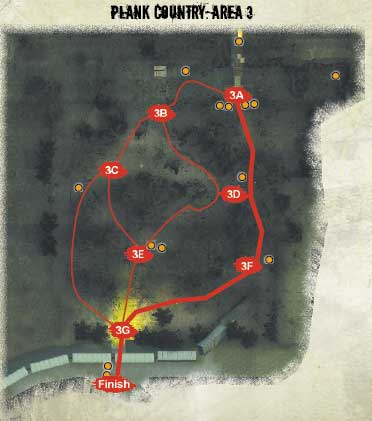
Getting Your Feet Wet
The small jetty at the end of the raised catwalk beyond the covered hut (3A) is a reasonably defensible position. You can bring out your favorite Sniper Rifle, and begin to methodically decapitate any wading enemies in the knee-deep water ahead of you.
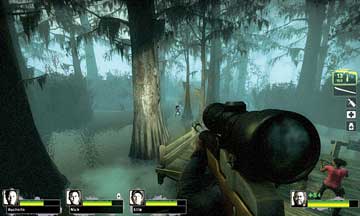
However, you need to watch for Special Infected attacks from the sides; this is the perfect place to feel the pain from a Smoker’s tongue-throttle, so ensure that you have backup.
The Infected have a tendency to charge in from behind as you’re attempting long-range culling, too, so keep your friends bunched together atop the wooden steps and have two check the boards behind you for incoming groups of the unwell and undead.
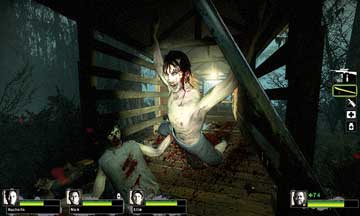
3A
The lower platform on the water’s edge delays enemies from clambering up at you, which is handy, so stay on the platform instead of dropping into the water right away. When you’re ready to move, you can head to a small hut and rusting car on the right (3B), or into the water to Location 3D.
Rummaging around the Rusting Car
Heading right from the wooden platform brings you to a small hut, and a very rudimentary pathway of planks and corrugated metal, which allows you to tread over the water more quickly than simply wading.
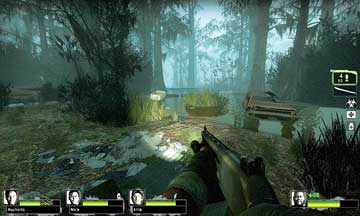
3B
The trick here is to quickly move across the planks to the sections of dry ground, so you aren’t waylaid and slowed down by the topography and enemies. Use the rusting car and refrigerator as landmarks and as a meeting place for your team before you press on either to Location 3C or 3D (via more planks).
Perimeter Dash
The quickest route, but one that’s easy to get lost in if you’re turned around during a fight, is to continue past the rusting refrigerator, past Location 3C, across the swamp water to the wooden perimeter fence, and trek all the way down to the Safe Room (3G).
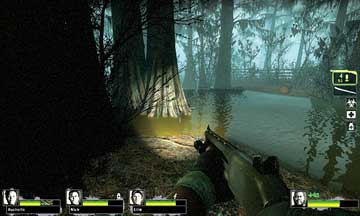
3C
If you’re wishing to finish this area as fast as possible, try this often-overlooked route. The fence offers some degree of protection (although foes can climb over it) to your right. Or, you can always move around to the left of the two large trees and to the dry ground in the middle of this thicket.
Rusting Barrel
This is usually accessible if you wade into the water from the platform at Location 3A; you’re looking for some trees and the continuation of the pathway marked by a rusting barrel. Find it and then continue toward the middle of the woodland (3E), or push onward around the left-side perimeter (3F).
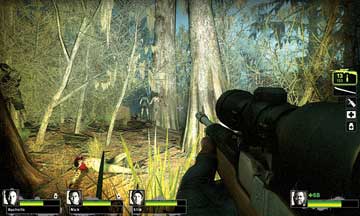
3D
The area where the barrel is located features dense branches, so attack from a more open area prior to or after reaching this rusting landmark.
Thicket Pathway
Whether you’re approaching from the rusting barrel (3D), the planks (3B), or the fence perimeter (3C), there’s an area of dry ground where the woods begin to thin out that allows you to spot the light of the Safe Room through the gloomy twilight.
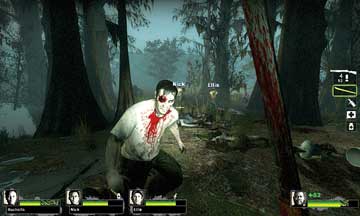
3E
There’s usually an item or two (and an Infected or eight to slay) in this main thoroughfare, which offers quick access to the grassy knoll and Location 3G.
Less Soggy Perimeter Slog
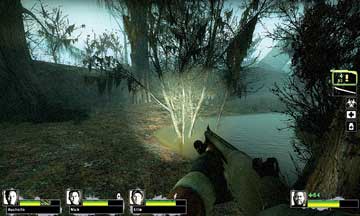
3F
It’s usually easier to find the path into the middle of this woodland thicket (3D), but a faster approach is to stay on the edge of the woods and scurry around the relatively dry perimeter looking for the jack knifed train carriage (just visible in the top right of this picture). As long as your entire party is following this path, you can make a quick escape.
Safe Room
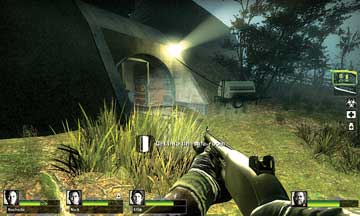
3G
Time-to-go time! Finish your initial swamp expedition by fleeing to the Safe Room—a culvert under the railroad overpass, which is lit up by a powerful light attached to a portable generator. You can sprint into the Safe Room, then use the walls as protection. The entrance offers excellent views of the woods you treaded out of, so you can cover your team’s stragglers as they race for safety.