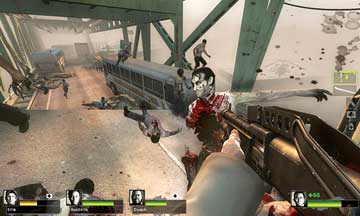
Left 4 Dead 2 Guide Walkthrough The Parish
A Bridge Too Far
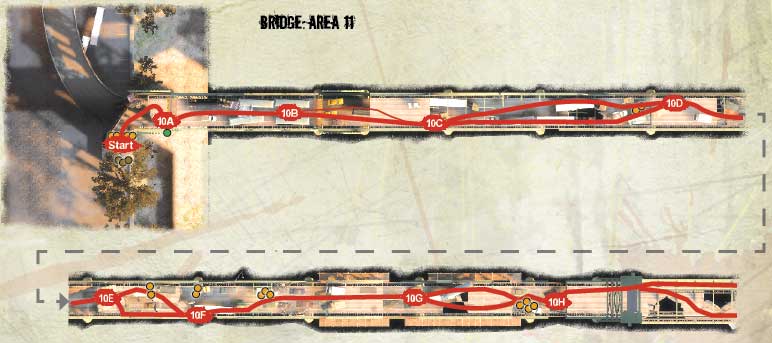
Bridge over Troubled Slaughter: Bridge Overview
The massive, two-tiered road bridge has been blocked by the fleeing population, swarmed by the zombie legion, and bombarded by the military. It’s amazing the bridge is still standing, but also fortunate, as you must cross the span to reach a naval yard and helipad, where a helicopter is waiting to take you to safety.
Crossing the bridge involves running the gauntlet of Common Infected waves, Special Infected that attempt to knock you into the water, Tank s ready to shove cars and fists into your squishy flesh, and a final military checkpoint where the zombie menace becomes almost insurmountable. But press on you must: That chopper is your final destination.
+ The route is direct and the distance that you can see is long, and therefore favorable to sniping weapons with scopes.
+ There are almost always supplies of worth dotted along the route. Look on the ground and inside white trucks for a variety of equipment.
+ Sometimes fleeing (especially in the end yard and helipad) is better than fighting. You can’t kill every single Infected!
- The swarms and Hordes of Common Infected are relentless, and the maneuverability on the bridge is extremely limited.
- Special Infected have a distinct advantage here: They have the Horde to back them up, and can attack from upper girders or behind vehicles.
- The bridge is also full of holes and the sides are open, which means you can be thrown off into the water if you’re not careful.
Lowering the Drawbridge
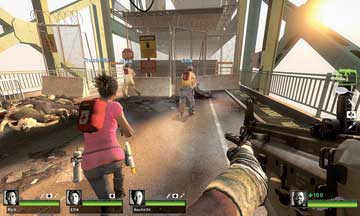
Grab the array of items you think you’ll need (Adrenaline may be necessary if you’re concerned with a speedy crossing), and look for the red ladder. Climb it and exit the Safe Room, moving onto the bridge. Find the body slumped against the concrete barrier.
10A
A radio is resting on him. After a quick chat with the military, they agree to evacuate you. Unfortunately, the chopper is on the other side of the river! Access the button on the right support girder to slowly lower the drawbridge.
Between the Buses
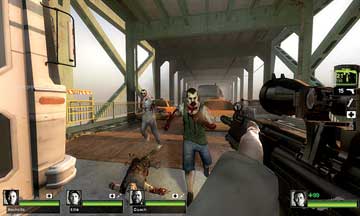
Your bridge assault starts now! As soon as the drawbridge drops, run forward, ideally between the parked buses with the blue tarp between them, and spread out to the left and right so all of you can fire forward.
10B
You may wish to run on the outer left or right sides past the buses, but this is a little more dangerous. Drop any foes that challenge you and push out of the buses toward the taxis.
Mind the Gap
You can split your route along the extremely narrow left side, head straight between the vehicles, or move to the right of the next bus, until you reach a massive hole in the bridge road. Obviously, falling in here isn’t wise, so stay away from the edge, and cut down enemies swarming in by the big rig cabin and container on the other side of the hole.
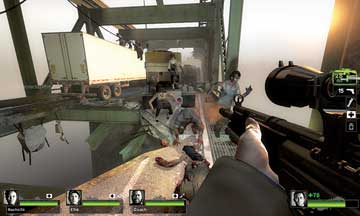
10C
Container Crossing
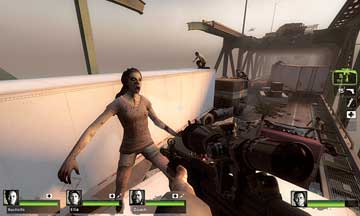
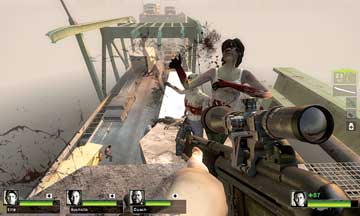
Once you’ve crossed the gap (10C), make a quick choice of main routes to take. Have a couple of your team step left and run along the road toward a pair of white big rig container trucks, and the rest of your team should scale the ladder to the rear of the gasoline tanker truck and use this height to provide covering fire before leaping onto and defending both containers (picture 1).
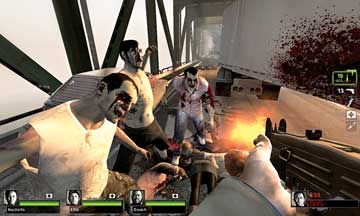
10D
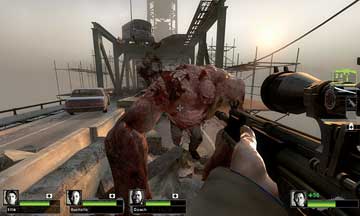
Be very careful if you drop from the first container, as the cabin is hanging over a hole. It is better to leap to the second container and then rejoin your team on the left side of a third container big rig, near a stash of weapons (10D; picture 2).
Upper Span Interlude
Continue dashing forward through the constant stream of enemies, keeping to the right to avoid a nasty hole in the floor, and look for the military vehicle that may (or may not) be on fire (picture 1).
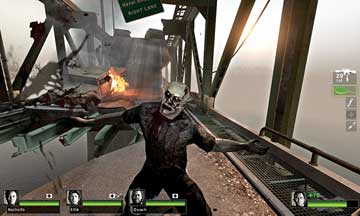
10E
Climb up the section of collapsed road (you can squeeze around this to the right if you want, but it is safer up top) and move along the upper span of the bridge, around the hole. Grab any items by the military transport vehicle.
Jets sometimes rocket past at this point, but there’s no time to lose; move to the edge of the upper span (picture 2) and begin to dispatch Common Infected running up the big rig container below you.
10F
Take a teammate with you to keep from being ambushed from behind. Because you can keep up this sniping until you run out of ammunition and are overwhelmed, choose a gap in the carnage and drop down to the lower span via the big rig cabin.
Tank Attack
Back on the lower span, check the rear of the white truck on the left for items and then press forward, between the vehicles, and heading toward a section of the bridge with scaffolding boards on either side of it.
These can be dangerous to leap to, but they make it easier to avoid a Tank’s car-based projectiles, as they won’t reach you on the scaffolding boards. Peer into the distance. When you reach the section of bridge with a school bus teetering on the edge of an upper span that you can’t reach, expect a Tank to appear (picture 1).
10G
This is obviously a huge problem, and the fact it can shove cars at you as well as knock you clean off the bridge means a spot of backpedaling, and Molotov-throwing, Bile Bomb-lobbing, or team cross fire is called for.
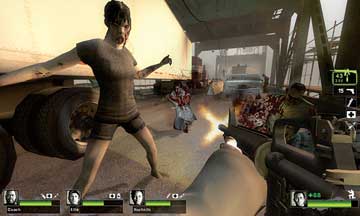
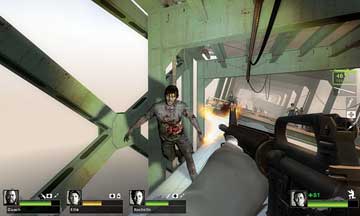
It is likely that you’ll take damage and have to face a Special Infected or two that join in the frenzy. When the giant beast finally falls), continue advancing along the bridge, pushing between the concrete barriers and slaying the continuous stream of Infected (picture 2) until you reach a second white truck that you can scour for more equipment.
Structurally Unsound
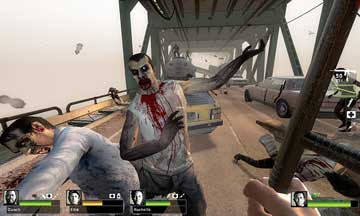
Push onward and peer into the distance to see the bridge sloping to the right in an alarming manner. Maneuver through the zombies and vehicles, cracking a few heads as you go (picture 1). But keeping a lookout for a gasoline tanker parked on your left.
10H
To avoid being stuck and swamped as you run out of bridge, ascend onto the top of the tanker and use the roofs of the vehicles as stepping stones, while tackling foes as you reach the half-toppled bridge span (picture 2).
From this point, the Common Infected Horde really come at you hard, and there are two massive holes in the bridge structure you must avoid. Either stay to the extreme left or weave between the holes.
Start this sloping run with everyone together: you don’t want to be rescuing stragglers right now! Battle to the far end and quickly drop down onto the bus roof. You’re almost there, if you can see through the blood in your eyes.