
Left 4 Dead 2 Guide Walkthrough Hard Rain
Entrance and Refinery 1
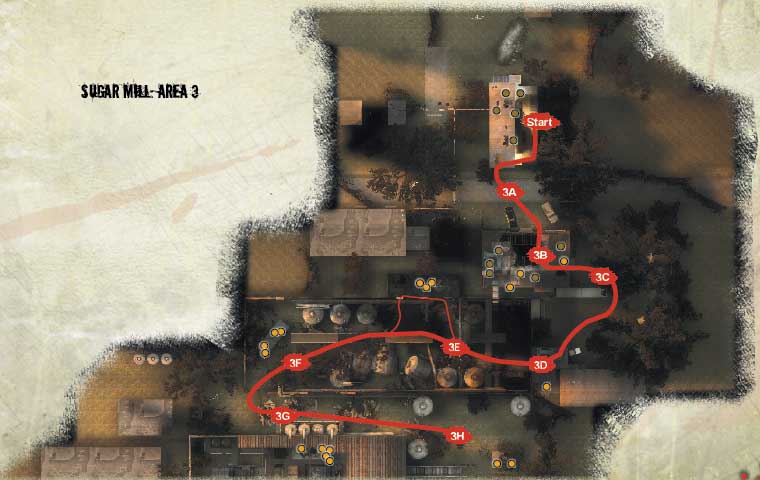
Where Witch es Roam: Sugar Mill Overview
A dilapidated sugar mill, consisting of an office, two refinery buildings in terrible disrepair, the shell of a four-story plant, and a sugar cane field, is all that lies between you and a gas station with suitable fuel for Virgil’s boat.
Of course, the mill is a death trap of darkened corners and twisted and fallen masonry and metal, and it features numerouswitches.
This place of despair seems to attract this most ferocious of foes. The pathway winds through both refineries to a loading bay and has a couple of smaller chambers and cabins where items can be found (and stored for later).
Once you’re atop the plant, the Horde attacks after you call the elevator. Assuming you survive their onslaught, you can blindly run through the cane field, hoping you don’t encounter another weeping Witch .
+ This place may initially appear to be a maze, but segment it into recognizable areas (as the guide does) when speaking to your team.
+ Much of your journey should involve looking at the raised catwalk sections and recognizing areas to utilize on your way back.
+ This is the last time you need to actively discourage the taking of item caches; leave items of particular importance (Adrenaline) for the return trip.
- Witch es sit or plod about this entire stage, meaning trigger-happy teammates need to watch their aiming, and flashlights need to be turned off. Using a precision weapon is also recommended, so you don’t accidently wake a Witch with shotgun spray.
- The plant is highly dangerous due to its multiple floors without safety barriers. Stay together, and take up defensive positions when the elevator is called.
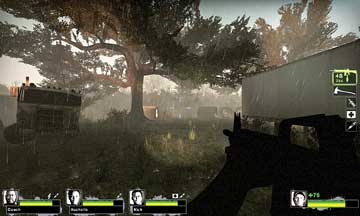
- The cane field is particularly confusing, so use the gas sign landmark so you know which way to run; it is very easy to split from your team and get picked off.
Duke It Out at the Ducatel Mill
This location has a number of Belt Items, a First Aid Station, and Kits to take, but resist this temptation because you’ll be returning to this exact location later on. Make sure there’s enough items for both occasions.
Head down the stairs, checking the darkened storage room for additional supplies (usually an explosive Propane Tank) before stepping out and situating yourself at the entrance to the Ducatel Sugar Company Mill (picture 1). Only another mile to go for fuel!
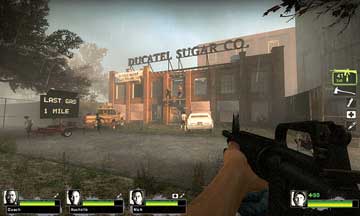
3A
Of course, it’s a lot easier to obtain a battering at the hands of the Infected, who tend to rush out of the entrance windows (left and right of the sealed double doors), or attack from the blocked road from either side of the building.


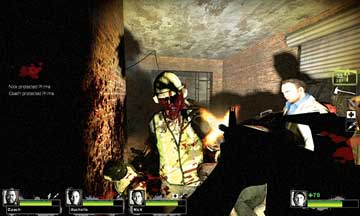
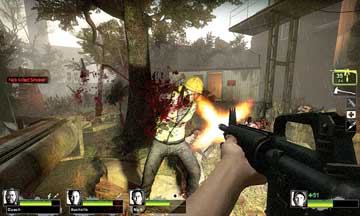
A steady stream of foes is likely (picture 2), so lob a Pipe Bomb into a corner (picture 3) and watch the foes swarm it (except for the Road Crew Infected, who need to be slain the old-fashioned way—with bullets or battering).
Horror at the Mill Office Entrance
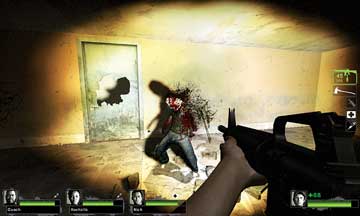
3B
When you’ve cleared the exterior road of foes the best you can, enter via one of the windows into the mill office, which is a two-floor affair (however, the upper floor is only accessible from the first refinery building (near Location 3E) and will be utilized during your escape).
For now, watch for prowling Infected (picture 1), including Special Infected that have an ambush planned. Search the small office rooms if you’re looking for items, then exit via the only exterior doorway (picture 2).
Firing on All Cylinders
Step outside. The drizzle is turning to a light rain. Pass the rusting truck and container and check the collection of concrete tubing and cylinders under the large oak tree for the shambling undead. Kill anything that moves and complete this U-turn by running toward the garage door next to the portable toilets. Watch for Special Infected attacking from shrubs, the garage doorway, or the roof.
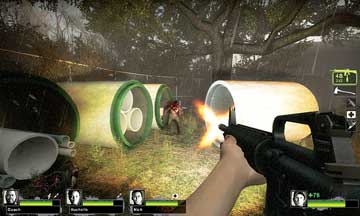
3C
Refinery 1: Vats
Once you’re in the garage, you may be attacked or ambushed (picture 1), so stay in the vicinity that is compact and offers cover opportunities, before venturing out into the tumbledown remains of Refinery 1.
3D
Several of huge vats are standing, rusting there as the sun goes down, while others lie on the ground. Move forward toward Location 3E (picture 2). If you see anything that isn’t emaciated and weeping, shoot it in the head.

3E
Refinery 1: Exit and Exterior Alleyway
You can continue to plot a course back through Refinery 1, but only after the foes on the ground have been nullified. From Location 3E, optionally check the small foreman’s office for signs of items, then exit back into the refinery and move under the remains of the catwalks (which can be used as “stepping stones” on your return journey), heading toward a small cabin at the far end of the refinery building (picture 1).
3F
There are items inside the cabin that you should save for later, but there’s no time like the present to demolish the ever-present Infected threat, which is likely to include a Special Infected or two (picture 2).
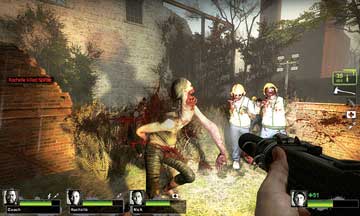
Stay relatively close together as you cut down these foes, then make a long left turn out of the building completely so that you’re facing in the opposite direction—an alleyway that runs between Refinery 1 and Refinery 2 (pictures 3 and 4).

3G
Continue culling as you progress down here. Expect a few more lost souls to attack you, and be extra careful as you head into another patch of grass with a couple of rusting sheds (picture 5): A Witch may be lurking here.Inspect the area for items, then run up the conveyor belt to enter Refinery 2 (4A).

3H