
Left 4 Dead 2 Guide Walkthrough Swamp Fever
Shanty Town Center
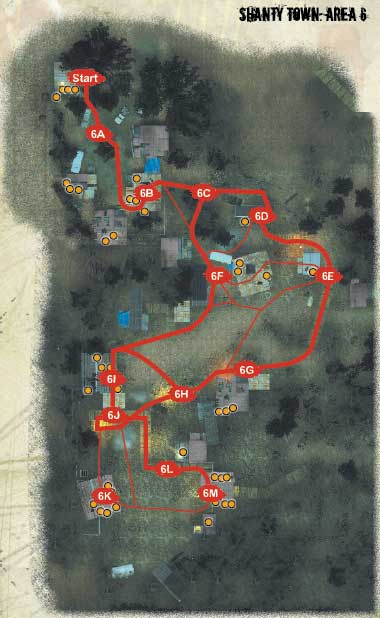
Shack Attacks: Shanty Town Overview
Although they held out against the odds for a commendable period of time, no humans currently exist in this sprawling shanty town nestled deep in the swamps. Now it’s no more than a maze of dilapidated structures.
Careful maneuvering through the town (Area 6) is the key to knowing where you are and exactly how to escape to higher ground, specifically the jetty decks that allow access to a smaller, secondary settlement (Area 7). Here, scenic obstacles force you to lower a plank bridge as you gingerly cross the raised huts.
After forcing back the Horde, escape from this ramshackle hellhole involves sprinting to a wooden bridge and up a hillock to the relative safety of your final Safe Room.
+ This stage is L-shaped, and learning the topography of the larger shanty town and smaller outskirts of stilt huts is most helpful.
+ High ground is safe, easier to attack from, and it takes foes longer to clamber to reach you. Stay on the ground at your peril.
+ Lighted locations throughout this map are where you want to head; when in doubt, look for a burning barrel or generator lamp.
- Low ground, waterlogged areas, and dense woodlands are dangerous; minimize your time at these locations.
- As it’s easier to use raised platforms and imperative to lower a raised bridge. Being knocked off is an ever-present danger.
- The bridge in the middle of the stilt huts is particularly dangerous, as it is the only possible way forward; expect extreme combat here.
Town Entrance
Stock up with any and all available items, equipment, and favorite weapons, and keep one teammate back at the Safe Room to allow reloading while the others fan out into the courtyard surrounded by rusting vehicles and ramshackle buildings.
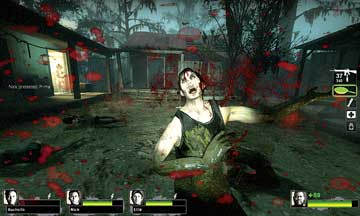
6A
Expect at least a moderate Infected threat as you inspect the porches and interiors of the four buildings, including a general store. There may be Fuel Cans you can use later, after you exit this initial area. Take what you need, and clear all the huts of items you want, mentally noting anything you can return to claim.
Illuminated Hut
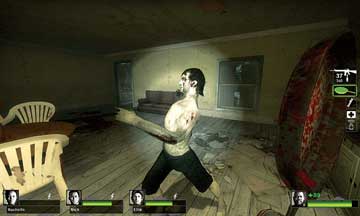
The only building with an exit as well as an entrance is lit by a lantern. Pass the table with the items on it, step onto the porch, and enter into the residence. Introducing any undead maniacs to the nasty side of your melee weapon and locate the exit doorway that is opposite diagonally.
Gather any flammable objects you might wish to explode later on, and exit onto the sloping ground only after all four teammates are close by; don’t get split up and segmented.
6B
Offal Pen
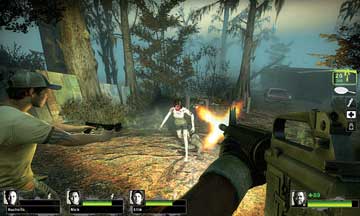
Depending on the number of foes and on how well you understand the layout of the town, you can sprint down into the cluster of trailers and shacks to Location 6E, or take a more methodical approach by cautiously descending the slope. Fan out slightly, and pass the pen that once contained a few animals; it is now piled with corpses.
6C
Fallen Tree and Trailer
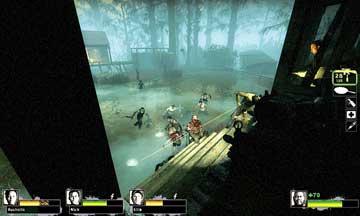
If it’s suspiciously quiet, or you’re wanting a vantage point to survey the settlement area you’ve yet to encroach on, move past the car around the back of the white trailer, and use the fallen tree to reach the trailer’s roof (picture 1).
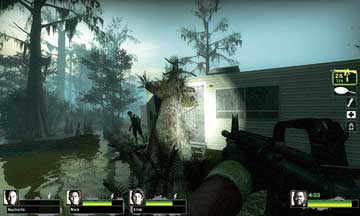
6C
This not only offers excellent views of the shanty town (picture 2), but also the swamp beyond the perimeter fence, where masses of the Infected may begin a charge. With more than one Survivor on this roof, you can easily repel a mass Infected assault, especially if a Pipe Bomb or other helpful item is used here.
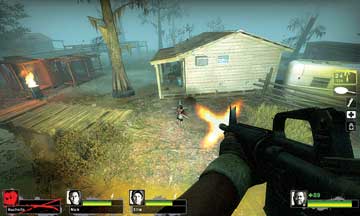
6D
You can easily spot teammates in trouble (if they didn’t follow this route, or are waylaid by Special Infected) and rescue them from this place, too.
Back of the Barrel Hut
After a temporal lull in combat, drop from the trailer and move toward the flaming barrel and around to the rear of the adjacent hut. There’s an expanse of water you shouldn’t be wading through (as it slows you down too much); instead, head around to the raised wooden platform. There’s an empty shack on the edge of this area, but this can’t be accessed.
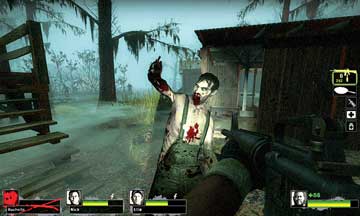
6E
From here, you can move across the platform, which gives you added protection from foes on the ground. Or, you can work your way through the barrel hut and shack, heading toward 6F.
On the Waterfront
You can try attempting to leap the fence between Locations 6C and here, or work your way around the exterior or interior of the buildings from Location 6E. Either way, this isn’t a particularly safe area, but one you may end up getting stuck in before you properly situate yourself.
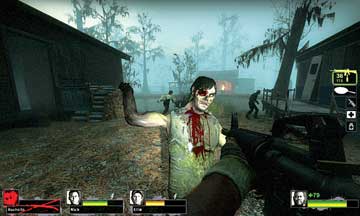
6F
Use the porch decks, building interiors, and trailer as cover from foes, and watch for foes clambering about on the roofs, as well as wading through the muck on the ground below. Head to Location 6G or 6I as soon as you can.
Let There Be Light
Another easily spotted landmark, the burning barrel near the porch of this shack (Location 6G), signals the midway point through the shanty town. Go there via the raised platform from 6E, or the waterlogged marsh and planks (as shown in the picture) from 6F, and make a quick check of the shack’s interior for items.
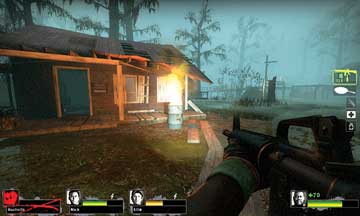
6G
Then press on, following the rotting wooden walkway to an electrical lamp (Location 6H) close to a zigzagging, raised wooden jetty. Spend a second checking the dark support beams under the raised huts to your left, in case Special Infected lurk there. Then make a sprint for higher ground.
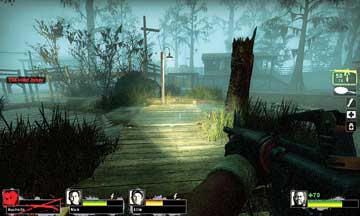
6H
Raised Chalet
If you decided to go around the perimeter of the pond from Location 6F, you’re able to dash up the deck stairs onto the long front porch of this sizable chalet, which has a couple of interior rooms to cleanse of Infected and items (on tables, in the kitchenette, or on the L-shaped deck itself). This is an optional area that is only useful if your team is low on provisions.
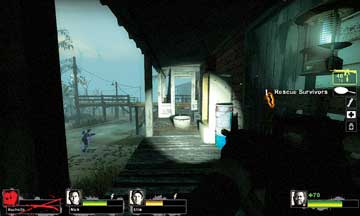
6I
Jetty Junction
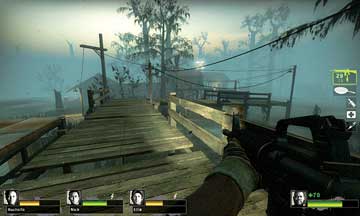
6J
Whether you access this main junction from the adjacent wooden steps, or you’re coming in from the corrugated metal platform near the raised chalet, this is the only place to be during the last push to reach the exit of the shanty town.
Beware of enemies attempting to pull you down into the water below, and check to make sure all your team is present before heading across this platform jetty.
Raised Dead-End Shack
6K
Although a dead-end in terms of routes to take, the lone shack farther along the upper bank from the jetty junction is actually reasonably defensible and a good alternate place to hole up with the rest of your team if a larger group of Infected attempts to overwhelm you. They can only reach you by clambering up and entering from two locations, which means you can easily repel them.
Raised Jetty to Fertilizer Shack
6L
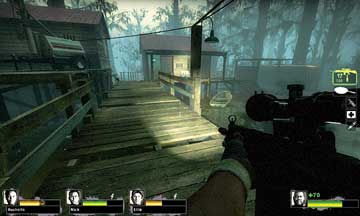
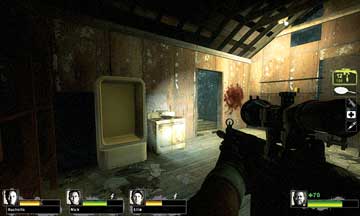
To make a quick escape with the minimum of slow-motion wading, cross the raised jetty platform, passing the floodlight and heading directly for the fertilizer shack (Location 6M), which has a few scattered items and an exit when you head inside.
6M
You can also reach the fertilizer shack via steps up to the deck from the watery pond below, which is handy if you’ve fallen down here, or been pushed by Special Infected.