
Left 4 Dead 2 Guide Walkthrough Dark Carnival
Barn Storming
.jpg)
Petting Cemetery
The remaining route outside is blocked by an impenetrable fence, forcing you into a three-chambered barn filled with rotting animals and putrid Infected. Clear out Area 8 as much as you can so that you’re able to stand at the barn entrance (picture 1) with your team and tear chunks off the charging foes inside.
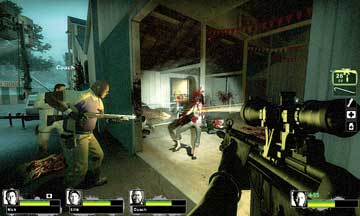
9A
Step into the barn, optionally climbing the ladder (but watch for this favorite Special Infected hidey-hole!) to check for an item. Then work your way into the second barn chamber, crossing diagonally to the right (picture 2) to the only exit door.
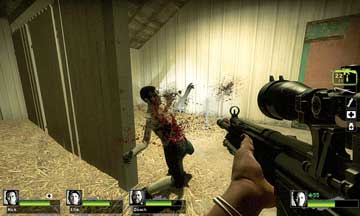
9B
As you go, make a stand in each chamber and close the doors behind you to delay any threats to the rear. Once through the door into the third chamber (picture 3), fight any foes en route to the exit doorway, pausing only to gather any goods on the tables.
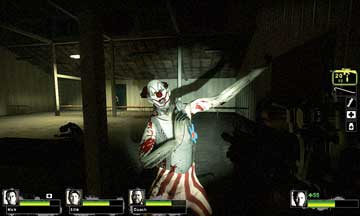
Roughhousing on the Roof
Prepare for more combat as soon as you walk out of the doorway to the exterior area (picture 1). Minimize the time spent on the ground by stepping up onto the stacked yellow barricades and then onto the barn roof itself.
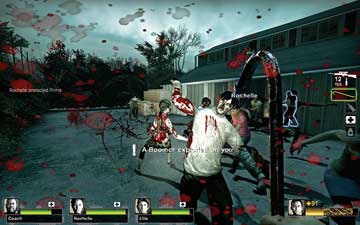
9C
Be sure your entire team heads to the roof together so that you don’t waste time dropping down to save stragglers. While you’re on the roof, stay in the middle of the structure as you cross the three rooftops.
This is partly because the ladders are in the middle, and you need them when you ascend to each roof, but mainly because if you’re in the middle it takes the Infected more time to drag you off the sides of the structure. Expect Special Infected to try their best to knock you off, and if you fall off the right side, you need to backtrack through the barn again.
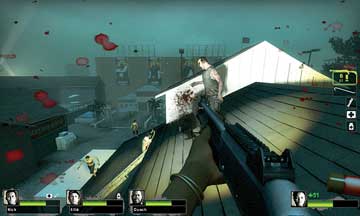
9D
Corpse Pile at the Turnstile
Before dropping back to the ground, check to make sure your team has made it off the roof, then remain on the roof (or at least the white trailers) to cover the area below with gunfire, sniping any foes that may be milling about.
This is especially handy if a Spitter or Charger has appeared, as these can’t easily damage you. Then drop down, finish any foes you’ve overlooked (picture 1), and pick up any interesting items by the trailers.
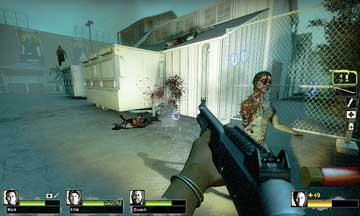
9E
Head toward the turnstiles, passing a CEDA evacuation gate, which may still have a few of those that didn’t make the airlift ready to tear your innards out. Then step over the fallen metal barricade and down the steps to the turnstile.
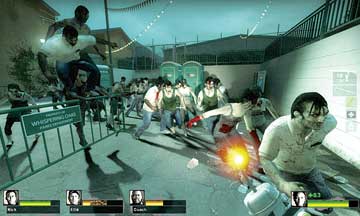
This triggers an enraged group of Infected, and possibly something much bigger, such as a Tank. The action takes a turn for the crazy (picture 2) while you fight a relentless onslaught of opponents.
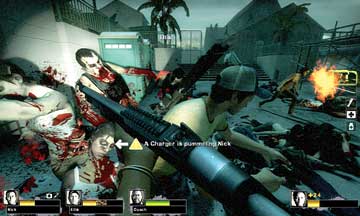
9F
It is slightly safer for your team to head down the steps and then climb the yellow ladder and step up onto the scaffold platform above the action. Here you can lob down projectiles and blast away while one (or two) of your team drops down and sprints to the open window. Another should open the turnstiles while the fourth teammate offers protective services.
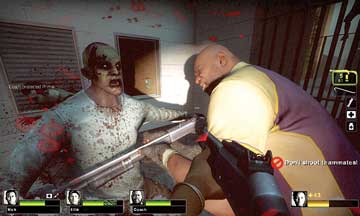
It takes a while for the turnstiles to open, so don’t mill around in the corner. Spread out and scramble back to safety before you’re informed the unlocking has taken place.
Midnight Madness
When the turnstiles open, each teammate should immediately stab themselves with Adrenaline (especially on higher difficulty levels) and sprint down the recessed passage, paying attention and dodging any Chargers that appear along the way to the entrance to the stadium. It is completely overrun with the undead (picture 1).
9G
Even Pipe Bombs only delay the inevitable onslaught, and you must fend for yourselves, hacking and slicing through the throng of decaying human meat (picture 2) to pass into either of the stadium entrances.
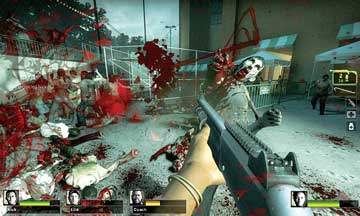
Try running in a wide circle and hop over the green metal barrier to the right of the second entrance; it is less crowded. Now battle to the Safe Room and hack anything that doesn’t look like Coach, Rochelle, and Ellis. You might want to “accidentally” wound Nick, but that’s up to you and your team dynamic.