
Left 4 Dead 2 Guide Walkthrough Swamp Fever
Tracks Past the Shacks
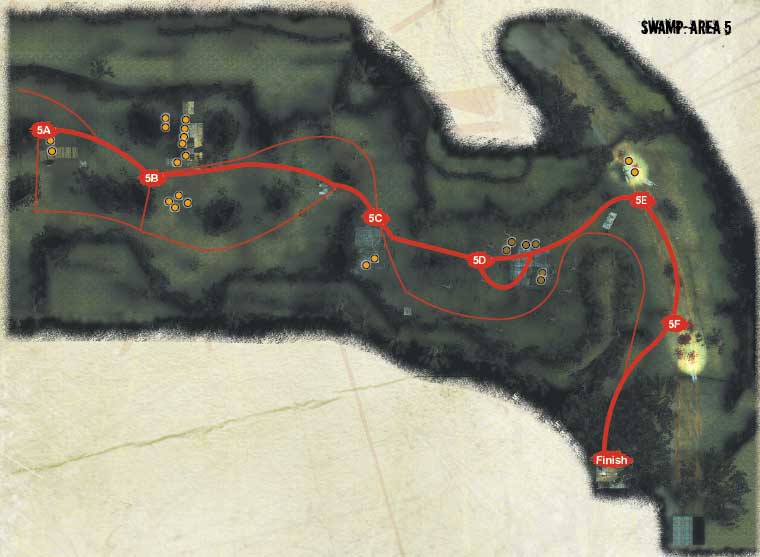
Rickety Wharf
Drop down from the plane’s wing (Location 4E) and move with purpose to the small, rickety wharf farther into this swamp of terror. Between this point and Location 5C, there’s no need to trek through any more water, so stay on the scrubland and navigate past the bush thickets, which offer constant ambush opportunities for Infected, both Common and otherwise.
5A
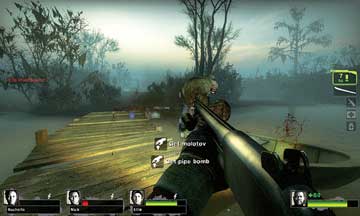
Stay in relatively close proximity with your teammates, perhaps blanketing the route ahead with a Molotov (if Infected are numerous). Don’t stop moving, though; you’re easy targets while out in the open.
Woodsman’s Shack
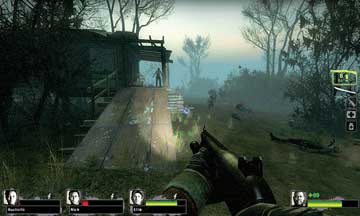
Farther along the scrubland is a wooden ramp up into a small woodsman’s shack with a pile of logs in front. Not only is this a reasonably safe location, but also it’s easily defendable (as Infected only attack from the front of the shack).
5B
Place a guard or two while your other teammates check the interior for supplies. Heal up here, and perhaps swap out weaponry if you feel the need to change.
Skeletal Shack
Push on from the woodsman’s shack and look for a couple of minor landmarks to aid in your directions. You’ll pass a small campfire ringed with river stones and some scattered items outside of the shack.
5C
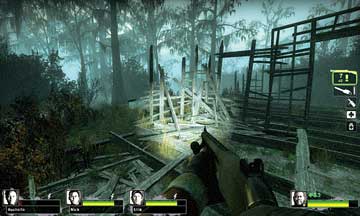
The scrubland rises slightly to a buttress bank, beyond which is a small, waterlogged peninsula with a rusting bathtub, refrigerator, and rotting sofa. Continue culling the Infected as you round the corner and head into or around the skeletal remains of a shack. Check the area for more items.
Half-Submerged Shack
Peer into the forested swamp by the outhouse near the skeletal shack, and you’ll see a large but waterlogged wooden structure in the distance. This is an Infected stronghold, a tactical location you must attempt to gain control of. This is achieved by careful planning and excellent footwork.
5D
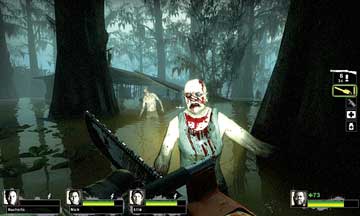
To begin with, stay on the dry bank, deal with any Special Infected you can see, and pop the heads of any foes lurking in your field of vision ahead of you. Then sprint into the murky water (ideally using Adrenaline so the water doesn’t slow you down), and bring your most entertaining weapon to a pitched battle with any remaining Infected forces (picture 1).
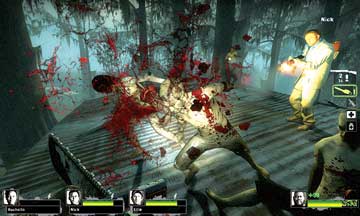
Instead of heading into the sinking building, move onto the grassy mound and then to the roof (picture 2), unless you’re desperate for the equipment in the building itself. The roof is the perfect location for dealing with any charging foes that attempt to swarm you.
Have each teammate guard a roof side, using melee or ranged weapons to wipe out anything that manages to scramble onto the roof—ideally while the creatures are still climbing the walls. Then, once there’s a lull in the action, drop through the hole in the roof and gather any items you wish.
Corpse Pile Roadway
5E
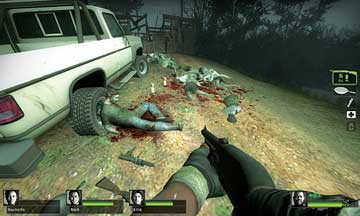
You’re never altogether safe during these outings, but when the backwoods become quieter, make a sprint for the half-submerged car and clamber up to the relative safety of the road with the generator-powered lights . Location 5E features the corpse of a man slumped against the back wheel of his pickup, and a pile of Infected as well as items to appropriate.
5F
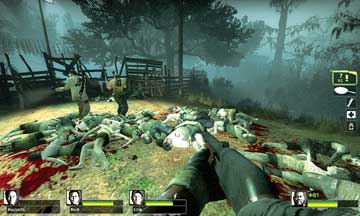
It seems other Survivors held out for a while against overwhelming odds, but were ultimately overcome. Venture down the road to the floodlight and the barricaded entrance to a swamp village (Location 5F), watching for any additional Infected incursions. The threats, especially from Special Infected, are still very much real.
Swamp Village Safe Room
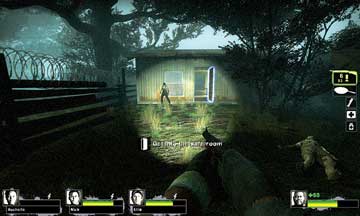
As swiftly as possible, pass the floodlight at Location 5F and follow the right-side barbed-wire fence perimeter onto a flat, grassy bank. You may be set upon by the shambling undead, so run for the Safe Room and use the entrance to fire, swipe, or snipe from, hollering at your lollygagging teammates to get in here immediately!