
Left 4 Dead 2 Guide Walkthrough Hard Rain
Backtrack through Field, Plant, and Refinery
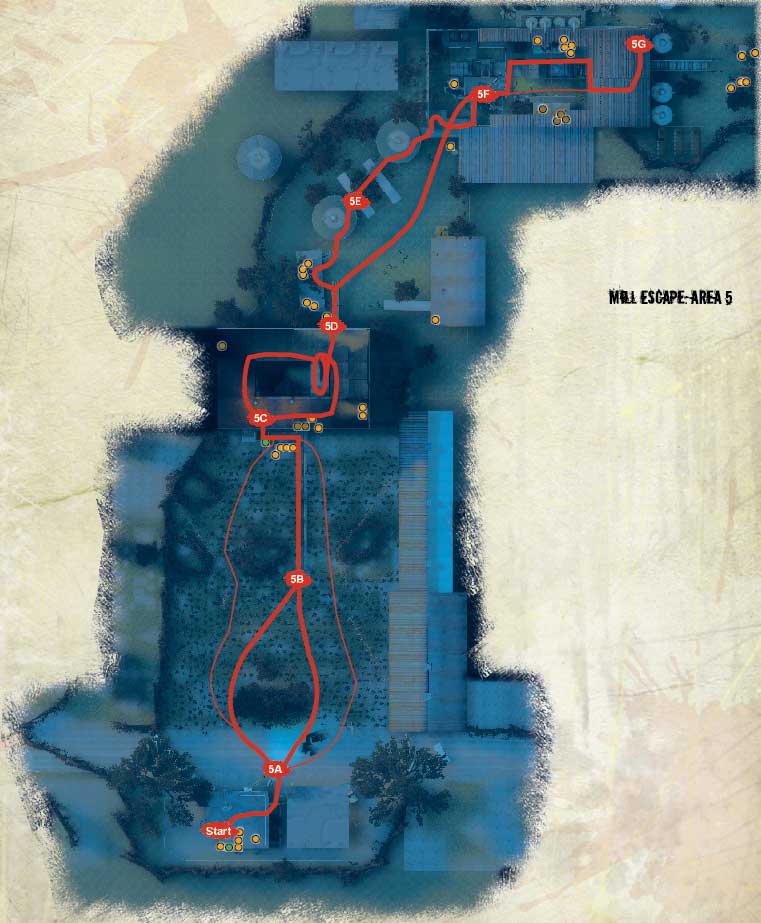
Mill Escape Overview
There’s good news and bad news: The good news is that you’re backtracking through the sugar mill, and you should already have a pretty good idea of the route you’re taking. The bad news is there’s a storm coming, and it’s a doozy.
Expect periodic squalls that impede your vision considerably. Seek cover when the roar of the storm becomes too much. Now the return trip in the dank dark becomes a soggy trek.
Use large buildings and landmarks to find your way, hop onto catwalks and other raised areas to avoid slow wading in the water below, and continue to avoid Witch es, who still weep throughout the tumbledown mill.
+ Your winding route should already have been inspected and planned; use the catwalks to avoid moving on the waterlogged ground.
+ Staying close together is even more important than normal; you don’t want to disappear into the storm, especially during the cane field crossing.
+ Begin to gather the items you left behind during the previous stage, and employ them effectively, such as using Adrenaline to run through water.
- This storm can be completely overwhelming, and the initial sprint through the cane field is highly dangerous if you’re separated by Special Infected or incompetence.
- Witch es are back and even more difficult to spot. Although maneuvering over catwalks is recommended, falling off isn’t, and it can impede your survival chances.
- What lies in the dark corners? It’s usually a Special Infected, but don’t let the fear of what you can’t see prevent you from progressing.
Into the Maelstrom
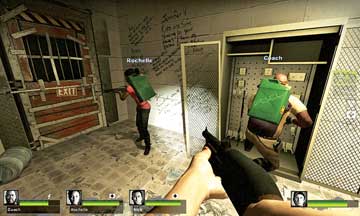
If you’ve been leaving behind choice items throughout Stages 1 and 2, you can now gather as many pieces of helpful equipment as possible from this point onward. All four of you now have Diesel Cans strapped to your backs, but this doesn’t impede movement (or what you can carry), so heal up, grab Adrenaline if it’s available, and ransack the gun cabinet for additional ordnance (picture 1).
Start
Open the Safe Room gate and fight your way outside into the gas station forecourt. The weather has taken a turn for the worse, and you need to battle through rain, wind, and the occasional fierce squalls of vicious, pelting precipitation.
5A
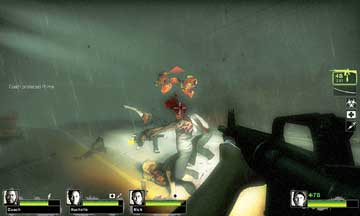
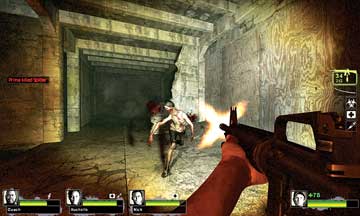
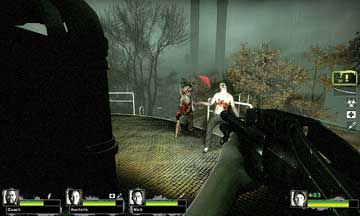
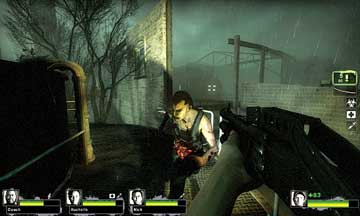
You can still introduce an Infected’s head to your aiming prowess (picture 2). Forked lightning arcs through the skies and there’s little time to dilly-dally. Romp into the sugar cane field, hopefully in a straight line after winding around the copse of trees.
5B
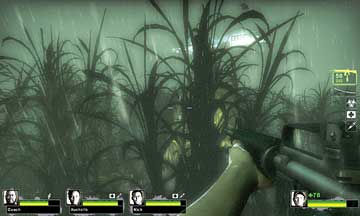
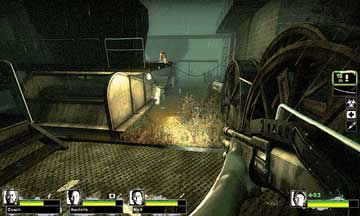
Look ahead and upward, so you can catch the outline of the mill plant (picture 3) lit up by lightning to get your bearings.
Plant Life
Struggle to the opposite end of the cane field, check the rusting cabin (if you left items there after a previous search), and step into the elevator. The wind muffles the sound of the mechanism, which allows you to ascend to the top floor of the plant building usually without receiving a Horde at the top.
5C
As this place offers the same degree of ambush potential for the Special Infected, prepare to combat them as you disembark (picture 1). You’ll also face Common Infected and usually a Witch or Tank (picture 2).
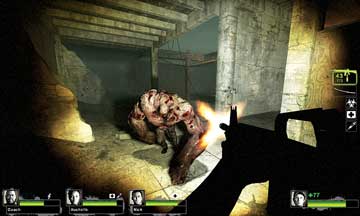
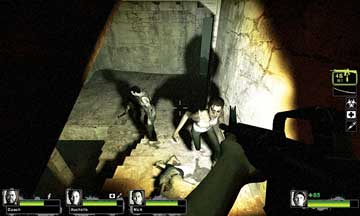
Tanks are particularly troublesome, as their attacks knock you across the building and usually off the open ledges, so backpedal and focus your team’s firepower on one. Try a Molotov and run around the entire floor to dodge those thrown slabs and arm swings. Fight your way down the first set of steps to the floor immediately below, cutting down foes along the way (picture 3).
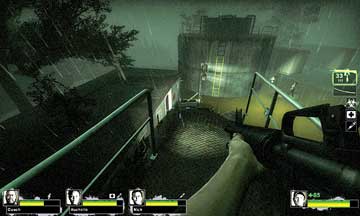
The good news is that you don’t need to descend two more floors to the waterlogged ground level below. Rather, you can escape the plant via the partially collapsed catwalk (picture 4), although it’s a good idea to check the area for Special Infected before you move onto this structure.
5D
Minimize lost time and the possibility of your team falling victim to a Special Infected by staying close, learning where the catwalk is, and moving in unison toward it. Remember, not everything needs killing!
The Rusting Vat Tower Advantage
From the half-collapsed catwalk (5D), you have two places to fall to: the roof of the cabin with the hole in it, or the ground below, which is now completely covered in water. You’re now back at the loading bay, and after securing any items you may have left here, figure out a safe method of returning to Refinery 2.
One of the ways is to wade through the water, but Survivors with previous experience of Swamp Fever know that movement is severely curtailed in water, which makes you easy prey for Special Infected.
5E
A far better plan is to burst out of the cabin, leaping at the yellow ladder and scaling the first of the two rusting vat towers. You might even find an item or two at the top! You’ll definitely encounter foes, so slay them at the start of a catwalk (picture 1), then move across to the second tower and bag another Infected or two (picture 2). The catwalk continues into Refinery 2.
Running through Refinery 2
You should be somewhat familiar with Refinery 2, although it looks different in the dark, rain, and when traveling in the opposite direction! However, your team should reconvene at Location 5F, the platform with the generator on it that has a still-functioning floodlight.
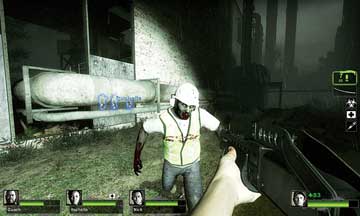
Drop down from the catwalk, or head up to the platform from the ground. Expect constant Infected attacks and even the random appearance of Witches (picture 1), in addition to the storm squalls.
5F
You can follow the grassy ground, or climb onto a second catwalk and work your way under the section of refinery with a roof, or drop down and retrace your steps along the now-sodden grassy floor, which offers slower progress (but allows you to access the storage room you may have overlooked or left items in before sundown).
If you all used Adrenaline back at the collapsed catwalk (5D), run all the way to this point. Whatever route you take, the conveyor belt isn’t accessible. You must turn left, clamber over the pipe, and drop down into the alleyway between the two refineries (picture 2).
5G