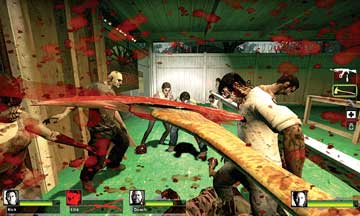
Left 4 Dead 2 Guide Walkthrough Dark Carnival
The Screaming Oak
.jpg)
The Helicopter of Hope
Stagger out of the Tunnel of Love and have one of your team check the hole for rear-flank incursions. Check the small concrete cabin for additional hardware.
Then enter the yard with a large oak tree by a low brick building; a helicopter flies low overhead looking for Survivors.
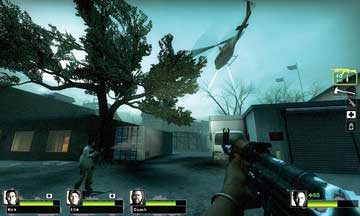
You might still get out of here alive, although that possibility becomes increasingly improbable if you’re set upon by Special Infected just after you emerge from the tunnel
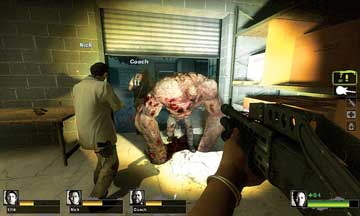
7A
First Aid at the Brick Building
Move into the yard, and check the areas left and right of you if you wish. They both lead to dead ends, so don’t get stuck there and overpowered by Infected. Also keep a careful watch above your head for annoying Special Infected waiting to ambush from the building rooftops in this area.
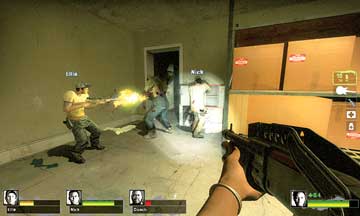
7B
You can simply sprint past the white truck to Location 7C, or move into the brick building (7B), while half of your group grabs healing items from the shelves and First Aid Station and the others guard the doors. You should expect a Special Infected when you open either door (as shown).
Rotting Folk at The Screaming Oak
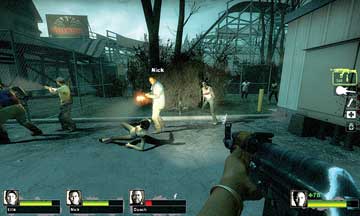
7C
Exit the brick building or move from the back of the white truck to the grassy area near the perimeter fence for a giant wooden roller coaster known as The Screaming Oak.
Expect a heavy Infected presence here as you press on toward a fallen fence section that deposits you up and underneath the ride itself.
You may elect to distract mass Infected with Bile Bomb or Pipe Bombs to ensure that all four of you drop down onto the other side of the fence safely.
Powering Up the Coaster
When all four of you are safely over the fallen fence, make placid but steady progress around the bushes and under the wooden coaster supports. Head directly for the small “haunted house”-type building that houses the coaster machinery.
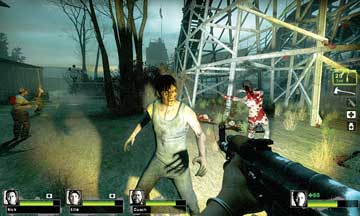
7D
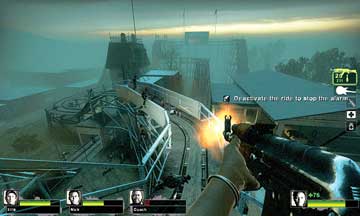
As you near the house (picture 2), quickly move and flick the switch that activates the ride. Do this as fast as you can because you’re currently completely enclosed with no means of escape!
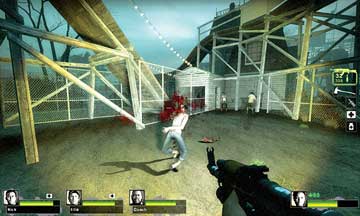
7E
Wild Ride Part 1
The first problem to overcome is the mass of Common Infected that are about to gnaw you to death. Once the orange security gate swings back, pile into the coaster track at Location 7E and try to climb the rise.
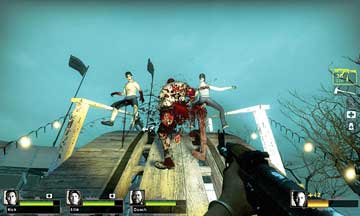
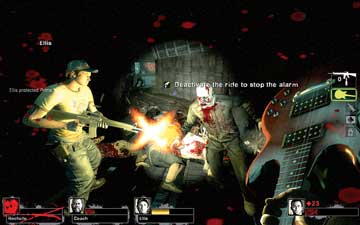
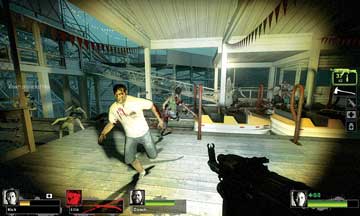
Although you may have to spend a few minutes slicing, dicing, and blasting the enemies (picture 1). This is an excellent time to use a Pipe Bomb or Bile Bomb, but throw it into the grassy area nearby.
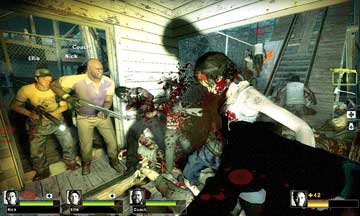
With all your team ready, run up the first (very steep) roller coaster rise (picture 2), and be extremely careful, as this is a favorite place for a Charger to run straight through all four of you!
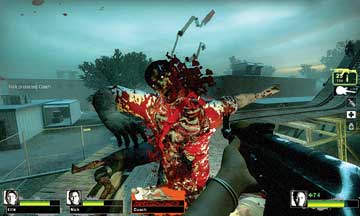
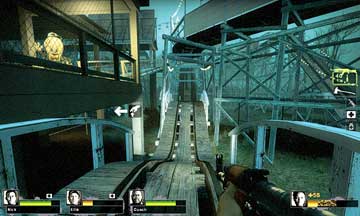
Follow the track around the left U-turn and to the small dip down (7F; picture 3). You can snipe at targets scaling the coaster walls, but these appear continuously, which means you must keep moving.
7F
Wild Ride Part 2
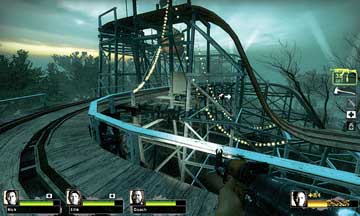
Continue your roller-coaster rampage by moving down the undulating track and around the corner, cutting down foes before they reach you (picture 1). If you fall off the left side, you begin the run again (if you’re not overrun, that is).
If you drop off the right side, you need to locate the illuminated ladder near the haunted house at ground level (the top of the ladder is just visible on picture 1, as is the white truck back at location 7C). Continue along the coaster track, move up the rise and around the bend that goes underneath an upper section (picture 2), which you never stand on.
7G
Wild Ride Part 3
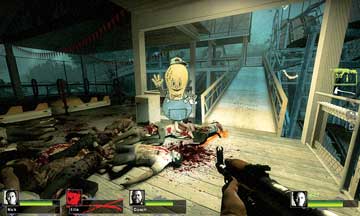
The coaster track descends on an undulating (but straight) path past the opposite side of the haunted house, so continue your running and gunning as you pass a section of the coaster that is lit and features Lil’ Peanut waving at you (as shown). This is the place to switch that damned alarm off!
7H
Wild Ride Part 4
7I
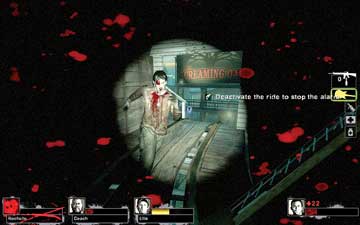
Continue into the covered tunnel (7I; picture 1), which is an excellent place to heal as long as two teammates guard either end (picture 2) and take down the approaching foes while the other two heal. This is also a reasonably safe place to wait for your team to catch up, as you’re enclosed, Infected can only attack from the exits, and Special Infected can’t pull you off the track.
Wild Ride Part 5
Head out of the covered tunnel, ideally brandishing a Melee Weapon (picture 1), and cut your way toward the switch deactivating the ride. It is of paramount importance that you flick this switch, as the Horde will eventually dissipate rather than remain a continuous threat. Sprint, jog, or hobble your way on to the switch.
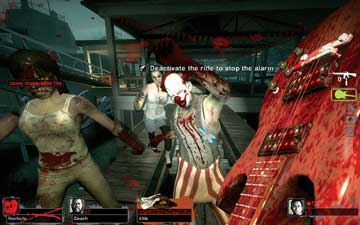
Then pause there to heal yourself while (hopefully) a teammate guards the switch area so that nothing can savage you. When you’re recovered, join the rest of the team in raking the remnants of the Horde on the platform where the coaster cars come to rest (picture 2).
7J
Lil’ Peanut Leads You to Safety
Once the coaster is shut down, find the standee of Lil’ Peanut waving at you and then head up the ramp and across the bridge to escape this area. Cross the bridge, and move down the multi-stage ramp into the green-carpeted waiting area for the ride: the Safe Room for this leg of the campaign.
In this example (picture 2), somebody didn’t check to see if the team was being followed; remember to always stand at the door and offer covering fire until all teammates are inside. You can’t close the door until you’re the only four beings standing!