
Left 4 Dead 2 Guide Walkthrough The Parish
The Cemetery of Saint Roche
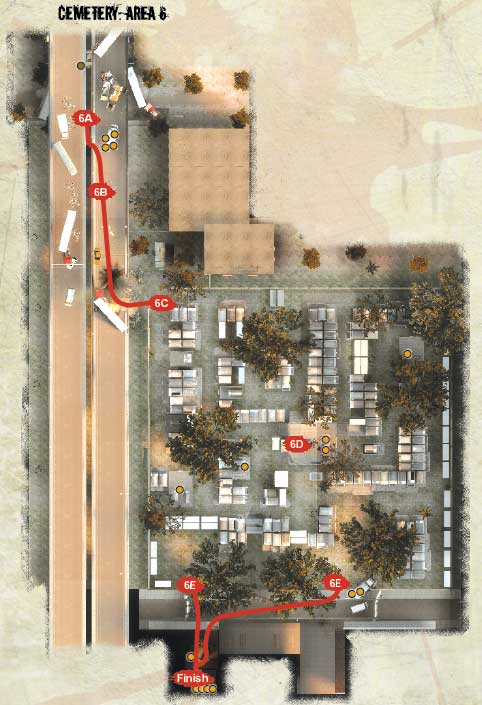
Freeway Falling
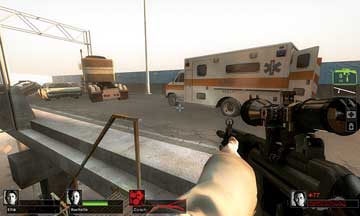
Ascend the ladder and small gantry onto the freeway, just as the military decides to take a large chunk out of the freeway ahead of you. You’re not harmed and can use this small window of downtime to check the ambulance for items (picture 1).
6A
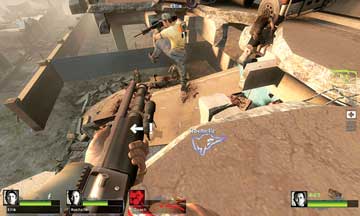
Now turn around and move along the freeway to the large section of fallen masonry and twisted steel that the bombardment made (picture 2). The explosion has awakened a small legion of zombified locals, too, so pop at them from the freeway at range before dropping down together.
6B
Slaughter in the Plague Cemetery
Check the shed for supplies and then enter the cemetery via the collapsed section of perimeter wall (picture 1). You must now trek through this frightening mausoleum heading in a roughly diagonally left direction by using the sun’s position to guide you.
6C
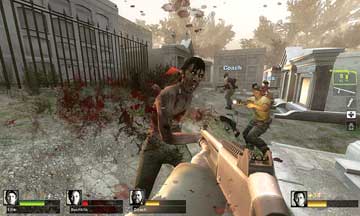
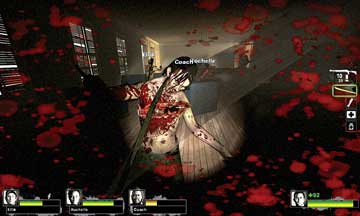
The route is random, but the threats are just the same. Beware of Infected clawing at you (picture 2) and pay particular attention to the tombs surrounding you, as attacks are usually foes dropping down from these stone structures.
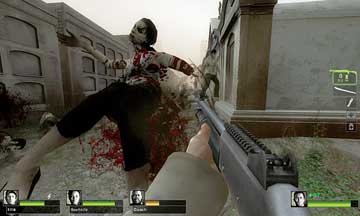
While following the location of the sun, there’s a secondary, and just-as-important landmark to fixate on: the obelisk located near the middle of this maze, on slightly higher ground (picture 3, on the left).
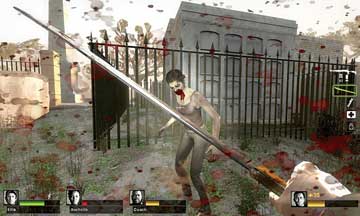
Slaughter your way to this location, favoring Melee and short-range firearms, and make a sweep of the obelisk for items. On your way here, you should also check the various ornate graves for additional items.
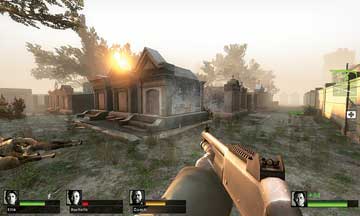
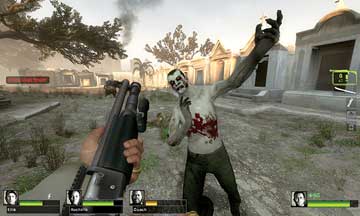
Once you arrive at the obelisk, continue your bloody graveyard massacre (picture 4) through various tomb-lined avenues, keeping watch for Special Infected attacks at every turn. The monsters lurk in alcoves between graves or atop tombs, waiting for you to pass so they can attack you from behind.
6D
They also like to stagger their attacks so you’ll be preoccupied with a Jockey riding a teammate when a Smoker sneaks up to further ruin your day. Making slightly slower progress and dealing with immediate threats before continuing is advisable.
This jaunt concludes as you reach one of the two cemetery exits, usually the one at the top of a slightly sloping hill, on the highest ground of the graveyard. Once you clear the obelisk, look for the street buildings in the distance and head toward them; these landmarks serve you well as you near the cemetery’s exit (picture 5).
6E
Double-Gallery Safe Room
Exit the cemetery, optionally checking the white truck for items, and jog down the road (if you left via the upper exit). Quickly locate the building with the ornate double-balcony and open ground floor. Go in there, immediately hop over the desk, and scurry inside the Safe Room.
As foes can stream in behind you, guard the Safe Room or take cover behind the desk and offer covering fire for the rest of the team until everyone is inside.