
Left 4 Dead 2 Guide DLC The Passing
Campaign: Pool Hall
Start and 4A: Savagery on the Steps
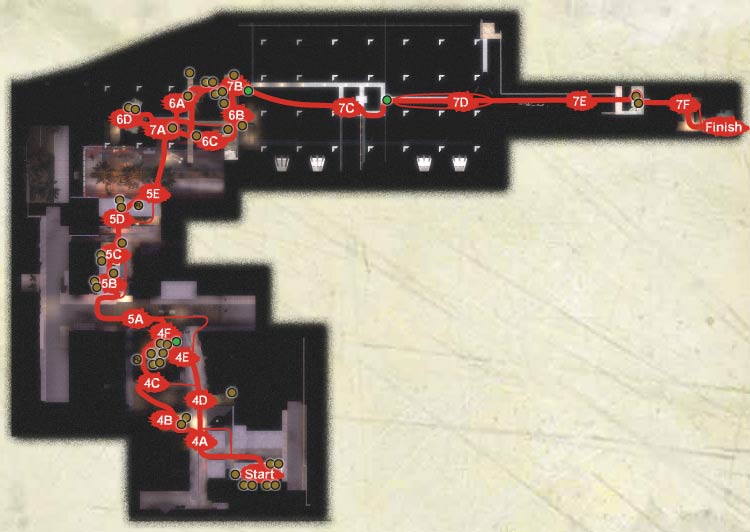
START
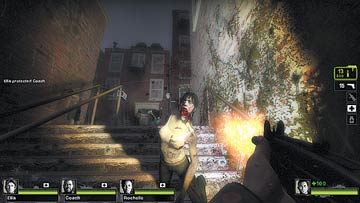
Exit the Safe Room and check to the right (for a lurking Special Infected). But mainly check left; travel up the steps to a narrow intersection of alleys that allows you to split your team (preferably into two teams of two), so half of them can head to the right, around and up to the main street itself (4A).
Either set of steps leads you to this point, and expect scattered and lurching foes along the way, with a chance of a Fallen Survivor to tackle, too.
4A
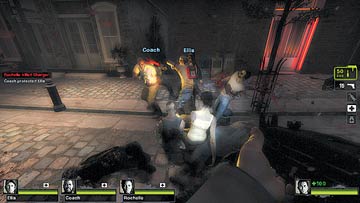
The narrower alleyway steps allow you to sprint across the cobblestone thoroughfare, and into a clothes shop (4B) (either path enables you to reach this point). You may wish to clear the dead-end street to your left as you reach the cobblestones to avoid any ambushes from behind and to cleanse the area completely of foes.
When you’re done, you have a couple of path options, although they can merge and both allow access into the main Bar Room and Pool Hall at the far end of the street.
4B and 4C: All Appendages 50% Off!
4B
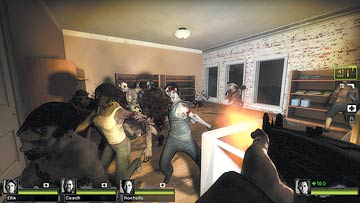
A slightly quicker and safer route to reach the Pool Hall (4F) is to cross the street, and head up the steps to the left, into the clothing store. The steps are just before a streetlamp in the middle of the thoroughfare and across from Jules’ Fresh Crawfish shop.
You may need to battle up through a Horde of T-shirt-wearing Infected as you push into this chamber, which has the benefit of a raised exit (making your foes climb to reach you and enabling you to easily pick them off) and a good flow, meaning you can escape from either opening if a Tank or other Special Infected starts to wreak havoc.
4C
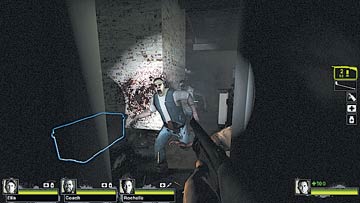
Inside the store, stop to pick up any scattered weapons and items you want, and then drop down from the open windows onto the small grassy garden. A quick dash across the gardens to the left allows you to reach a side entrance and storeroom leading directly into the Pool Hall (4C to 4F).
This is of particular importance as this is a good alternate entrance to the open window, which can sometimes be guarded by a Witch. The only drawbacks are the dark and cramped storeroom and the hedge-lined outside alleyway near the gardens, which can allow Special Infected ambushes to catch you unawares.
Get inside the Pool Room building as fast as you can and check the brick alcove to your left as you enter the main Pool Hall; there may be a Foot Locker here.
4D and 4E: Carnage Near Club D
4D
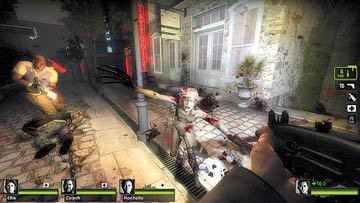
If you elect to ignore the clothing store, or you’ve ransacked the place and returned to the main thoroughfare, beware of possible Special Infected attacks, especially from a Charger that can split up your team.
A second open shop—the tattoo parlor on the right side of the street—has a witty quip inside as well as a possible item or two. Check there before heading toward the “Club D” neon sign at the far end of the street.
4E
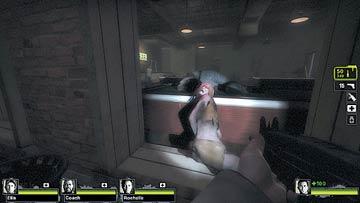
Notice the major sewage problem and some fencing you can squeeze through (which would drop you down into the muddy ooze close to Location 5A). However, it’s far better to hop left at Location 4E onto a bench, through an open window, and into the Pool Hall itself.
The reasons become apparent as soon as you enter the Pool Hall itself. Make sure your entire team is heading into the hall, either via the side entrance (4C) or the open window (4E), so foes don’t get to pick off the stragglers.
4F: Pooling Resources
4F
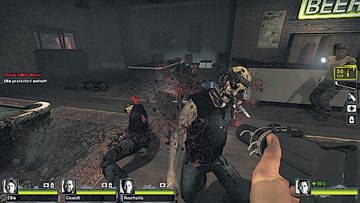
Take a short breather (unless you’re under Tank attack, in which case flee to the road construction outside). Begin to take advantage of the Pool Hall; there are a number of powerful weapons scattered about the tables, and the tables act as a barrier, allowing you to circle around weaker foes and dispatch them.
Plus, there’s the Foot Locker that randomly appears in the brick alcove close to the side entrance storeroom. Don’t forget other items on the counter, such as the Laser Sight!
4F
If you want your carnage to come with a musical accompaniment, switch on the jukebox in the corner before you leave; your Achievement total goes up as well as the anger of the assembled Hordes (so be warned; this sets off enemies in a frenzy).
If you’re attacked by multiple foes, and none of them is a Tank, your best bet is to use the protection this Pool Hall affords you. Cut down Infected as they mosey around the pool tables and shoot foes from the open windows. Do this before you drop down to the construction below, so there’s less to threaten you in the ooze you’ll be wading through.