Left 4 Dead 2 Guide Walkthrough Dark Carnival
The Concert
.jpg)
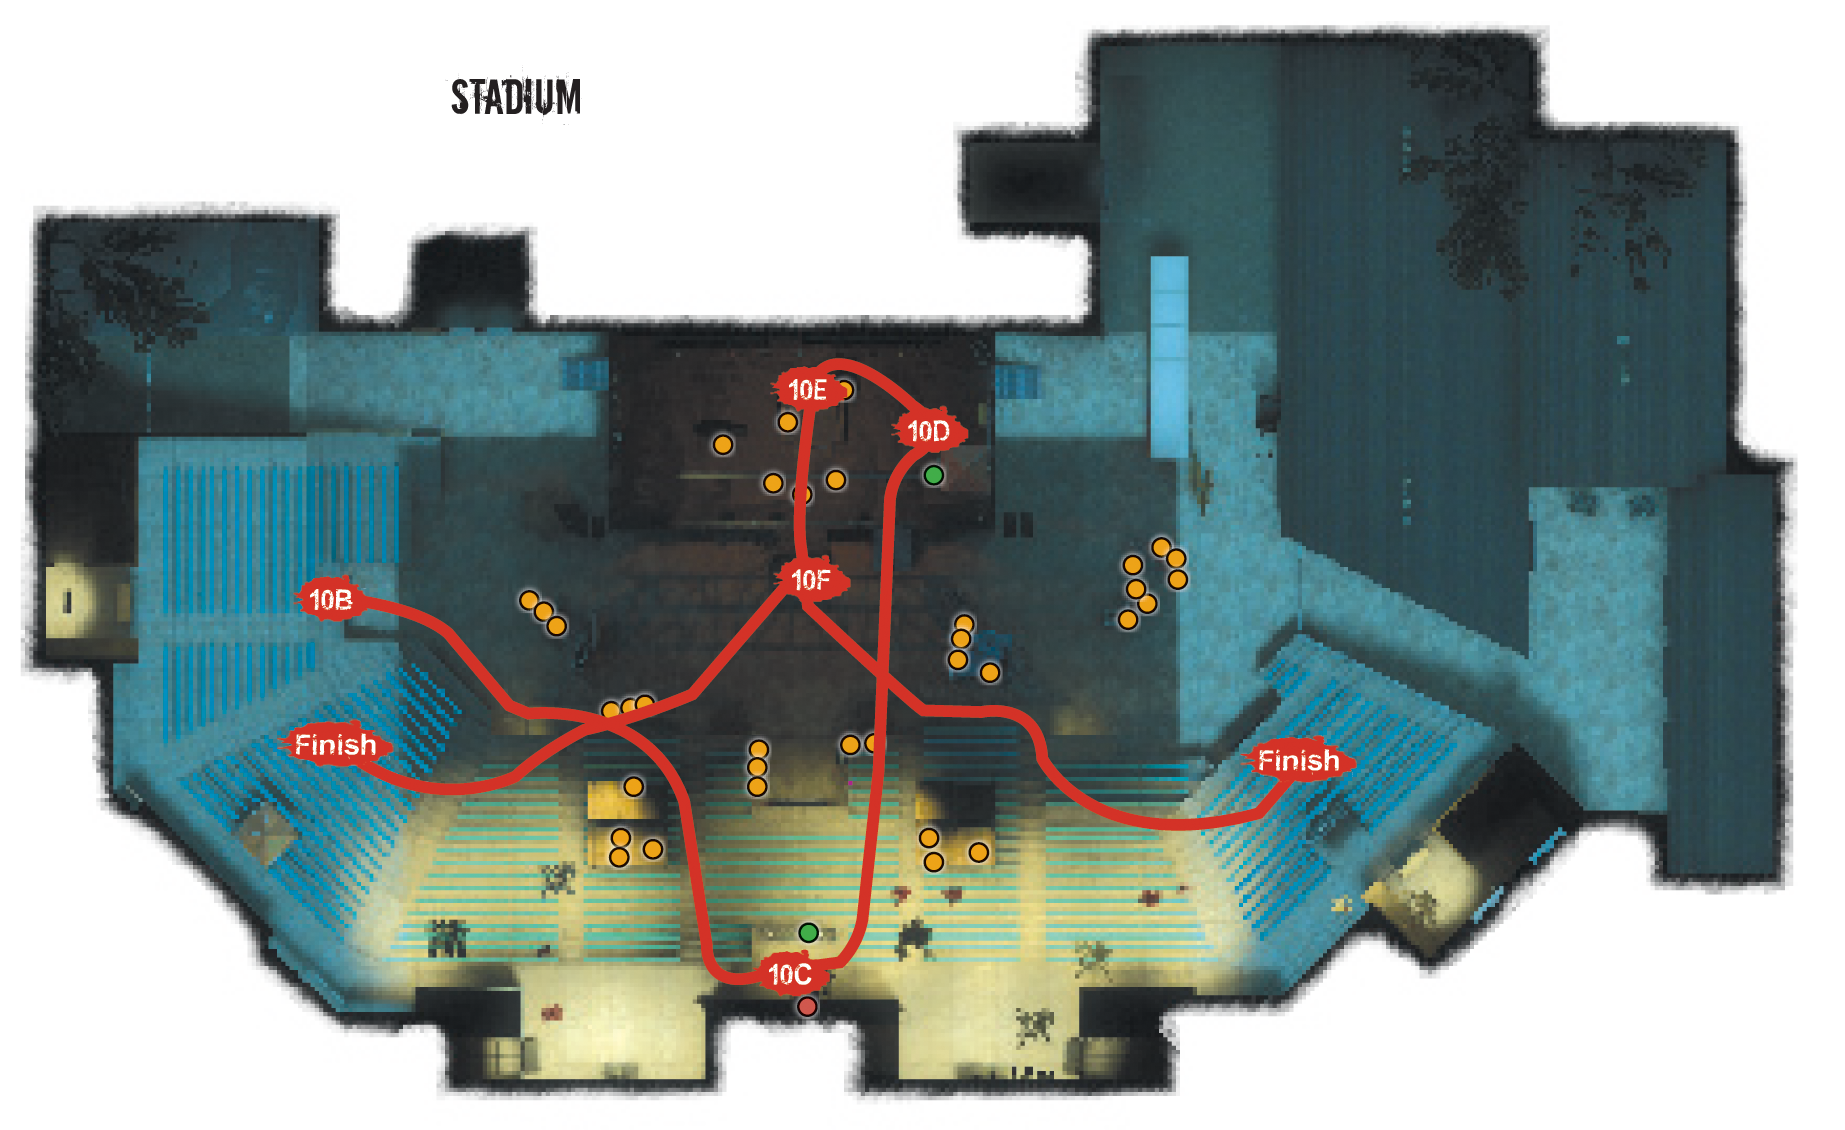
Keep on Ridin’: Concert Overview
The Midnight Riders left this gig early, and it’s fortunate their pyrotechnics show is still set up to explode, as it might allow you to flee this nightmare, providing you can cut a swathe through the foes in the tunnel corridor under the stadium before entering the concave, half-bowl stadium itself (Area 10).
There are a few zombified fans to quiet, but the action doesn’t start until the two lighting boards are activated. Then comes the small matter of striking back at the waves of Infected (including fans of the Midnight Riders, event staff, and bigger, more mutated threats) until the increasingly spectacular fireworks display attracts a passing helicopter pilot.
+ You can begin the “concert” quickly. The stage is quite defendable and offers the most items and health.
+ There is a plentiful supply of projectile weapons to gather, which allow you to eliminate many Infected at once.
+ Good verbal communication, that is, telling teammates of the type of attack and where it is coming from, is the key to victory.
- It takes only one badly timed swipe or the ammo depletion of only one team member for everyone to be overrun.
- Expect the Horde of Infected, Special Infected, and a Tank to show up, sometimes all at once. The odds aren’t good!
- During the chopper escape, if you’re pulled down to a prone position, you become very difficult to save.
Hello, Cleveland!
Start
Study the graffiti on the wall if you’re worried about the fate of Jake (“the lover”), Dusty (“the brawler”), Ox (“the drummer”) and Smitty (“the drinker”), but don’t fret; they’ve been evacuated by Davey Red (“the helicopter pilot”). Inspect the weaponry in the Safe Room and decide on your weapons of choice.
As always, a mixture of Shotguns along with a longer-range weapon or two is good, although your team may favor more close-combat ordnance due to the crowd-control measures you’ll soon employ. Grab everything you can here, including any extra ammo, Belt Items, and First Aid.
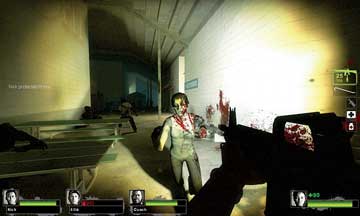
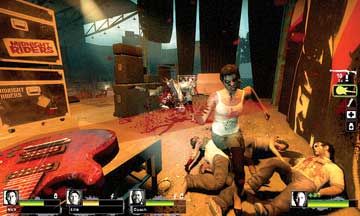
Step out into a large corridor directly under the stadium. You’re almost immediately spotted by foes (picture 1). Introduce them to your favorite weapon and make measured steps along the corridor.
10A
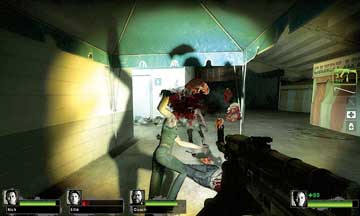
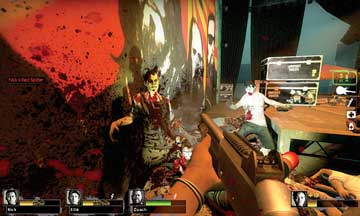
You can check the restrooms on the right wall for additional foes and the possibility of an item, but it is better to keep going and popping the heads of the Infected (picture 2) as you pass the picnic tables and check a second restroom area on your left.
Into the Stadium
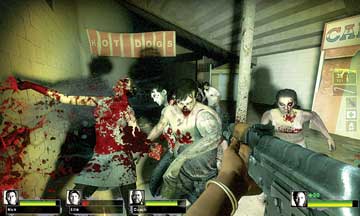
The corridor gets a whole lot darker (picture 1) once you pass (or investigate for items) the second set of restrooms, so prepare for attackers you can’t immediately see and the possibility of a rear ambush if you hang around for too long. Instead, press forward past the plastic chairs and Hot Dog sign to the stadium entrance itself (picture 2).
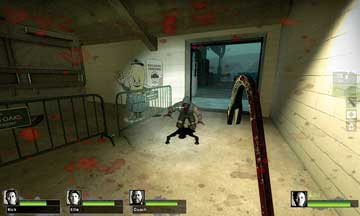
10B
Expect a Special Infected (or two) along the way and pay particular attention to Chargers along this narrow thoroughfare. Head through the exit (10B) out into the stadium.
Setting the Stage
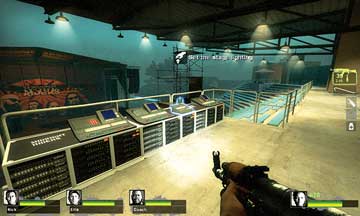
10C
Make a mental note of the stadium’s layout as three of your team take up a defensive position on the stage (10E), while one of you bounds up the stadium steps to the right to the seating of the sound and lighting board on the upper rise of the stadium. There should be a few Infected to easily push, dodge, or drop as you access the stage lighting panel. The stage is bathed in an orange glow.
For Those About to Rock...
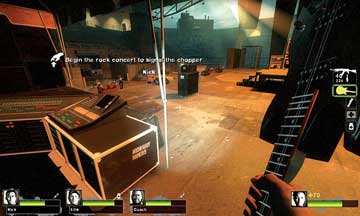
10D
Bound back down to the stage (be sure you’re aware of where extra Health and items are in this location), and take up a defensive position on the stage itself. First note the three easily accessed entrances (the ramp near the microphone, and the steps at either end of the backdrop). Don’t delay the show; access the second lighting panel in the small equipment deck on the side of the stage to start the show.
...We Slaughter You!
10E
As fountains of firework sparks belch from the front of the stage, the Horde of Infected, along with at least one or two Special Infected, begins to jump onto the stage. There are numerous places for your team to stand, but among the safest is back-to-back at the rear of the stage behind the drum platform, with one Survivor holding the left side of the stage (picture 1), and the other the right (picture 2), and with two more teammates doing the same at the front of the stage. Continue to fight back the Horde as the bodies pile up.
Not Quite Dead Yet
The two team members at the front (10F) have a better, unobstructed view and the added responsibility of watching each set of pyrotechnics fade and then stomping on the foot switch next to the live microphone in the middle-front of the stage to start another round of fireworks.
At the same time, the downstage teammates have a better range to throw out their projectiles. (You should all swap locations so that each team member uses their projectile weapons and gathers more.)
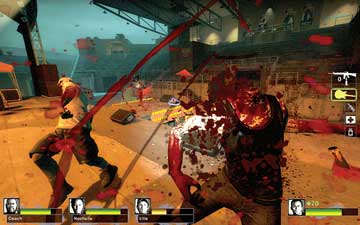
Between Infected assaults, watch for a stream of new foes heading down the stairs or out of the side entrances, communicate where the biggest threats are (usually Special Infected are also making an appearance), and throw out a Pipe Bomb, Bile Bomb, or a Molotov to cull the enemies reaching the stage. When you’ve thrown your projectile, battle to grab more, even if this means leaving the stage (picture 1).
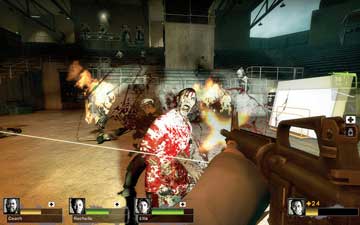
The combat continues with countless Common Infected feeling the pain, thanks to your axe (of either variety; picture 2).
10F
The battle is interspersed with healing, helping, and concentrating on areas where the most Common or Special Infected are coming from. Don’t forget to stomp on the foot switch so that additional fireworks go off.
Get to the Chopper!
After around three or four sets of fireworks, stomp the switch once again to launch the finale fireworks, which are massive and explode in the sky. At this point, you’re likely to be attacked by a Tank, which could be the second one you face in this finale.
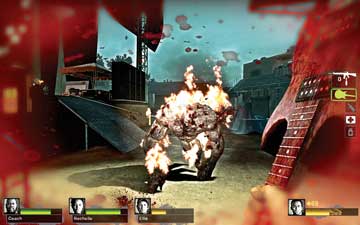
Remember your regular Tank-killing tactics (basically, everyone faces it and peppers it with gunfire until it falls over). Another method (picture 1) is to set it on fire with a Molotov or Fuel Can and avoid it for 30 seconds until it dies. Dodge the burning Tank’s attacks, but fire on other enemies: This is by far the best way to incapacitate the king of the Infected!
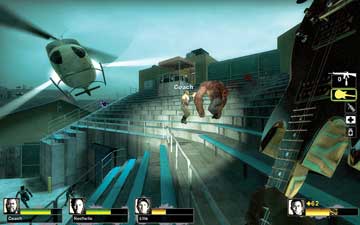
After what seems to be an eon, a rescue helicopter finally spots your spectacular call for help. A chopper descends down onto the stadium seating, which could be on either side of the stage.
At this point, you should all leave the stage and sprint up the concrete steps onto the bench seating, lobbing a Pipe Bomb or Bile Bomb to occupy the Infected as you make your escape. Try leaving as pairs in case you’re stopped by Special Infected and one of you needs a helping hand. Jump into the side opening of the chopper and take to the skies. This carnival ride is over!