
Left 4 Dead 2 Guide Walkthrough The Parish
Bienville Park
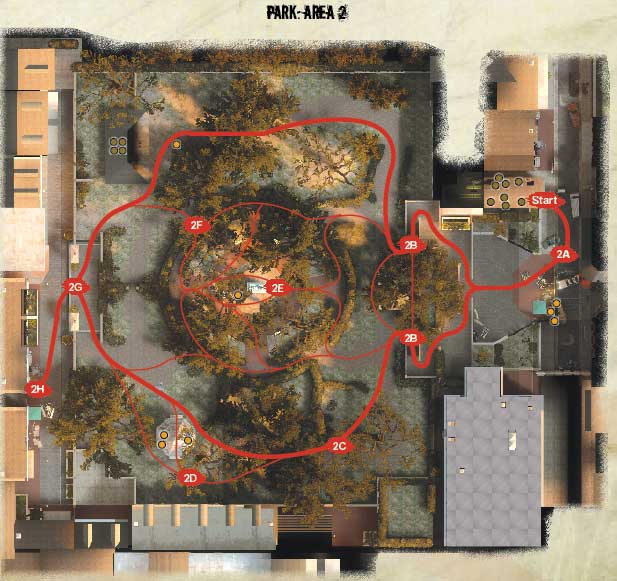
Hedge and Mesh Mazes: Park Overview
After emerging from the other side of the voodoo store, you’re faced with two large and involved locations: a park with a small hedge maze, and a large bus depot with evacuation fencing that forces you into a different type of maze.
+ The park seems tricky to navigate, but as long as you don’t want to visit the riderless horse in the middle, you can easily skirt the perimeter.
+ Reach the depot and sprint to switch off the alarm as quickly as possible. The use of Adrenaline and your teammates to back up two lead runners help you finish this task.
+ The exterior of the park and inner section of the depot have room to strafe and move, so plan on doing most of your fighting against Special Infected here.
- Know exactly where you are in the maze and don’t get split up, as it’s difficult to find fallen friends. Also beware of hedgerow ambushes!
- The Special Infected can climb both the hedges and mesh fences before they spawn, which can create extreme problems and ample ambush danger.
- There are a number of narrow, straight passages throughout this map. These make strafing difficult, and Charger s (plus other Special Infected) have an advantage.
Voodoo Chill
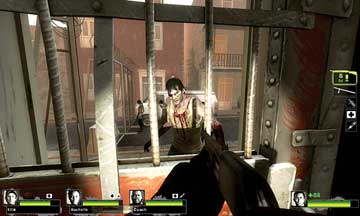
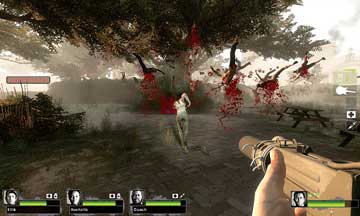
The commotion outside is unrelenting, so you are wise to stay in the voodoo shop, read the wall graffiti, and stock up on items, weapons, and ammunition. When it is finally time to go, stand at the door and blast away at the Infected surrounding it (picture 1), then swing the door open and continue to pump bullets into the hides of foes so you clear the immediate area. Step back into the store and reload, grab more ammo, and then leave.
Start
Once you’re out in the street, you face the same opposition as you did during Area 1: the ever-present threat of Special Infected as well as possible cars with alarms. A natural amphitheater lies at the base of the entrance to the Bienville Park.
2A
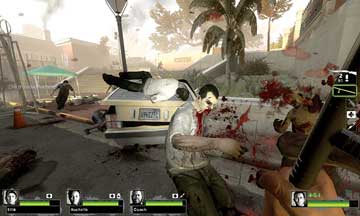
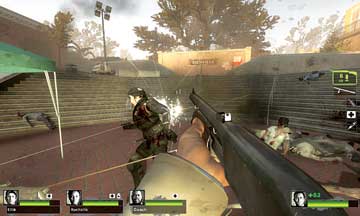
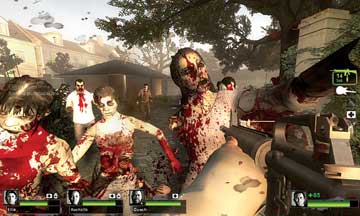
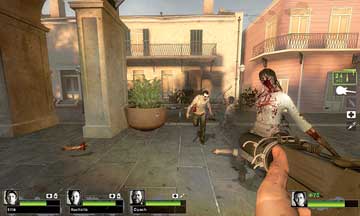
Tear through the diseased (picture 2) creatures, pushing your way to the brick courtyard, and then rain death on every type of enemy (picture 3) before quickly checking the parked military vehicle for items of worth. Then climb the steps and head into the park itself.
The Battle of Bienville Park—Part 1
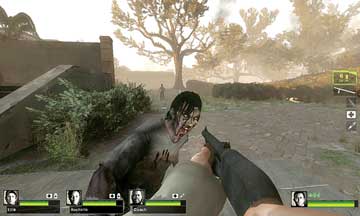
You are now entering a park with a small circular hedge maze that is symmetrical and easy to find your way through (especially now you have the map to guide you). The park has two entrances, and you can take either, heading around the stone wall and down some steps to the cobbled ground below (2B; picture 1). From this point, you can take any of the routes shown on the guide map.
2B
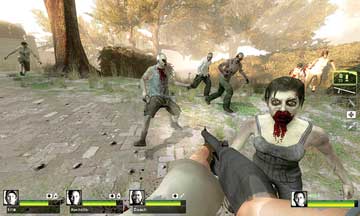
The area on the outside of the curved hedge sections, such as the path through Location 2C (picture 2) features a good number of horrific once-humans baying for your blood. The advantage of remaining in this outer area is that you can easily strafe around the foes, and attempt cross-fire opportunities. Continue your park exploration and locating more victims to drop.
2C
The Battle of Bienville Park—Part 2
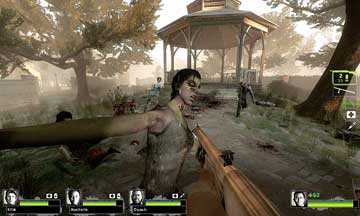
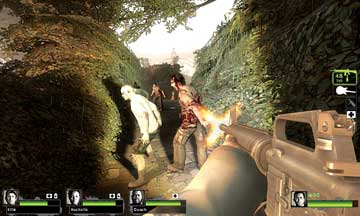
If you’d like to avoid the extra hassle of narrow hedgerow combat and decreased maneuverability, continue around the outskirts of the park, moving under the majestic oak trees and murdering as many Infected as possible (picture 1). You’ll soon come upon a gazebo, which is an excellent landmark.
2D
Step onto the gazebo, which you can use as a place to snipe foes and as a defensive position if a Horde is attacking. (It’s easy to block the entrances with Melee Weapon-wielding friends and stop foes climbing over the fencing.) From this point, sprint to the park exit with a grand archway (Location 2G) to leave the area easily.
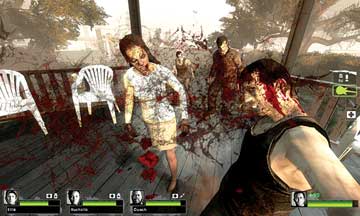
The Battle of Bienville Park—Part 3
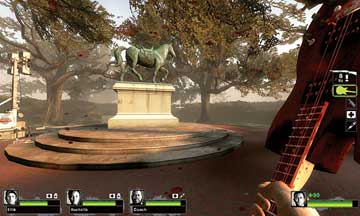
An alternative to edging around the perimeter of the park is to explore the hedge maze thoroughly (picture 1), heading between the stone columns signifying an entrance and maneuvering across the maze to the opposite side, or to the central statue of a riderless horse (picture 2).
2E
This offers a rapid method of covering the park (it’s even faster with Adrenaline), and you can quickly reach the exit archway (2G) without awakening too many Infected. The central courtyard is a good place to head to as there’s a floodlight with a supply of items at its base. When you’re ready to leave, choose a path out of the maze.
The Battle of Bienville Park—Part 4
Find your way out of the maze by heading through either exit at the opposite ends. Location 2F (picture 1) allows easy access to the park’s restroom facilities, while the other exit enables you to spot the gazebo (2D). Expect a torrent of foes at either position as you force your way out of the park and conduct an optional search of any picnic tables for items worth picking up.
2F
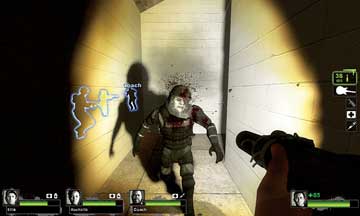
Prepare for close combat when you head inside the restrooms (picture 2). Post a teammate to guard the entrance (but one step inside for cover) while others inspect the area using Melee Weapons. The extra restroom fighting is worth it; there are likely to be some additional supplies in this building.
Beware of Special Infected attacks as you head in or out (especially from the roof of the restrooms). The additional projectiles you find in the restrooms can be tested out on a mass of Infected (picture 3) if they threaten to overwhelm you.
Archway Exit: Where is CEDA?
Locate the metal archway and ornate stone pillars of the park exit (picture 1) and fight your way out of the park onto the paved, historic street. Although there may be foes to the right, you don’t need to attract their attention as you head left toward a generator and a white barrier.
2G
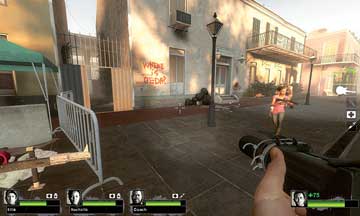
Find the orange graffiti and head for the doorway to the left of it; this door leads to a very narrow alleyway leading to a freeway underpass near the bus depot (Area 3). Be extremely careful as you move down the alley; it is a place where Special Infected may try to attack.
2H