
Left 4 Dead 2 Guide Walkthrough Swamp Fever
Alligator Sanctuary
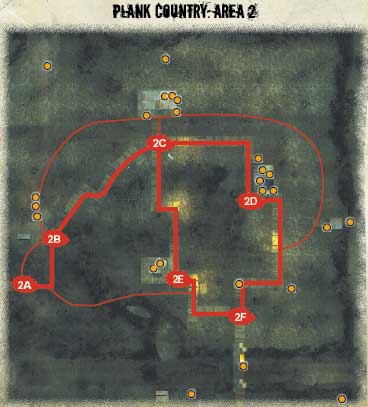
Preventing a Platform Panic
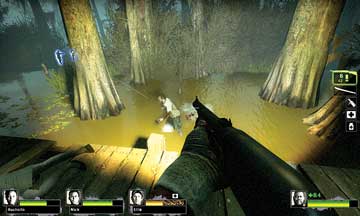
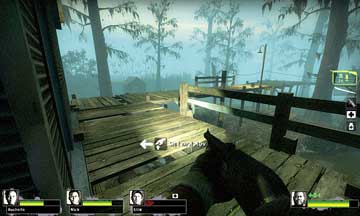
Disembark from the ferry knowing which route you’re about to take, and prepare to repel any Infected forces in the vicinity. Spread out and use crossfire opportunities to cut down foes easily (picture 1) while they mill about trying to decide which one of you to savage.
2A
If you stay on the wooden decking above the water, you can optionally shove your foes back into the water, allowing your team extra time to slay them. At this point, you can continue forward from Location 2A, wading through marsh water, past the odd pointed rocks, to a lighted ladder near Location 2E.
However, a safer (if longer) path is to head left, toward a small hut and a picnic table, which provides some additional equipment to scavenge. From here, you can see the marsh is slightly less thick with plants, and has a wooden walkway, which keeps you moving at normal speed.
2B
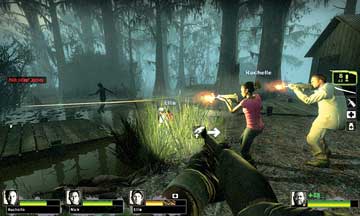
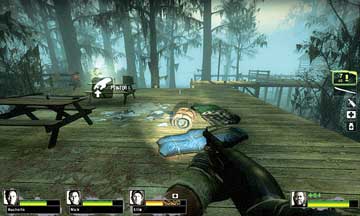
When the enemies finally halt their incessant swarming, you should ideally wander up the wooden platforms. Again, crossfire opportunities and the additional dry land around the picnic tables (picture 2) offer added maneuvering benefits.
Open-Air Bathing
For maximum safety, move to this location, where you’ll find a slightly raised wooden platform that leads to one of two raised walkways. These walkways are the two main methods of exiting Area 2.
2C
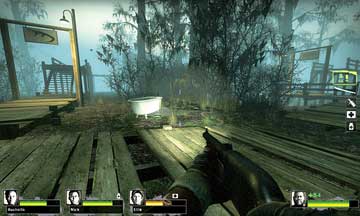
However, before you choose either route, have one or two of your team make a quick inspection of the cabin at the path junction, while others watch for foes trying to ambush you from behind doorways or windows. The bathtub near the wooden pathway is a good landmark to meet at. Then choose either raised wooden catwalk quickly; this position isn’t particularly defensible.
Treading the Boards (Route 1)
This takes you on a slightly longer, but safer (because you aren’t in the central part of the map) route around the outer catwalk, which rejoins at Location 2F. Although it’s longer, it features an additional raised viewing hut you can ransack, or hide in and snipe from.
Optionally, you can jump down into the water below and wade out to the solitary hut if you wish to check it for items. Otherwise, stay up on the catwalk, covering the distance to Location 2F quickly. Rake any foes down below, killing them easily.
Treading the Boards (Route 2)
The other route to Location 2F allows you to head up steps and along a raised catwalk to an open platform with sleeping bags and some items on a couple of picnic tables.
2E
This route is quicker than heading around past Location 2D, but is more central on the map, meaning you may attract more foes. Beware of the Infected charging down these catwalks, as well as those clambering up from the ground.
Raised Walkway Exit
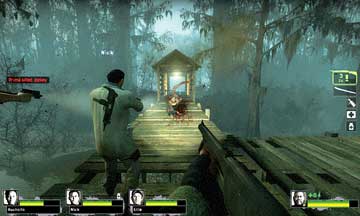
Both raised catwalks meet up at this location point. From here, you can only venture along a single section of boards into a small, covered hut with an orange sign pointing on toward the Safe Room.
2F
Before heading along this section of boards, ensure that your entire team is with you and they are training their weapons on foes ahead, as well as behind. Venture forward, stopping to grab any weapon lying on the table if necessary. Long-range ordnance is good to have when you head through the hut into Area 3.