
Left 4 Dead 2 Guide Walkthrough Hard Rain
Refinery 2, Plant Ruins, and Cane Field
Into Refinery 2...
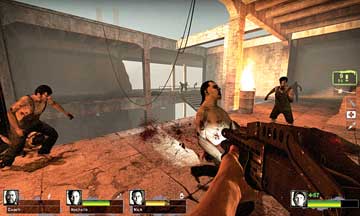
At the top of the conveyor belt is Refinery 2, which is more structurally sound than the first refinery, but still in a terrible state. It’s made more dangerous by the ravenous masses gathering below you.
4A
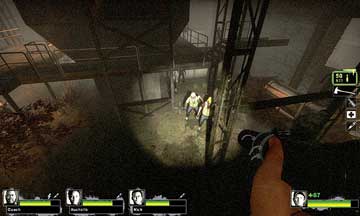
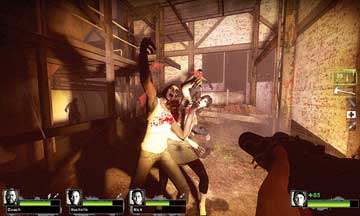
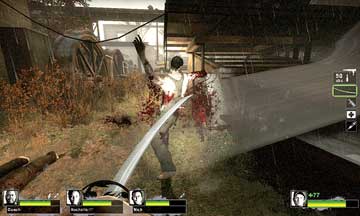
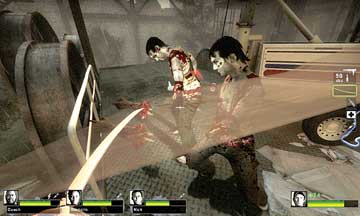
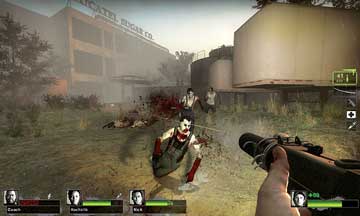
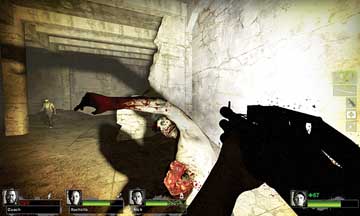
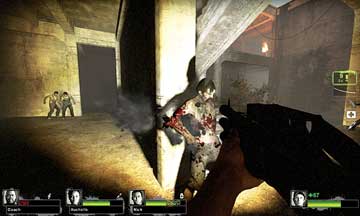
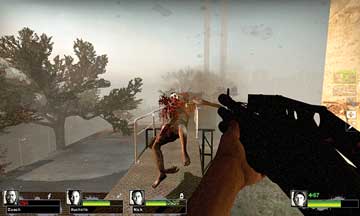
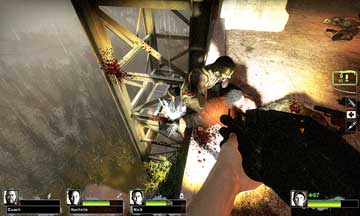
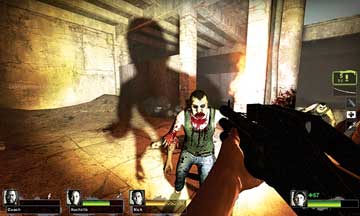
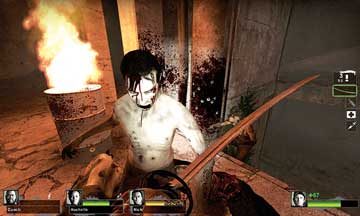
Shoot them from atop the belt (picture 1), or drop down and engage them at closer quarters (picture 2), depending on whether more dangerous enemies (Special Infected, Witches) are in the vicinity. Beware of getting caught in a corner of the refinery (picture 3) as you progress forward. Circle-strafing around your foes while checking the catwalk above for the return journey is your preferred plan here.
...And Out the Other End
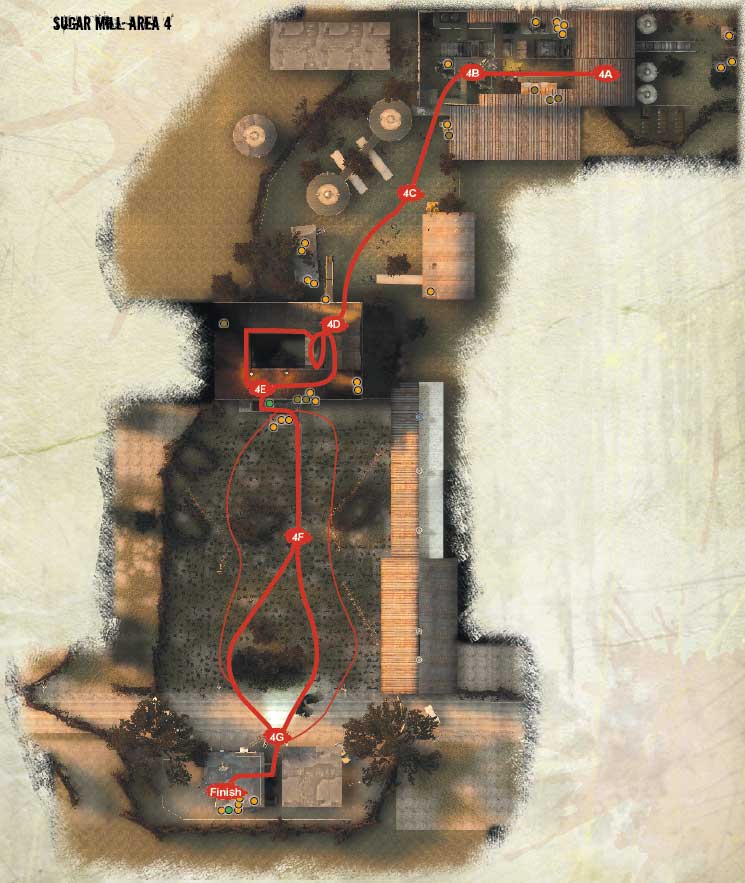
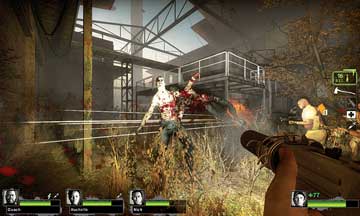
Check the left wall for a door to a small storage room where items may be located before heading back outside and moving along the grassy floor, past a portable generator and conveyor belt (picture 1). Leap onto the remains of a catwalk near a second generator (picture 2), or head right, under the catwalk and around toward the right perimeter wall.
4B
At any stage you may stumble across a Witch, so be ready to lower your weapons and cut down foes without risking a Witch headshot. Drop off the catwalk if you’re taking the main route (picture 3) and scramble out of the refinery via an opening at the far end of the left wall. The catwalks above your head are only useful on your return journey.

Outside Loading Bay
Move into a more open area with grassy scrub and a rusting container truck near two large reservoir towers on your right and a loading bay building on your left (which can’t be entered). Suppress the immediate threats (picture 1), stepping onto the ledge under the loading bay roof so foes need to clamber to reach you.
4C
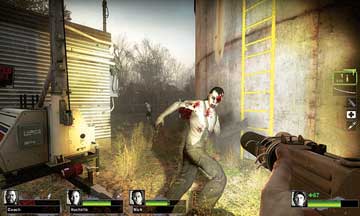
Mow down anything that groans, check for items, and then navigate around the water (because wading slows you down) toward a cabin, just as the rain begins to pelt down. Beware of additional foes (picture 2) between the cabin and the rusting tower, which can be climbed via the ladder (if you’re wanting to plot a return journey along the catwalks linking the towers). Drop into the cabin to stock up on items, or else save them for your return.
The Plant: Four Floors of Fear
Plan your movements inside the main plant ruins carefully, as it’s arguably the most dangerous area yet encountered. Aside from a possible Witch presence, you’re likely to meet considerable resistance from both Common and Special Infected, especially as the center and some sides of the building are completely open, which means your foes can steer, push, or pull you off the sides and into a death plummet, if you’re not helped up.
Enter the building together, and ignore the ground floor except to cleanse it of foes. Move rapidly up to the next floor using the concrete steps, and then step out, choosing either to take out foes on this level (picture 1), or to continue up the steps.
Heading up the steps is usually safer because you can gain height, ignore enemies on the floor one level above the ground, and move up to the next level (picture 2).
4D
This floor (two up from the ground) may have more forces to contend with, including crazy Infected that drop down from the roof to land on a broken catwalk behind you (picture 3). Push your way up the stairs to the top floor; attempt to locate a couple of flaming barrels.
Elevator Action
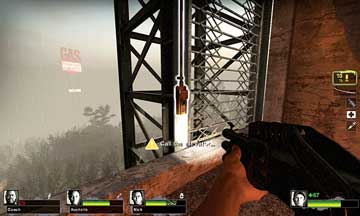
When you finally reach the top of this building shell, step off the stairwell, and pick either route to the barrels and elevator (4E); you can head left or right; it takes the same amount of time to navigate around half of the floor to the view over the sugar plantation (picture 1).
4E
You should note the huge “GAS” sign in the distance (your Safe Room), and the elevator shaft itself. As falling off the building results in embarrassment and death, call the elevator.
Unfortunately, the elevator makes a great grinding noise as it slowly ascends, which prompts a Horde to swarm your location. This shouldn’t be a problem for the battle-hardened crew you’ve assembled, as long as you’re taking up appropriate defensive positions, such as the ones shown in the following example:
Position 1: One team member should stand by the elevator and butcher foes swarming up the walls from the plantation below. They appear on the walls in a couple of locations, so stay near the elevator (so that you’re not knocked over) and look down to blast everything that is scampering up to swarm you. A longer-range weapon and good headshot aiming is advisable.
Position 2: One of your crew should stay by the flaming barrel near the elevator and blast away at foes running up from the staircase, across to the left, and around the connecting ledge and out from the shadows to the left of the barrel. This teammate should help the Survivor at the third position if needed. A ranged weapon and headshots are called for here.
Position 3: As long as you have a competent person guarding position 4, you can stand to the right of the flaming barrel near the elevator and cut swathes through the Infected that are climbing the interior ledges, and help out the Survivors at positions 2 and 4, if necessary. A close-combat or Melee Weapon and quick attacks are best.
4E
Position 4: The final Survivor can be used as a “floater” who helps out positions where the Infected are swarming the most vigorously. Otherwise, this team member should tag foes running along or climbing up to the ledge by the first flaming barrel, so that none of them reaches the elevator location.
Field of Screams
As soon as the elevator gate swings open (the teammate nearest the elevator should check on the car’s progress upward), yell at your team to backpedal into the elevator car, and close the gate behind you.
Don’t hang about; all of your team needs to be inside the elevator to activate the button. The elevator now descends slowly to the sugar cane plantation below. As you descend, plot a route (using the guide map, or the view from the elevator), and use the “down time” to heal, reload, and generally plan.
When the elevator touches dirt, step out of the second gate (to the right of the first one), check to make sure no Special Infected are lurking. Then head into the cane field. It is wise to use landmarks to help you; climb up the central irrigation pipe (picture 1) for a good view while others check the small cabin for lurking foes and items.
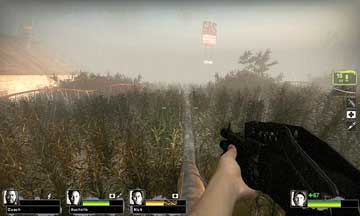
Then begin to rush through the sugar cane,ideally following a straight line and keeping as tightly together as you can. Melee Weapons are best so that you can hack down any menace without swinging around too wildly and losing your bearings (picture 2).
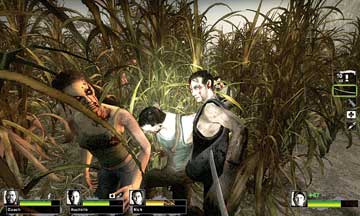
4F
It’s incredibly easy to get lost inside this field, so be sure you plot a course and stick to it. One of the easiest to follow is to sprint alongside the middle pipe until it ends, and then continue to move directly toward the tall “GAS” sign and around either side of the copse of trees and onto the road.

By far, the biggest concern is being attacked by Special infected or Witches (picture 3). You must be ever vigilant, and don’t just club or slice anything that moves; the number of Witches in this campaign should have made you modify your aggressive behavior.
The Last Gasp of Gas
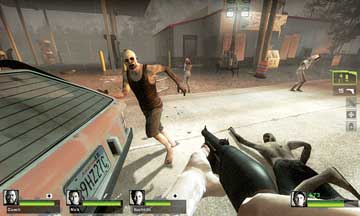
4F
No matter which part of the road you stagger onto, sprint forward toward the central part of the gas station (picture 1). Engage any Infected at the pumps (picture 2), pushing yourself into the cafe interior adjacent to the Safe Room storeroom, and watching lest the last Survivor is kidnapped by Special Infected lurking on the roof.
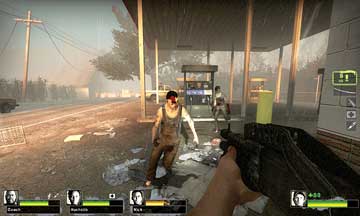
Also beware of Witches; picture 1 shows two wandering the road and the area around the pumps ! Once you’re inside the Safe Room, check the walls for poignant messages, and then ready yourself for a wet and wild ride back to the boat!